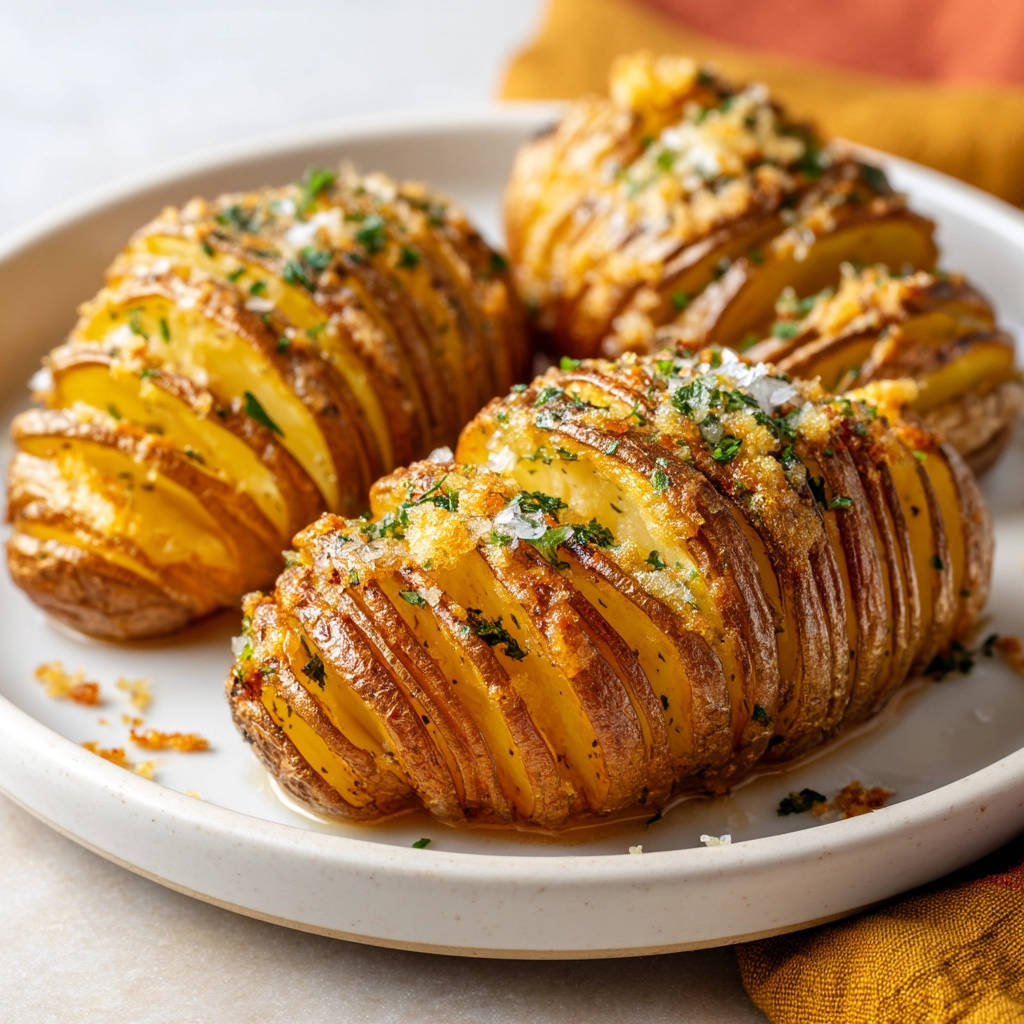
Is there anything more comforting than a perfectly baked potato? But what if we could elevate the humble potato to something truly special, with crispy edges, a tender interior, and a presentation that’s sure to impress? That’s exactly what you get with these Crispy Baked Hasselback Potatoes. This recipe walks you through every step to achieve potato perfection, ensuring that every slice is beautifully browned and irresistibly delicious.
Why You’ll Love This Crispy Baked Hasselback Potatoes Recipe
These aren’t your average baked potatoes! Here’s why you’ll fall in love with this recipe:
- Crispy Perfection: Say goodbye to soggy potatoes! This method guarantees a satisfyingly crispy exterior.
- Impressive Presentation: The Hasselback technique creates a stunning visual effect, making these potatoes perfect for dinner parties or special occasions.
- Easy to Customize: Add your favorite seasonings, herbs, or toppings to create a truly unique dish.
- Simple Ingredients: You probably already have most of these ingredients in your pantry.
Gathering Your Ingredients for Crispy Baked Hasselback Potatoes
The key to truly exceptional Hasselback potatoes lies in the quality and preparation of your ingredients. We’re aiming for a balance of flavors and textures that will make each bite a delight. Let’s explore the ingredients that will make this dish shine.
- The Foundation: 4 medium Russet potatoes. Russets are the ideal choice because of their high starch content. This helps them to achieve that sought-after crispy exterior while maintaining a fluffy interior. Look for potatoes that are firm, free of blemishes, and roughly the same size for even cooking.
- The Flavor Infusion: 4 tablespoons olive oil or melted butter. This is crucial for both flavor and texture. Olive oil will impart a slightly savory note and promote crisping, while melted butter will add richness and a beautiful golden color. You can even use a combination of both!
- The Simple Seasoning: 1 teaspoon sea salt, or to taste & 1/2 teaspoon black pepper, or to taste. Simple seasoning is key. Use a good quality sea salt and freshly ground black pepper to really make the most of each ingredient.
- Optional Flavor Boost: 1/4 teaspoon garlic powder. A touch of garlic powder adds a subtle depth of flavor that complements the potatoes perfectly. Feel free to adjust the amount to your liking, or omit it altogether if you prefer a more classic taste.
- The Texture Enhancer: 2 tablespoons dried breadcrumbs. Breadcrumbs are our secret weapon for achieving maximum crispiness. They create a delightful textural contrast to the tender potato interior. Use plain breadcrumbs for the best results.
- The Fresh Finish: 2 tablespoons fresh parsley, chopped. A sprinkle of fresh parsley adds a pop of color and a touch of freshness to balance the richness of the potatoes. Other fresh herbs like chives or thyme would also be delicious.
Crafting Your Crispy Baked Hasselback Potatoes: Step-by-Step
Now, let’s get to the fun part: transforming these simple ingredients into crispy, delicious Hasselback potatoes. Don’t be intimidated by the slicing technique; it’s easier than you think! Just remember to take your time and follow these steps carefully. You’ll be rewarded with potato perfection!
- Preheat and Prepare: Preheat your oven to 400 degrees Fahrenheit (200 degrees Celsius). Getting the oven to the right temperature is crucial for even cooking and achieving that perfect crisp. Take the time to preheat properly.
- Wash, Scrub, and Dry: Wash and scrub the potatoes thoroughly. Pat them completely dry. This is key for crisping! Clean potatoes are a must. Scrub away any dirt or debris. Then, and this is important, thoroughly dry them. Excess moisture is the enemy of crispiness!
- The Hasselback Secret: To slice the potatoes Hasselback style, place each potato between two chopsticks or wooden spoons. This prevents you from cutting all the way through. Make thin, even slices crosswise along the potato, stopping when your knife hits the chopsticks. This is the signature technique! The chopsticks or spoons act as a guide, ensuring you don’t accidentally slice all the way through the potato. Aim for thin, even slices about 1/8 inch apart. A sharp knife is your best friend here.
- Ready for Baking: Place the sliced potatoes in a baking dish. Choose a baking dish that’s just large enough to hold the potatoes snugly. This will help them cook evenly.
- Flavor Infusion: In a small bowl, whisk together the olive oil or melted butter, salt, pepper, and garlic powder if using. This mixture is the key to both flavor and crispiness. Whisk it well to ensure the seasonings are evenly distributed.
- Oil Application: Brush or spoon half of the oil mixture all over the potatoes, making sure to get some in between the slices. Use your fingers to gently spread the slices apart if needed. Don’t be shy! Get that oil mixture into every nook and cranny of the potato. Use your fingers to gently fan out the slices, allowing the oil to penetrate deep inside. This will help them crisp up beautifully.
- Baking Time: Bake for 45-50 minutes, basting with the remaining oil mixture halfway through the baking time. The potatoes should be tender and starting to fan out. This is where the magic happens. Basting halfway through ensures that the potatoes remain moist and flavorful while they bake. Keep an eye on them, and adjust the baking time as needed depending on your oven.
- Breadcrumb Magic: In the last 10 minutes of baking, sprinkle the dried breadcrumbs over the top of the potatoes. The breadcrumbs add an extra layer of crispiness and a delightful textural contrast.
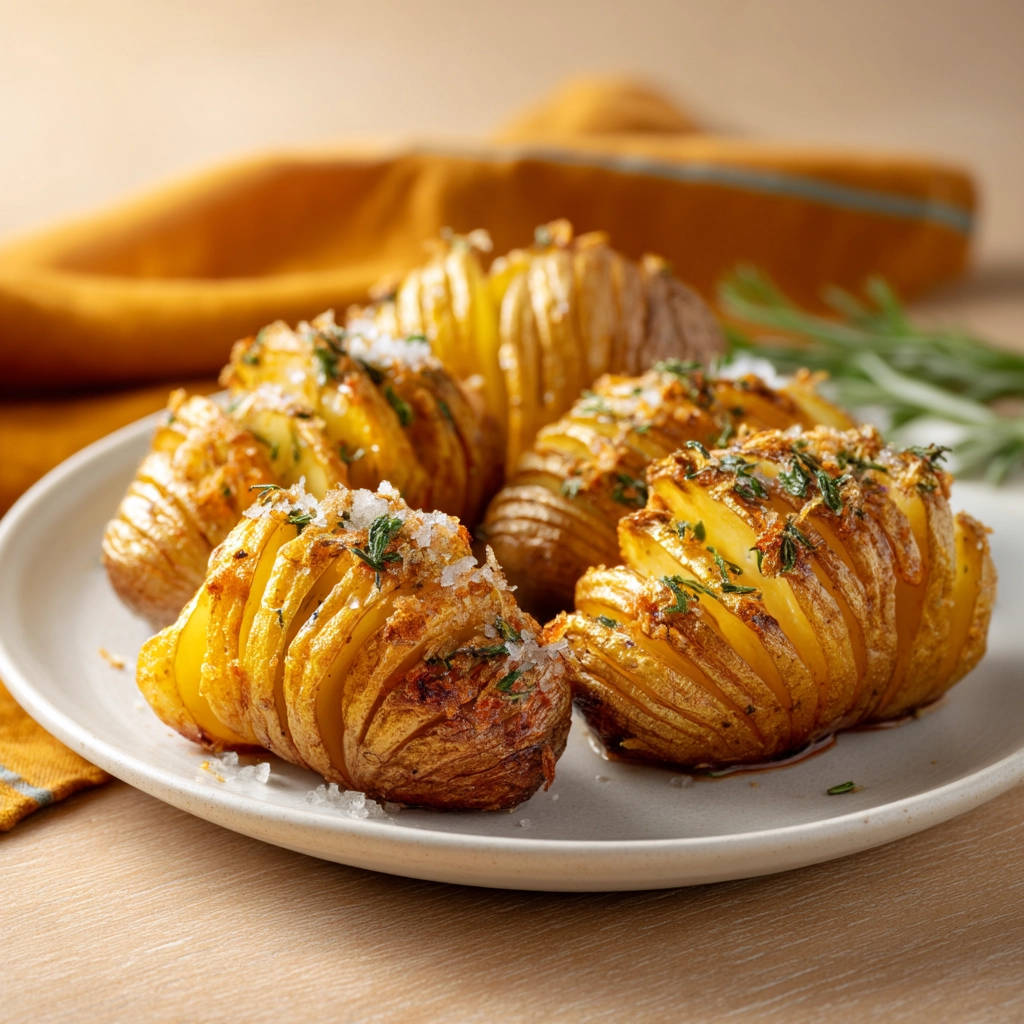
- Final Bake: Continue baking for the remaining 10 minutes, or until the potatoes are golden brown, crispy on the edges, and fully tender when pierced with a fork. The potatoes should be beautifully browned and crispy on the edges. A fork should easily pierce the flesh. If they’re not quite there, continue baking for a few more minutes.
- Garnish and Serve: Sprinkle with fresh chopped parsley before serving. The fresh parsley adds a pop of color and a touch of freshness to balance the richness of the potatoes.
Tips for Perfect Crispy Baked Hasselback Potatoes Every Time
Want to guarantee potato perfection every single time? Here are a few extra tips and tricks to keep in mind:
- Potato Size Matters: Choose potatoes that are roughly the same size for even cooking.
- Don’t Overcrowd the Pan: Give the potatoes plenty of space in the baking dish. Overcrowding will lead to steaming instead of crisping.
- Adjust Seasonings to Taste: Feel free to experiment with different herbs, spices, and seasonings. Smoked paprika, onion powder, or even a pinch of cayenne pepper can add a unique twist.
- For extra flavor, consider melting some butter and adding minced garlic before brushing the potatoes.
- Add Cheese: In the last few minutes of baking, sprinkle grated Parmesan cheese over the potatoes for a cheesy, crispy topping.
What to Serve With Crispy Baked Hasselback Potatoes
These crispy potatoes are incredibly versatile and pair well with a variety of dishes. They make a fantastic side dish for roasted chicken or grilled steak. You can create a hearty and satisfying meal by pairing them with a fresh salad and a simple protein. For a vegetarian option, try serving them alongside a flavorful lentil stew. Consider pairing them with a dish like our Cheesy Chicken and Broccoli Casserole for a complete and comforting meal.
Your Crispy Baked Hasselback Potatoes Questions Answered (FAQ)
Can I use a different type of potato?
While Russet potatoes are the best choice for crispiness, you can experiment with other varieties like Yukon Gold or red potatoes. Keep in mind that they may not get as crispy as Russets due to their lower starch content.
Can I make these ahead of time?
You can slice the potatoes ahead of time and store them in cold water to prevent browning. However, it’s best to bake them fresh for optimal crispness.
How do I store leftover Hasselback potatoes?
Store leftover potatoes in an airtight container in the refrigerator for up to 3 days. Reheat them in the oven or air fryer to restore some of their crispness. Speaking of leftovers, maybe a baked potato bar is in order. Or perhaps you might be interested in our guide for Spiced Potato Stack Sandwich. Delicious!
Can I add toppings?
Absolutely! Get creative with your toppings. Sour cream, chives, cheese, bacon, or a drizzle of hot sauce would all be delicious additions. Just add the toppings after the potatoes are baked.
Why aren’t my potatoes getting crispy?
Several factors can contribute to soggy potatoes. Make sure you’re using Russet potatoes, drying them thoroughly before baking, and not overcrowding the pan. Also, ensure your oven is properly preheated and that you’re using enough oil. The breadcrumbs also contribute to the overall crisp.
Enjoy Your Homemade Crispy Baked Hasselback Potatoes!
There you have it – a foolproof guide to creating the crispiest, most delicious Hasselback potatoes you’ve ever tasted! With a little bit of patience and these helpful tips, you’ll be wowing your family and friends with this impressive side dish in no time. Now, go ahead and give this recipe a try. Once you master the technique, you’ll find yourself coming back to this method time and time again. Don’t forget to leave a comment below and let us know how your potatoes turned out!