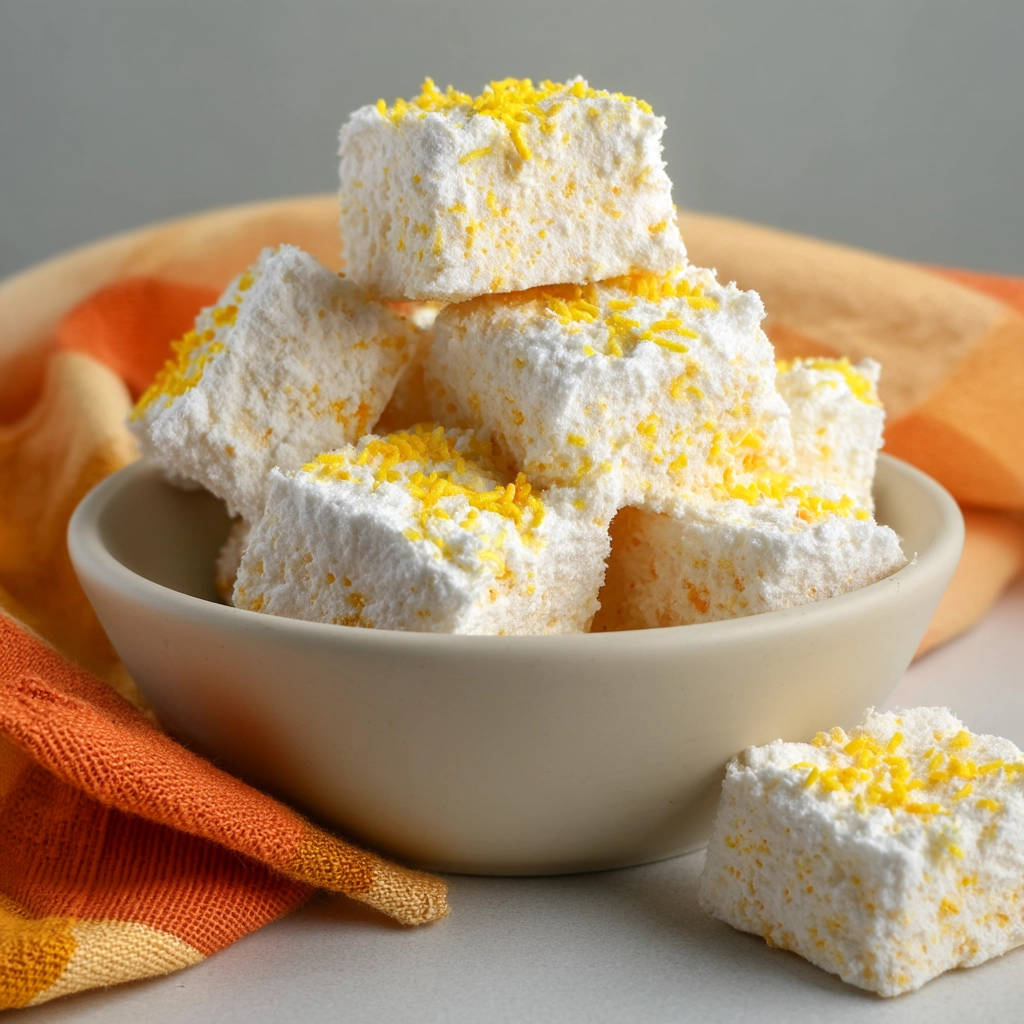
There’s something truly magical about biting into a light, airy marshmallow, especially one bursting with the bright, refreshing flavor of lemon. These homemade lemon marshmallows are far superior to anything you can buy at the store, and with a few simple tricks, you can avoid the sticky mess often associated with marshmallow making. Get ready to create a batch of pillowy, citrusy perfection!
Why You’ll Love This Lemon Marshmallow Recipe
These aren’t your average marshmallows. Here’s why you’ll fall in love:
- Intense Lemon Flavor: Fresh lemon zest adds a vibrant, zesty kick that perfectly complements the sweetness.
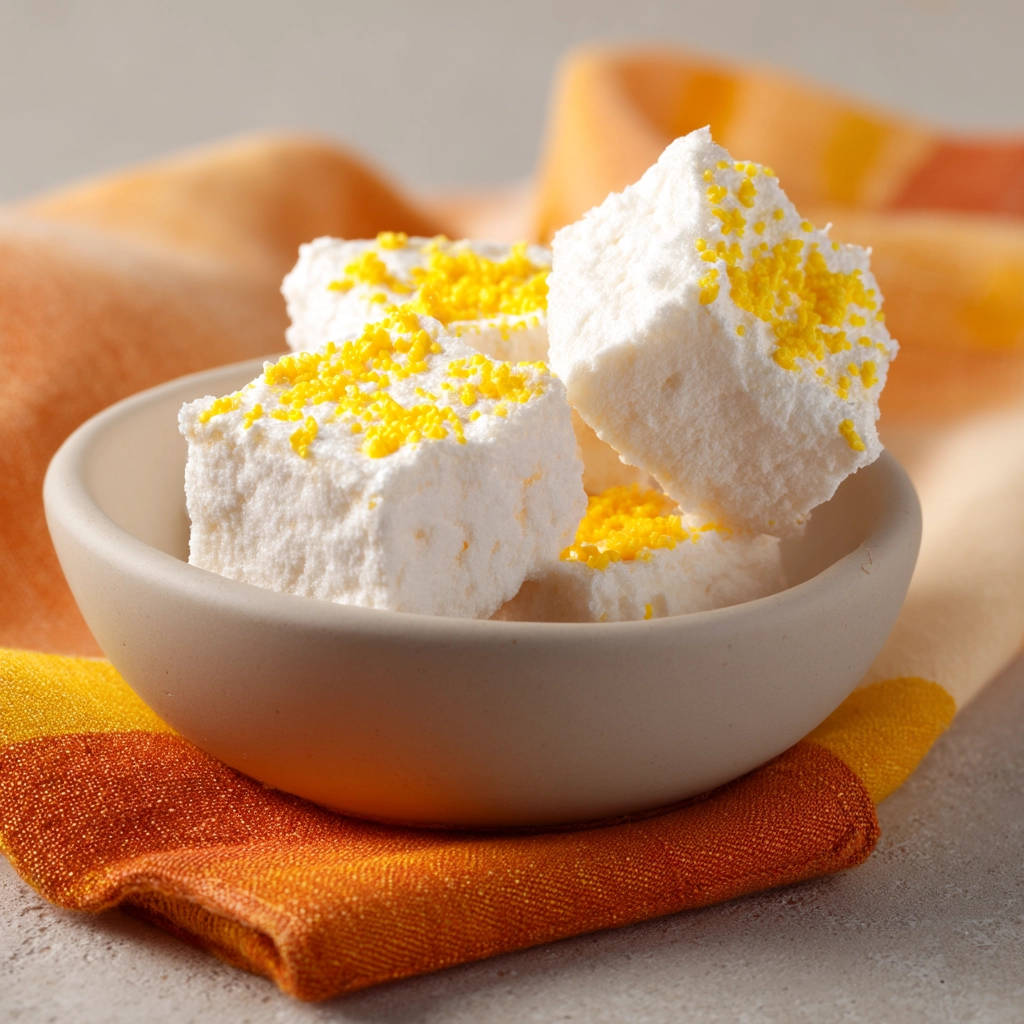
- Pillowy Soft Texture: Homemade marshmallows are incredibly light and fluffy, melting in your mouth with each bite.
- Surprisingly Easy: With our non-stick cutting secret, even beginners can achieve perfect marshmallow squares.
- Perfect for Gifting: These lemon marshmallows make a thoughtful and delicious homemade gift.
- Fun to Make: The process of whipping the marshmallow mixture is mesmerizing and incredibly rewarding.
Gathering Your Ingredients for Homemade Lemon Marshmallows
Let’s talk ingredients! For these homemade lemon marshmallows, we’re building layers of flavor and texture, starting with the essentials for a stable, fluffy base and then infusing bright citrus notes. The quality of your ingredients matters, especially the lemon zest, as it provides the signature flavor. Fresh is always best! Here’s what you’ll need:
- Gelatin: 3 packets of unflavored gelatin are essential for creating the marshmallow’s structure. The gelatin is what allows the mixture to set properly, giving it that characteristic bounce.
- Water: You’ll need 1/2 cup of cold water to bloom the gelatin. Blooming softens the gelatin granules, allowing them to dissolve evenly into the hot syrup. You’ll also need another 1/2 cup of water for the syrup itself.
- Sugar: 1 1/2 cups of granulated sugar provides the sweetness and helps create the syrup base.
- Light Corn Syrup: 1 cup of light corn syrup is crucial for achieving that smooth, chewy marshmallow texture. It also helps prevent crystallization, ensuring a perfectly smooth final product.
- Salt: A 1/4 teaspoon of salt balances the sweetness and enhances the other flavors.
- Vanilla Extract: 1 teaspoon of vanilla extract adds a touch of warmth and complements the lemon flavor. Use a good quality extract for the best results.
- Fresh Lemon Zest: 1 tablespoon of fresh lemon zest is what gives these marshmallows their signature lemon flavor. Make sure to use a microplane to zest the lemon, avoiding the bitter white pith.
- Powdered Sugar & Cornstarch: You’ll need 1 cup of powdered sugar and 1/2 cup of cornstarch to create the anti-stick coating. This mixture is the secret to cutting the marshmallows cleanly and preventing them from sticking to everything.
- Optional Toppings: Yellow sprinkles or extra lemon zest add a festive touch and enhance the lemon flavor even further.
Crafting Your Lemon Marshmallows: Step-by-Step
Making marshmallows at home might seem intimidating, but trust me, it’s easier than you think! The key is to be prepared and follow the steps carefully. Don’t be afraid to take your time, especially when making the syrup. Here’s how to create these delicious lemon marshmallows:
- Prepare the Pan: Lightly grease a 9×13 inch baking pan with cooking spray and line it with parchment paper, leaving an overhang on the sides. This overhang is crucial for easily lifting the marshmallows out later. Ensuring the parchment paper fits snugly will prevent any unwanted creases in the finished product.
- Bloom the Gelatin: In the bowl of a stand mixer (this is really the easiest way to make marshmallows!), sprinkle the 3 packets of unflavored gelatin over 1/2 cup of cold water. Let it sit and bloom for about 5-10 minutes while you prepare the syrup. Blooming allows the gelatin to properly absorb the water, which is essential for its thickening properties.
- Make the Syrup: In a medium saucepan, combine the remaining 1/2 cup of water, 1 1/2 cups of granulated sugar, 1 cup of light corn syrup, and 1/4 teaspoon of salt. Stir gently over medium heat until the sugar dissolves completely. Stirring constantly at this stage prevents the sugar from burning and sticking to the bottom of the pan.
- Cook to Soft Ball Stage: Bring the syrup to a boil without stirring. Use a candy thermometer to monitor the temperature. Cook until the syrup reaches 240 degrees F (soft ball stage). This is a crucial step for achieving the right marshmallow texture. If you don’t have a candy thermometer, you can test for soft ball stage by dropping a small amount of syrup into a bowl of ice water. It should form a soft, pliable ball.
- Whip the Marshmallow: With the mixer on low speed using the whisk attachment, carefully and slowly pour the hot sugar syrup down the side of the bowl into the bloomed gelatin mixture. This prevents splattering and ensures the gelatin is evenly incorporated. Once all the syrup is added, gradually increase the mixer speed to high. Whip the mixture for 10-15 minutes, or until it is very thick, fluffy, and has doubled in volume. This whipping action incorporates air into the mixture, creating the marshmallow’s signature lightness.
- Add Flavor: Add the 1 teaspoon of vanilla extract and 1 tablespoon of fresh lemon zest during the last minute of whipping. This prevents the heat from diminishing their delicate flavors. The lemon zest should be finely grated to ensure even distribution.
- Prepare the Anti-Stick Powder: While the mixture is whipping, whisk together the 1 cup of powdered sugar and 1/2 cup of cornstarch in a medium bowl. This is your anti-stick powder. This is what will make cutting the marshmallows so much easier.
- Dust the Pan: Liberally dust the prepared baking pan, including the parchment paper and overhangs, with the anti-stick powder mixture. Reserve plenty of the powder for coating the marshmallows later. Don’t be shy with the powder; it’s your best defense against sticky marshmallows!
- Pour and Spread: Pour the whipped marshmallow mixture into the prepared pan, spreading it evenly with a lightly greased or powdered spatula. Work quickly, as the marshmallow mixture will start to set as it cools.
- Dust the Top: Dust the top surface of the marshmallow mixture liberally with more of the anti-stick powder. This prevents a sticky skin from forming on the surface.
- Set the Marshmallows: Let the marshmallows set uncovered at room temperature for at least 4-6 hours, or preferably overnight. This allows them to fully set and develop their texture.
- Cut and Coat: To cut the marshmallows (this is the secret!), loosen the edges from the pan and lift the marshmallow slab out using the parchment paper overhangs onto a cutting board. Sift or dust a cutting knife or kitchen shears very generously with the anti-stick powder mixture. Reapply the powder often as you cut. Cut the marshmallow slab into squares or desired shapes, re-dusting your cutting tool frequently to prevent sticking. As you cut, toss each marshmallow square in the remaining anti-stick powder mixture to coat all sides thoroughly. Brush off excess powder.
- Add Toppings: Immediately after coating the sides, press yellow sprinkles or extra lemon zest onto the top of each marshmallow square if desired. This adds a final touch of flavor and visual appeal.
Tips for Perfect Lemon Marshmallows Every Time
Want to ensure marshmallow perfection? Here are a few extra tips and tricks:
- Use a Stand Mixer: While it’s possible to make marshmallows without a stand mixer, it’s much easier with one. The long whipping time requires a powerful mixer and frees you up to prepare other components.
- Candy Thermometer is Key: Don’t skip the candy thermometer! Reaching the soft ball stage is crucial for achieving the right marshmallow texture.
- Don’t Overcook the Syrup: Overcooked syrup will result in a hard, chewy marshmallow. Aim for exactly 240 degrees F (soft ball stage).
- Generously Dust: Don’t be afraid to use a lot of the powdered sugar/cornstarch mixture. It’s the key to preventing the marshmallows from sticking.
- Storage: Store your homemade lemon marshmallows in an airtight container at room temperature. They will stay fresh for about a week. If they start to get sticky, simply toss them in more of the powdered sugar/cornstarch mixture.
- Experiment with Flavors: While lemon is delicious, you can easily adapt this recipe to create other flavors. Try adding orange zest, lime zest, or even a few drops of flavoring oil.
- For a change of pace, consider adding some color. A very small drop of lemon yellow food coloring can heighten the visual appeal.
What to Serve With Lemon Marshmallows
These lemon marshmallows are delicious on their own, but they also pair well with a variety of treats! You can use them to top a decadent hot chocolate or add them to dessert trays for a colorful pop of flavor. Consider pairing them with creamy, spiced potatoes for an unexpected sweet and savory combination. If you’re looking for more dessert inspiration, check out our recipe for easy caramel nut dessert jars.
Your Lemon Marshmallow Questions Answered (FAQ)
Can I make these marshmallows without corn syrup?
Corn syrup helps to create the signature chewy texture of marshmallows and prevents crystallization. While you can experiment with substituting it with honey or agave syrup, the texture may be slightly different. Be sure to monitor the syrup closely to prevent burning.
Can I use bottled lemon juice instead of fresh lemon zest?
While you can use lemon juice for a subtle flavor, fresh lemon zest provides a much more vibrant and pronounced lemon flavor. The zest contains the lemon’s essential oils, which are lost in bottled juice. If you only have lemon juice, consider adding a few drops of lemon extract to enhance the flavor.
How do I prevent the marshmallows from sticking together during storage?
The key to preventing marshmallows from sticking is to generously coat them in the powdered sugar/cornstarch mixture. Make sure all sides are thoroughly coated and store them in an airtight container.
My marshmallow mixture is too runny. What did I do wrong?
A runny marshmallow mixture typically indicates that the syrup didn’t reach the soft ball stage (240 degrees F). The syrup needs to be cooked to this temperature to properly thicken and set the gelatin. If this happens, you can try re-cooking the mixture to the correct temperature, but it may not always be salvageable.
Can I freeze these lemon marshmallows?
While you can freeze marshmallows, it’s not recommended. Freezing can alter the texture, making them slightly tougher. They are best enjoyed fresh, within a week of making them.
Enjoy Your Homemade Lemon Marshmallows!
There you have it – a simple and delightful recipe for homemade lemon marshmallows that are sure to impress. From the zesty aroma to the pillowy soft texture, these marshmallows are a treat for all the senses. So, gather your ingredients, follow the steps, and get ready to experience the joy of homemade marshmallows. Don’t forget to leave a comment below and let me know how your batch turns out! And if you enjoyed this recipe, be sure to share it with your friends and family!