Oh, the dreaded cake crack! Have you ever spent time mixing, baking, and dreaming of a perfectly swirled cake roll, only to have it split right down the middle as you try to roll it up? It’s happened to the best of us, and it’s truly one of the most disheartening moments in baking. That beautiful vision crumbles (sometimes literally!) before your eyes.
For years, I struggled with creating a smooth, flawless chocolate roll cake. No matter what I did, those frustrating cracks seemed inevitable. But then I discovered a simple, game-changing technique that completely transformed my cake roll success rate. Since learning this trick, my chocolate roll cakes emerge from the oven and roll up beautifully, ready to be filled with luscious whipped cream. If you’re ready to conquer the cake roll crack and create a stunning dessert every time, you’re in the right place.
Why You’ll Fall in Love with This Chocolate Roll Cake
This isn’t just another chocolate cake roll recipe; it’s the recipe that guarantees a beautiful, crack-free result. Here’s why it’s about to become your absolute favorite:
- The Secret Technique: We’re sharing the ultimate tip that trains your warm cake to hold its shape, preventing those heartbreaking cracks.
- Deep Chocolate Flavor: The cake itself is rich and moist, with a wonderful depth of chocolate thanks to unsweetened cocoa powder.
- Feather-Light Filling: A simple, yet perfect, homemade whipped cream filling complements the rich cake beautifully.
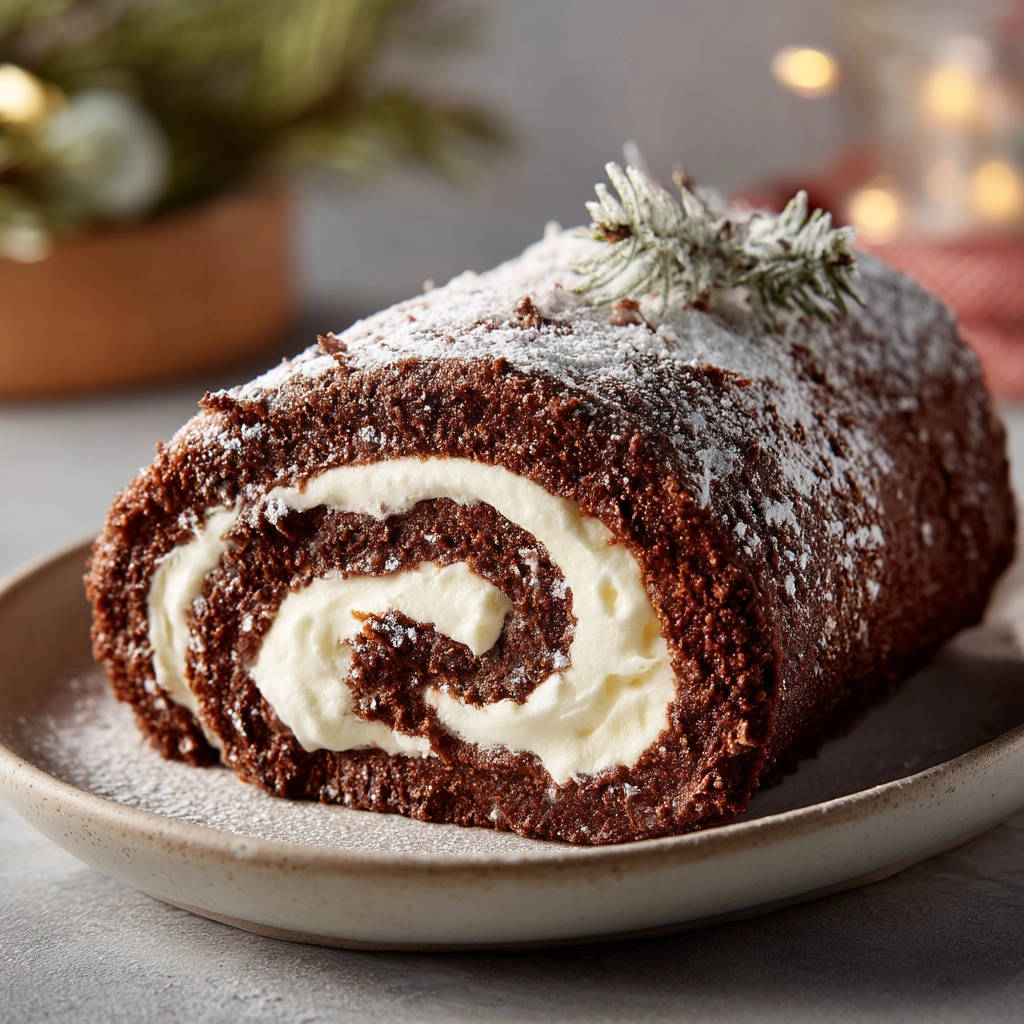
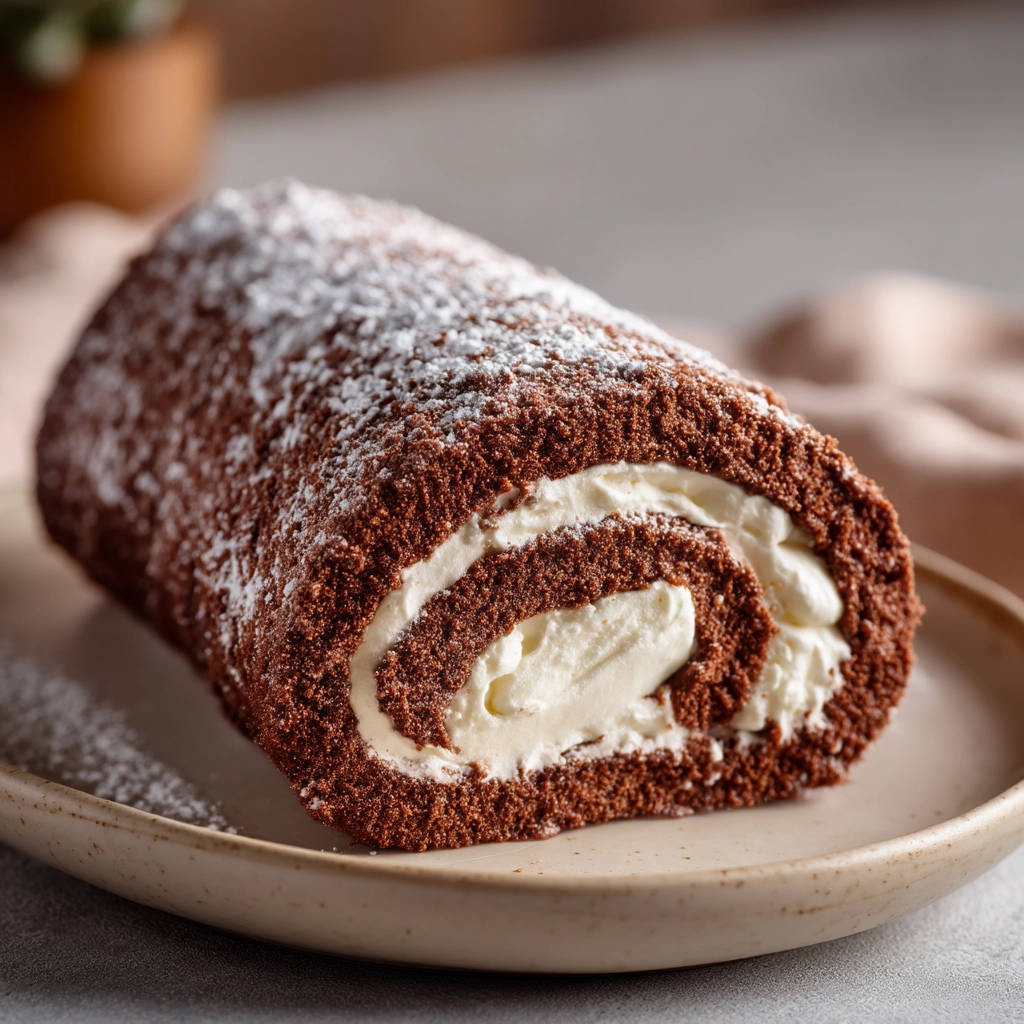
- Impressive Presentation: A finished chocolate roll cake looks incredibly elegant and festive, perfect for holidays, birthdays, or just a special treat.
- Surprisingly Simple: While cake rolls can seem intimidating, the process is quite straightforward once you know the key steps.
Gathering Your Ingredients for the Perfect Roll Cake
Creating this stunning dessert starts with understanding the role each ingredient plays. This recipe relies on a balanced mix of pantry staples coming together to create a tender, moist cake that is pliable enough to roll, paired with a classic, airy filling.
For the chocolate cake base, we start with the dry components:
- Granulated Sugar: Provides sweetness and also contributes to the cake’s structure and moisture.
- All-Purpose Flour: The backbone of our cake, giving it structure. Using the right measurement is key for preventing a tough cake.
- Unsweetened Cocoa Powder: Delivers that essential deep, dark chocolate flavor. Opt for a good quality one for the best taste.
- Baking Soda and Baking Powder: Our leavening agents. The combination, especially with the help of boiling water later, ensures a light and airy crumb necessary for rolling without breaking.
- Salt: Enhances the chocolate flavor and balances the sweetness.
Next, the wet ingredients add richness and moisture:
- Large Eggs: Bind the ingredients together and add structure and richness.
- Milk: Adds moisture and helps create a tender crumb.
- Vegetable Oil: Contributes to the cake’s moisture and tenderness, keeping it soft and pliable even after cooling.
- Vanilla Extract: A touch of vanilla enhances the chocolate flavor beautifully.
- Boiling Water: This is a crucial ingredient! Pouring boiling water into the batter helps bloom the cocoa powder, intensifying the chocolate flavor, and creates a very thin batter that bakes into a uniquely tender and flexible cake, perfect for rolling.
- Powdered Sugar: Used generously for dusting the towel that the hot cake is rolled in – this is part of our crack-prevention magic and also prevents sticking. You’ll need more for dusting the finished cake!
And finally, the simple yet decadent filling:
- Heavy Cream: The base for our fluffy whipped cream. Ensure it’s very cold for best whipping results.
- Powdered Sugar: Sweetens the whipped cream and helps stabilize it slightly.
- Vanilla Extract: Adds a lovely classic flavor to the filling.
Crafting Your Chocolate Roll Cake: Step-by-Step Guidance
Ready to make some kitchen magic? Follow these steps carefully, paying special attention to the crucial rolling technique, and you’ll be well on your way to a stunning, crack-free cake roll. We’ll walk through each stage, explaining the why behind the actions.
- Begin by setting up your baking environment. Preheat your oven to 350 degrees F (175 degrees C). Cake rolls bake quickly and need your immediate attention when they come out, so it’s best to have everything ready. Prepare a 15×10 inch jelly roll pan by generously greasing it. Then, line the greased pan with parchment paper, leaving some overhang on the short sides to help lift the cake later. Grease the parchment paper itself for extra insurance against sticking.
- In a large mixing bowl, combine all your dry ingredients: the granulated sugar, all-purpose flour, unsweetened cocoa powder, baking soda, salt, and baking powder. Give them a good whisk to ensure they are evenly distributed. This helps prevent pockets of leavening or salt in the finished cake.
- Add the wet ingredients, excluding the boiling water, to the dry mixture. Incorporate the eggs, milk, vegetable oil, and vanilla extract. Using an electric mixer set to medium speed, beat these ingredients together for about two minutes. You want the mixture to be smooth and well combined, forming a thick batter at this stage.
- Now, carefully pour in the cup of boiling water. The batter will instantly become quite thin – don’t be alarmed, this is exactly what we want! Gently mix until the boiling water is just incorporated. Avoid overmixing once the water is added, as this can develop the gluten too much and lead to a tougher cake.
- Pour the thin batter evenly into your prepared 15×10 inch pan. Spread it gently to ensure it covers the entire surface. Bake the cake for a short time, typically 12 to 15 minutes. You’ll know it’s done when a toothpick inserted into the center comes out clean, with no wet batter attached. The cake should also spring back slightly when gently pressed. It’s crucial not to overbake, as a dry cake is much more likely to crack.
- This is the absolute MOST critical step for preventing cracks and achieving that perfect roll! While your cake is baking, prepare your rolling station. Lay a clean kitchen towel (cotton or linen works well) flat on a clean counter surface. Generously dust the entire surface of the towel with powdered sugar. As soon as the cake comes out of the hot oven, immediately and quickly invert the entire cake onto the prepared towel. The hot cake needs to be handled right away while it’s still pliable from the heat. Carefully peel off the parchment paper you used to line the pan. Starting from one of the short ends of the cake, immediately begin to roll the warm cake up tightly inside the sugared towel. The heat and steam help train the cake to hold this rolled shape. Once fully rolled, place the rolled cake, still snug inside its towel wrapping, onto a wire rack. Let it cool completely to room temperature in this rolled state. This cooling period is essential for the cake to set its shape without cracking.
- While your cake patiently cools, prepare the delightful filling. In a medium bowl, pour in the cold heavy cream. Add the powdered sugar and vanilla extract. Using an electric mixer set on high speed, beat the mixture until stiff peaks form. This means the whipped cream will hold its shape firmly when the beaters are lifted. Be careful not to overbeat, or you might end up with butter!
- Once the chocolate cake is completely cool (it must be cool, or the filling will melt!), carefully unroll it from the towel. Do this gently and slowly.
- Spread the prepared whipped cream filling evenly over the unrolled cake layer. Leave a small border (about half an inch) around the edges. This prevents the filling from squeezing out excessively when you re-roll.
- Carefully re-roll the cake, this time without the towel. Start from the same short end you rolled from initially. Roll it up gently but firmly, tucking the edge in as you start. Place the finished roll seam-side down onto a serving plate. Dust the top generously with more powdered sugar just before serving for a beautiful finish. If you like, add a little festive garnish like a sprig of mint.
Tips for Perfect Chocolate Roll Cake Every Time
Even with the magic rolling trick, a few extra pointers can help ensure your success and make your chocolate roll cake the star of any gathering.
- Don’t Overbake: A dry cake will crack regardless of the rolling technique. Watch the bake time closely; it’s better to slightly underbake than overbake.
- Be Quick with the Roll: The window for rolling the hot cake is small. Have your sugared towel ready before the cake comes out of the oven. Speed and confidence are your friends here!
- Cool Completely: Resist the urge to unroll and fill the cake before it’s fully cooled. Warm cake will melt the whipped cream filling, and a still-warm cake is more prone to tearing when unrolled.
- Room Temperature Eggs: While not strictly required by the recipe, using room temperature eggs often helps them incorporate more evenly into the batter.
- Sift Dry Ingredients (Optional but Recommended): Sifting your flour, cocoa, and leavening can help ensure a lighter, lump-free batter, contributing to a more tender cake.
- Alternative Fillings: While classic whipped cream is divine, you could also use a chocolate ganache, cream cheese frosting, or even a chocolate mousse for a different twist, as long as it’s firm enough to hold its shape when the cake is rolled.
- Consider Your Pan: A 15×10 inch jelly roll pan is the standard for this cake size. Using a different size will affect the baking time and thickness of the cake, potentially impacting its ability to roll.
Serving Suggestions for Your Chocolate Masterpiece
A slice of this elegant chocolate roll cake is perfect on its own, but pairing it with a few simple accompaniments can elevate the experience. A dusting of powdered sugar is classic and beautiful. For extra decadence, you could drizzle individual slices with a bit of chocolate syrup or a dollop of extra whipped cream. Fresh berries, like raspberries or strawberries, add a lovely touch of color and a hint of tartness that complements the rich chocolate. A simple fruit sauce, perhaps made with berries or even a warm spiced peach chutney (though warm might melt the cream!), could also be a delightful addition on the side. Don’t forget a comforting hot beverage like coffee or hot cocoa to enjoy alongside.
Your Chocolate Roll Cake Questions Answered (FAQ)
Got questions about making this chocolate roll cake? Here are some answers to common queries that might pop up as you bake.
Why do you roll the cake while it’s hot?
Rolling the cake while it’s hot and fresh out of the oven is the key to preventing cracks. The heat keeps the cake pliable and moist. By rolling it up in the towel immediately, you “train” the cake to hold a spiral shape as it cools. If you wait until it cools completely to roll, it will be set in its flat shape and will likely crack when you try to bend it.
What kind of towel should I use for rolling?
Use a clean, lint-free kitchen towel made of cotton or linen. Avoid terrycloth towels, as their texture can imprint on the cake, and they might shed lint. The towel should be large enough to fully enclose the rolled cake.
Can I use a different filling?
Absolutely! While the whipped cream is classic, you could experiment with other fillings like a chocolate buttercream, cream cheese frosting, or a pastry cream. Just make sure the filling isn’t too stiff, as it could make re-rolling difficult, or too thin, which would cause it to ooze out. If you’re a fan of contrasting textures and flavors, maybe something with a bit of crunch or fruit could work, although it might not be as neat to slice. For other dessert ideas that welcome creative fillings, check out our Swirled Cheesecake or even some Strawberry Cream Scones for inspiration on working with dairy bases.
How should I store leftover Chocolate Roll Cake?
Store the chocolate roll cake in an airtight container in the refrigerator. Because of the whipped cream filling, it needs to be kept cold. It’s best enjoyed within 2-3 days. For tips on keeping baked goods fresh, some of the principles we apply to our Deep Dark Chocolate Layer Cake regarding airtight storage can be helpful.
Can I make this cake ahead of time?
Yes, you can bake the cake and roll it up in the towel ahead of time. Let it cool completely, then store the rolled cake (still in the towel and wrapped well in plastic wrap) at room temperature overnight, or even refrigerate it for a day. Unroll, fill, and re-roll just before serving. You can also make the whipped cream filling a few hours ahead and keep it chilled, but you might need to re-whip it briefly if it seems a little soft.
Why is my batter so thin?
The batter for this recipe is intentionally thin because of the cup of boiling water added at the end. This method, often called a “hot milk cake” or similar, creates a very tender, moist, and flexible cake that is ideal for rolling without cracking. Trust the process – the thin batter is key!
How do I get a clean slice?
For the cleanest slices, use a sharp knife. You can also dip the knife in hot water and wipe it dry between slices. Chilling the cake slightly before slicing can also help the filling set firmer, resulting in neater cuts.
Enjoy Your Homemade Chocolate Roll Cake!
There you have it – the secret to a perfect, crack-free chocolate roll cake! This recipe is proof that a little trick can make all the difference in baking. The combination of the rich, moist chocolate cake and the light, sweet whipped cream filling is simply irresistible. It’s a dessert that looks impressive but is surprisingly approachable. Now you can bake with confidence, knowing you’ll achieve that beautiful swirl every time.
Give this recipe a try, and let me know how it turns out! Did the rolling trick work wonders for you too? Share your experience in the comments below, or snap a photo and tag us on social media. Happy baking!
Chocolate Roll Cake

Ingredients
- 1 and 1/2 cups granulated sugar
- 1 and 1/3 cups all-purpose flour
- 3/4 cup unsweetened cocoa powder
- 1 and 1/2 teaspoons baking soda
- 1 teaspoon salt
- 1/2 teaspoon baking powder
- 2 large eggs
- 1 cup milk
- 1/2 cup vegetable oil
- 2 teaspoons vanilla extract
- 1 cup boiling water
- Powdered sugar for dusting
- For the filling:
- 2 cups heavy cream
- 1/2 cup powdered sugar
- 1 teaspoon vanilla extract
Directions
- Preheat oven to 350 degrees F (175 degrees C). Grease a 15×10 inch jelly roll pan and line with parchment paper, then grease the parchment paper.
- In a large bowl, whisk together the granulated sugar, flour, cocoa powder, baking soda, salt, and baking powder.
- Add the eggs, milk, vegetable oil, and vanilla extract to the dry ingredients. Beat with an electric mixer on medium speed until well combined, about 2 minutes.
- Carefully pour in the boiling water. The batter will be thin. Mix until just combined.
- Pour the batter evenly into the prepared pan. Bake for 12 to 15 minutes, or until a toothpick inserted into the center comes out clean.
- This is the MOST important step for preventing cracks: While the cake is baking, lay a clean kitchen towel flat on a counter and generously dust it with powdered sugar. As soon as the cake comes out of the oven, immediately invert the hot cake onto the prepared towel. Carefully peel off the parchment paper. Starting from one short end, immediately roll the warm cake up tightly inside the sugared towel. Place the rolled cake, still wrapped in the towel, on a wire rack and let it cool completely. Rolling it while warm trains the cake to hold its shape and prevents it from cracking later.
- While the cake cools, prepare the filling. In a medium bowl, beat the heavy cream, powdered sugar, and vanilla extract with an electric mixer on high speed until stiff peaks form.
- Once the cake is completely cool, carefully unroll it. Spread the whipped cream filling evenly over the cake, leaving a small border around the edges.
- Carefully re-roll the cake (without the towel this time), starting from the same short end you started with before.
- Place the rolled cake seam-side down on a serving plate. Dust generously with more powdered sugar before serving. Garnish with a small sprig of evergreen or herb if desired.