There’s nothing quite like a classic grilled cheese sandwich. It’s the ultimate comfort food, a nostalgic trip to childhood, and the perfect simple meal when you need something warm and satisfying. You’d think something so basic would be foolproof, right?
But let’s be honest, how many times have you eagerly bitten into a grilled cheese only to find the cheese is still a stubborn, unmelted block while the bread has charred beyond recognition? It’s a frustratingly common problem!
I used to struggle with this too. For years, my grilled cheese attempts resulted in either burnt bread or stubbornly solid cheese. But after countless sandwiches and a little bit of kitchen experimentation, I finally cracked the code. The trick? It’s all about patience and finding that sweet spot of temperature and time.
This recipe guarantees a glorious, stretchy cheese pull every single time, paired with a perfectly golden, crispy exterior on your bread. Get ready to make the best classic grilled cheese of your life!
Why You’ll Love This Classic Grilled Cheese
Beyond the sheer deliciousness (which is reason enough!), this particular method for making a classic grilled cheese offers several key advantages:
- Guaranteed Gooey Cheese: This is the star! Our technique ensures the cheese melts completely and luxuriously before the bread has a chance to burn. No more hard centers!
- Perfectly Golden Crust: You’ll achieve that beautiful, evenly browned, crispy bread without any black spots. It’s the ideal contrast to the soft, melted interior.
- Incredible Comfort Food: Simple ingredients come together in minutes to create a soul-soothing sandwich that hits all the right notes.
- Quick and Easy: With minimal ingredients and straightforward steps, this is a recipe you can whip up any time hunger strikes.
The Simple Ingredients for Your Perfect Grilled Cheese
Making a truly stellar classic grilled cheese doesn’t require a lengthy shopping list. In fact, the beauty of this recipe lies in its simplicity, relying on just a few key players. The quality of each ingredient matters, even though there are only a few! Here’s what you’ll need to gather:
First up, the foundation:
- Bread: You’ll need just two slices. The kind of bread you choose significantly impacts the final result. While almost any bread can work, think about its texture and how it crisps up. Sourdough offers a tangy note, white bread provides a classic, soft interior, and a hearty country loaf gives you more structure. Pick your favorite – something sturdy enough to hold the cheese but not so dense it doesn’t toast evenly. If you’re curious about different bread options, we even have a great recipe for soft sandwich bread that works wonderfully here!
Next, our browning agent and flavor booster:
- Butter or Mayonnaise: You’ll want this softened to make spreading easy. Traditionalists swear by butter for that rich flavor and golden hue. However, don’t knock mayonnaise until you’ve tried it! Mayo spreads incredibly smoothly and its oils help the bread achieve an unbelievably even, deep golden brown crust with a slight tang. Experiment to see which you prefer!
And finally, the gooey heart of the sandwich:
- Cheese: Grab two slices or about 1/4 cup of shredded cheese per sandwich. The best cheeses for grilled cheese are those that melt smoothly and have great flavor. Cheddar offers classic sharpness, American cheese melts like a dream (hello, ultimate cheese pull!), and Monterey Jack is mild and incredibly gooey. A blend of these is also fantastic. Don’t be afraid to mix and match your favorites for a custom flavor profile!
That’s it! Just three simple items stand between you and grilled cheese perfection.
Crafting the Ultimate Classic Grilled Cheese: Step-by-Step
Ready to turn those simple ingredients into a masterpiece? This method focuses on controlled heat and a touch of patience to get that perfect gooey center and crispy exterior. Follow these steps, and you’ll be amazed at the difference.
Prep Your Bread: Start by taking your softened butter or mayonnaise and spreading a thin, even layer on one side of each slice of bread. The goal here is complete coverage, not thickness. This coating is what will hit the hot pan and transform into that delicious, crispy crust. Ensure you get right to the edges for maximum golden goodness.
Start the First Side (Low and Slow is Key!): Place one slice of bread into a non-stick skillet (or a well-seasoned cast iron skillet) over medium-low heat. Notice the heat level? This is the critical step that separates a good grilled cheese from a great one. Keeping the heat lower gives the cheese inside the sandwich time to slowly and completely melt as the bread gradually toasts to golden brown. Placing the buttered/mayo side down ensures it starts crisping up immediately.
Add That Glorious Cheese: While the first slice of bread is warming in the pan, layer your chosen cheese evenly on top of it. If you’re using shredded cheese, spread it out so there are no thick clumps. If using slices, try to cover the entire surface of the bread.
Top It Off: Take your second slice of bread and place it on top of the cheese layer, with the buttered or mayonnaise side facing UP. This prepares the second side for its turn on the hot pan.
Cook the First Side: Let the sandwich cook undisturbed for about 3 to 5 minutes. Keep an eye on it! The cooking time can vary depending on your stove and pan. You’re looking for the bottom piece of bread to become a beautiful golden brown and feel crispy when you gently peek underneath with a spatula.
The Flip: Using a spatula, carefully slide it under the cooked side of the sandwich. With confidence, flip the sandwich over to cook the second side. This requires a steady hand to keep all that cheesy goodness in place!
Finish Cooking & Ensure Gooeyness: Continue cooking the second side for another 3 to 5 minutes. Again, watch for that lovely golden brown color and crispy texture. This is also the time to make sure the cheese is doing its thing. If, after the bread looks done, the cheese still seems a little reluctant to melt completely, here’s the game-changing trick: cover the skillet with a lid or even an inverted bowl for the last minute of cooking. This traps the heat inside the sandwich, creating a warm, steamy environment that coaxes the cheese into perfect melted submission.
Rest, Slice, and Serve: Once both sides are golden and the cheese is undeniably gooey and melting out the sides (a good sign!), carefully remove the sandwich from the skillet. Place it on a cutting board and let it rest for just a moment or two. This brief pause helps the cheese stabilize slightly so it doesn’t all ooze out when you slice. Then, slice it right down the middle (diagonally is classic!) and serve immediately to experience that show-stopping cheese pull!
See? It’s all about controlling the heat and knowing when to give that cheese a little extra help. You’ve got this!
Expert Tips for Grilled Cheese Glory Every Time
Now that you know the core technique, here are a few extra pointers from my kitchen to yours to ensure every classic grilled cheese is a resounding success:
- Grate Your Own Cheese: While pre-shredded cheese is convenient, it often contains anti-caking agents that can affect melting. For the absolute best gooey results, buy a block of cheese and shred it yourself. It melts much more smoothly!
- The Butter/Mayo Temperature: Ensure your butter or mayonnaise is truly softened. Cold butter or mayo is hard to spread evenly and can tear delicate bread. If it’s too hard, microwave it for just a few seconds or let it sit at room temperature for a bit.
- Don’t Skimp on the Spread: While you want a thin, even layer, don’t be shy! That coating is what gives you the crispy crust. Cover the entire surface of the bread that will touch the pan.
- Patience is a Virtue (and Key): I can’t stress this enough – medium-low heat is your best friend. It takes a little longer, but it’s worth the wait for properly melted cheese and perfectly toasted bread. High heat just leads to frustration and burnt toast.
- Peek, Don’t Push: Check the underside of your sandwich regularly, but avoid pressing down on it with your spatula constantly. Pressing too hard can squeeze out the cheese prematurely and make the bread dense. A gentle press just before flipping is okay if you want a slightly flatter sandwich, but it’s not necessary for melting.
- Variety is the Spice of Life: Once you master the basic technique, feel free to experiment with different cheese combinations, bread types, or even add a sprinkle of garlic powder or onion powder to the butter/mayo for extra flavor. Just remember the low heat principle!
What to Serve Alongside Your Classic Grilled Cheese
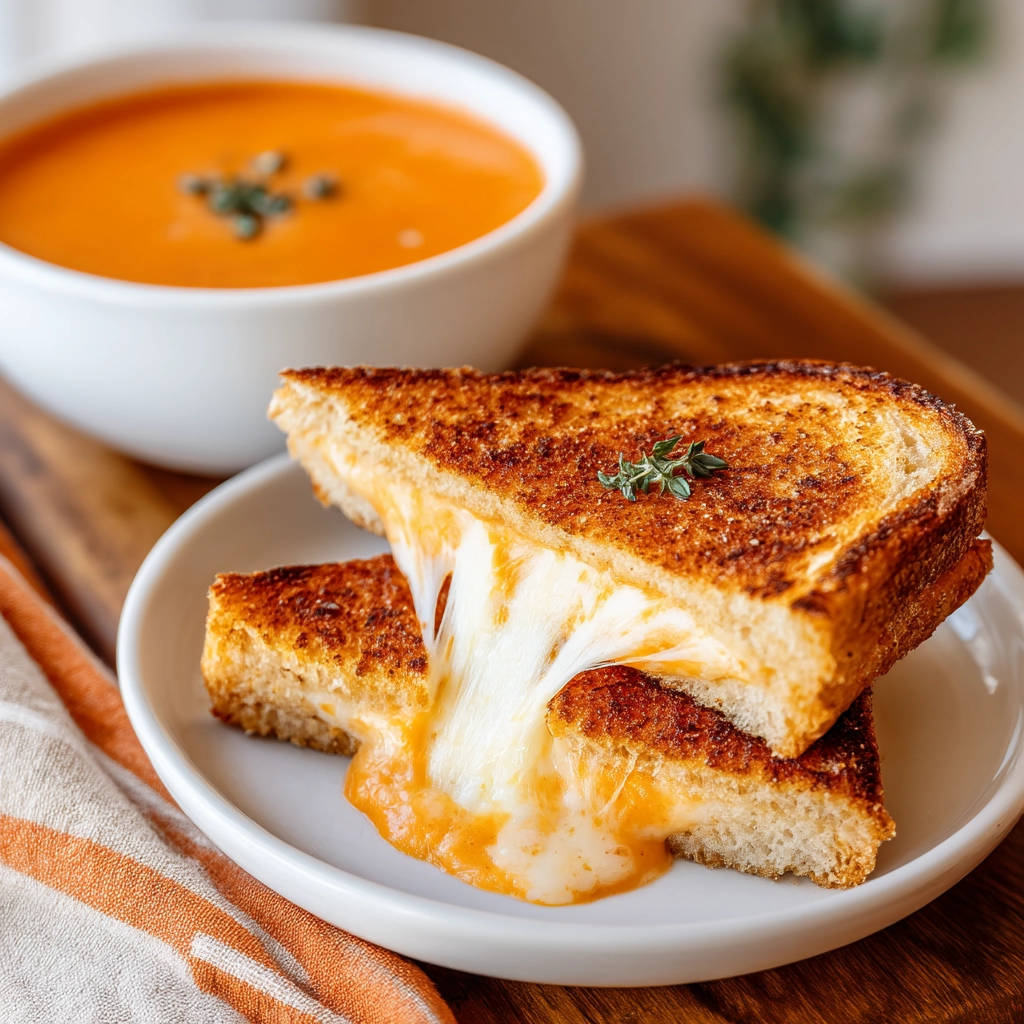
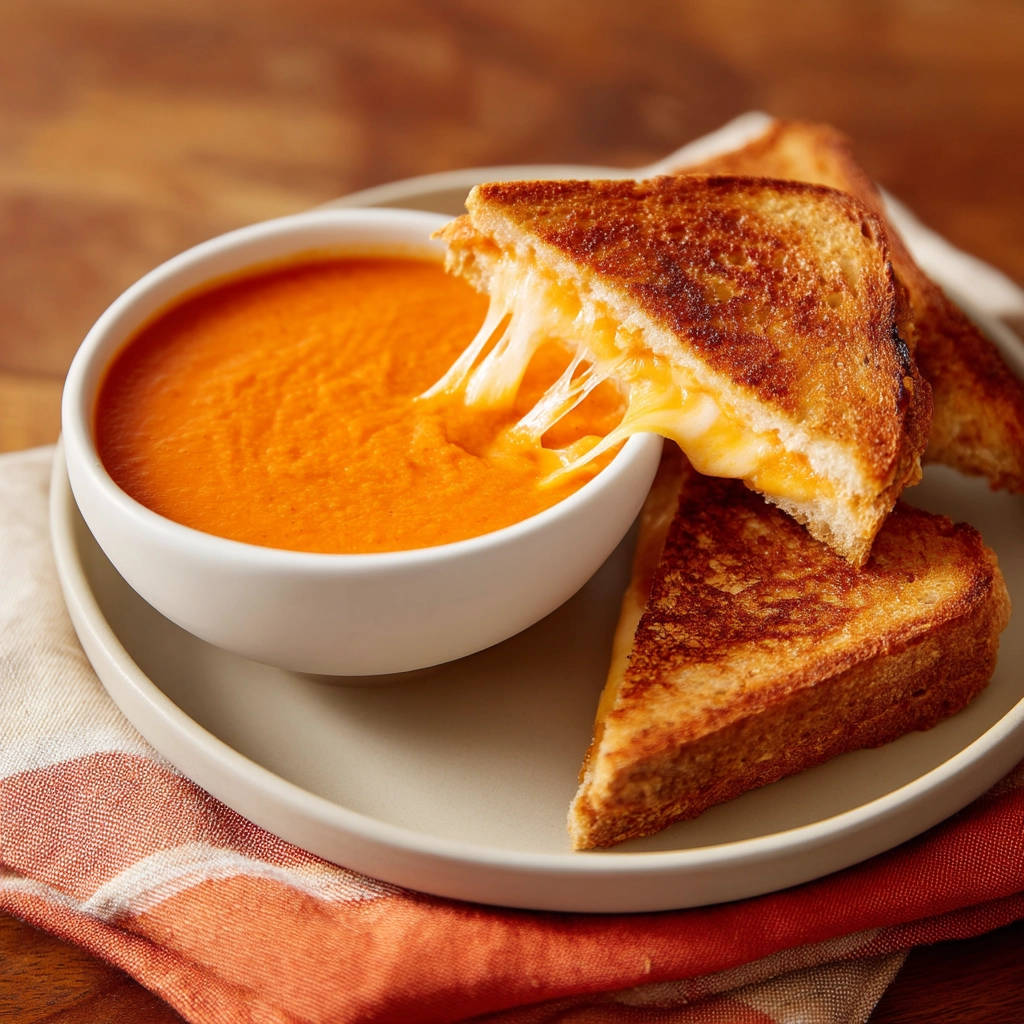
While a classic grilled cheese can certainly stand on its own as a satisfying snack or light meal, pairing it with a complementary side takes it to the next level. A warm, cozy soup is the most iconic pairing. Think a rich tomato soup or perhaps something heartier like a creamy tomato and white bean soup. The dunkability factor is unmatched!
For something with a bit more crunch, consider a side of crispy potatoes. Our recipe for homemade potato chips would be an absolute winner here, offering a delightful textural contrast to the soft, cheesy sandwich interior. Or, for a lighter option, a simple green salad with a light vinaigrette cuts through the richness of the cheese beautifully.
Don’t forget simple sides like pickles for a briny bite or even some fresh fruit to balance out the savory flavors.
Your Classic Grilled Cheese Questions Answered (FAQ)
Even for a seemingly simple dish, questions can pop up! Here are some common queries I hear about making the perfect classic grilled cheese:
What is the best cheese for grilled cheese?
The “best” is subjective and depends on your preference for flavor and meltiness! Classic options like sharp cheddar, mild American, and Monterey Jack are fantastic because they melt smoothly. A blend often gives you the best of both worlds – flavor and stretch. Other great melting cheeses include Gruyere, Fontina, or provolone.
Should I use butter or mayonnaise on the bread?
Both work wonderfully, but they create slightly different results. Butter gives you a traditional, rich flavor and golden crust. Mayonnaise, surprisingly, creates an incredibly even, deeply golden, and crispy exterior due to its oil content, and its tang is very subtle once cooked. Try both and see which you prefer! Just make sure whichever you use is softened and spread thinly and evenly.
How do I get the cheese to melt completely without burning the bread?
This is the million-dollar question, and the answer is simple: low and slow heat! Cooking the sandwich over medium-low heat gives the cheese enough time to melt from the inside out before the bread gets too dark. If needed, covering the pan for the last minute traps steam and heat, helping the cheese along.
Can I add things to my grilled cheese?
Absolutely! Once you’ve mastered the classic, the possibilities are endless. Slices of tomato, caramelized onions, mushrooms, or a sprinkle of dried herbs like basil or oregano are popular additions. Just don’t overload it, or it can make the sandwich difficult to cook evenly and flip.
My grilled cheese bread is soggy. What went wrong?
Sogginess usually happens if the heat is too low for too long, or if the bread is too thin for the amount of cheese/fillings, trapping steam. Ensure your heat is consistently medium-low (hot enough to sizzle gently) and that you use a sturdy bread that can crisp up properly. Also, serve immediately after resting for just a minute; waiting too long allows steam to soften the crust.
Enjoy Your Homemade Classic Grilled Cheese!
There you have it – the secrets to a perfectly golden, undeniably gooey, classic grilled cheese sandwich. It’s a simple pleasure, but when done right, it’s truly something special. Whether it’s a quick lunch, a comforting dinner, or a late-night snack, this method will deliver delicious results every time.
Give this recipe a try and prepare to be amazed by the perfect cheese pull and crispy crust you’ll achieve. I can’t wait to hear how yours turns out!
Did you make this classic grilled cheese? Let me know in the comments below how gooey your cheese was and what you served it with! Happy cooking!
Classic Grilled Cheese

Ingredients
- 2 slices bread (your favorite kind)
- Butter or mayonnaise, softened
- 2 slices or about 1/4 cup shredded cheese (cheddar, American, Monterey Jack, or a blend work great)
Directions
- Spread a thin, even layer of softened butter or mayonnaise on one side of each slice of bread.
- Place one slice of bread, butter-side down, in a non-stick skillet over medium-low heat. This low heat is key to melting the cheese before the bread burns.
- Layer the cheese evenly on top of the bread in the skillet.
- Top with the second slice of bread, butter-side up.
- Cook for 3 to 5 minutes on the first side, or until the bread is golden brown and crispy.
- Carefully flip the sandwich using a spatula.
- Continue cooking for another 3 to 5 minutes, or until the second side is golden brown and the cheese is completely melted and gooey. If you’re having trouble getting the cheese fully melted, try covering the skillet for the last minute of cooking to trap heat.
- Remove from the skillet, let it rest for just a moment, then slice and serve immediately for that perfect cheese pull!