Oh, hello there, fellow chocolate lover! Are you on a quest for that truly perfect brownie? You know the one – dense, incredibly moist, intensely chocolatey, and with that signature crinkly top and delightful chew? If your homemade attempts have sometimes leaned a little too close to cake territory, you are absolutely not alone. It’s a common baking heartbreak!
For years, I chased the elusive fudgy texture, experimenting with countless recipes. Some were okay, others were just… brownies. But none hit that sweet spot of decadent, melt-in-your-mouth fudginess consistently. After much trial and error, I finally unlocked the simple secrets to crafting Fudgy Homemade Brownies that deliver on their promise every single time. Get ready to bookmark this recipe, because your search for the ultimate brownie ends here!
Why These Fudgy Brownies Are About to Become Your Go-To
What makes this recipe stand out in a sea of chocolate squares? It boils down to a few key factors that work together to create that coveted texture and deep flavor:
- Unbeatable Fudginess: We prioritize fats and sugars over excess flour, and crucially, manage mixing and baking times to prevent a cakey crumb.
- Deep Chocolate Flavor: A generous amount of unsweetened cocoa powder delivers that classic, intense chocolate punch without being overly sweet.
- Simple Ingredients, Big Impact: You likely have everything you need in your pantry right now. No fancy equipment or obscure ingredients required!
- Reliable Results: Follow the simple steps, pay attention to the crucial “do not overmix” rule and the baking cues, and you’ll be rewarded with perfect brownies, guaranteed.
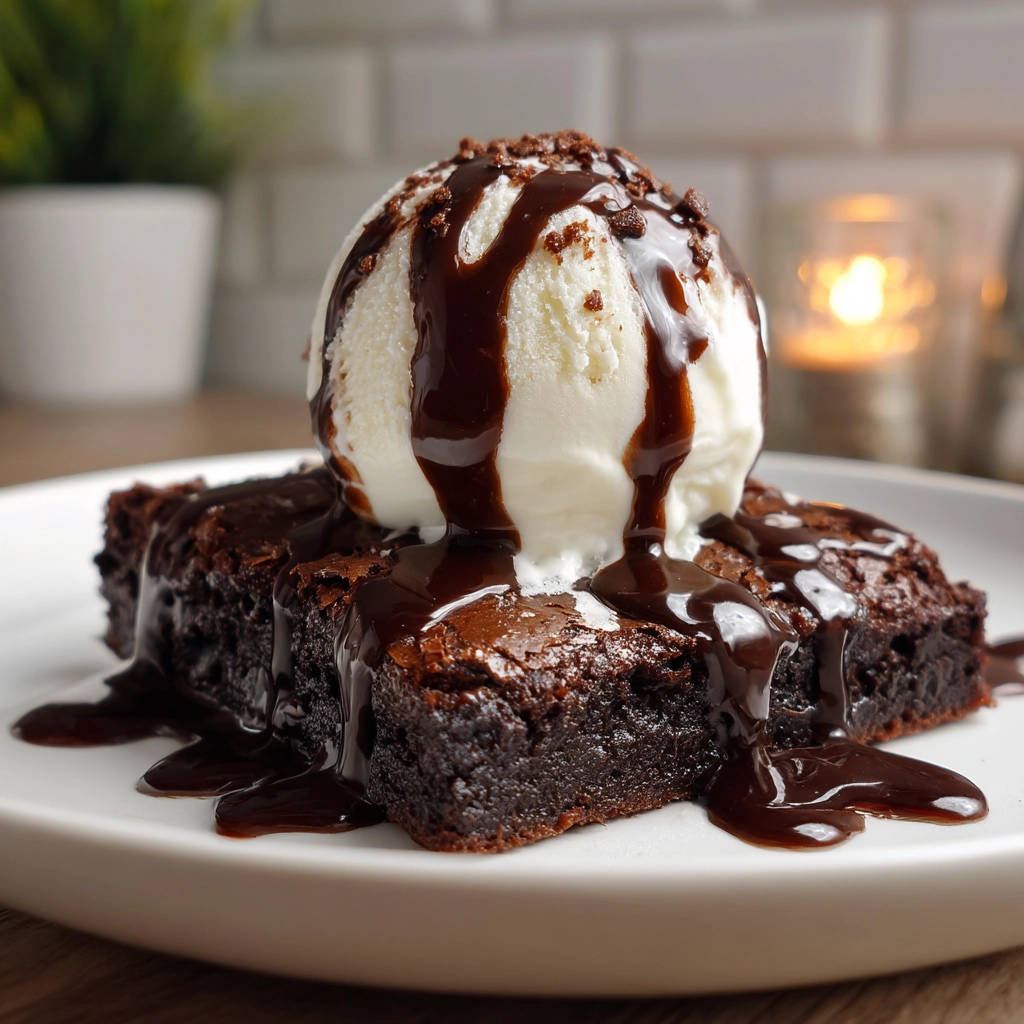
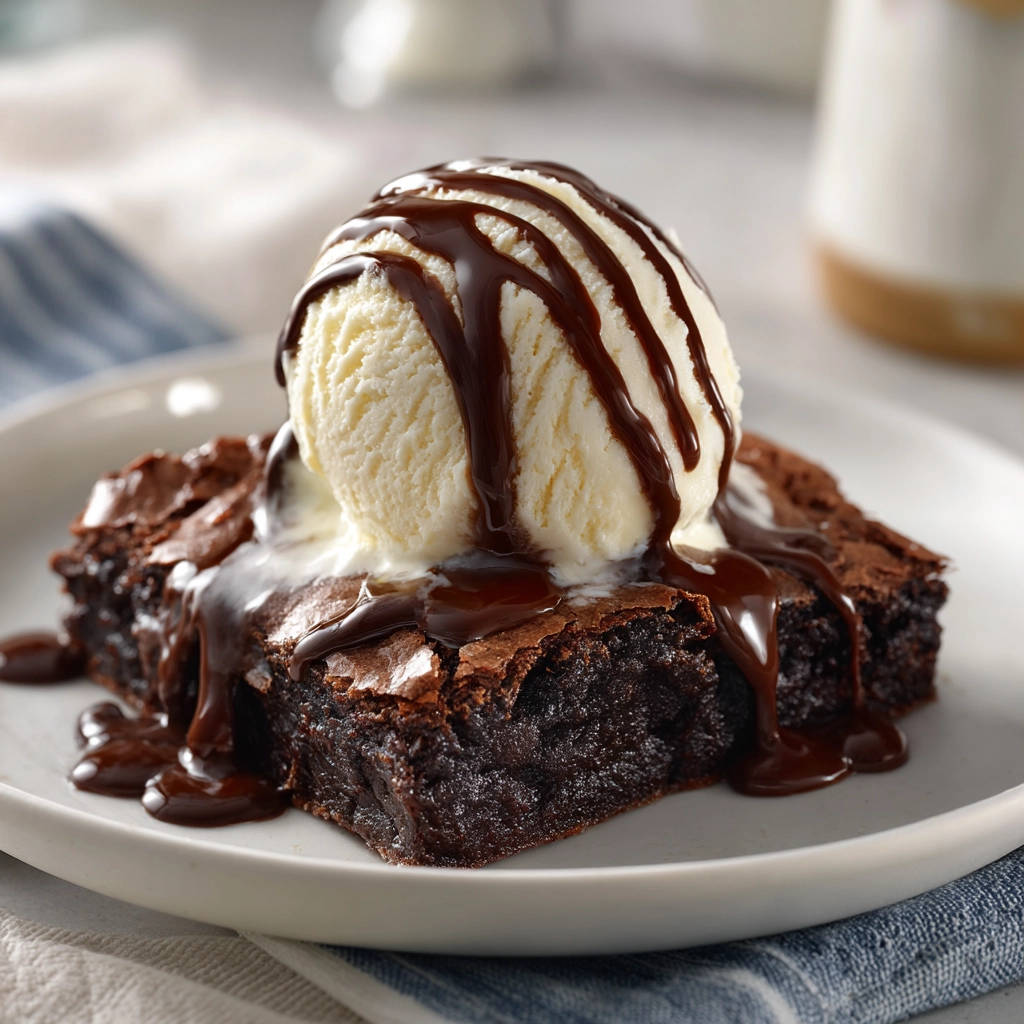
- Versatile Serving: Amazing on their own, but absolutely divine served warm with ice cream and chocolate sauce.
Gathering Your Ingredients for Decadent Fudgy Homemade Brownies
Creating that signature fudgy density starts with the right balance of wet and dry ingredients, prioritizing richness and sugar for moisture and chew. Here’s a look at the simple pantry staples you’ll need, and a little insight into the role each one plays in achieving brownie nirvana.
For the main event, you’ll need:
- Unsalted Butter (1 cup, 2 sticks), melted: Using melted butter instead of softened creamed butter incorporates more fat and less air, which is key to a dense, fudgy texture, not a light and airy cakey one.
- Granulated Sugar (1 cup): Provides sweetness and helps create that lovely crisp top crust that contrasts beautifully with the soft interior.
- Packed Light Brown Sugar (1 cup): This is a secret weapon for fudginess! The molasses in brown sugar adds moisture and a wonderful chewiness, alongside a deeper, richer flavor profile than just white sugar alone.
- Large Eggs (4): Eggs bind everything together and, in this quantity relative to flour, contribute significantly to the moist, rich texture of fudgy brownies. Using four large eggs adds structure and richness without drying out the batter.
- Vanilla Extract (1 teaspoon): A touch of vanilla enhances and rounds out the chocolate flavor, adding a layer of warmth.
- All-Purpose Flour (1 cup): We use just enough flour to give the brownies structure, but not so much that it makes them dry or cakey. Measuring correctly is important here – spoon the flour into your measuring cup and level it off; don’t scoop directly from the bag.
- Unsweetened Cocoa Powder (1 cup): For that intense chocolate flavor! Use good quality unsweetened cocoa for the best results. The type of cocoa can slightly affect the final shade and flavor, but unsweetened is crucial for controlling sweetness.
- Salt (1/2 teaspoon): Just a little salt balances the sweetness and makes the chocolate flavor pop. Don’t skip it!
- Baking Powder (1/4 teaspoon): We use a very small amount of leavening. This recipe is designed to be dense, so we only need a tiny lift, not a big rise like a cake.
- Chocolate Chips (1/2 cup, optional): While the base is incredibly fudgy on its own, stirring in some extra chocolate chips melts into pockets of gooey goodness, adding another layer of richness and texture.
And for making those divine brownies even more special, have these ready for serving:
- Vanilla ice cream
- Simple chocolate sauce (ingredients listed below)
- Chocolate sprinkles or crushed chocolate cookies
Speaking of the chocolate sauce, here’s what you’ll need:
- Chocolate Chips (1/2 cup): Semi-sweet or dark chocolate chips work well.
- Unsweetened Almond Milk (1/4 cup) or other dairy-free milk: This provides the liquid needed to create a smooth, pourable sauce. Regular milk works too if you prefer.
Crafting Your Dreamy Fudgy Homemade Brownies: Step-by-Step Guide
Ready to transform these simple ingredients into baking magic? The process is straightforward, but paying close attention to a couple of key moments will ensure that coveted fudgy texture. Let’s get baking!
Prep Your Workspace: First things first, preheat your oven to 350 degrees F (175 degrees C). Getting your oven to the correct temperature before the batter goes in is important for even baking. Next, prepare your 9×13 inch baking pan. Line it with parchment paper – this is a lifesaver for easy removal later! Make sure you leave some overhang on the sides so you can simply lift the cooled brownies out. Don’t forget to lightly grease the parchment paper itself; this prevents the brownies from sticking even to the paper.
Combine the Wet Foundation: Grab a large mixing bowl. Pour in your melted unsalted butter, granulated sugar, and packed light brown sugar. Whisk these together until they are thoroughly combined and the mixture looks smooth. This initial step is crucial for dissolving some of the sugar and beginning to build that rich, moist base that guarantees fudgy results.
Introduce the Eggs and Vanilla: Now, we’ll add the eggs. Add them one at a time, whisking well after each addition before adding the next. Beating in the eggs individually helps them incorporate smoothly into the sugar-butter mixture. Once all four eggs are whisked in, stir in the teaspoon of vanilla extract. The mixture will look glossy and well-emulsified at this point.
Whisk the Dry Ingredients: In a separate, medium-sized bowl, measure out your dry ingredients: the all-purpose flour, unsweetened cocoa powder, salt, and baking powder. Give these a good whisk together. This ensures that the leavening, salt, and cocoa are evenly distributed throughout the flour, so you don’t end up with pockets of unmixed ingredients in your final brownies.
Combine Wet and Dry – The Fudgy Key: This is arguably the MOST critical step for achieving fudginess over cakeiness. Add the bowl of dry ingredients to the bowl of wet ingredients. Now, switch from a whisk to a spatula or a wooden spoon. Gently fold and stir the dry ingredients into the wet ones just until you no longer see any dry streaks of flour. It’s okay if there are still a few small lumps of flour or cocoa – these will usually disappear during baking. The absolute key here is: Do NOT overmix! Overmixing develops gluten in the flour, which gives baked goods a chewier, more structured texture… exactly what you want in bread or cake, but the enemy of a soft, dense, fudgy brownie. As soon as the dry streaks are gone, stop stirring. If you’re using chocolate chips, gently fold them in now.
Fill and Spread: Pour the gloriously thick brownie batter into your prepared pan. Use your spatula or spoon to spread it evenly into the corners and smooth the top. Don’t worry if it seems thick; that’s a good sign for fudginess!
Bake to Perfection (The Toothpick Test is Your Friend): Place the pan in your preheated oven and bake for 25 to 30 minutes. The bake time is another crucial factor for fudginess. You want the edges to look set and slightly pulled away from the sides, but the center should still look a little soft. To test for doneness, insert a toothpick into the center of the pan. This is where many bakers go wrong! For fudgy brownies, the toothpick should not come out clean. It should come out with moist crumbs attached – this indicates the center is set but still wonderfully gooey. If the toothpick comes out with wet batter clinging to it, give it another 2-3 minutes and test again. If it comes out completely clean, the brownies are likely overbaked and will be more cakey than fudgy. Err on the side of slightly underbaked for maximum fudginess.
Cool Completely (Patience is a Virtue): Once baked, remove the pan from the oven and place it on a wire rack to cool completely. This step requires patience, but it’s absolutely essential! As the brownies cool, they finish setting up and the flavors meld together, achieving that perfect dense and fudgy texture. Cutting into warm brownies is tempting, but they will likely fall apart and won’t have the right chewiness. Let them cool fully in the pan before you even think about slicing.
Whip Up the Simple Chocolate Sauce: While the brownies are performing their cooling magic, make the quick chocolate sauce. Combine the 1/2 cup chocolate chips and 1/4 cup milk in a small, microwave-safe bowl. Heat them in the microwave in short bursts, about 30 seconds at a time. After each interval, take the bowl out and give it a good stir. The chocolate will start to melt and become smooth. Continue heating and stirring until the sauce is completely melted and smooth. Give it one final stir to ensure it’s glossy and ready for drizzling.
Slice and Serve decadently: Once the brownies are completely cool, use the parchment paper overhang to gently lift the entire slab out of the pan and place it on a cutting board. Cut the brownies into squares using a sharp knife. For the ultimate treat, place a warm (you can gently reheat a square for a few seconds in the microwave if desired) or room temperature brownie on a plate. Top with a scoop of cold vanilla ice cream, generously drizzle with your warm chocolate sauce, and finish with chocolate sprinkles or crushed cookies. Prepare for sheer bliss!
Expert Tips for Achieving Brownie Bliss
While the recipe is designed for foolproof fudginess, here are a few extra tips to ensure your Fudgy Homemade Brownies are absolutely perfect every single time:
- Measure Accurately: Especially the flour and cocoa powder. Too much dry ingredient is the number one culprit for cakey brownies. Use the spoon-and-level method for flour.
- Don’t Rush the Melting: Ensure your butter is fully melted but not scorching hot when you mix it with the sugars.
- Room Temperature Eggs (Optional but Recommended): Some bakers swear by using room temperature eggs for better emulsification, though this recipe is forgiving enough that cold eggs will still work.
- Invest in Good Cocoa: The flavor of your cocoa powder makes a big difference in the final chocolatey taste.
- Use a Metal Pan: Metal pans conduct heat more efficiently and evenly than glass or ceramic, which helps prevent overbaking the edges before the center is done.
- Cooling is Non-Negotiable: Seriously, let them cool completely. This is essential for the texture to firm up properly.
- Cutting Cleanly: For neat squares, use a large, sharp knife and wipe the blade clean with a hot, damp cloth between each cut.
- Storage: Store cooled brownies in an airtight container at room temperature for up to 3-4 days. They can also be frozen for longer storage.
Fun Variations to Try
Once you’ve mastered the classic Fudgy Homemade Brownies, feel free to experiment! This base recipe is incredibly versatile.
For example, you could swirl in peanut butter before baking for a classic combination, or add a sprinkle of sea salt on top before baking for a sweet and salty kick. If you’re feeling adventurous, you could even adapt this recipe to make something like Swirled Cream Cheese Brownies or Fudgy Strawberry Brownies, drawing inspiration from other delightful bar recipes.
What to Serve With Your Fudgy Masterpiece
While these brownies are utterly delightful straight from the pan (once cooled!), the serving suggestion provided is truly next-level. Warm brownie + cold vanilla ice cream + warm chocolate sauce + crunchy topping = dessert perfection. You could also serve them with a dollop of fresh whipped cream or a simple dusting of powdered sugar. For a refreshing pairing, sometimes nothing beats a tall glass of cold milk or even a Perfect Iced Tea.
Your Fudgy Homemade Brownies Questions Answered (FAQ)
Here are some common questions people ask about making brownies, and how to ensure yours turn out perfectly fudgy every time.
Why do my brownies turn out cakey instead of fudgy?
The most common reasons for cakey brownies are overmixing the batter (which develops too much gluten) and overbaking. This recipe is formulated with a higher fat and sugar ratio and less flour than most cakey recipes, and the instructions specifically guide you on avoiding overmixing and using the correct toothpick test for fudginess. Make sure you stop mixing as soon as the dry streaks disappear and pull them from the oven when there are still moist crumbs on the toothpick.
Can I use oil instead of butter?
While oil can be used in brownies and often results in a moist texture, melted butter provides a richer flavor and contributes to the chewy edge and crackly top that is characteristic of these fudgy brownies. For the best results with this specific recipe aiming for this precise texture, I recommend sticking with the melted butter.
Can I double this brownie recipe?
Yes, you can typically double this recipe. Use a larger pan, like a 10×15 or two 9×13 pans. Be aware that doubling might slightly affect the baking time, so start checking for doneness a few minutes earlier than the doubled time would suggest, still using the moist crumb toothpick test.
How long do these fudgy brownies last?
Stored in an airtight container at room temperature, these brownies are best enjoyed within 3-4 days. Their fudgy texture helps them stay moist longer than cakey brownies, but they are usually devoured much sooner!
Can I add nuts to these brownies?
Absolutely! If you love nuts in your brownies, feel free to fold in about 1/2 to 1 cup of chopped walnuts or pecans along with the chocolate chips in the final mixing step. This adds a lovely crunch and nutty flavor that pairs wonderfully with the rich chocolate.
What’s the best way to store homemade brownies?
Once completely cooled, slice the brownies and store them in a single layer or layered with parchment paper in between in an airtight container. Keep them at room temperature. If you live in a warm climate or plan to keep them longer than a few days, you can store them in the refrigerator, but the texture is often best at room temperature. They also freeze beautifully; wrap individual squares tightly in plastic wrap and then place in a freezer bag for up to 3 months.
Enjoy Your Homemade Fudgy Brownies!
There you have it – the simple yet powerful secrets to achieving the ultimate Fudgy Homemade Brownies. No more settling for dry, crumbly squares! This recipe is designed to give you that dense, moist, intensely chocolatey bite every single time. They’re perfect for sharing (if you can resist eating the whole pan yourself!), bringing to a gathering, or simply indulging in a moment of pure, unadulterated chocolate bliss. Bake a batch today and taste the difference that truly fudgy makes.
Did you try this recipe? How did your brownies turn out? What’s your favorite topping? Let me know in the comments below! Happy baking!
Fudgy Homemade Brownies

Ingredients
- 1 cup (2 sticks) unsalted butter, melted
- 1 cup granulated sugar
- 1 cup packed light brown sugar
- 4 large eggs
- 1 teaspoon vanilla extract
- 1 cup all purpose flour
- 1 cup unsweetened cocoa powder
- 1/2 teaspoon salt
- 1/4 teaspoon baking powder
- 1/2 cup chocolate chips (optional, but nice for extra fudginess)
- For serving: vanilla ice cream, chocolate sauce (recipe below), chocolate sprinkles or crushed chocolate cookies
- Simple Chocolate Sauce:
- 1/2 cup chocolate chips
- 1/4 cup unsweetened almond milk or other dairy-free milk
Directions
- Preheat your oven to 350 degrees F (175 degrees C). Line a 9×13 inch baking pan with parchment paper, leaving some overhang on the sides to lift the brownies out later. Lightly grease the parchment paper.
- In a large bowl, whisk together the melted butter, granulated sugar, and brown sugar until well combined. This step helps create that initial richness.
- Beat in the eggs one at a time, mixing well after each addition. Stir in the vanilla extract.
- In a separate medium bowl, whisk together the flour, cocoa powder, salt, and baking powder.
- Add the dry ingredients to the wet ingredients. This is the critical part for fudginess: mix with a spatula or wooden spoon just until no dry streaks of flour remain. Do not overmix! Overmixing develops gluten and leads to cakey brownies. Stir in the chocolate chips if using.
- Pour the batter into the prepared pan and spread evenly.
- Bake for 25 to 30 minutes. The key to keeping them fudgy is not overbaking. The edges should look set, but a toothpick inserted into the center should come out with moist crumbs attached, not completely clean. If it comes out with wet batter, bake for a few more minutes. If it comes out clean, you’ve likely overbaked them for a fudgy texture.
- Let the brownies cool completely in the pan on a wire rack before lifting them out and cutting into squares. Cooling is essential for the texture to set properly.
- While the brownies cool, make the simple chocolate sauce: Combine the chocolate chips and milk in a small microwave-safe bowl. Heat in the microwave in 30 second intervals, stirring after each, until melted and smooth. Stir well.
- To serve, place a warm (or room temperature) brownie on a plate, top with a scoop of vanilla ice cream, drizzle generously with warm chocolate sauce, and sprinkle with chocolate sprinkles or crushed cookies. Enjoy that perfectly fudgy bite!