There’s something undeniably magical about the combination of sweet, juicy strawberries and rich, decadent chocolate. It’s a classic pairing that evokes feelings of simple pleasure, special occasions, and sweet indulgence. Whether you’re looking for a quick dessert after dinner, a romantic treat for two, or a lovely addition to a party spread, this delightful duo always hits the spot.
While the idea of dipping or drizzling strawberries with chocolate seems straightforward, melting chocolate can sometimes feel like a culinary tightrope walk. One wrong move, and you’re left with a grainy, clumpy mess instead of a smooth, pourable liquid. I’ve certainly had my share of chocolate melting mishaps in the past!
Over years of baking and experimenting, I’ve finally perfected a method to achieve perfectly smooth and glossy chocolate drizzle every single time, right in your microwave! No fancy equipment needed, just a few simple steps and a little patience. This isn’t just about melting chocolate; it’s about mastering a fundamental technique that will elevate this simple treat and many other desserts you make.
Today, I’m thrilled to share this foolproof secret with you so you can enjoy Strawberries with Chocolate Drizzle that are not only incredibly delicious but also look absolutely stunning. Get ready to impress yourself and anyone lucky enough to share these with you!
Why You’ll Fall in Love with This Simple Treat
Beyond the sheer deliciousness of the combination, there are so many reasons why this simple recipe deserves a permanent spot in your rotation:
- Speed and Simplicity: With minimal ingredients and steps, you can have this ready to enjoy in just minutes. It’s the ultimate instant gratification dessert!
- Foolproof Method: My microwave technique for melting chocolate is designed to prevent seizing, making it accessible even if you’ve struggled with melting chocolate before.
- Elegant Presentation: Despite its ease, strawberries drizzled with chocolate look sophisticated and special, perfect for any occasion.
- Healthy Indulgence: Strawberries offer natural sweetness and vitamins, making this a slightly lighter way to satisfy a chocolate craving compared to heavier desserts.
- Customizable: Easily swap chocolate types or add toppings for endless variations (more on that later!).
It’s truly one of those recipes that feels like a little bit of magic, transforming two simple ingredients into something truly special without any fuss.
Gathering Your Simple Ingredients
One of the beautiful things about this recipe is its minimalist nature. You only need two primary components, but choosing quality ingredients will make all the difference in the final flavor and texture. Here’s what you’ll need:
- Fresh Strawberries: You’ll need about 2 cups of fresh strawberries, which is roughly a standard pint container. Look for berries that are bright red, plump, and free from bruises. The riper they are, the sweeter and more flavorful your treat will be. Avoid berries that look dull or are starting to soften excessively. We’ll need to hull them, which simply means removing the green leafy top and the little white core just beneath it.
- Semi-Sweet or Milk Chocolate: The recipe calls for 4 ounces of chocolate. The type you choose is completely up to your preference! Semi-sweet chocolate will offer a richer, slightly less sweet experience, while milk chocolate provides a classic, creamy sweetness that pairs wonderfully with the tartness of the berries. The most crucial part here is that the chocolate needs to be finely chopped. Using high-quality bar chocolate that you chop yourself (rather than chips) is highly recommended. Chocolate chips often contain stabilizers that prevent them from melting into that perfectly smooth, glossy consistency we’re aiming for. If you do use chips, know that the texture might be slightly different, though the melting method here will still be your best bet for preventing seizing.
That’s it! Just two stars of the show. Ensure your strawberries are at their peak freshness, and choose a chocolate you truly love, and you’re halfway to dessert heaven.
Crafting Your Perfectly Smooth Chocolate Drizzle: Step-by-Step
Now, let’s talk about the process. This is where we unlock the secret to that gorgeous, pourable chocolate. Each step is designed to ensure success, so pay close attention, especially to the melting instructions!
Prepare the Strawberries with Care: Begin by washing your beautiful strawberries under cool water to remove any dirt or debris. Once washed, it’s time to hull them. The easiest way to do this is using a small paring knife or a strawberry huller tool to scoop out the green top and the pale core. The absolute most critical step for success? Drying them thoroughly! Gently but completely pat each strawberry dry using paper towels. Any moisture left on the surface of the berry can cause the melted chocolate to seize up or clump instead of coating smoothly. Think of it like oil and water – they just don’t mix well, and moisture is the enemy of perfectly melted chocolate!
Prepare the Chocolate for Melting: Take your finely chopped chocolate (remember, finely chopped equals faster, more even melting!) and place it into a microwave-safe bowl. Choose a bowl that gives you enough room to stir comfortably.
Begin the Melting Process (The Key Step!): Place the bowl of chopped chocolate into your microwave. Here’s the secret: you MUST microwave it on medium power (usually 50% power setting) and only for short 30-second intervals. After each 30-second burst, remove the bowl and stir the chocolate thoroughly with a spoon or spatula. Even if the chocolate doesn’t look like it’s melting yet, stirring helps distribute the heat and prevents hotspots that can scorch the chocolate. This slow, gentle heating process is the number one defense against dreaded seized or grainy chocolate.
Continue Heating and Stirring: Keep microwaving on medium power in 30-second bursts, followed by vigorous stirring after each one. You’ll notice the chocolate starting to soften and melt more with each interval. Continue this process until the chocolate is almost completely melted. What does “almost” look like? You should see mostly smooth, melted chocolate with just a few small, visible lumps of solid chocolate remaining.
Finish with Residual Heat: This is another crucial point to prevent overheating. Once you reach the “almost melted” stage with only small lumps, remove the bowl from the microwave completely. Continue to stir the chocolate constantly. The residual heat from the melted chocolate will be sufficient to melt those last few stubborn lumps, transforming your chocolate into a perfectly smooth, glossy, and pourable consistency. Stir until every last lump has dissolved and the chocolate is uniformly smooth. It should look beautiful and shiny! Whatever you do, DO NOT put the chocolate back in the microwave once it’s this close to being fully melted; that’s often when seizing occurs.
Arrange Your Dried Berries: While your chocolate is ready to go, arrange your thoroughly dried strawberries in a serving bowl, on a plate, or on a parchment-lined baking sheet if you want the chocolate to set firmly for dipping.
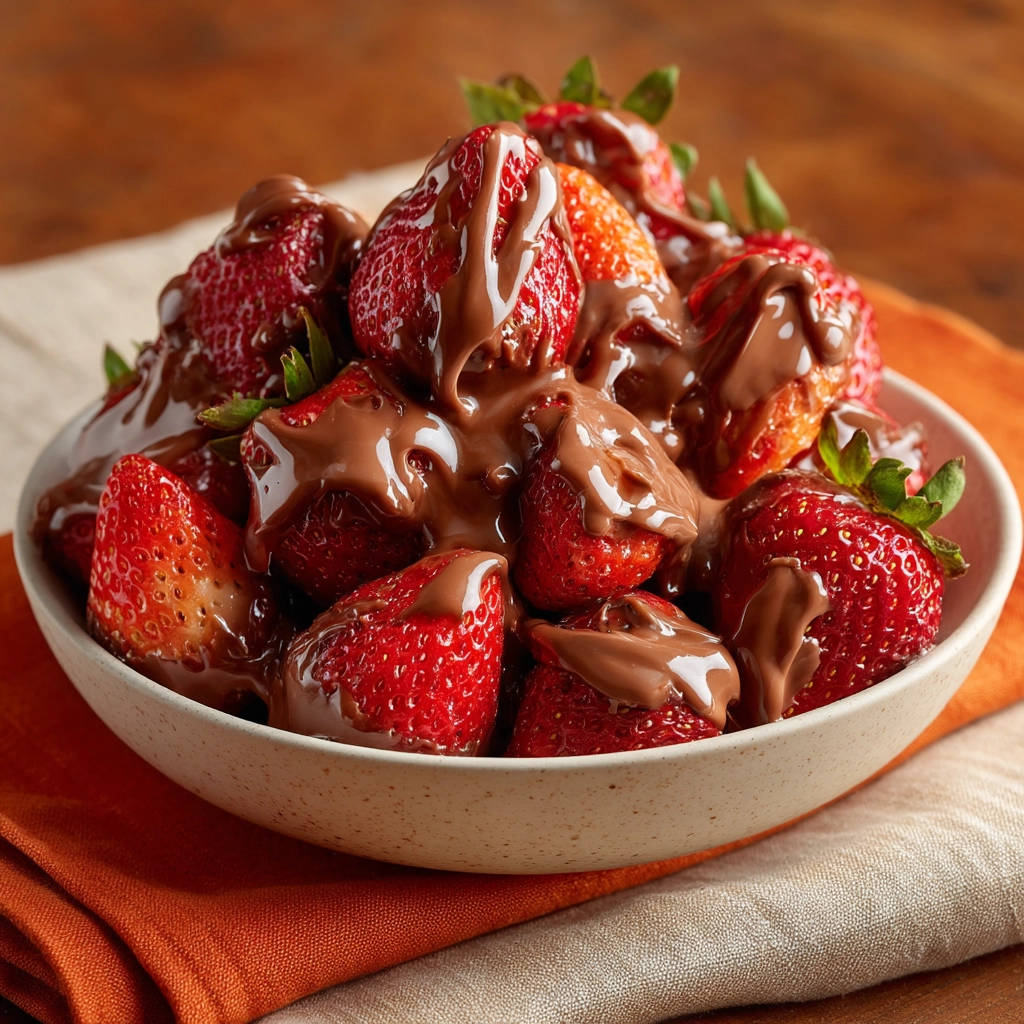
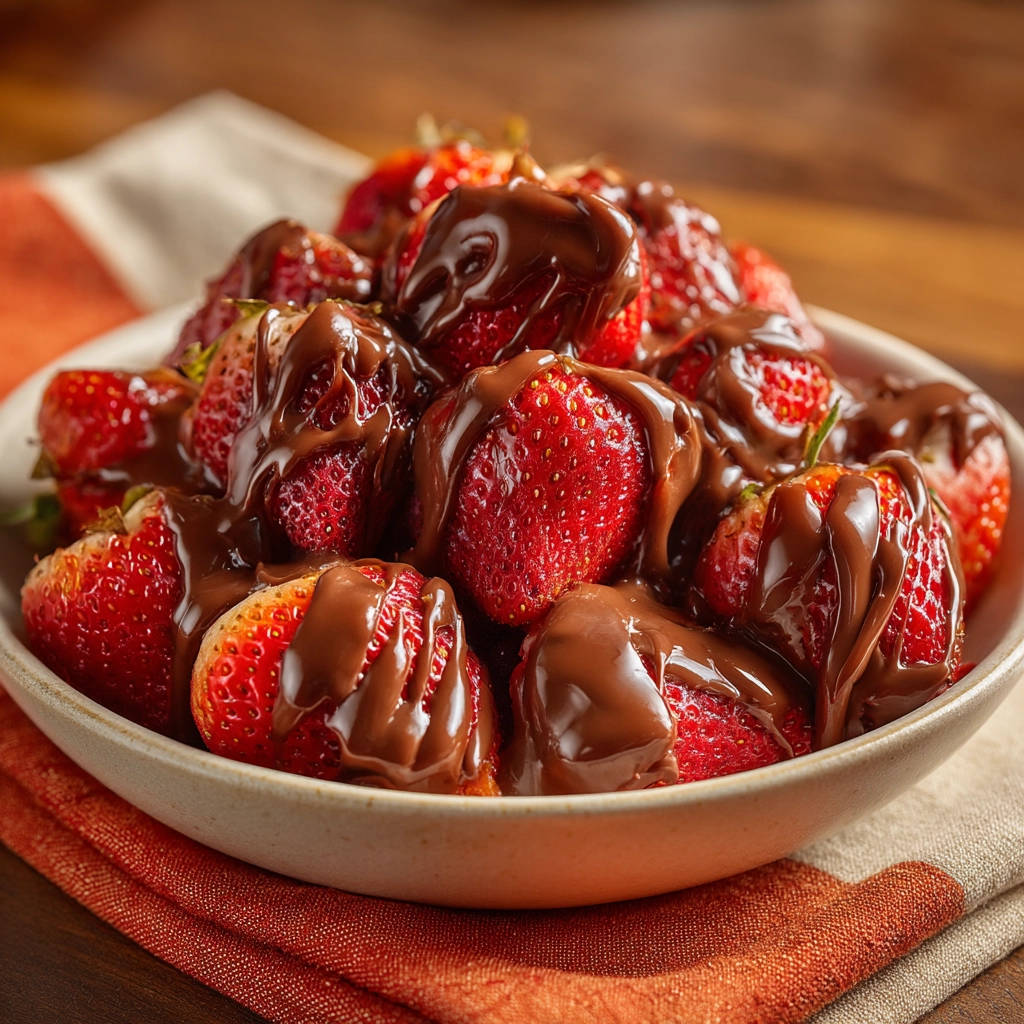
Drizzle and Serve: Now for the fun part! Using a spoon or even a fork (for finer lines), pour or drizzle the perfectly smooth melted chocolate over the prepared strawberries. Let the chocolate fall naturally, creating lovely patterns. Serve the strawberries immediately while the chocolate is still warm and liquidy, or for a slightly firmer chocolate coating, pop them in the refrigerator for just a few minutes until the chocolate is set, but the berries are still cool and fresh. Enjoy your simple, yet elegant, creation!
Tips for Perfect Strawberries with Chocolate Drizzle Every Time
Achieving that perfect drizzle is easy once you know the tricks. Here are a few extra tips to ensure your success:
- Dry Those Berries! I know I’ve said it before, but it bears repeating. Moisture is the enemy! Ensure your strawberries are bone dry before the chocolate goes anywhere near them.
- Finely Chop Matters: The smaller your chocolate pieces, the more evenly they will melt and the less time they’ll need in the microwave, further reducing the risk of seizing.
- Quality Chocolate Yields Quality Results: Using good quality chocolate bars designed for melting (like couverture chocolate, though standard baking bars work well too) chopped finely will give you the smoothest, glossiest finish and best flavor. Chocolate chips are formulated to hold their shape and contain less cocoa butter, which can make them melt less smoothly.
- Low and Slow is the Way to Go: Resist the urge to blast the chocolate on high power to save time. Those short intervals at 50% power are your best friend in preventing overheating.
- Embrace Residual Heat: Trust the process! Removing the chocolate when just a few lumps remain and stirring off-heat is key to that final, flawless consistency. It prevents scorching and seizing.
- Double Boiler Method: If you prefer not to use a microwave, you can melt the chocolate using a double boiler (a heatproof bowl set over a pot of simmering water, ensuring the bottom of the bowl doesn’t touch the water). Stir constantly until almost melted, then remove from the heat and stir until smooth. This method also requires careful attention to avoid getting any steam or water into the chocolate.
- Storage: Once drizzled, strawberries are best enjoyed fresh. If you need to store them briefly, keep them in a single layer in an airtight container in the refrigerator for up to 1-2 days. The chocolate may develop a slight bloom (a whiteish film) over time, but it’s still safe to eat.
Serving Suggestions and Variations
While simply drizzled in a bowl is lovely, here are some ideas to mix things up:
- Dipping Station: Let the chocolate cool just enough to thicken slightly, then arrange the strawberries around the bowl for guests to dip themselves.
- Over Desserts: Use this smooth chocolate drizzle to elevate other treats! It’s fantastic poured over vanilla ice cream, pound cake, or even our popular Strawberry Trifle for an extra layer of deliciousness.
- Add Toppings: Before the chocolate sets, sprinkle with chopped nuts, shredded coconut, sprinkles, sea salt flakes, or even crushed cookie pieces.
- Mix Chocolate Types: Drizzle with both milk and semi-sweet chocolate, or try white chocolate (melted with the same care) for a different look and flavor.
- Chocolate Two Ways: Dip half the strawberry in chocolate and drizzle the other half for a pretty look.
- Pair with Other Fruits: While strawberries and chocolate are a classic, this melting technique works beautifully for drizzling chocolate over banana slices, orange segments, or raspberries too.
- Make it Part of a Platter: Arrange the chocolate-drizzled strawberries alongside other treats like Deep Dark Chocolate Layer Cake slices, cookies, or other fresh fruits for an impressive dessert spread.
Your Strawberry Drizzle Questions Answered (FAQ)
Let’s address some common questions you might have about making this simple, yet potentially finicky, dessert.
Can I use chocolate chips instead of chopped chocolate?
While you can use chocolate chips, be aware that they contain stabilizers to help them keep their shape during baking. This means they might not melt into quite as smooth or glossy a drizzle as finely chopped bar chocolate. However, using the low-and-slow microwave method described here is your best chance for getting chips to melt as smoothly as possible.
My chocolate looks grainy or has seized up. What went wrong?
Grainy or seized chocolate is usually a result of overheating, getting even a tiny drop of water into the chocolate while melting, or melting too quickly on high heat. This recipe’s method of using 50% power in short intervals and stirring frequently is designed to prevent this. Removing the chocolate before it’s fully melted and letting residual heat finish the job is also crucial. Unfortunately, once chocolate has seized, it’s very difficult to rescue for drizzling consistency, though sometimes you can stir in a tiny bit of vegetable oil or shortening (not water or milk!) to loosen it, but it won’t have the same texture.
How long does it take for the chocolate to set on the strawberries?
The time it takes for the chocolate to set depends on the temperature of your room and the thickness of the drizzle. If you want it to set faster so you can pick them up without getting messy, place them in the refrigerator for about 5-15 minutes. They will set more quickly than at room temperature. Avoid chilling them for too long, though, as cold strawberries can sometimes develop condensation.
Can I melt the chocolate on the stovetop instead of the microwave?
Absolutely! The stovetop double boiler method is a classic for melting chocolate. Place your finely chopped chocolate in a heatproof bowl set over a pot of simmering (not boiling) water. Ensure the bottom of the bowl does not touch the water. Stir the chocolate constantly until it is almost melted. Then, remove the bowl from the heat and continue stirring until completely smooth. Be extremely careful not to let any steam or water get into the chocolate, as this will cause it to seize.
What’s the best way to drizzle the chocolate?
For a simple drizzle, you can just use a spoon and let the chocolate fall naturally over the berries. For finer lines, you can dip a fork into the chocolate and wave it back and forth over the strawberries. For more controlled patterns or thicker coatings, you can transfer the melted chocolate to a piping bag (or a sturdy zip-top bag with a corner snipped off).
Can I use other berries or fruits?
Yes, definitely! While strawberries are the star here, this smooth chocolate drizzle technique works beautifully for other fruits like raspberries, blackberries, banana slices, or segments of citrus fruit like oranges or mandarins. Just make sure whichever fruit you choose is completely dry!
Enjoy Your Homemade Chocolate Strawberry Perfection!
There you have it! A simple, elegant, and absolutely delicious way to enjoy the timeless combination of strawberries and chocolate, complete with the secret to achieving that perfect, smooth chocolate drizzle every single time. It’s proof that sometimes the most delightful desserts are the ones that require the fewest ingredients and the simplest techniques, especially when those techniques are mastered.
Whether you’re making these for a special occasion or just because you deserve a little treat, I hope you find as much joy in these as I do. They’re a guaranteed mood booster!
Give this recipe a try and let me know how it turns out for you in the comments below! Did you try any fun variations? I’d love to hear about them. And don’t forget to share a photo of your beautiful creations!
Simple Strawberries with Chocolate Drizzle

Ingredients
- 2 cups fresh strawberries, hulled
- 4 ounces semi-sweet or milk chocolate, finely chopped
Directions
- Wash and hull the strawberries. Gently pat them completely dry with paper towels. Moisture on the strawberries can affect how the chocolate coats them.
- Place the finely chopped chocolate in a microwave-safe bowl.
- Microwave on medium power (50%) for 30-second intervals, stirring thoroughly after each interval. This slow, even heating is the key to preventing the chocolate from seizing.
- Continue microwaving and stirring until the chocolate is almost completely melted, with just a few small lumps remaining.
- Remove the bowl from the microwave and stir continuously. The residual heat will melt the remaining lumps, creating a perfectly smooth, glossy drizzle. Do NOT overheat.
- Arrange the dry strawberries in a serving bowl.
- Pour or drizzle the melted chocolate over the strawberries. Serve immediately or chill briefly to set the chocolate slightly.