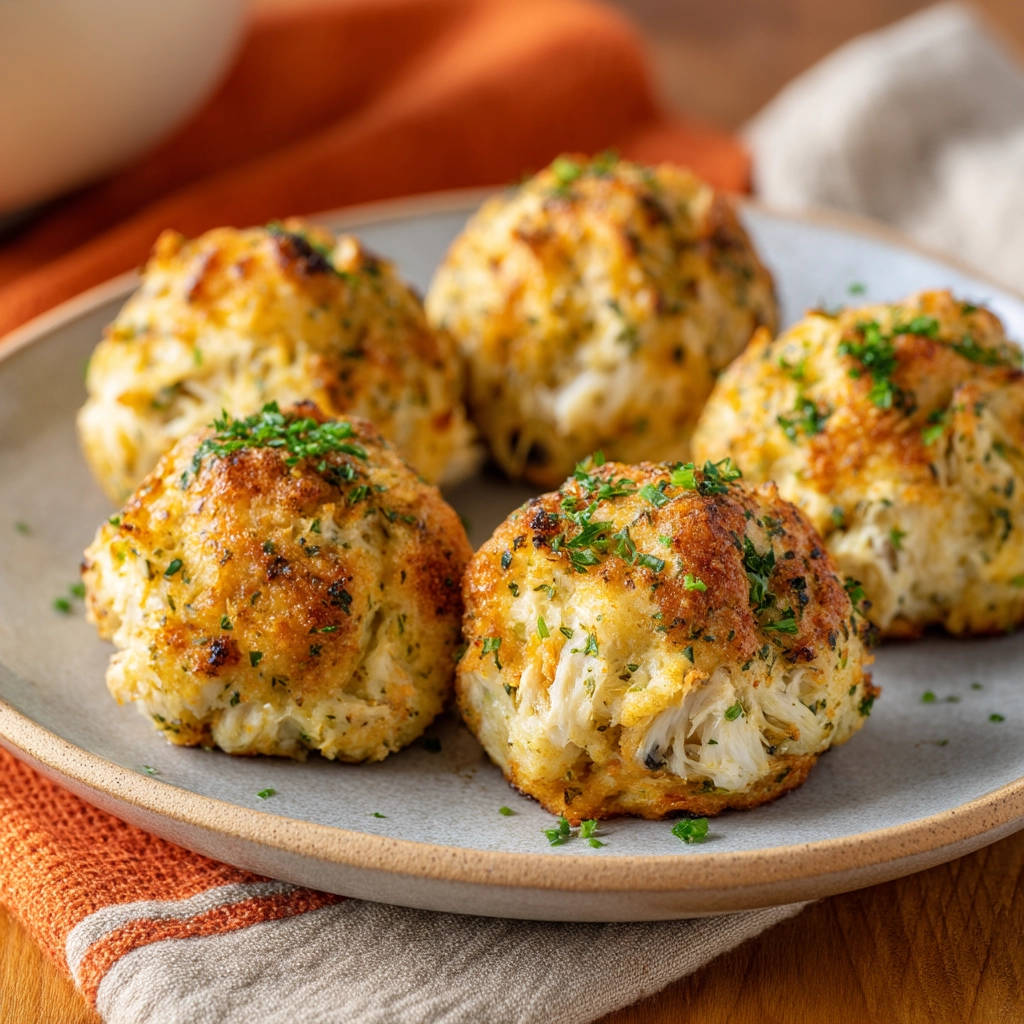
Oh, crab cakes! Just thinking about them brings to mind those perfectly golden, crispy-on-the-outside, tender-and-flaky-on-the-inside patties bursting with sweet, delicious crab meat. They’re a classic for a reason, right? But if you’ve ever tried to make them at home, you might have faced the dreaded crumbly catastrophe. You get everything mixed just right, carefully place them in the pan, and then… they disintegrate into a sad pile of seasoned crab scramble. It’s soul-crushing!
Trust me, I’ve been there. For years, I struggled to find that sweet spot – crab cakes that held together beautifully without being overloaded with breadcrumbs or filler, which just masks that glorious crab flavor we all crave. I wanted the crab to be the star, not just an afterthought in a bready binder.
After countless kitchen experiments (and a few frustrated sighs), I finally cracked the code. The secret to achieving those restaurant-quality, cohesive easy homemade crab cakes that truly never fall apart lies in just two simple, often-overlooked steps. And guess what? They don’t involve adding a ridiculous amount of binder. This recipe keeps the focus squarely on the star ingredient, ensuring you get that authentic, luxurious crab cake experience every single time.
Get ready to say goodbye to crumbly crab cake disasters and hello to pan-seared perfection. You won’t believe how achievable this is!
Why This Easy Homemade Crab Cakes Recipe Works (The “Never Fall Apart” Secret)
What makes these crab cakes different? It boils down to technique, not just ingredients. While the binding ingredients are important (and we’ll talk about those!), the real magic happens before they even hit the pan.
First, it’s all about gentle handling during mixing and forming. We want to preserve those beautiful lumps of crab meat as much as possible. Overmixing develops gluten in the breadcrumbs and breaks down the crab, both contributing to a less desirable texture and weaker structure.
The first major secret weapon? Chilling. After you form your patties, a stint in the refrigerator is absolutely crucial. This time allows the binders – the egg and mayonnaise – to firm up and really hug the crab meat and panko together. It gives the cakes enough internal structure to withstand the heat and handling of cooking.
The second secret? Patience during cooking. Placing the chilled, firm crab cakes into a hot, oiled skillet and resisting the urge to move them for several minutes is key. As they cook, a golden-brown crust forms on the bottom. This crust isn’t just for flavor and color; it provides essential structural integrity. Think of it as building a foundation before you attempt to flip the cake. Once that strong crust is established, flipping becomes a breeze, and the cake holds its shape beautifully.
These two steps, combined with minimal, gentle mixing, are the game-changers that will transform your homemade crab cake experience.
Essential Ingredients for Perfect Crab Cakes
Crafting truly exceptional crab cakes starts with selecting the right components. Each ingredient plays a specific role, contributing to both the structure and the irresistible flavor. We’re not aiming for a bread-heavy filler; we want to enhance, not overwhelm, the delicate taste of the crab.
Here’s a look at what you’ll need and why each part is important:
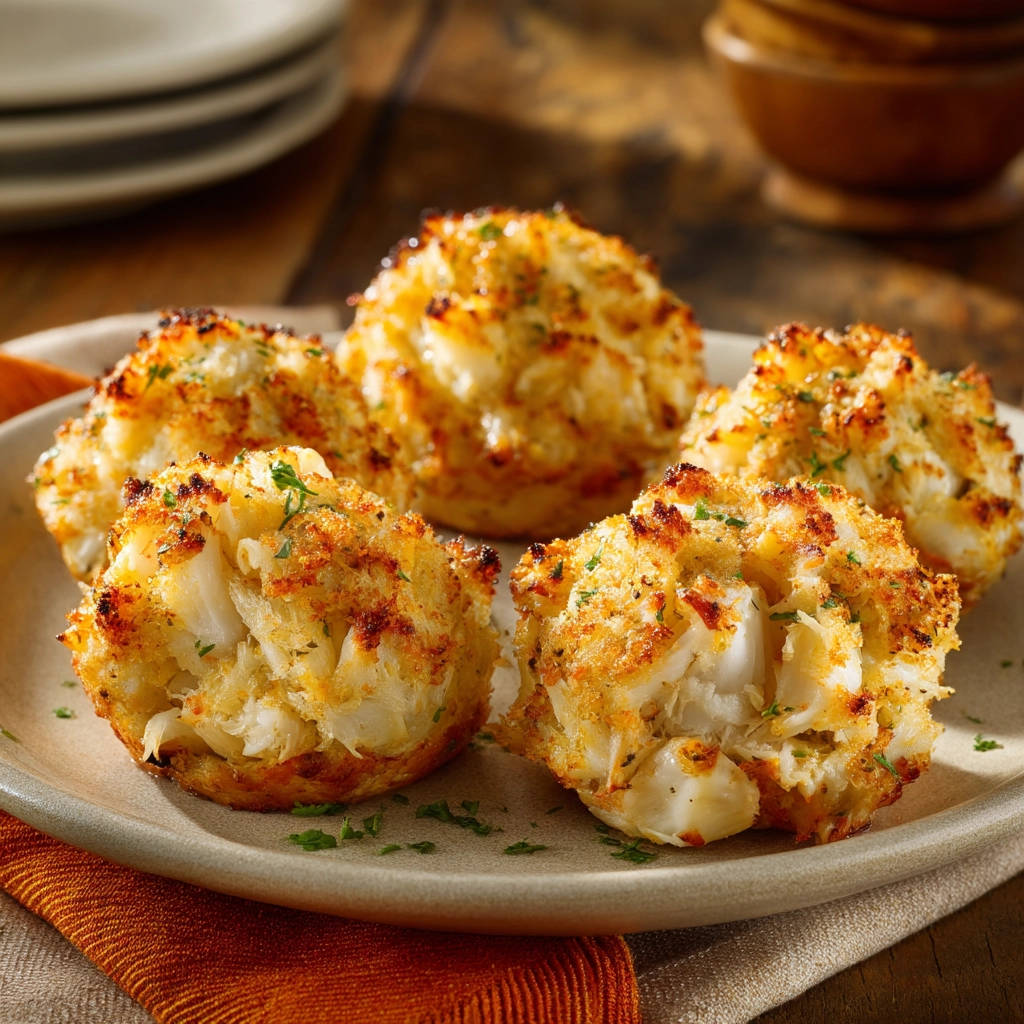
- Lump Crab Meat: This is the undisputed star! Using good quality lump crab meat is non-negotiable for the best texture and flavor. Look for firm, white lumps. Carefully pick through it before you start to ensure there are no rogue shell fragments – nobody wants a crunchy surprise!
- Mayonnaise: Beyond adding a touch of richness, mayonnaise acts as a binder and helps keep the cakes moist. It also contributes a subtle tang that complements the seafood beautifully.
- Large Egg: The egg is another key binder, working with the mayonnaise and panko to hold everything together as it cooks. Make sure it’s lightly beaten for easy incorporation.
- Dijon Mustard: Just a tablespoon adds a bright, slightly tangy depth of flavor that cuts through the richness and enhances the crab without being overpowering.
- Worcestershire Sauce: This provides a punch of umami – that savory depth that makes flavors sing. A little goes a long way in adding complexity.
- Panko Breadcrumbs: We use panko specifically because these Japanese breadcrumbs are larger and flakier than standard breadcrumbs. They absorb less moisture and create a lighter, crisper texture in the cooked cake. They still function as a binder, but without turning the inside gummy.
- Fresh Parsley: Fresh herbs bring vibrant color and a fresh, clean flavor that brightens the richness of the crab. Finely chopped fresh parsley is perfect here.
- Old Bay Seasoning: A classic pairing with crab, Old Bay adds that signature blend of spices that screams “seafood perfection!”
- Salt and Black Pepper: Essential flavor enhancers. Season to your taste, but remember Old Bay already contains salt, so start with a little and add more if needed.
- Vegetable Oil: For searing the crab cakes to that beautiful golden-brown crust. Choose an oil with a relatively high smoke point.
Gathering these simple ingredients is the first step on your journey to flawless crab cakes!
Crafting Your Crab Cakes: Step-by-Step to Success
Making these crab cakes is wonderfully straightforward, but paying attention to the details in each step is what guarantees that perfect texture and ensures they hold their shape. Let’s walk through it together, focusing on the ‘why’ behind each action.
Prepare the Binder Base: Start by taking a medium-sized bowl. Into this bowl, measure out your wet ingredients and seasonings: the mayonnaise, the lightly beaten egg, Dijon mustard, Worcestershire sauce, chopped fresh parsley, Old Bay seasoning, and a pinch of salt and black pepper. Gently whisk or stir these together until they are just combined into a smooth mixture. We want the binder ready to go so we can mix the crab as little as possible later.
Combine with Crab and Panko (Gently!): Now for the star ingredients. Carefully add the beautiful lump crab meat and the panko breadcrumbs to the bowl with the binder mixture. This next part is critical for maintaining those lovely crab lumps and preventing a mushy texture. Using a rubber spatula or even your hands (clean hands are a cook’s best tool!), very gently fold the ingredients together. The goal is just to coat the crab and panko lightly with the binder. Don’t stir vigorously, don’t mash, and absolutely do not overmix! Stop as soon as everything looks like it’s holding together loosely.
Form the Patties: Divide the mixture into 4 or 5 equal portions. Now, with the gentlest touch possible, form each portion into a patty. Aim for a thickness of about 1 to 1.5 inches – this thickness helps ensure they cook through without drying out while still allowing a good crust to form. Handle them as little as you can during this process to keep those precious crab lumps intact.
The Crucial Chilling Step: This is one of the two key secrets! Place the formed crab cakes onto a plate or a baking sheet lined with parchment paper (this makes cleanup easier). Pop them into the refrigerator and let them chill for at least 30 minutes. What’s happening here? The cold helps the egg and mayonnaise binders set up and firm the patties. This makes them much more stable and less likely to break apart when you transfer them to the pan and flip them.
Heat the Skillet and Oil: While the crab cakes are chilling, get your skillet ready. Choose a large, nonstick skillet for the best results. Add the vegetable oil and place the skillet over medium-high heat. You want the oil to be shimmering, indicating it’s hot enough to start forming that crust immediately, but not smoking, which means it’s too hot and the oil could burn.
Carefully Place in the Hot Pan: Once the oil is hot and the crab cakes are nicely chilled and firm, carefully place them into the skillet. Use a spatula to gently lift them from the plate. Avoid overcrowding the pan! If you try to squeeze too many in, the temperature of the oil will drop, and they won’t get that essential golden crust. Cook in batches if necessary, giving each cake space.
Sear for Structure (The Second Secret!): Here is the second, equally important secret: Cook the crab cakes undisturbed for 4-5 minutes per side. The critical part here is to resist the urge to move or peek until you are confident they have developed a beautiful golden-brown crust on the bottom. This crust provides the necessary structural integrity to hold the cake together. Once you can see the edges look set and lift a corner easily to reveal a lovely golden-brown color, it’s time to flip! Carefully turn each cake and cook for another 4-5 minutes until the other side is golden brown and the crab cakes are heated through. The internal temperature should reach 145°F (63°C).
Serve Immediately: Once cooked to perfection, remove the crab cakes from the pan. Place them on a plate and serve hot. That crispy exterior and tender, flavorful interior are best enjoyed right away!
Expert Tips and Variations for Your Crab Cakes
Now that you know the secrets to structure, let’s dive into some tips and potential variations to make these easy homemade crab cakes truly your own. This recipe is wonderfully flexible once you master the basic technique.
- Crab Quality is King: I can’t stress this enough – the quality of your crab meat makes a huge difference. Lump crab meat is ideal for those desirable chunks. If lump is cost-prohibitive, a blend of lump and backfin can work, but avoid using only shredded or claw meat if you want that classic crab cake texture.
- Don’t Overwork the Mixture: This is worth repeating! Mixing too much breaks up the crab and can make the texture dense. Be gentle, fold until just combined.
- Get That Pan Hot: A sufficiently hot skillet is essential for creating that immediate crust that prevents sticking and falling apart. See the oil shimmer, but not smoke.
- Know Your Skillet: Nonstick is easiest, but a well-seasoned cast iron or stainless steel pan can also work. Just ensure it’s hot enough and the oil is adequately covering the surface.
- Baking as an Alternative? While pan-searing gives the best crust, you can bake these. Place the chilled crab cakes on a greased baking sheet and bake at 400°F (200°C) for 15-20 minutes, flipping halfway through, until golden and heated through. They won’t have quite the same crispy sear, but they will hold together well thanks to the chilling step. If you’re looking for more baked seafood ideas, you might enjoy exploring recipes like our Baked Crab Legs.
- Add Some Heat: For a touch of spice, add a pinch of cayenne pepper or a dash of hot sauce to the binder mixture.
- Herb Variations: While parsley is classic, finely chopped chives or a tiny bit of fresh dill can also be lovely additions.
- Binder Adjustments: If your mixture seems a little too wet (sometimes crab meat can have varying moisture levels), you can add another tablespoon or two of panko breadcrumbs, but do so sparingly and mix gently.
- Make Ahead: You can prepare the mixture and form the patties a few hours in advance, keeping them covered in the refrigerator until you’re ready to cook. The chilling time is built-in!
What to Serve with Easy Homemade Crab Cakes
Crab cakes are versatile and can be the star of a meal or a delightful appetizer. What you serve alongside them can elevate the experience. Here are some ideas:
Classic Pairings
Simple is often best when the crab cakes are this good. Lemon wedges are a must for a bright squeeze of acidity. Tartar sauce or a zesty remoulade are traditional choices and incredibly satisfying. A quick aioli infused with garlic or herbs is also fantastic.
Delicious Side Dishes
Think about sides that offer a textural contrast or complementary flavors without being too heavy. A fresh, crisp green salad is always a good idea. Roasted vegetables make a wonderful accompaniment; for inspiration, check out our recipes for Perfectly Roasted Veggies or Roasted Root Vegetables. Creamy sides like Creamy Potato Salad or a simple coleslaw also pair beautifully. For a more substantial meal, consider serving them over a bed of mixed greens or alongside some simply cooked rice or quinoa.
Easy Homemade Crab Cakes: FAQs
Got questions? It’s completely normal! Here are some common queries about making crab cakes and how to achieve the best results.
Can I use different types of crab meat?
Yes, but the texture will change. Lump crab meat gives you those nice, large pieces. Backfin crab meat is smaller flakes but still good quality. Claw meat is darker and has a stronger flavor; it can be used, especially in combination with other types, but it doesn’t have the same visual appeal or delicate texture as lump.
Can I bake these instead of pan-frying?
Absolutely! Baking is a healthier alternative, though you sacrifice a bit of that crispy pan-seared crust. Follow the instructions through forming and chilling. Then place them on a lightly oiled or parchment-lined baking sheet and bake at 400°F (200°C) for 15-20 minutes, flipping gently halfway through, until they are golden brown and cooked through (internal temp 145°F/63°C).
How do I store leftover crab cakes?
Cooked crab cakes can be stored in an airtight container in the refrigerator for up to 2-3 days. Reheat them gently in a skillet over medium heat or in an oven or toaster oven to help retain their texture.
Can I freeze crab cakes?
Yes, you can freeze them either cooked or uncooked. To freeze uncooked cakes, place the formed, chilled patties on a baking sheet and freeze until solid. Then transfer them to a freezer-safe bag or container, separated by parchment paper, for up to 1-2 months. Thaw in the refrigerator before cooking as directed. To freeze cooked cakes, let them cool completely, then wrap them individually and place in a freezer-safe container for up to 1-2 months. Thaw in the refrigerator and reheat gently.
Why did my crab cakes fall apart?
This is the most common issue! The usual culprits are overmixing the mixture (breaking up the crab and activating too much gluten in the binder), not adding enough binder, or skipping the crucial chilling step. Not heating the pan properly or trying to move/flip the cakes before a good crust has formed on the bottom will also cause them to break.
What binder alternatives can I use?
While the mayonnaise and egg combination is excellent, you could potentially use a small amount of Greek yogurt or sour cream instead of mayonnaise for tang and binding. For breadcrumbs, gluten-free panko or crushed gluten-free crackers can work if needed, though the texture might vary slightly. The principle of minimal binder and gentle mixing still applies.
Enjoy Your Perfect Crab Cakes!
There you have it! The secret to delicious, easy homemade crab cakes that hold their shape is within your reach. With quality ingredients, gentle handling, and those two critical steps of chilling and patient searing, you’ll be turning out perfect patties every time.
They’re elegant enough for a special occasion but easy enough for a weeknight treat. Serve them as an appetizer, a light lunch, or the centerpiece of a delicious dinner. I hope this recipe becomes a go-to favorite in your kitchen, just as it has in mine.
Give them a try and let me know how they turn out in the comments below! Did your crab cakes hold together beautifully? Do you have a favorite way to serve them? Share your successes!
Easy Homemade Crab Cakes

Ingredients
- 1 pound lump crab meat, picked over for shells
- 1/4 cup mayonnaise
- 1 large egg, lightly beaten
- 1 tablespoon Dijon mustard
- 1 teaspoon Worcestershire sauce
- 1/2 cup panko breadcrumbs
- 1 tablespoon fresh parsley, chopped
- 1/2 teaspoon Old Bay seasoning
- Salt and black pepper to taste
- 2 tablespoons vegetable oil, for cooking
Directions
- In a medium bowl, gently combine the mayonnaise, beaten egg, Dijon mustard, Worcestershire sauce, parsley, Old Bay seasoning, salt, and pepper. Mix just until combined.
- Carefully add the lump crab meat and panko breadcrumbs to the bowl. Using a rubber spatula or your hands, very gently fold the ingredients together. The key here is not to break up the crab meat too much. Mix only until everything is just incorporated and the crab is coated with the binder mixture. Do not overmix.
- Divide the mixture into 4 or 5 equal portions and gently form them into patties about 1 to 1.5 inches thick. Handle them as little as possible to keep the crab lumps intact.
- This is the crucial step for preventing them from falling apart: Place the formed crab cakes on a plate or baking sheet and refrigerate them for at least 30 minutes. Chilling helps the binder set and makes the cakes firm enough to handle and cook without breaking.
- Heat the vegetable oil in a large nonstick skillet over medium-high heat until shimmering but not smoking.
- Carefully place the chilled crab cakes into the hot skillet. Do not overcrowd the pan; cook in batches if necessary.
- Here’s the second part of the secret: Cook for 4-5 minutes per side. Resist the urge to move or flip the crab cakes until they have developed a nice golden brown crust on the bottom. This crust provides structural integrity. Once the bottom is golden brown and the edges look set, carefully flip and cook for another 4-5 minutes until the other side is golden brown and the crab cakes are heated through.
- Remove from the pan and serve hot.