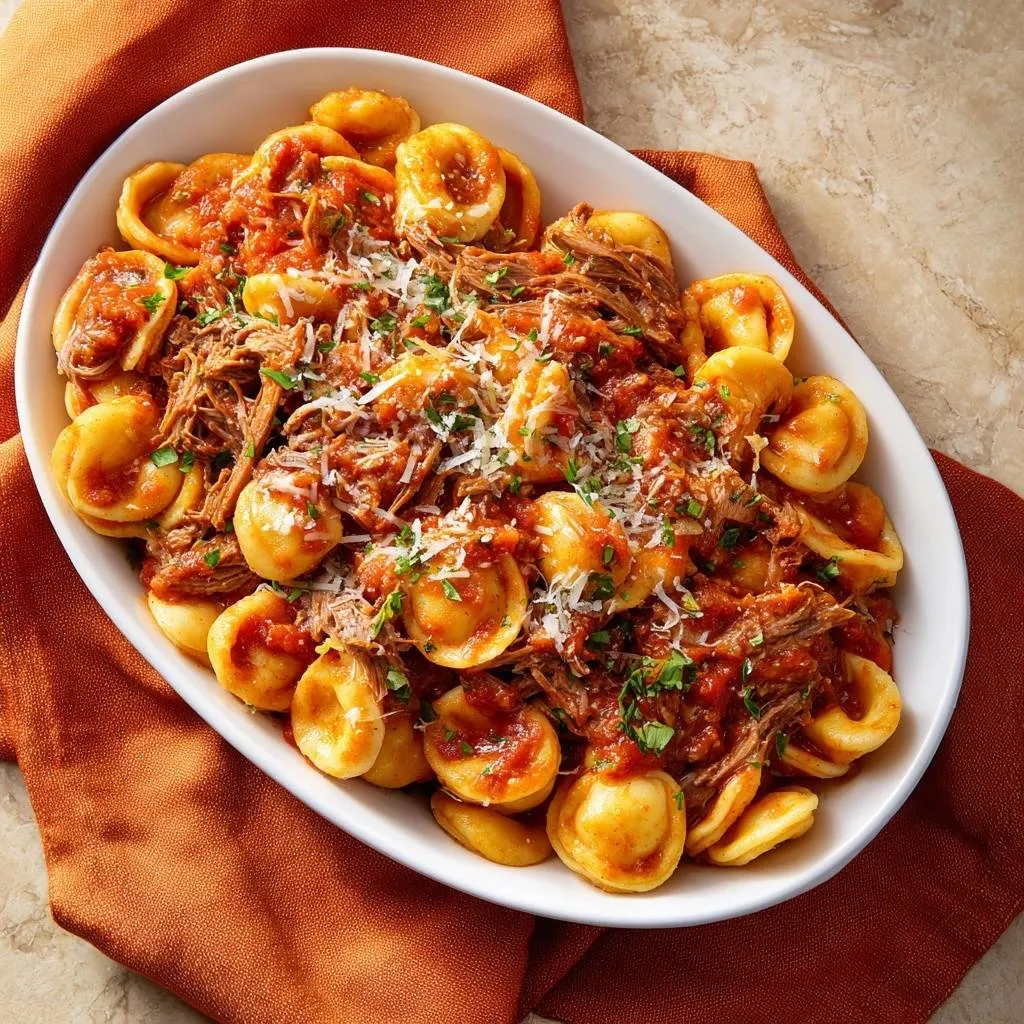
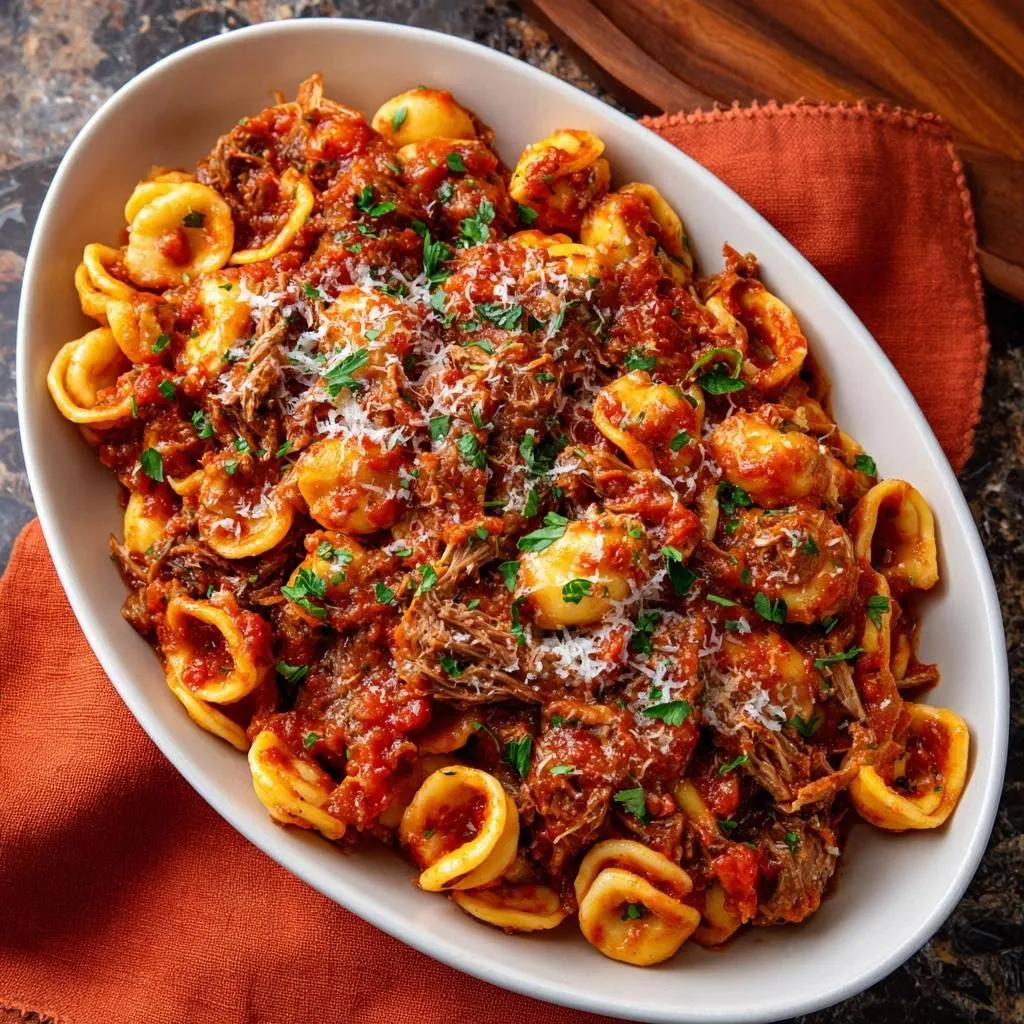
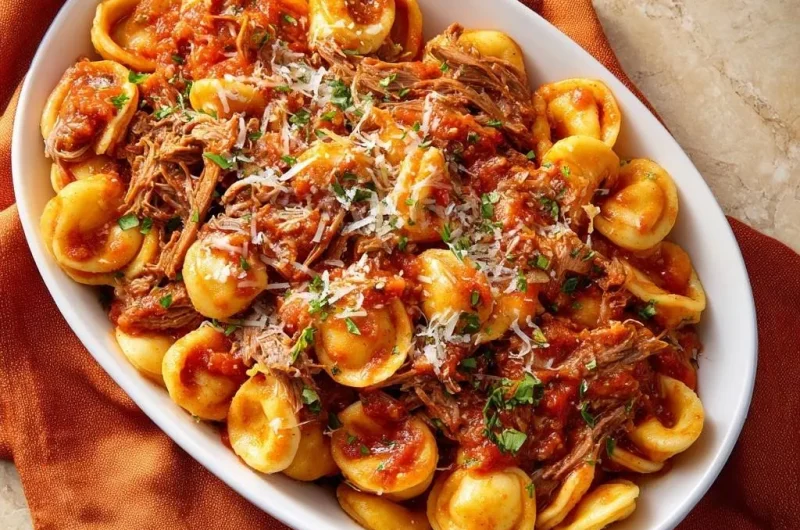
Ever ended up with beef ragu that’s tough as shoe leather, no matter how long you simmer it? This cheesy tortellini with beef ragu fixes that frustration fast. You sear the beef hot, then braise it low and slow in the oven at 300F. In just three hours, it shreds effortlessly with a fork, delivering that fall-apart tenderness you crave.
Here’s why this method outperforms stovetop cooking every time. The oven’s even heat breaks down collagen into silky gelatin without hot spots that dry out the meat. Plus, a tight Dutch oven lid traps moisture, so your ragu stays rich and saucy. Toss it with fresh cheese tortellini, and you’ve got cozy comfort that beats any restaurant version.
The real secret? That initial sear creates a flavorful crust via the Maillard reaction, locking in juices before the gentle braise. Don’t skip it, or you’ll miss the deep, caramelized base that makes this dish sing. Get ready for beef so tender, it melts in your mouth.
Why Beef Ragu Stays Tender in Cheesy Tortellini
Tough beef ragu happens when collagen doesn’t fully convert to gelatin. This recipe uses a 300F oven braise to hit the sweet spot above 160F, where that transformation occurs over three hours. Therefore, your beef shreds fork-tender, perfect for coating cheesy tortellini.
Stovetop methods often evaporate moisture, leading to chewy results. In addition, the oven’s enclosed heat prevents drying. You’ll notice the beef’s texture shift from firm chunks to pull-apart bliss, enveloping the pasta in rich sauce.
Collagen Magic Behind Fork-Tender Shreds
Collagen in chuck roast needs low, moist heat to break down into gelatin. At 300F for three hours, it happens perfectly, creating that melt-in-your-mouth feel. However, rush it, and you’ll chew forever.
Oven vs Stovetop for Cheesy Tortellini Ragu
Oven braising distributes heat evenly, avoiding stovetop hot spots that toughen edges. The Dutch oven seals in steam, keeping ragu juicy. That’s why this cheesy tortellini pairing shines with consistent tenderness.
Key Ingredients for Cheesy Tortellini with Beef Ragu
Start with 2 pounds beef chuck roast, cut into 2-inch chunks. Its marbling melts during braising, ensuring tenderness. Fresh cheese tortellini provides gooey contrast, while grated Parmesan adds nutty sharpness.
Crushed tomatoes and tomato paste build the silky base; the paste deepens umami when cooked. In addition, onion, garlic, beef broth, and Italian seasoning layer savory depth. Salt and pepper season throughout, and parsley brings freshness at the end.
No chuck? Try short ribs. Swap beef broth for vegetable if needed, but it won’t match richness. Fresh tortellini cooks al dente fast; dried works but takes longer.
Selecting Chuck Roast for Shreddable Beef Ragu
Chuck’s fat cap and connective tissue braise into tender shreds. Cut into 2-inch pieces for even cooking. Avoid lean cuts; they dry out in your cheesy tortellini ragu.
Building Ragu Base with Tomatoes and Aromatics
Crushed tomatoes give body, paste concentrates flavor through caramelization. Sauté onion until soft and garlic until fragrant first. This foundation clings perfectly to tortellini.
Science of Searing Beef for Cheesy Tortellini Ragu
Sear over medium-high heat with 2 tablespoons olive oil to trigger Maillard reaction, forming a crust that seals juices. Do it in batches to maintain high temp. Skip this, and your ragu tastes flat and steams instead of browns.
The crust adds complex flavors that infuse the braise. Therefore, even after hours, the beef stays moist and bold for tossing with tortellini.
Browning Batches Without Crowding
Crowding drops pot temp, causing steaming over searing. Brown 8 minutes per batch for deep color. This physics ensures juicy, flavorful beef ragu.
Step-by-Step: Braising Tender Beef Ragu Base
Preheat oven to 300F. Season beef chunks with salt and pepper. Heat oil in Dutch oven, sear in batches until browned, about 8 minutes total. Remove to plate.
Add last tablespoon oil, sauté onion 5 minutes until softened and sweet-smelling. Stir in garlic 1 minute, then tomato paste 2 minutes to bloom flavors. Return beef and juices.
Pour in tomatoes, broth, and seasoning. Simmer, scraping browned bits for max flavor. Cover tightly, braise 3 hours until fork-tender.
Deglazing Pot for Maximum Ragu Flavor
Scraping fond after simmer releases umami into liquid. Beef broth adds depth over water. This step elevates your entire ragu.
3-Hour Oven Braise Timing Precision
Test at 3 hours; beef shreds easily when done. Collagen fully breaks down. If not, add 30 minutes.
Shredding and Thickening Beef Ragu Sauce
Shred beef in sauce with two forks; it pulls apart effortlessly. Simmer stovetop 10 minutes uncovered to thicken. Taste, adjust salt and pepper.
This creates a clingy sauce ready for tortellini. Pro tip: if too thick, add reserved pasta water later.
Fork-Shred Technique for Effortless Beef
Pull apart in sauce to keep moist. Look for stringy shreds as doneness cue. No dry meat here.
Cooking Al Dente Tortellini for Ragu Toss
Boil tortellini in salted water 3-4 minutes until al dente, firm to bite. Drain, save 1/2 cup water. Overcook, and it turns mushy against rich ragu.
Toss with ragu, using pasta water for silky emulsion. The starch binds everything beautifully.
Reserving Pasta Water for Sauce Silks
Pasta starch emulsifies ragu for even coating. Add gradually while tossing tortellini. Perfect cling every time.
Avoiding Common Mistakes in Beef Ragu Tortellini
Skipping sear leads to bland, tough beef. Loose lid dries it out. Therefore, brown well and seal tight.
Overcook tortellini, and it sogges. Use low-fat beef, and chewiness returns. Fix by following times exactly.
Fixing Dry or Chewy Beef Ragu Results
Under-braising or lid gaps cause this. Add broth, re-braise 30 minutes covered. Prevention beats cure.
Preventing Watery or Separated Ragu Sauce
Cook paste fully, simmer to reduce. Balance with pasta water. No separation if thickened right.
Make-Ahead Guide for Cheesy Tortellini Ragu
Braise ragu up to 3 days ahead; flavors deepen in fridge. Freeze portions 3 months. Reheat gently on stove with splash of broth.
Cook tortellini fresh for best texture. Portion ragu flat in bags for quick thaw.
Freezing Shredded Beef Ragu Portions
Cool fully, bag flat. Thaw overnight in fridge, simmer to revive. Freeze tortellini separately.
Pairing Sides with Cheesy Tortellini Beef Ragu
Crisp arugula salad cuts richness. Garlic bread soaks up sauce. Roasted veggies add earthiness.
Sparkling cranberry juice balances acidity. These lighten the hearty beef and cheese.
Simple Greens to Cut Ragu Richness
Toss arugula with balsamic and olive oil. Peppery bite contrasts cheesy tortellini ragu perfectly.
Flavor Variations on Beef Ragu Tortellini
Add mushrooms for umami boost. Swap for gnocchi or ravioli. Red pepper flakes heat it up.
Mirepoix veggies bulk it heartier. Keep the braise core for tenderness.
Vegetable Boosts for Hearty Beef Ragu
Sauté carrots and celery with onion pre-braise. Adds sweetness without diluting cheesy tortellini focus.
Cheesy Tortellini with Beef Ragu FAQ
Can I Use Slow Cooker for Beef Ragu?
Yes, sear first, then low 6-8 hours. Oven gives better crust, but slow cooker works for hands-off tenderness. Stir once midway.
Substitute for Fresh Cheese Tortellini?
Dried cooks 8-10 minutes; frozen thaws first, boils 4 minutes. Reserve extra pasta water for sauce bind. Texture holds up.
How to Fix Too-Thin Beef Ragu Sauce?
Simmer uncovered 10-15 minutes to reduce. Or stir in cornstarch slurry (1 tsp cornstarch + 1 tbsp water). Thickens without lumps.
Best Beef Cut if No Chuck Roast?
Short ribs or blade roast; both have marbling for shredding. Avoid sirloin; it dries out in braise.
Make It Dairy-Free Cheesy Tortellini Ragu?
Swap Parmesan for nutritional yeast or vegan parm. Use dairy-free tortellini. Ragu stays rich and tender.
How Do I Store Leftovers?
Keep in airtight container fridge up to 4 days. Reheat on stove with splash broth. Freezes well 3 months; thaw overnight, simmer fresh tortellini.
Why Is My Beef Still Chewy?
Usually under-braised or lean cut. Ensure 300F 3+ hours, use chuck. Test shred; extend time if needed for collagen breakdown.
Can I Use Chicken Broth Instead?
Yes, but beef gives deeper flavor. Vegetable works for lighter version. Adjust salt as broths vary in seasoning.
Cheesy Tortellini with Beef Ragu
Course: Main CourseCuisine: Italian-AmericanDifficulty: easy6
servings30
minutes3
hours180
Minutes650
kcalItalian-American
Ingredients
2 pounds beef chuck roast, cut into 2-inch chunks
3 tablespoons olive oil
1 large onion, diced
4 garlic cloves, minced
1 (28-ounce) can crushed tomatoes
2 tablespoons tomato paste
2 cups beef broth
2 teaspoons dried Italian seasoning
Salt and black pepper to taste
1 pound fresh cheese tortellini
1/2 cup grated Parmesan cheese
1/4 cup chopped fresh parsley
Directions
- Preheat oven to 300F. Season beef chunks generously with salt and pepper. Heat 2 tablespoons olive oil in a large Dutch oven over medium-high heat. Sear beef in batches until deeply browned on all sides, about 8 minutes total. Remove beef to a plate.
- Add remaining 1 tablespoon oil to pot. Saute onion until softened, 5 minutes. Add garlic, cook 1 minute. Stir in tomato paste, cook 2 minutes to deepen flavor.
- Return beef and juices to pot. Pour in crushed tomatoes, beef broth, and Italian seasoning. Bring to simmer, scraping up browned bits. Cover tightly with lid.
- Braise in oven for 3 hours. Beef is ready when fork-tender and shreds effortlessly, no chewing required. This low slow moisture lock is the key, preventing toughness by breaking down collagen fully without drying out. Shred beef directly in sauce with two forks. Taste and adjust salt pepper. Simmer on stovetop 10 minutes to thicken if needed.
- Meanwhile, cook tortellini in boiling salted water just until al dente, 3 to 4 minutes. Drain, reserving 1/2 cup pasta water. Toss tortellini with ragu, adding pasta water if needed for silky sauce.
- Serve topped with Parmesan and parsley. Dig in to tender beef bliss!
Notes
- The key to tender beef is searing hot then braising low and slow at 300F covered to break down collagen without drying out. Fresh tortellini cooks in just 3-4 minutes.