Is there anything more disappointing than biting into a luscious cheesecake only to find a soggy, unappetizing crust? I’ve been there, and after countless attempts, I’ve finally cracked the code to the perfect, crisp-crusted Classic Cherry Cheesecake. This recipe guarantees a creamy, dreamy filling with a graham cracker crust that stays delightfully firm, even after days in the fridge. Get ready to impress your friends and family with this dessert masterpiece!
Why You’ll Love This Classic Cherry Cheesecake
This isn’t just any cheesecake recipe; it’s a cheesecake game-changer! Here’s why you’ll absolutely adore it:
- Crisp Crust Guarantee: Say goodbye to soggy bottoms forever! This recipe features a simple yet effective technique to ensure a perfectly crisp crust every time.
- Rich and Creamy Filling: The cheesecake filling is unbelievably smooth, decadent, and perfectly balanced in sweetness.
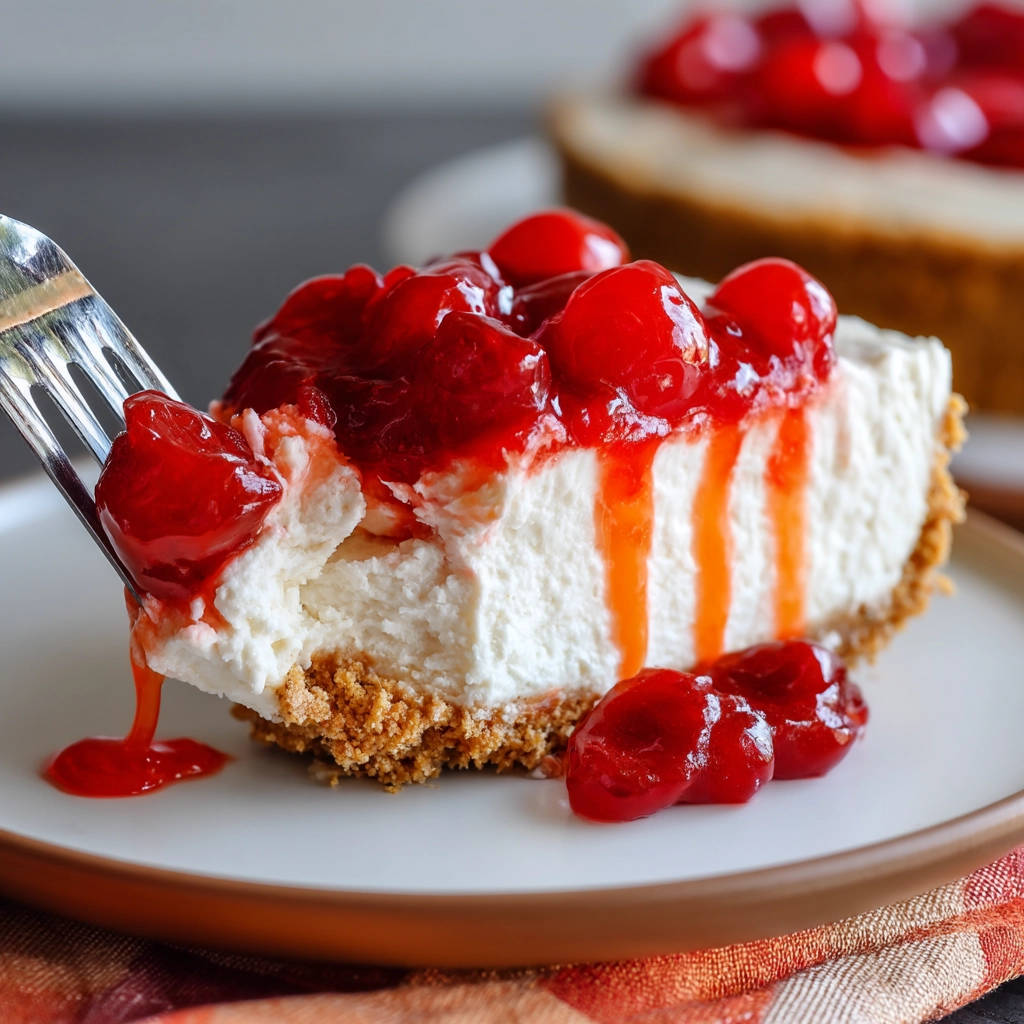
- Classic Flavor Combination: The combination of creamy cheesecake and sweet-tart cherry pie filling is a timeless classic that everyone loves.
- Make-Ahead Friendly: Cheesecakes are perfect for making ahead of time, and this one tastes even better after a day or two in the fridge!
Gathering Your Ingredients for Classic Cherry Cheesecake
Let’s gather our ingredients and talk a little bit about what makes each one essential to this delicious Classic Cherry Cheesecake. The key is to use high-quality ingredients for the best possible flavor and texture. We’ll start with the foundation, build flavor, and then add the finishing touches.
For the Crust: The Foundation of Flavor
- 1 1/2 cups graham cracker crumbs: These provide the perfect slightly sweet, subtly spiced base for our cheesecake. You can buy pre-made crumbs or crush your own using a food processor.
- 1/3 cup granulated sugar: This adds a touch of sweetness to complement the graham crackers.
- 6 tablespoons unsalted butter, melted: Butter binds the crumbs together and adds richness and flavor. Make sure to use unsalted butter so you can control the overall saltiness of the crust.
For the Filling: The Creamy Heart of the Cheesecake
- 32 ounces cream cheese, softened: This is the star of the show! It is essential that your cream cheese is completely softened to room temperature. This will ensure a smooth, lump-free filling. Full-fat cream cheese is highly recommended for the best flavor and texture.
- 1 1/4 cups granulated sugar: Sugar adds sweetness and helps to create the creamy texture of the filling.
- 1 teaspoon vanilla extract: Vanilla enhances the overall flavor profile and adds a touch of warmth. Use a high-quality pure vanilla extract for the best results.
- 4 large eggs: Eggs provide structure and richness to the filling. Add them one at a time and beat well after each addition to ensure they are fully incorporated.
- 1/4 cup sour cream: Sour cream adds a touch of tanginess and helps to create a smooth, creamy texture.
For the Topping: The Crowning Glory
- 1 can (21 ounces) cherry pie filling: This classic topping adds a burst of sweet-tart cherry flavor that perfectly complements the creamy cheesecake. You can use your favorite brand or even make your own cherry pie filling from scratch if you’re feeling ambitious!
Crafting Your Classic Cherry Cheesecake: Step-by-Step
Now for the fun part! Making cheesecake might seem intimidating, but I promise, it’s easier than you think. Just follow these steps, and you’ll be enjoying a slice of heaven in no time. The key to a perfect cheesecake lies in gentle baking and patience during the cooling process.
- Preheat the oven to 350 degrees F (175 degrees C). Getting the oven temperature right from the start is crucial for even baking. A consistent temperature prevents the cheesecake from cracking or over-browning.
- Make the crust: In a medium bowl, combine the graham cracker crumbs, sugar, and melted butter. Mix until the crumbs are evenly moistened and resemble wet sand. Press the mixture firmly and evenly into the bottom of a 9-inch springform pan. Use the bottom of a measuring cup to help pack the crumbs tightly for a sturdy crust.
- The secret to a crisp crust: Pre-bake the crust! Before adding the filling, bake the crust for 8-10 minutes. This is the most important step for preventing a soggy crust. The pre-baking process dries out the crust and creates a barrier that prevents moisture from seeping in from the filling. Think of it as sealing the foundation!
- Let the crust cool completely before adding the filling. This is important because adding a warm filling to a warm crust will cause the crust to steam, defeating the purpose of the pre-baking.
- Make the filling: In a large bowl, beat the softened cream cheese and sugar until smooth and creamy. This may take a few minutes, but be patient and scrape down the sides of the bowl as needed. A smooth cream cheese base is essential for a lump-free cheesecake. Then, beat in the vanilla extract.
- Add the eggs: Add the eggs one at a time, beating well after each addition. This ensures that each egg is fully incorporated into the batter, contributing to a smooth and stable filling. Over-beating after adding the eggs can incorporate too much air, which can lead to cracking, so mix only until just combined.
- Stir in the sour cream. Gently stir in the sour cream until just combined. Avoid over-mixing, as this can also lead to cracking.
- Pour the filling over the cooled crust. Gently pour the cheesecake filling over the cooled, pre-baked crust, spreading it evenly.
- Bake the cheesecake: Bake for 55-65 minutes, or until the center is just slightly jiggly. The edges should be set, but the center should still have a slight wobble. This is the key to a creamy, not dry, cheesecake.
- Cooling is key: Turn off the oven and let the cheesecake cool in the oven with the door slightly ajar for 1 hour. This slow cooling process prevents the cheesecake from cracking due to sudden temperature changes. Think of it as giving the cheesecake time to relax.
- Refrigerate: Refrigerate the cheesecake for at least 4 hours, or preferably overnight, before serving. This allows the cheesecake to fully set and develop its flavor.
- Top it off: Top with cherry pie filling before serving.
Tips for Perfect Classic Cherry Cheesecake Every Time
Want to ensure cheesecake success? Here are a few extra tips to help you create the perfect Classic Cherry Cheesecake:
- Use room temperature ingredients: As mentioned before, it’s crucial to use softened cream cheese for a smooth filling. Make sure your eggs and sour cream are also at room temperature for the best results.
- Don’t over-mix the batter: Over-mixing can incorporate too much air into the batter, which can lead to cracking. Mix only until the ingredients are just combined.
- Water bath (optional): For an even creamier cheesecake, you can bake it in a water bath. Wrap the bottom of the springform pan in aluminum foil to prevent water from seeping in, then place it in a larger roasting pan. Fill the roasting pan with hot water until it reaches halfway up the sides of the springform pan.
- Cooling is crucial: Don’t skip the slow cooling process in the oven. This is essential for preventing cracks.
- Patience is a virtue: Resist the urge to slice into the cheesecake before it has fully chilled in the refrigerator.
What to Serve With Classic Cherry Cheesecake
While this Classic Cherry Cheesecake is delicious on its own, it’s even better when paired with complementary flavors. Consider serving it with a dollop of whipped cream, a sprinkle of cocoa powder, or a side of fresh berries. Or, for a more sophisticated presentation, create individual desserts using our easy caramel nut dessert jars recipe for the base and topping with a smaller portion of this cheesecake. The possibilities are endless!
Your Classic Cherry Cheesecake Questions Answered (FAQ)
Why did my cheesecake crack?
Cracking is a common cheesecake problem, but it’s usually caused by one of a few factors: over-baking, rapid temperature changes, or over-mixing the batter. Follow the tips in this recipe to avoid cracking, including gentle baking, slow cooling, and avoiding over-mixing. Letting the cheesecake cool gradually in the oven with the door ajar is a key step in preventing cracks.
Can I use a different topping?
Absolutely! While cherry pie filling is a classic choice, you can use any fruit topping you like. Blueberry, strawberry, or even a homemade chocolate ganache would be delicious. Get creative and experiment with different flavors!
Can I make this cheesecake ahead of time?
Yes! In fact, cheesecake is a great make-ahead dessert. It tastes even better after a day or two in the fridge. Just be sure to store it properly, covered tightly, to prevent it from drying out.
Can I freeze this cheesecake?
Yes, you can freeze cheesecake. Wrap it tightly in plastic wrap and then in aluminum foil. Freeze for up to 2-3 months. Thaw overnight in the refrigerator before serving. However, the texture of the topping may change slightly after freezing.
Enjoy Your Homemade Classic Cherry Cheesecake!
There you have it – a foolproof recipe for Classic Cherry Cheesecake with a guaranteed crisp crust. This dessert is sure to impress and become a family favorite. So go ahead, bake up a batch and enjoy the creamy, dreamy goodness! Don’t forget to leave a comment below and let me know how your cheesecake turns out. And if you loved this recipe, share it with your friends!
Classic Cherry Cheesecake (The Anti-Soggy Bottom)

Ingredients
- For the crust:
- 1 1/2 cups graham cracker crumbs
- 1/3 cup granulated sugar
- 6 tablespoons unsalted butter melted
- For the filling:
- 32 ounces cream cheese softened
- 1 1/4 cups granulated sugar
- 1 teaspoon vanilla extract
- 4 large eggs
- 1/4 cup sour cream
- For the topping:
- 1 can (21 ounces) cherry pie filling
Directions
- Preheat oven to 350 degrees F (175 degrees C).
- Make the crust: In a medium bowl, combine graham cracker crumbs, sugar, and melted butter. Press the mixture evenly into the bottom of a 9-inch springform pan.
- The secret to a crisp crust: Before adding the filling, bake the crust for 8-10 minutes. This pre-baking process helps to dry out the crust and creates a barrier that prevents it from becoming soggy.
- Let the crust cool completely before adding the filling.
- Make the filling: In a large bowl, beat cream cheese and sugar until smooth. Beat in vanilla extract. Add eggs one at a time, beating well after each addition. Stir in sour cream.
- Pour filling over the cooled crust.
- Bake for 55-65 minutes, or until the center is just slightly jiggly.
- Turn off the oven and let the cheesecake cool in the oven with the door slightly ajar for 1 hour. This prevents cracking.
- Refrigerate for at least 4 hours, or preferably overnight, before serving.
- Top with cherry pie filling before serving.