Oh, cheesecake! Just the word conjures up images of silky-smooth, rich, and utterly decadent dessert perfection. It’s a classic for a reason, right? But let’s be real, for many home bakers, the dream of that flawless, crack-free top can feel like a distant fantasy. You pull your beautiful cheesecake out of the oven, full of hope, only to be met with that dreaded fissure running right through the middle. Ugh!
Trust me, I’ve been there. I’ve experimented, I’ve fretted, and I’ve finally found the simple secret that yields a perfect, smooth surface every single time. This isn’t just any classic creamy cheesecake recipe; it’s a recipe designed to stop cheesecakes cracking! It incorporates specific techniques that make all the difference, turning potential baking woes into baking triumphs. If you’ve ever been intimidated by homemade cheesecake, this guide is for you. Get ready to bake a showstopper!
Why You’ll Absolutely Adore This Classic Creamy Cheesecake
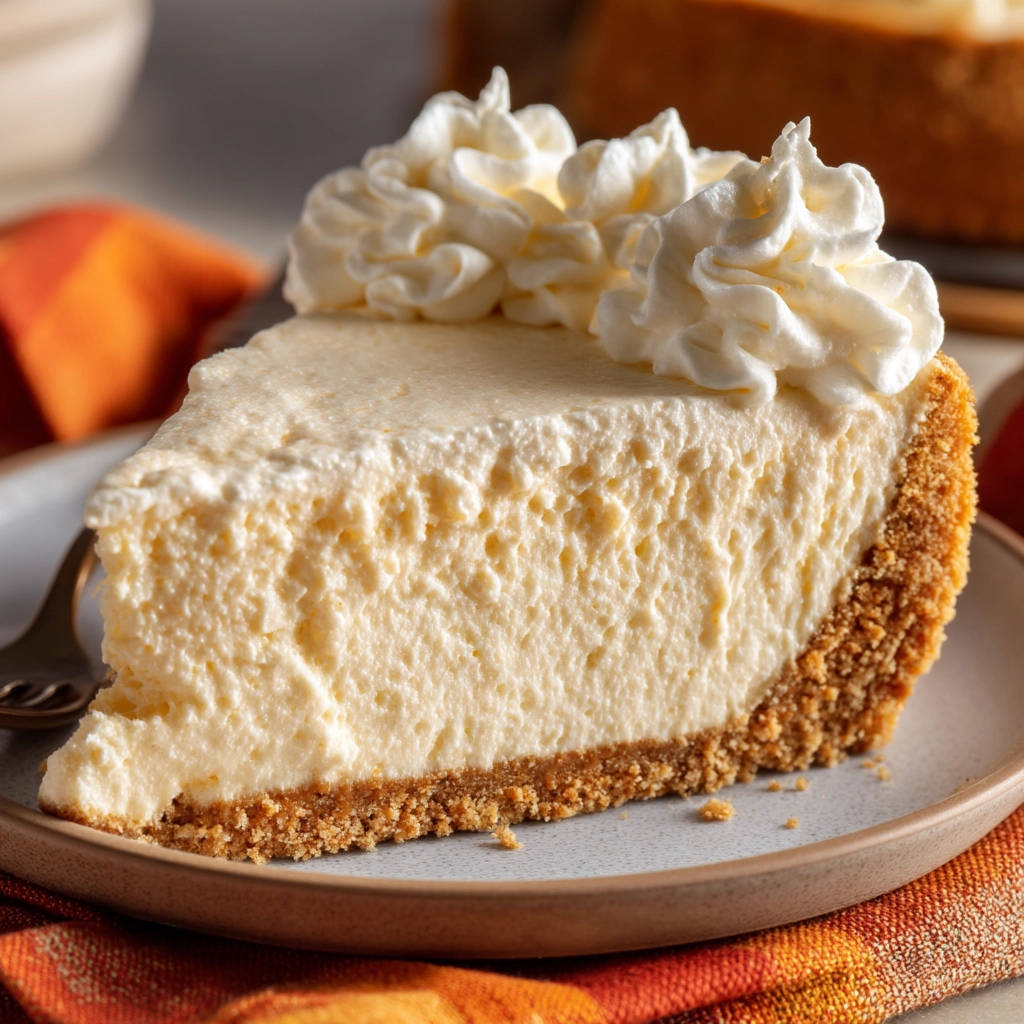
Besides the obvious visual appeal of a pristine, crack-free top, this classic creamy cheesecake recipe offers so much more. It’s the perfect balance of tangy and sweet, with a velvety smooth texture that melts in your mouth.
- Foolproof Method: The steps are specifically designed to minimize the common pitfalls of cheesecake baking, especially cracking.
- Incredible Texture: Achieve that signature dense, creamy, and smooth consistency that defines a truly great cheesecake.
- Classic Flavor: Pure, unadulterated cheesecake goodness – rich, slightly tangy, and comforting. It’s the perfect canvas for any topping.
- Showstopper Dessert: Impress your friends and family with a professional-looking cheesecake straight from your own kitchen.
Essential Ingredients for Your Perfect Classic Creamy Cheesecake
Making a truly great cheesecake starts with gathering the right ingredients. Quality matters here, and having everything at the correct temperature is crucial for that coveted smooth texture. Think of these as the building blocks for your creamy masterpiece.
For the classic graham cracker crust:
- 1 and 1/2 cups graham cracker crumbs: You can buy pre-crushed crumbs or make your own by pulsing graham crackers in a food processor until fine. They provide that essential sweet, crumbly base.
- 1/4 cup granulated sugar: Adds a touch of sweetness to balance the buttery richness of the crust.
- 6 tablespoons unsalted butter, melted: The binder that holds the crumbs together, ensuring your crust is firm but not hard. Using unsalted butter allows you to control the salt level.
For the rich and creamy filling:
- 3 packages (8 ounces each) full-fat cream cheese, softened: This is non-negotiable for achieving that dreamy, creamy texture. Make sure it’s fully softened at room temperature; this is key to preventing lumps and overmixing later. Take it out of the fridge several hours in advance.
- 1 and 1/2 cups granulated sugar: Provides the sweetness and also helps with the structure and smoothness of the filling.
- 1 teaspoon vanilla extract: Essential for that classic, warm vanilla flavor that complements the tangy cream cheese. Use pure vanilla extract for the best results.
- 1/4 teaspoon salt: A small amount of salt enhances all the other flavors, particularly the sweetness and tang of the cream cheese.
- 4 large eggs: Eggs are crucial for the structure and richness of the cheesecake. They also help achieve that smooth, custardy texture when baked gently.
- 1/2 cup sour cream: This is a magic ingredient in cheesecake! Sour cream adds moisture, a lovely tanginess that cuts through the richness, and contributes significantly to the smooth, creamy texture.
Having all these ingredients measured out and ready to go, especially the softened cream cheese, sets you up for success right from the start.
Baking Bliss: Crafting Your Crack-Free Classic Creamy Cheesecake, Step-by-Step
Okay, let’s talk about how we actually make this magic happen. The steps are straightforward, but paying attention to a few key details, particularly regarding temperature and mixing, will be your secret weapon against those pesky cracks.
- Begin by setting your oven to a moderate 325 degrees F (160 degrees C). While it preheats, prepare your 9-inch springform pan. The critical step here is to wrap the outside of the pan securely with heavy-duty aluminum foil. You want to cover the bottom and extend the foil well up the sides. This creates a watertight barrier for the essential water bath we’ll use later. Spend a few extra minutes making sure this is snug and sealed.
- Next, let’s build that delicious base. In a medium bowl, simply combine your graham cracker crumbs, the quarter cup of granulated sugar, and the melted unsalted butter. Stir it all together until the crumbs are evenly moistened and look like wet sand. Pour this mixture into the bottom of your prepared springform pan and press it down firmly and evenly. You can use the bottom of a glass or a flat measuring cup for this. Bake this crust in the preheated oven for about 8 to 10 minutes. This slight bake helps set the crust and prevents it from being soggy. Once baked, remove it from the oven and set it aside to cool slightly while you prepare the star of the show – the filling.
- Now for the creamy filling! Grab a large mixing bowl and add your softened cream cheese. Using an electric mixer, start on medium speed and beat the cream cheese until it is incredibly smooth and creamy. This step is vital; you must eliminate any lumps now, as they won’t disappear during baking. Take your time and scrape down the sides and bottom of the bowl frequently to ensure everything gets evenly mixed.
- Gradually add the main portion of granulated sugar (1 and 1/2 cups), the vanilla extract, and the salt to the smoothed cream cheese. Continue to beat on low or medium-low speed just until everything is combined. Overmixing at this stage isn’t as critical as when the eggs go in, but we still want to avoid incorporating excess air. Scrape down the bowl again to catch any unmixed bits.
- Here’s one of the absolute KEY steps to prevent cracking: adding the eggs. Add the four large eggs one at a time. After adding each egg, beat on a very low speed just until that single egg is incorporated into the mixture. Stop beating as soon as the yolk disappears. Do not overmix! Excessive beating after the eggs are added incorporates too much air, and this air will expand during baking, causing the cheesecake to rise too high and then collapse and crack as it cools. Gentle is the name of the game here.
- Finally, gently stir in the sour cream. Use a spatula or a mixer on the lowest speed, mixing only until the sour cream is just combined and streaks are gone. Again, minimal mixing is best to keep air bubbles at bay.
- Pour the smooth, luscious filling over your slightly cooled graham cracker crust in the prepared springform pan. Use a spatula to gently smooth the top of the filling.
- Now, for the ultimate secret weapon: the water bath! Place your foil-wrapped springform pan inside a larger baking pan (a roasting pan works perfectly). Carefully, and I mean carefully, pour hot water into the larger pan until it comes about halfway up the sides of the springform pan. The water bath creates a moist, even heat environment in the oven. This gentle, consistent temperature ensures the cheesecake bakes slowly and evenly from the sides to the center, preventing the edges from setting too quickly and pulling away from the center, which is a major cause of cracking.
- Carefully transfer the entire setup – the larger pan with the water bath and the cheesecake inside – to your preheated oven. Bake for 60 to 75 minutes. You’ll know it’s ready when the edge of the cheesecake appears set and slightly puffed, but the center still has a slight jiggle when the pan is gently nudged. It will look slightly underdone in the center, but don’t worry, it will continue to set as it cools.
- This is the second crucial step for preventing cracks: slow cooling. Once the baking time is up, turn off the oven, but leave the cheesecake inside. Prop the oven door open slightly (you can use a wooden spoon). Let the cheesecake sit in the cooling oven for one full hour. This slow, gradual decrease in temperature prevents a sudden shock that can cause the cheesecake to contract rapidly and crack. It’s a test of patience, but it’s so worth it!
- After the hour of slow cooling in the oven, carefully remove the cheesecake from the oven and lift it out of the water bath. Place the springform pan on a wire rack to cool completely at room temperature. Ensure it’s fully cool before the next step.
- Once the cheesecake has cooled completely on the wire rack, cover it loosely (plastic wrap or foil works) and transfer it to the refrigerator. It needs to chill for at least 4 hours to set up properly. Ideally, leave it in the fridge overnight for the best texture and easiest slicing. Patience pays off again!
- When you’re ready to serve, carefully run a thin knife around the edge of the pan before releasing the springform side. Slice with a clean, warm knife for perfect portions.
Pro Tips for Cheesecake Success Every Time
Achieving cheesecake perfection is within your reach! Beyond the step-by-step guide, here are a few extra tips to ensure your classic creamy cheesecake turns out beautifully.
- Ingredient Temperature is Key: We’ve mentioned softened cream cheese, but make sure your eggs and sour cream are also at room temperature. This helps them emulsify properly with the cream cheese and sugar, resulting in a smoother, lump-free batter with fewer air pockets.
- Don’t Overmix: This cannot be stressed enough, especially after adding the eggs. Overmixing develops gluten in the eggs and incorporates too much air, leading to that dreaded dome and crack. Mix just until ingredients are combined.
- Tap Out Bubbles: After pouring the filling into the crust, gently tap the springform pan on the counter a few times. This helps any large air bubbles trapped in the batter rise to the surface and pop, further contributing to a smooth texture and surface.
- Water Bath Security: Double-check your foil wrapping to ensure no water can seep into the pan. A soggy crust is another cheesecake disappointment! Heavy-duty foil is recommended.
- The Jiggle Test: Trust the jiggle test in step 9! The center should still be noticeably jiggly, almost like firm gelatin. The residual heat will finish cooking it as it cools.
- Cooling is Crucial: Don’t rush the cooling process. The slow cool in the oven followed by complete cooling at room temperature and then chilling in the fridge are essential steps for structure and preventing cracks.
Variations to Explore
While this classic creamy cheesecake is perfect on its own, it’s also a fantastic base for experimentation! You can change up the crust or add flavorings to the filling.
- Crust Alternatives: Instead of graham crackers, try using crushed vanilla wafers, shortbread cookies, or even chocolate cookies. Adjust the butter amount slightly as needed to get that wet sand consistency.
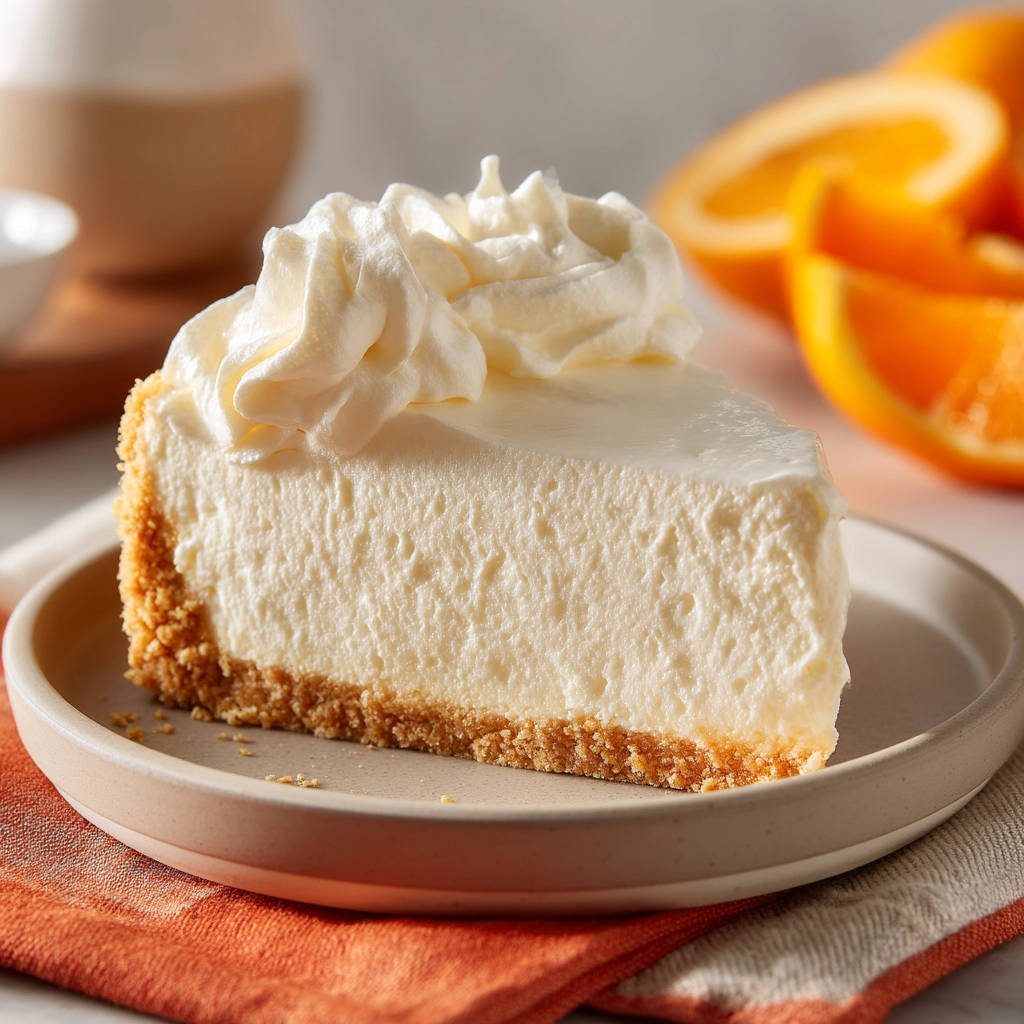
- Citrus Zest: Add a tablespoon or two of finely grated lemon or orange zest to the filling along with the vanilla for a brighter, citrusy note.
- Espresso Kick: Dissolve a teaspoon of instant espresso powder in the vanilla extract before adding it to the filling for a subtle coffee flavor.
Serving Suggestions
A slice of this classic creamy cheesecake is heavenly all by itself, but toppings can take it to the next level!
- Fresh Berries: A simple scattering of fresh strawberries, blueberries, or raspberries adds color, freshness, and a natural sweetness that pairs beautifully with the rich cheesecake.
- Fruit Sauce: A homemade berry compote or a simple strawberry sauce is always a winner. Cooking down fresh or frozen berries with a little sugar and lemon juice creates a lovely, tangy topping. For another delicious fruit dessert idea, you might enjoy our recipe for Strawberry Trifle.
- Chocolate or Caramel: A drizzle of homemade chocolate ganache or salted caramel sauce adds pure indulgence.
- Whipped Cream: A dollop of freshly whipped cream is a light and airy counterpoint to the dense filling.
- Keep it Simple: Sometimes, serving it plain allows the incredible texture and flavor of the cheesecake itself to shine.
Your Classic Creamy Cheesecake Questions Answered (FAQ)
It’s natural to have questions when baking cheesecake, especially if you’re aiming for that perfect, crack-free result. Here are some common queries:
Why did my cheesecake crack?
Cracking is usually caused by sudden temperature changes or overmixing the batter after adding the eggs. The water bath provides gentle, even heat, and the slow cooling in the oven prevents thermal shock. Overmixing incorporates too much air, which expands during baking and then collapses upon cooling, causing cracks. Ensure all ingredients are at room temperature and mix just until combined.
How can I make sure my cream cheese is softened enough?
Softened cream cheese should be pliable when you gently press it. If it’s cold or firm, leave it out on the counter for a couple of hours. If you’re in a rush, you can unwrap it, cut it into cubes, and spread them out on a plate for about 30-60 minutes, or very briefly microwave it on a low power setting (like 10-15 seconds at a time) until just slightly pliable, being careful not to melt it.
How do I know when the cheesecake is perfectly baked?
The best way is the gentle jiggle test described in the instructions (Step 9). The edges should be set, but the center 2-3 inches should still look soft and jiggle slightly like firm gelatin. It will firm up completely as it cools and chills. Overbaking is another common cause of cracks and can result in a dry texture.
Can I make this cheesecake ahead of time?
Absolutely, and you should! Cheesecake needs ample time to chill and set, ideally overnight. Making it a day in advance is perfect. This also allows the flavors to meld beautifully. Store the cooled cheesecake, covered, in the refrigerator.
What if I don’t have a springform pan?
While a springform pan is ideal for easy removal and presentation, you could potentially use a regular deep cake pan (9 or 10-inch) lined generously with parchment paper, allowing the paper to overhang the sides significantly. Once baked and fully cooled, you can use the parchment overhang to lift the cheesecake out of the pan. However, a springform pan truly makes the process much simpler for this type of dessert.
Can I substitute ingredients like low-fat cream cheese or sugar substitutes?
For the best results and to ensure the texture and structure hold up, it’s highly recommended to use full-fat cream cheese and granulated sugar as specified. Low-fat products have different moisture and fat content, which can drastically affect the outcome of a baked cheesecake, often resulting in a less creamy texture or structural issues. Sugar substitutes can also impact texture and browning.
Get Ready to Bake Your Best Classic Creamy Cheesecake Yet!
Say goodbye to cheesecake cracking disasters and hello to smooth, creamy perfection! This classic creamy cheesecake recipe, with its focus on the water bath and slow cooling, is a game-changer. It delivers that rich, satisfying flavor and luxurious texture everyone craves.
Whether you’re baking for a special occasion or just because you deserve a treat, this recipe will become your go-to. Gather your ingredients, follow the steps carefully, and enjoy the process. Once you pull that perfectly smooth cheesecake from the oven, you’ll feel like a baking superstar!
Give this recipe a try and let me know how it turns out! What are your favorite toppings? Share your cheesecake successes and questions in the comments below!
Classic Creamy Cheesecake

Ingredients
- 1 and 1/2 cups graham cracker crumbs
- 1/4 cup granulated sugar
- 6 tablespoons unsalted butter, melted
- 3 packages (8 ounces each) cream cheese, softened
- 1 and 1/2 cups granulated sugar
- 1 teaspoon vanilla extract
- 1/4 teaspoon salt
- 4 large eggs
- 1/2 cup sour cream
Directions
- Preheat oven to 325 degrees F (160 degrees C). Wrap the outside of a 9 inch springform pan with heavy duty aluminum foil, covering the bottom and extending up the sides to make it watertight.
- In a medium bowl, combine graham cracker crumbs, 1/4 cup sugar, and melted butter. Press firmly into the bottom of the prepared springform pan. Bake for 8 to 10 minutes. Set aside to cool slightly while you make the filling.
- In a large bowl, beat the softened cream cheese with an electric mixer on medium speed until smooth and creamy. Make sure there are no lumps.
- Gradually add the 1 and 1/2 cups sugar, vanilla extract, and salt. Beat until just combined. Scrape down the sides of the bowl.
- Add the eggs, one at a time, beating on low speed just until each egg is incorporated. Do not overmix once the eggs are added, as this can introduce air bubbles that cause cracking.
- Gently stir in the sour cream until just combined.
- Pour the filling over the cooled crust in the springform pan. Smooth the top.
- Place the foil-wrapped springform pan in a larger baking pan (such as a roasting pan). Carefully pour hot water into the larger pan until it comes about halfway up the sides of the springform pan. This is the water bath method and it is key to preventing cracks by providing even, gentle heat.
- Bake for 60 to 75 minutes, or until the edge is set but the center still jiggles slightly when the pan is gently shaken.
- Turn off the oven, but leave the cheesecake inside with the oven door slightly ajar for one hour. This slow cooling prevents sudden temperature changes that can cause cracks.
- Remove the cheesecake from the oven and the water bath. Let it cool completely on a wire rack.
- Once completely cool, cover and refrigerate for at least 4 hours, or preferably overnight, before slicing and serving.