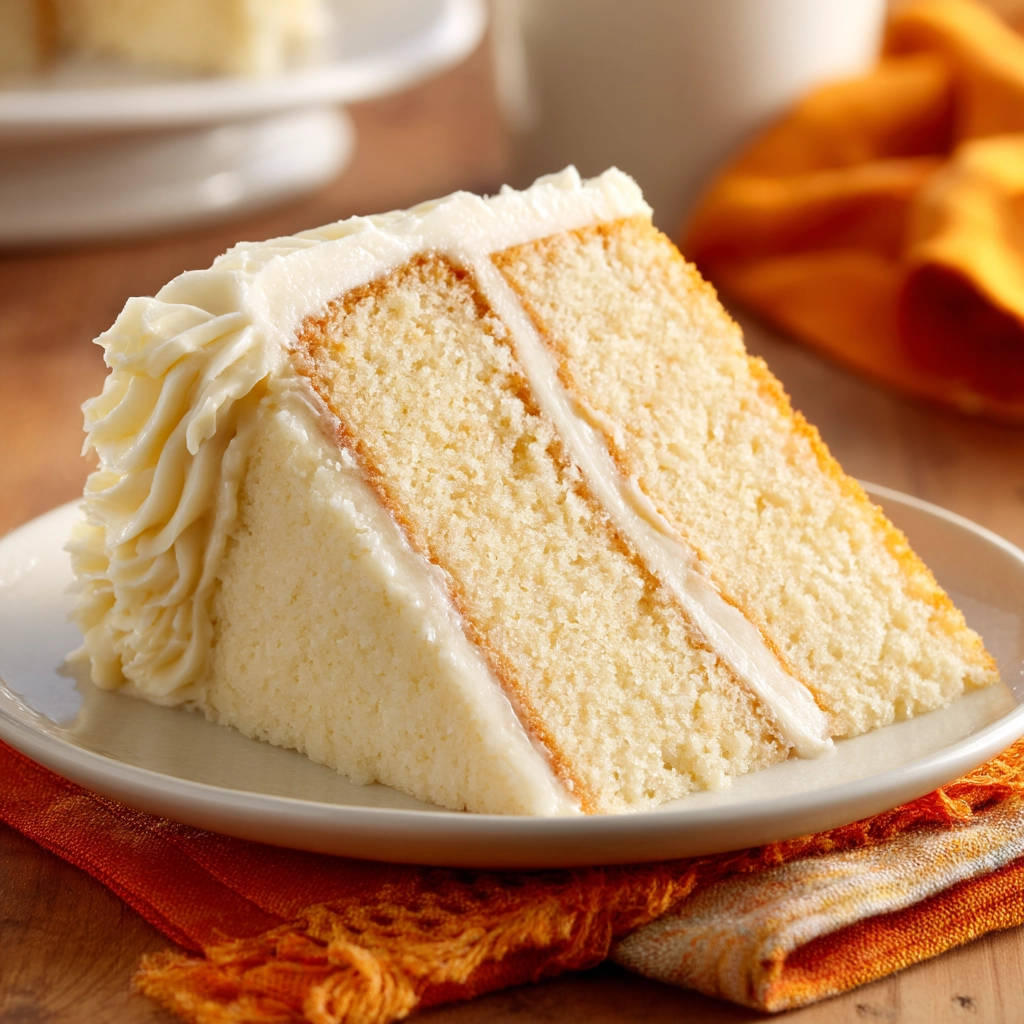
There’s something truly special about a slice of perfect white cake. It’s a blank canvas for celebrations, a comforting treat, and a staple in many home baking repertoires. But let’s be honest, haven’t we all experienced the disappointment of slicing into what looked like a beautiful cake, only to find it dense, dry, or crumbly inside? It’s a common frustration that can make tackling a Classic White Cake feel a bit daunting.
For years, I tinkered, tested, and troubleshooting recipes, determined to unlock the secret to a consistently light, moist, and gloriously fluffy white cake. And I finally cracked the code! It’s not overly complicated; it comes down to understanding a simple technique and the role of each ingredient.
This recipe isn’t just another white cake; it’s the Classic White Cake recipe designed to deliver foolproof fluffiness every single time. Whether you’re baking for a special occasion or just because, get ready to bake a cake that will truly impress.
Why You’ll Love This Classic White Cake
So, what makes this Classic White Cake stand out from the rest? It’s all about that incredible texture and dependable result. Here’s why this will become your go-to recipe:
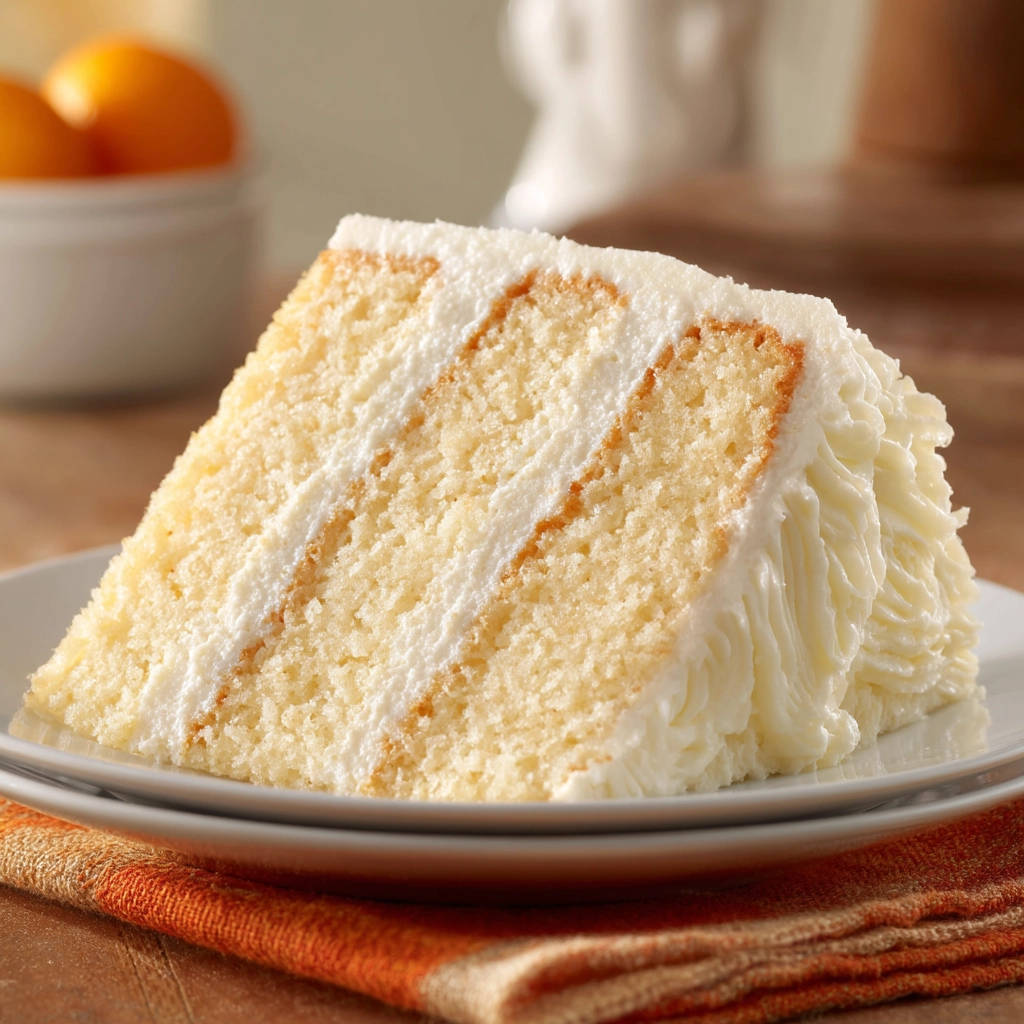
- Unbeatable Fluffiness: The unique method ensures an airy, tender crumb that practically melts in your mouth. Say goodbye to dense hockey pucks!
- Perfectly Moist: Thanks to a few key ingredients and careful technique, this cake stays wonderfully moist without being heavy.
- Clean, Classic Flavor: It’s pure, simple vanilla perfection, making it incredibly versatile for pairing with various frostings and fillings.
- Reliable Results: Once you understand the key steps, you’ll be able to bake a consistently excellent cake every time you try it.
- Celebration Ready: This beautiful two-layer cake is ideal for birthdays, holidays, or any moment that calls for something sweet and celebratory.
Gathering Your Ingredients for That Fluffy White Cake
Creating a truly fluffy and moist white cake starts with selecting the right ingredients and understanding their purpose. This recipe calls for standard pantry staples, but their temperature and how they’re combined are just as important as the ingredients themselves.
Here’s what you’ll need to gather for the cake layers:
- All-Purpose Flour: The structure of our cake. Make sure to measure it correctly – spoon it into the measuring cup and level off with a straight edge, don’t scoop directly from the bag. This prevents compacting the flour and adding too much. We’ll need 2 and 1/4 cups.
- Granulated Sugar: Provides sweetness and helps with tenderness by interfering with gluten development. We’re using 1 and 3/4 cups.
- Baking Powder & Baking Soda: Our dynamic duo for leavening! Baking powder provides lift, while baking soda reacts with the acidic components (like the yogurt or sour cream) to create additional lightness. You’ll need 1 teaspoon of baking powder and 1/2 teaspoon of baking soda.
- Salt: A touch of salt enhances all the other flavors and balances the sweetness. Just 1/2 teaspoon.
- Unsalted Butter, Softened: Adds richness, flavor, and contributes to tenderness. Using unsalted butter gives you control over the salt level. Ensure it’s properly softened – it should yield easily to gentle pressure but not be greasy or melted. We need 1 stick (1/2 cup).
- Large Eggs: Bind the ingredients together and add richness and structure. We’ll use 2 large eggs. Their temperature matters, so have them at room temperature!
- Milk (divided): Milk adds moisture and helps create a tender crumb. You’ll use 1/2 cup combined with the eggs and yogurt, and then a crucial 1 cup added later. Both portions should ideally be at room temperature.
- Plain Nonfat Yogurt or Sour Cream: This is a secret weapon for moisture and tenderness! The acidity reacts with the baking soda for extra lift, and the fat content (even in nonfat yogurt, it adds tenderness) keeps the cake from drying out. Use 1/2 cup.
- Vanilla Extract: Essential for that classic white cake flavor. Use good quality pure vanilla extract for the best taste. We’ll use 2 teaspoons.
And for that classic, creamy frosting:
- Unsalted Butter, Softened: The base of our buttercream. Again, softened is key for smooth creaming. You’ll need 2 sticks (1 cup).
- Powdered Sugar: The sweet heart of the frosting. It dissolves easily for a smooth texture. Have 4 cups ready, sifted if it seems lumpy.
- Milk or Cream: Adjusts the consistency of the frosting. Start with 1/4 cup. Cream will yield a richer frosting, but milk works perfectly well.
- Vanilla Extract: Flavoring the frosting to complement the cake. 1 teaspoon.
- Pinch of Salt: Just like in the cake, a tiny pinch balances the sweetness of the frosting.
Crafting Your Classic White Cake: Step-by-Step for Fluffiness
Now for the fun part – mixing up the batter! Remember the goal is a tender, fluffy cake, and that comes from careful mixing and a specific technique. Follow these steps closely:
- Begin by preparing your baking environment. Preheat your oven to 350 degrees F (175 degrees C). This ensures a consistent baking temperature from the moment your cake goes in. Take two 8-inch round cake pans. Thoroughly grease them using butter or shortening, getting into all the corners and up the sides. Then, lightly flour the greased pans, tapping out any excess flour. This crucial step helps prevent the cake from sticking and ensures clean release.
- In a spacious large bowl, whisk together all your dry ingredients: the measured all-purpose flour, granulated sugar, baking powder, baking soda, and salt. Give it a good whisk for about 30 seconds to a minute, ensuring the leaveners and salt are evenly distributed throughout the flour and sugar mixture. This sets the stage for even rising.
- Add the softened unsalted butter directly into the dry ingredients. Using your mixer on low speed, begin incorporating the butter. Mix until the mixture transforms into a sandy, coarse crumb texture. This method, sometimes referred to as the reverse creaming method or a variant, helps coat the flour particles with fat, which inhibits gluten development. Less gluten means a more tender cake crumb later on.
- While your dry ingredients and butter mingle, grab a separate medium bowl. Whisk together your wet ingredients: the 2 large room temperature eggs, the first 1/2 cup of milk, the plain yogurt or sour cream, and the 2 teaspoons of vanilla extract. Whisk until everything is well combined and the mixture looks smooth and uniform.
- Now, it’s time to bring the wet and dry ingredients together. Gradually add the mixture from your wet ingredients bowl (from step 4) into the large bowl with the dry ingredients and butter crumbs. Mix on medium speed just until the ingredients are combined and the batter appears smooth. It’s absolutely critical here not to overmix. Overmixing develops gluten unnecessarily, which can lead to a tough or dense cake. Mix only until you no longer see streaks of dry flour.
- Here is the signature technique for achieving that guaranteed fluffiness! With your mixer still running on a low speed, very gradually pour in the remaining 1 cup of room temperature milk. Pour it in a slow, steady stream directly into the batter. Continue mixing just until this final addition of milk is fully incorporated and the batter is smooth again. Do not mix longer than necessary. You’ll notice the batter becomes quite thin; resist the urge to add more flour! This thin consistency is exactly right and is key to achieving the wonderfully moist and tender crumb we’re after.
- Carefully pour the prepared batter evenly into your two greased and floured cake pans. You can use a spatula to help divide it and scrape down the bowl. Ensure the batter is distributed as evenly as possible between the pans for uniform layers.
- Place the pans into your preheated oven. Bake for 30-35 minutes. The exact time will vary depending on your oven, so start checking around the 30-minute mark. You’ll know the cakes are done when the tops are lightly golden, the edges are starting to pull away slightly from the pan, and a wooden skewer or toothpick inserted into the center comes out clean, with no wet batter attached. A few moist crumbs are okay.
- Once baked, remove the cakes from the oven. Let them cool in their pans for about 10 minutes. This allows them to firm up slightly before handling. After 10 minutes, carefully invert the cakes onto a wire rack. Allow them to cool completely on the wire rack. Cooling on a rack allows air circulation, preventing the bottoms from becoming soggy. Do not attempt to frost the cakes until they are completely cool, or your frosting will melt!
- While the cakes cool, prepare the luscious frosting. In a large bowl, beat the softened butter until it’s light and creamy. This usually takes a few minutes with an electric mixer. Gradually add the powdered sugar, alternating with the milk or cream (start with a little sugar, then a little liquid, and repeat). Beat until the frosting is smooth, fluffy, and reaches your desired consistency. If it’s too thick, add a tiny splash more liquid; if too thin, add a spoonful more powdered sugar. Finally, beat in the vanilla extract and the pinch of salt.
- Once your cake layers are entirely cool to the touch, it’s time to assemble and decorate! Place one cake layer onto your serving plate or cake stand. Spread a generous, even layer of the prepared frosting over the top. Carefully place the second cake layer on top of the first. Use the remaining frosting to cover the top and sides of the entire cake, creating a beautiful, classic look.
Tips for Perfect Classic White Cake Every Time
Achieving that perfect fluffy texture is easier than you think, especially with a few insider tips. Here’s how to ensure your Classic White Cake turns out beautifully every single time:
- Room Temperature is Your Friend: This recipe specifically calls for room temperature eggs and milk (twice!). Room temperature ingredients emulsify better, meaning they mix more smoothly and evenly into the batter. This creates a more uniform texture and contributes significantly to the cake’s lightness and fluffiness. If you forget to take your eggs out ahead of time, you can quickly warm them by placing them in a bowl of warm tap water for 5-10 minutes.
- Measure Flour Accurately: As mentioned earlier, spooning flour into your measuring cup and leveling it off is crucial. Scooping directly can add up to 25% too much flour, resulting in a dense, dry cake.
- Do Not Overmix: This cannot be stressed enough! Once you add the wet ingredients to the dry (step 5) and especially when adding the final cup of milk (step 6), mix only until just combined. Overmixing develops gluten, which makes cakes tough. A few small lumps are preferable to a tough cake.
- Check Your Oven Temperature: Ovens can be notoriously inaccurate. Using an oven thermometer is an inexpensive way to ensure your oven is heating to the correct temperature. An oven that’s too hot can cause the cake to dome excessively and dry out, while one that’s too cool can result in a sad, flat cake.
- Patience is Key for Cooling: Resist the urge to rush the cooling process. Cooling the cakes completely on a wire rack is essential for preventing condensation and ensuring they are firm enough to handle and frost without breaking.
- Frosting Fun: This vanilla buttercream is a classic pairing, but this versatile white cake welcomes many frosting flavors! Try a rich chocolate frosting (like you might find on a Deep Dark Chocolate Layer Cake) or a tangy lemon buttercream (perfect with a Lemon Layer Cake base!). You can also add sprinkles, coconut flakes, or even fresh berries between the layers for extra flair.
- Storage: Store the frosted cake loosely covered at room temperature for up to 2-3 days. If keeping it longer, or if your frosting contains perishable ingredients (like cream cheese, though this one doesn’t), it’s best stored in the refrigerator. Bring refrigerated cake to room temperature before serving for the best texture.
What to Serve With Your Fluffy White Cake
A slice of this Classic White Cake is a dessert in itself, especially when adorned with the creamy vanilla frosting. However, if you’re serving it as part of a larger spread or just want to offer delightful pairings, here are a few ideas:
- Fresh Berries: Strawberries, raspberries, or a mix of seasonal berries provide a lovely tart contrast to the sweet cake and frosting.
- Fruit Compote or Sauce: A simple berry compote or a peach crumble topping used as a sauce can elevate the flavor.
- A Scoop of Ice Cream: Vanilla bean or strawberry ice cream is a simple yet perfect match.
Your Classic White Cake Questions Answered (FAQ)
Baking can sometimes raise questions, especially when aiming for that perfect texture. Here are some common queries about baking a fluffy white cake:
Why is room temperature milk added at the end?
This technique is key to the cake’s fluffy texture. By adding the liquid (milk) at the end to a batter where the flour has already been coated in fat (from the butter), it helps create a tender crumb structure and prevents the development of too much gluten. It’s a method that yields a very moist and fine-textured cake.
My batter seems very thin after adding the last cup of milk. Is that right?
Yes, absolutely! This is intentional and correct for this recipe. The thin batter contributes significantly to the cake’s tender and moist crumb. Trust the process – it’s what makes this cake so wonderfully fluffy.
Can I use cold ingredients if I’m in a hurry?
While you could technically use cold ingredients, it’s strongly recommended not to. Room temperature ingredients are essential for proper emulsification, ensuring the fats and liquids combine smoothly. This leads to a more uniform batter and a significantly better cake texture. Taking the time to bring your ingredients to room temperature is a small step that makes a big difference.
Can I make this recipe into cupcakes?
Yes, this recipe can easily be adapted for cupcakes! Simply line cupcake tins with paper liners and fill them about two-thirds full with batter. The baking time will be shorter, typically 18-25 minutes, or until a skewer inserted into the center comes out clean. This batter would also work beautifully for fluffy vanilla cupcakes.
How should I store leftover cake?
The best way to store leftover frosted cake is to cover it loosely with plastic wrap or place it in a cake carrier. It can be kept at room temperature for 2-3 days. For longer storage, or if your kitchen is very warm, refrigerate it. Let refrigerated cake sit at room temperature for 20-30 minutes before serving to restore its ideal texture.
Can I substitute ingredients, like using oil instead of butter?
While substitutions are sometimes possible in baking, this recipe is specifically developed using butter for flavor and texture provided by its fat content and how it interacts with the dry ingredients in step 3. Using oil would change the texture and flavor profile considerably, likely resulting in a cake that isn’t quite the same fluffy classic. For the best results and the promised texture, stick to unsalted butter as specified.
Enjoy Your Homemade Classic White Cake!
Baking this Classic White Cake is a rewarding experience, and the result is truly worth it. The soft, moist, and incredibly fluffy layers paired with creamy vanilla frosting are pure bliss. It’s perfect for birthdays, holidays, or just making an ordinary day feel a little more special.
Give this recipe a try and discover the secret to guaranteed fluffy white cake for yourself. We’d love to hear how it turns out! Leave a comment below and let us know your favorite way to decorate and enjoy this classic treat.
Classic White Cake

Ingredients
- 2 and 1/4 cups all purpose flour
- 1 and 3/4 cups granulated sugar
- 1 teaspoon baking powder
- 1/2 teaspoon baking soda
- 1/2 teaspoon salt
- 1/2 cup (1 stick) unsalted butter, softened
- 2 large eggs
- 1/2 cup milk
- 1/2 cup plain nonfat yogurt or sour cream (for moisture)
- 2 teaspoons vanilla extract
- 1 cup milk, room temperature
- For the Frosting:
- 1 cup (2 sticks) unsalted butter, softened
- 4 cups powdered sugar
- 1/4 cup milk or cream
- 1 teaspoon vanilla extract
- Pinch of salt
Directions
- Preheat oven to 350 degrees F (175 degrees C). Grease and flour two 8-inch round cake pans.
- In a large bowl, whisk together the flour, sugar, baking powder, baking soda, and salt.
- Add the softened butter and mix on low speed until the mixture resembles coarse crumbs.
- In a separate medium bowl, whisk together the 2 large eggs, 1/2 cup milk, yogurt or sour cream, and 2 teaspoons vanilla extract.
- Gradually add the wet ingredients from step 4 to the dry ingredients in the large bowl, mixing on medium speed just until combined and smooth. Do not overmix.
- This is the key step for fluffiness: With the mixer on low speed, gradually pour in the remaining 1 cup of room temperature milk in a slow, steady stream. Mix just until the batter is smooth and fully combined. The batter will be quite thin, this is correct and helps achieve a tender crumb.
- Pour the batter evenly into the prepared pans.
- Bake for 30-35 minutes, or until a wooden skewer inserted into the center comes out clean.
- Let the cakes cool in the pans for 10 minutes, then invert them onto a wire rack to cool completely before frosting.
- To make the frosting, beat the softened butter in a large bowl until creamy. Gradually add the powdered sugar, alternating with the milk or cream, beating until smooth and fluffy. Beat in the vanilla extract and salt.
- Once the cakes are completely cool, place one layer on a serving plate or cake stand. Spread a generous layer of frosting over the top. Place the second layer on top. Frost the top and sides of the cake.