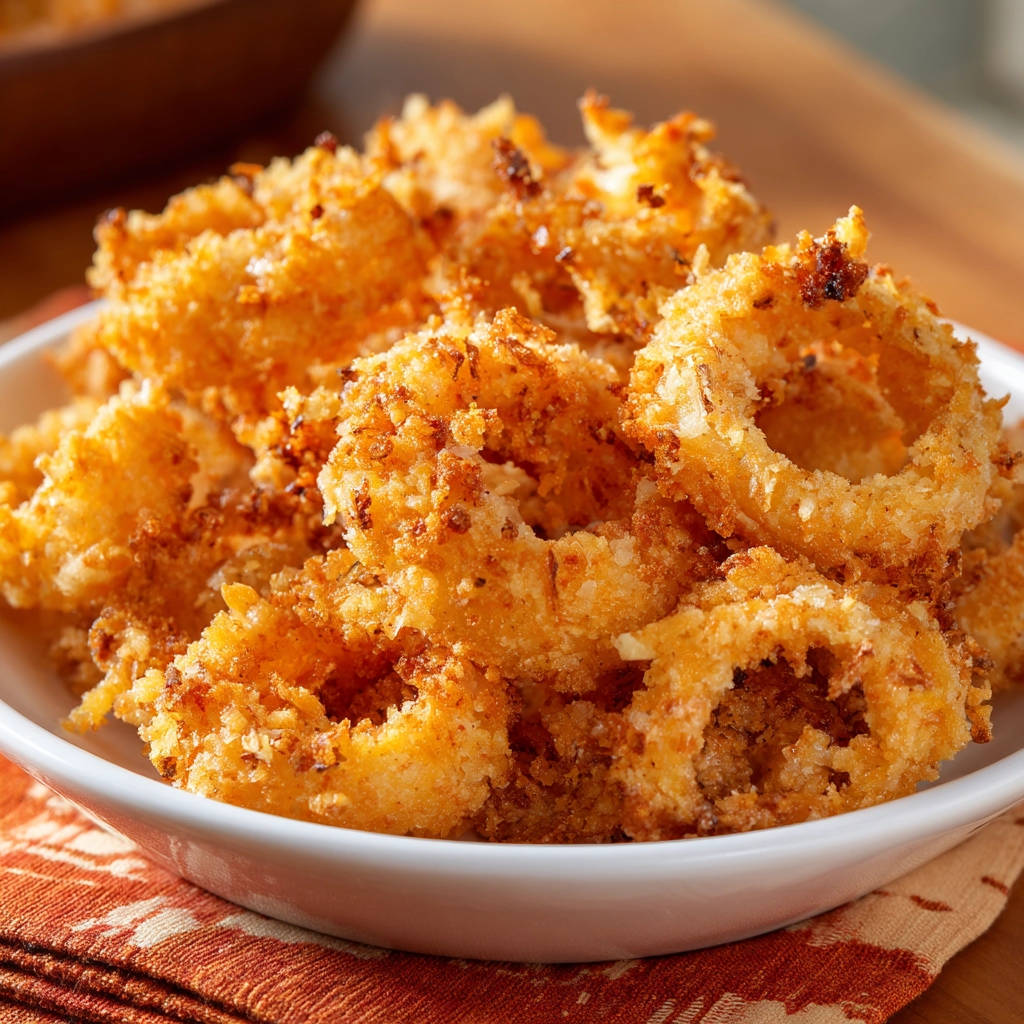
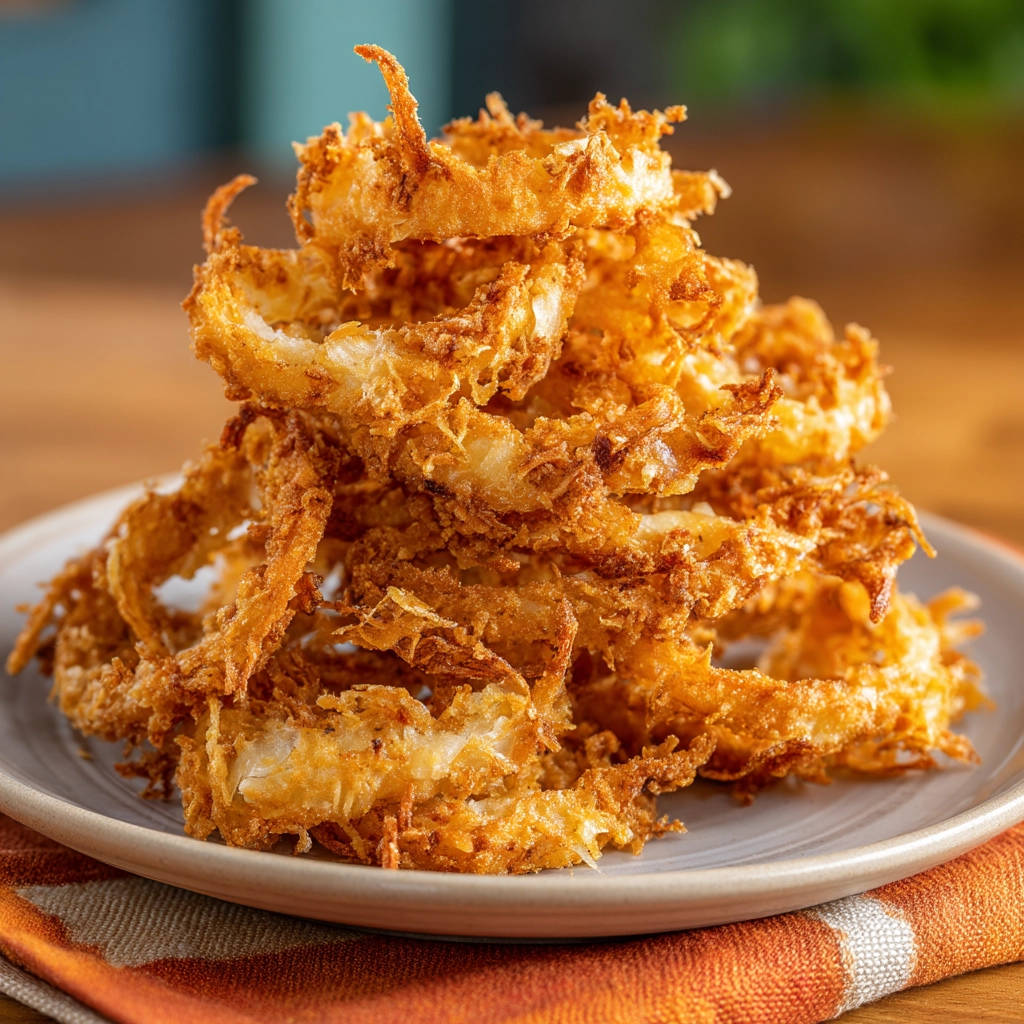
There’s just something undeniably satisfying about a perfectly crispy onion ring. That golden-brown coating, the sweet onion inside, and that glorious crunch when you bite in. Pure comfort food! For the longest time, I thought achieving that kind of crispiness was impossible outside of a deep fryer. Baked onion rings always seemed destined for sogginess or a sad, limp texture. But let me tell you, friends, that all changed when I discovered one simple, crucial trick. Now, I can make crispy baked onion rings at home every single time, and they’re just as good as their fried counterparts, without all the extra oil and mess.
If you’ve been on a quest for genuinely crunchy, oven-baked onion rings that don’t disappoint, your search ends here. This recipe isn’t just about baking; it’s about understanding the science behind the crisp and implementing a technique that guarantees success. Say goodbye to soggy failures and hello to your new favorite snack or side dish!
If you’re seeking oven-baked goodness, try these cheesy baked cauliflower for a satisfyingly crisp bite.
Why You’ll Love These Crispy Baked Onion Rings
Beyond the obvious benefit of being incredibly delicious, there are so many reasons to fall in love with making onion rings in the oven:
For more baking inspiration, explore fudgy cocoa brownies and their amazing texture.
- Less Fat, More Flavor: Baking significantly reduces the amount of oil needed compared to deep frying, resulting in a lighter bite without sacrificing taste.
- Minimal Mess: No splattering oil to clean up! Baking is a much cleaner cooking method for onion rings.
- That Perfect Texture: Thanks to the simple trick I’m about to share, you get a truly satisfying crunch that rivals fried versions.
- Easy to Scale: Need more? Just grab another onion and load up a second baking sheet.
- Crowd-Pleaser: These disappear fast! They’re perfect for parties, game nights, or just a fun family snack.
Gathering Your Ingredients for Crispy Oven Onion Rings
Making fantastic oven onion rings starts with selecting the right components. While the list is short and sweet, paying a little attention to each ingredient ensures the best possible outcome, from the onion itself to that crucial crispy coating.
- 1 large yellow onion: The star of the show! Yellow onions are ideal here because they offer a balanced sweetness that mellows beautifully when baked. Look for an onion that feels firm and heavy for its size.
- 1 1/2 cups panko breadcrumbs: This is key to the crispy part. Panko breadcrumbs are Japanese-style breadcrumbs that are larger, lighter, and flakier than standard breadcrumbs. They absorb less oil and create a superior crunch.
- 1/2 cup all-purpose flour: Provides the initial base layer for the breading to adhere to the onion slices. It helps create a dry surface for the wet ingredients.
- 2 large eggs: Act as the binder, helping the flour and milk mixture stick to the onion and providing something for the panko to latch onto. Use large eggs for consistency.
- 1/4 cup milk: Whisked with the eggs, the milk helps thin the egg wash slightly, making it easier to coat the onion rings evenly. It also contributes to browning.
- 1 teaspoon salt: Essential for seasoning the breadcrumb coating and enhancing the natural sweetness of the onion.
- 1/2 teaspoon black pepper: Adds a touch of savory depth to the coating.
- 1/2 teaspoon paprika: Provides a lovely color to the finished rings and a hint of mild, sweet flavor. You can adjust this or swap for smoked paprika for a different twist.
- Olive oil cooking spray: A light misting is essential for achieving that beautiful golden color and promoting crispiness in the oven. You could also use another neutral cooking spray.
Having these simple ingredients ready is the first step to unlocking the secret to truly crispy baked onion rings.
Crafting Your Crispy Baked Onion Rings: Step-by-Step Guide
Okay, let’s get down to business! This process is straightforward, but each step plays a vital role in getting that coveted crunch. Pay special attention to step 4 – it’s the game changer!
Prepare Your Baking Environment: Begin by preheating your oven to 400 degrees Fahrenheit (200 degrees Celsius). Getting the oven to the correct temperature before the onion rings go in is crucial for even cooking and crisping. Line a large baking sheet with parchment paper. This prevents sticking and makes cleanup a breeze.
Slice and Separate the Onion: Peel your large yellow onion. Using a sharp knife, carefully slice the onion into rings about 1/2 inch thick. Try to keep the thickness consistent so they bake evenly. Once sliced, gently separate the rings. Smaller inner rings can be baked alongside the larger ones.
Set Up Your Breading Station: You’ll need three shallow dishes or bowls that are wide enough to accommodate the onion rings. In the first dish, add the all-purpose flour. In the second dish, whisk together the large eggs and milk until well combined. In the third dish, combine the panko breadcrumbs, salt, black pepper, and paprika. Give the dry ingredients in the third dish a quick stir to distribute the seasonings evenly. This setup creates an efficient assembly line.
The Crucial Drying Step: This is it! The absolute key to achieving crispy, not soggy, baked onion rings. Before you dip a single ring, take a handful of the separated onion rings and lay them out on a layer of paper towels. Gently but firmly pat them completely dry with more paper towels. Moisture is the enemy of crispiness when baking. This step removes excess water from the onion’s surface, allowing the breading to crisp up properly in the heat of the oven. Work in batches until all rings are thoroughly patted dry.
Flour the Rings: Take each dry onion ring and dip it into the first shallow dish containing the flour. Make sure it’s lightly coated on all sides. Lift it out and gently shake off any excess flour. A thin, even layer is what you’re after.
Dip in Egg Wash: Next, transfer the floured ring to the second dish with the whisked egg and milk mixture. Dip it to coat thoroughly, letting any excess egg wash drip back into the bowl for a moment before moving on. The flour layer helps the egg mixture adhere.
Coat in Panko: Finally, place the egg-washed ring into the third dish with the seasoned panko breadcrumbs. Gently press the ring into the panko, ensuring it’s fully coated on all sides. Use your fingers to press the breadcrumbs onto the ring if needed. Lift it out and gently shake off any loose crumbs. This final panko layer is what will create that amazing crispy crust.
Arrange on Baking Sheet: Arrange the coated onion rings in a single layer on your prepared baking sheet. It is essential that the rings do not touch each other. If they are too close or overlapping, they will steam instead of crisping up. Use a second baking sheet if necessary to give them space.
Apply the Oil Spray: Once all the onion rings are arranged on the sheet, lightly spray the tops of the rings with olive oil cooking spray. This step is important for promoting browning and adding a little fat to help the breadcrumbs turn golden and crispy, mimicking the effect of frying without submerging them in oil.
Bake to Golden Perfection: Place the baking sheet in your preheated oven. Bake for 15-20 minutes, depending on your oven and how thick your rings are. At the halfway point (around 7-10 minutes), carefully flip each onion ring using tongs or a spatula. This ensures even crisping and browning on both sides. Continue baking until they are beautifully golden brown and feel firm and crispy when gently poked.
Serve Immediately: Crispiness is best enjoyed right away! Once they are done, remove the tray from the oven and serve your homemade crispy baked onion rings immediately with your favorite dipping sauce. They lose their crispness as they cool.
Following these steps, especially the drying part, will turn those humble onion slices into glorious, golden, crispy delights!
Tips for Perfect Baked Onion Rings Every Time
Want to ensure your crispy baked onion rings reach their full crunchy potential? Keep these extra tips in mind:
Complementary Dishes
Round out your meal with these dishes that pair well with crunchy onion rings.
- For a rich, savory experience, consider these Swedish Meatballs in Creamy Sauce, offering a comforting contrast to the crispiness.
- If you enjoy well-prepared fish, explore these Mediterranean Salmon Power Bowls for a different kind of satisfying texture.
- Consistency is Key: Aim for uniform onion slice thickness (about 1/2 inch). This ensures they cook at the same rate, preventing some from burning while others are still soft.
- Don’t Skip the Drying!: Seriously, I cannot stress this enough. Patting the onion rings bone-dry is the single most important step for crispiness. Use plenty of paper towels!
- Give Them Space: Overcrowding the baking sheet is the fastest way to soggy onion rings. The moisture released by the onions needs space to evaporate and allow the breading to dry and crisp. Bake in batches if needed.
- Hot Oven is Happy Oven: Make sure your oven is fully preheated. Baking at a sufficiently high temperature helps the coating crisp up quickly before the onion becomes too soft or watery.
- Check Halfway: Flipping isn’t just about getting color on both sides; it helps the underside crisp up evenly. Don’t forget this step!
- Listen for the Crisp: Towards the end of the baking time, you should hear a slight sizzling or see the edges looking dry and golden. They shouldn’t look wet or soft.
- Spice it Up: Feel free to experiment with the seasoning in the panko. Add a pinch of garlic powder, onion powder, chili powder, or even some dried herbs for extra flavor.
- Air Fryer Option: If you have an air fryer, these can be made even crispier! Follow the breading steps, then air fry at 375°F (190°C) for 8-12 minutes, flipping halfway, until golden and crispy. Again, don’t overcrowd the basket.
What to Serve With Baked Onion Rings
Crispy baked onion rings are a versatile side dish or appetizer. They’re fantastic dipped in classic ketchup, ranch dressing, or even a spicy aioli. Pair them with comfort food favorites like juicy smash burgers or crispy baked chicken bites. They also make a great side for simple weeknight dinners like glazed chicken thighs or just about anything off the grill!
Your Crispy Onion Ring Questions Answered (FAQ)
Got more questions about making the best baked onion rings? Here are some common ones:
Can I make these gluten-free?
Yes, you absolutely can! Simply substitute the all-purpose flour with a gluten-free flour blend and use gluten-free panko breadcrumbs. The drying step remains just as crucial with these substitutions to ensure crispiness.
Why aren’t my baked onion rings crispy?
The most common culprits are excess moisture (did you pat them really dry?), overcrowding on the baking sheet (they need space to crisp, not steam), or the oven temperature not being high enough. Make sure your oven is fully preheated, the rings are dry, and they have plenty of room on the tray. A light misting of oil spray also helps significantly.
Can I reheat baked onion rings?
Reheating in the microwave will make them soggy. For best results, reheat them in a single layer on a baking sheet in a preheated oven at 350°F (175°C) for 5-10 minutes, or in an air fryer, until they crisp up again. This helps revive their texture.
Can I prepare these ahead of time?
You can bread the onion rings a few hours ahead of time. Arrange the breaded rings on a parchment-lined baking sheet in a single layer, cover loosely with plastic wrap, and refrigerate. Do not stack them. Bake as directed when ready. For longer storage, you can freeze breaded, unbaked onion rings on a baking sheet until solid, then transfer them to a freezer-safe bag or container. Bake from frozen, adding a few minutes to the baking time.
Can I use different types of onions?
While yellow onions are recommended for their balance of sweetness and flavor when baked, you could experiment with sweet onions like Vidalia. Red onions tend to be stronger and might not be as universally appealing baked, but it’s a matter of personal preference.
Enjoy Your Homemade Crispy Baked Onion Rings!
Who knew the secret to perfectly crispy baked onion rings was so simple? Just a little patience with drying the onion makes all the difference in the world. These are so incredibly addictive and make such a wonderful addition to any meal or snack spread. Ditch the deep fryer and give these oven-baked beauties a try. I promise you won’t miss the oil, but you’ll absolutely love the crunch!
Give this recipe a go and let me know what you think in the comments below! Happy baking!
Crispy Baked Onion Rings
Course: Side DishCuisine: AmericanDifficulty: easy6
servings8
minutes20
minutes240
kcal28
MinutesGet the secret to truly crispy baked onion rings at home! Say goodbye to soggy with this easy oven method and simple trick.
Ingredients
1 large yellow onion
1 1/2 cups panko breadcrumbs
1/2 cup all-purpose flour
2 large eggs
1/4 cup milk
1 teaspoon salt
1/2 teaspoon black pepper
1/2 teaspoon paprika
Olive oil cooking spray
Directions
- Preheat your oven to 400 degrees Fahrenheit (200 degrees Celsius). Line a large baking sheet with parchment paper.
- Peel the onion and cut it into 1/2 inch thick rings. Separate the rings.
- Set up a breading station: Place the flour in a shallow dish. In a second shallow dish, whisk together the eggs and milk. In a third shallow dish, combine the panko breadcrumbs, salt, pepper, and paprika.
- This is the key to crispy perfection: Pat the onion rings completely dry with paper towels before you begin coating them. Excess moisture is the enemy of crispiness!
- Dip each dry onion ring first into the flour, shaking off any excess.
- Next, dip the floured ring into the egg mixture, letting any excess drip off.
- Finally, press the ring firmly into the panko mixture, ensuring it is fully coated on all sides. Gently shake off any loose crumbs.
- Arrange the coated onion rings in a single layer on the prepared baking sheet. Make sure they do not touch.
- Lightly spray the tops of the onion rings with olive oil cooking spray. This helps achieve that golden, fried look and crispiness.
- Bake for 15-20 minutes, flipping the rings halfway through, until they are golden brown and crispy. Baking time may vary depending on your oven and the thickness of the rings.
- Serve immediately with your favorite dipping sauce.
Notes
- Ensure your onion rings are thoroughly dry before breading; this is crucial for achieving that perfect crispy texture. For an extra layer of flavor and crunch, consider adding a pinch of garlic powder or dried herbs to your panko breadcrumbs.