Craving the delightful, pillowy texture of gnocchi but tired of the dreaded gummy result? I’ve been there! After countless attempts, I’ve unlocked the secret to achieving restaurant-quality, crispy pan-fried gnocchi at home. This method guarantees perfectly golden-brown gnocchi with a delightfully tender interior every single time. Get ready to transform your gnocchi experience!
Why You’ll Love This Crispy Gnocchi Recipe
This recipe isn’t just about avoiding gummy gnocchi; it’s about creating a dish that’s:
- Quick and Easy: Ready in under 20 minutes, perfect for a weeknight meal.
- Flavorful: The combination of crispy gnocchi and fresh pesto is simply irresistible.
- Versatile: Adaptable to your favorite pesto and toppings.
- Restaurant-Quality: Impress your family and friends with this simple yet elegant dish.
Gathering Your Ingredients for Crispy Pan-Fried Gnocchi
The beauty of this recipe lies in its simplicity. We’re focusing on enhancing the natural flavors of the gnocchi and pesto through proper cooking techniques. Quality ingredients are key, so let’s talk about what you’ll need. The star of the show, of course, is the gnocchi, and then we’ll build from there with complementary flavors.
- 1 pound pre-made gnocchi: Opt for high-quality, shelf-stable or refrigerated gnocchi. Fresh gnocchi can also work, but be sure to adjust cooking time accordingly.
- 2 tablespoons olive oil: Extra virgin olive oil is preferred for its flavor, but regular olive oil will also work. The oil is essential for achieving that beautiful golden-brown crisp.
- 1/4 cup pesto: Use your favorite store-bought or homemade pesto. Freshly made pesto will provide the most vibrant flavor.
- Salt to taste: Enhances the overall flavor profile.
- Black pepper to taste: Adds a subtle kick.
- Fresh basil leaves for garnish: Adds a touch of freshness and visual appeal.
Crafting Your Crispy Gnocchi: Step-by-Step
The secret to transforming those sometimes-gummy dumplings into golden-brown perfection is all in the technique. The key is to properly boil and, more importantly, thoroughly dry the gnocchi before pan-frying. Don’t skip the drying step, as that’s essential for getting them nice and crisp! Let’s get started.
- Boil the Gnocchi: Begin by bringing a large pot of salted water to a rolling boil. Generously salting the water seasons the gnocchi from the inside out.
- Cook Until Floating: Gently add the gnocchi to the boiling water. Cook until they float to the surface, which usually takes about 2-3 minutes. This indicates they are cooked through. Be careful not to overcook them, or they’ll become mushy.
- Drain and Dry Thoroughly: This is the most crucial step! Immediately drain the gnocchi in a colander. Then, transfer them to a clean kitchen towel or paper towels. Spread them out in a single layer and let them sit for at least 5 minutes, or even longer if you have the time. The drier the gnocchi, the crispier they will get in the pan. This step is non-negotiable!
- Heat the Oil: Heat the olive oil in a large skillet over medium-high heat. The skillet needs to be hot before you add the gnocchi; otherwise, they will steam instead of fry. A well-seasoned cast iron skillet works wonders for this recipe, but any large skillet will do.
- Pan-Fry to Perfection: Add the drained and dried gnocchi to the hot skillet in a single layer. Avoid overcrowding the pan, as this will lower the temperature and prevent them from browning properly. If necessary, cook in batches.
- Flip and Crisp: Cook the gnocchi for 2-3 minutes per side, or until they are golden brown and crispy. Flip only once or twice to achieve optimal browning. Resist the urge to stir them constantly! Patience is key here.
- Add the Pesto: Remove the skillet from the heat and stir in the pesto. Toss gently to coat the gnocchi evenly. The residual heat will warm the pesto without cooking it, preserving its fresh flavor and vibrant color.
- Season and Serve: Season with salt and black pepper to taste.
- Garnish and Enjoy: Serve immediately, garnished with fresh basil leaves. The basil adds a beautiful aroma and a pop of color.
Tips for Perfect Crispy Gnocchi Every Time
Want to take your crispy gnocchi game to the next level? Here are a few extra tips and tricks I’ve learned along the way:
- Don’t Overcrowd the Pan: Cooking the gnocchi in batches ensures even browning and maximum crispiness.
- Use a Hot Pan: A hot pan is essential for creating that golden-brown crust.
- Pat Dry: After boiling, gently pat the gnocchi dry with paper towels before placing them on the drying towel for even better crisping.
- Add a Touch of Cheese: For an extra layer of flavor, sprinkle some grated Parmesan cheese over the gnocchi during the last minute of cooking.
- Spice It Up: Add a pinch of red pepper flakes to the pesto for a spicy kick.
What to Serve With Crispy Gnocchi
This crispy gnocchi with pesto is delicious as a main course or a side dish. It pairs well with a variety of dishes. For a complete meal, consider serving it alongside a simple salad with a lemon vinaigrette. It would also be a great accompaniment to roasted vegetables or grilled chicken. If you’re looking for a comforting side dish to accompany a hearty main course, consider serving the gnocchi with cheesy potatoes, you can find a great recipe at this link: slow cooker cheesy potatoes. Another option is to serve it as part of a larger Italian-inspired feast.
Your Crispy Gnocchi Questions Answered (FAQ)
Why is my gnocchi still gummy after pan-frying?
The most common reason for gummy gnocchi is not drying them thoroughly enough after boiling. Be sure to drain them well and let them sit on a clean kitchen towel or paper towels for at least 5 minutes, or even longer. Also, overcrowding the pan can lead to steaming instead of frying, resulting in a gummy texture.
Can I use homemade gnocchi for this recipe?
Yes, you can! However, homemade gnocchi can be more delicate than store-bought. Adjust the boiling time accordingly, and be extra gentle when handling them. Ensure they are well-dried before pan-frying.
Can I use a different sauce instead of pesto?
Absolutely! Feel free to experiment with other sauces, such as marinara, Alfredo, or a simple brown butter sauce. Just be sure to add the sauce after the gnocchi have been pan-fried to maintain their crispiness.
Can I add other vegetables to this dish?
Definitely! Sautéed vegetables like spinach, mushrooms, or bell peppers would be delicious additions. Add them to the skillet after the gnocchi are cooked and toss them together with the pesto.
Enjoy Your Homemade Crispy Gnocchi!
There you have it – a foolproof recipe for achieving perfectly crispy pan-fried gnocchi every single time. Say goodbye to gummy gnocchi forever! This dish is simple, flavorful, and sure to impress. Now it’s your turn to try it out! Don’t forget to leave a comment below and let me know how it turned out. Share your culinary creations with friends, and spread the joy of perfectly crispy gnocchi!
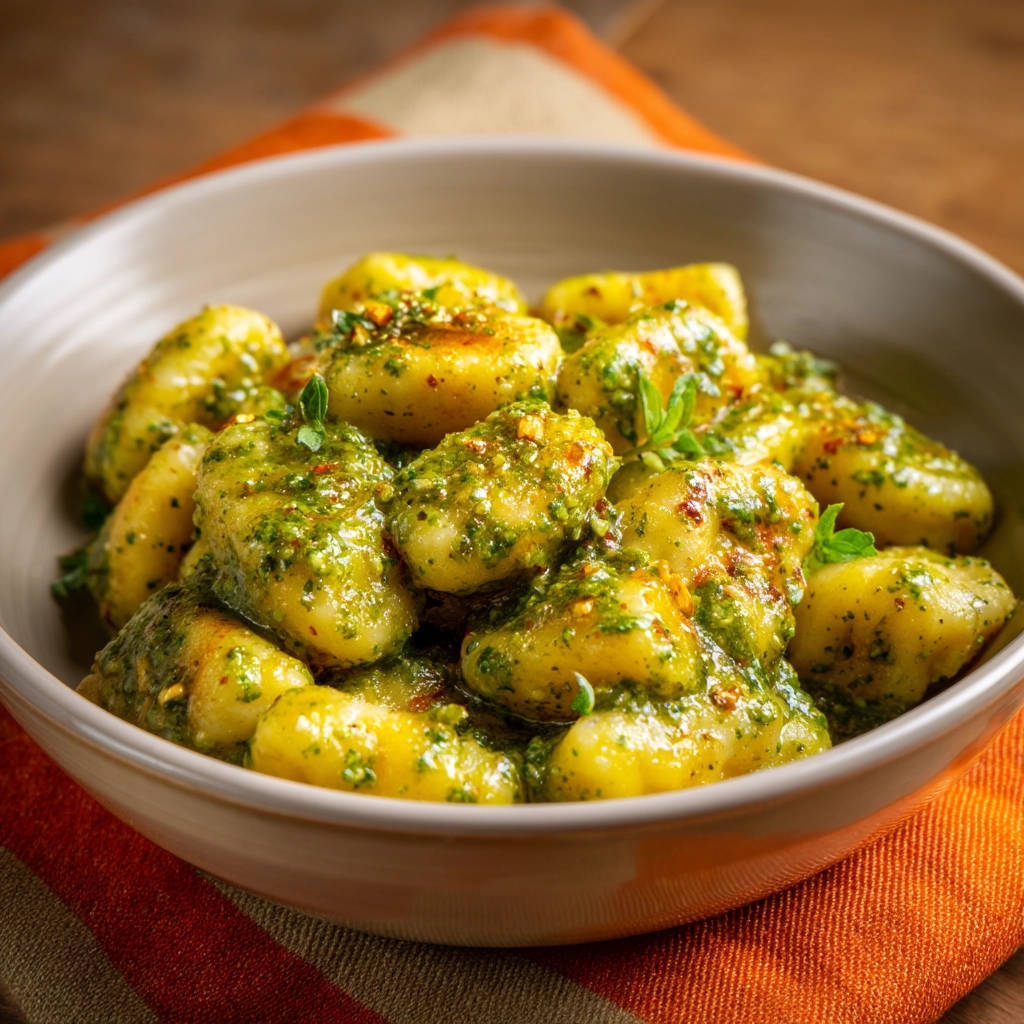
Crispy Pan-Fried Gnocchi with Pesto (No More Gummy Texture!)

Ingredients
- 1 pound pre-made gnocchi
- 2 tablespoons olive oil
- 1/4 cup pesto
- Salt to taste
- Black pepper to taste
- Fresh basil leaves for garnish
Directions
- Bring a large pot of salted water to a boil.
- Gently add the gnocchi to the boiling water. Cook until they float to the surface, about 2-3 minutes.
- Immediately drain the gnocchi and place them on a clean kitchen towel or paper towels to dry completely. This is crucial for achieving a crispy exterior. Let them sit for at least 5 minutes.
- Heat the olive oil in a large skillet over medium-high heat. Make sure the skillet is hot before adding the gnocchi.
- Add the drained and dried gnocchi to the skillet in a single layer, being careful not to overcrowd the pan.
- Cook the gnocchi for 2-3 minutes per side, or until golden brown and crispy, flipping only once or twice. Avoid stirring them constantly, as this will prevent them from browning properly.
- Remove the skillet from the heat and stir in the pesto. Toss gently to coat the gnocchi evenly.
- Season with salt and black pepper to taste.
- Serve immediately, garnished with fresh basil leaves.