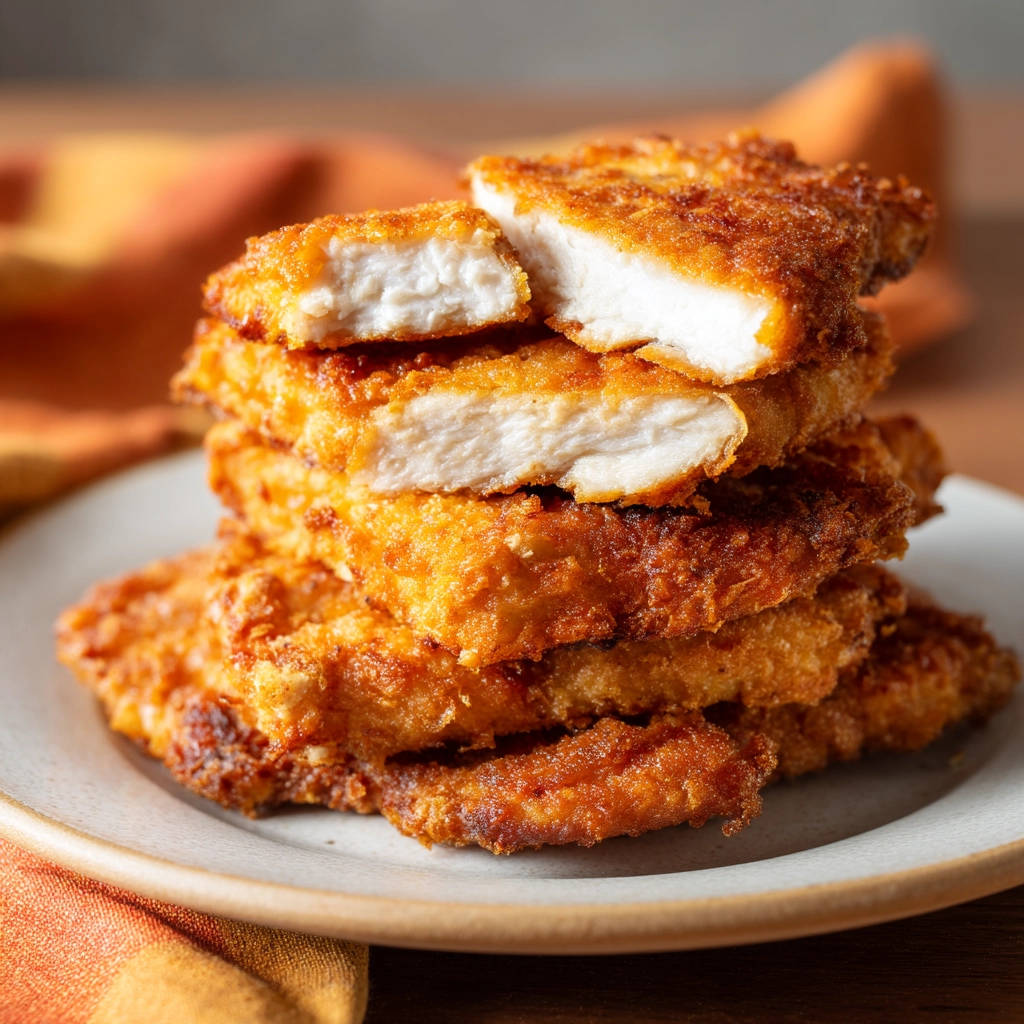
Is there anything more disappointing than anticipating a perfectly crispy chicken cutlet, only to find it dry and tough on the inside? I’ve been there! But after much experimentation, I’ve cracked the code to achieving incredibly juicy chicken cutlets with a beautiful, golden-brown, crispy crust. Get ready to transform your weeknight dinners with this easy and foolproof recipe for crispy golden chicken cutlets!
Why You’ll Love These Chicken Cutlets
These aren’t just any chicken cutlets; they’re:
- Juicy and Tender: Say goodbye to dry, stringy chicken forever!
- Perfectly Crispy: That golden-brown crust is irresistible.
- Quick and Easy: Ready in under 30 minutes.
- Versatile: Perfect for sandwiches, salads, or as a main course.
- Family-Friendly: A guaranteed hit with kids and adults alike.
Gathering Your Ingredients for Crispy Golden Chicken Cutlets
This recipe relies on simple, readily available ingredients, but the key is understanding how they work together to create the perfect crispy yet juicy chicken cutlet. The breading process is crucial, as is proper cooking temperature. Let’s break down what you’ll need:
The Chicken
- 2 large boneless, skinless chicken breasts: Look for chicken breasts that are relatively uniform in size for even cooking. You’ll be slicing these horizontally to create thinner cutlets, so starting with a good quality chicken breast is important.
The Breading Station
A well-organized breading station is key to a smooth and successful cooking process. Here’s what you’ll need:
- 1 cup all-purpose flour: This provides the initial layer of coating, helping the egg wash adhere properly.
- 1 teaspoon salt: Seasoning the flour ensures the coating is flavorful.
- 1/2 teaspoon black pepper: Adds a touch of spice to complement the other flavors.
- 1/2 teaspoon garlic powder: A subtle hint of garlic enhances the overall taste.
- 2 large eggs: These bind the flour and breadcrumbs to the chicken, creating a rich, golden crust.
- 1 tablespoon water: Thinning the eggs slightly creates a smoother egg wash.
- 2 cups plain breadcrumbs: Plain breadcrumbs provide a classic crispy texture. You can use store-bought or make your own by pulsing stale bread in a food processor.
For Frying
- Vegetable oil or other neutral oil for frying: Choose an oil with a high smoke point, such as vegetable, canola, or peanut oil. You’ll need enough to fill your skillet about 1/2 inch deep.
Crafting Your Crispy Golden Chicken Cutlets: Step-by-Step
Making these chicken cutlets is easier than you think! Just follow these simple steps, paying close attention to the details for optimal results. Don’t be intimidated by the breading process – it’s all about taking it one step at a time.
- Prepare the Chicken Cutlets: First, cut each chicken breast in half horizontally. This will give you four thinner cutlets, which are essential for even cooking and a juicy interior. Place each cutlet between two pieces of plastic wrap or inside a large zip-top bag. This prevents the chicken from sticking to your mallet or pan and keeps things tidy.
- Pound the Chicken: Gently pound the chicken using the flat side of a meat mallet or a heavy pan until they are about 1/4 inch thick. Aim for even thickness across the cutlet. Pounding the chicken not only tenderizes it but also ensures that it cooks quickly and evenly. This is a crucial step to avoid dry chicken.
- Set Up Your Breading Station: Prepare three shallow dishes. In the first, combine the flour, salt, pepper, and garlic powder. This seasoned flour will be the first layer of our crispy coating. In the second dish, whisk the eggs with the water to create a smooth egg wash. In the third dish, place the breadcrumbs. Having everything ready to go makes the breading process much smoother.
- Dry the Chicken: Before you start breading, pat the pounded chicken cutlets dry with paper towels. This crucial step helps the flour mixture adhere better, ensuring a crispier coating. Moisture is the enemy of crispiness!
- Dredge in Flour: Dredge each cutlet in the flour mixture, making sure to coat it evenly. Shake off any excess flour. You want a light, even coating, not a thick layer.
- Dip in Egg Wash: Dip the floured cutlet into the egg wash, making sure it’s fully coated. Let any excess egg wash drip off. Too much egg wash can lead to a soggy coating.
- Coat in Breadcrumbs: Press the cutlet into the breadcrumbs, ensuring it’s fully coated on both sides. Gently press the crumbs onto the chicken to help them adhere. A good, even coating of breadcrumbs is what gives you that perfect crispy texture.
- Heat the Oil: Heat about 1/2 inch of oil in a large skillet over medium-high heat until it reaches about 350 degrees F (175 degrees C). If you don’t have a thermometer, you can test the oil by dropping in a pinch of breadcrumbs. If they sizzle immediately but don’t burn, the oil is ready. Getting the oil temperature right is crucial for even cooking and a crispy crust.
- Fry the Chicken: Carefully place 1-2 chicken cutlets in the hot oil, making sure not to overcrowd the pan. Overcrowding will lower the oil temperature and result in steamed, not fried, chicken. Cook for 2-4 minutes per side, or until golden brown and the chicken is cooked through. The key to juicy chicken is cooking it quickly at the right temperature until it just reaches the internal temperature of 165 degrees F (74 degrees C). Pounding it thin helps it cook through before the outside burns or the inside dries out. Use a meat thermometer to ensure the chicken is cooked through.
- Drain and Rest: Remove the cooked cutlets from the skillet and place them on a wire rack set over a baking sheet to drain off excess oil and keep them crispy. Let them rest for a minute or two before serving. This allows the juices to redistribute, resulting in even juicier chicken.
Tips for Perfect Crispy Golden Chicken Cutlets Every Time
Want to ensure your chicken cutlets are a smashing success every single time? Here are a few extra tips and tricks:
- Don’t Overcrowd the Pan: I cannot stress this enough! Frying too many cutlets at once lowers the oil temperature, leading to soggy chicken. Work in batches.
- Use a Meat Thermometer: The only way to guarantee your chicken is cooked through without being dry is to use a meat thermometer. Insert it into the thickest part of the cutlet and cook until it reaches 165°F (74°C).
- Let the Chicken Rest: Allowing the cutlets to rest for a few minutes after frying allows the juices to redistribute, resulting in a more tender and flavorful chicken.
- Spice it Up: Feel free to add other seasonings to the flour mixture, such as paprika, onion powder, or cayenne pepper.
- Crispy Breadcrumb Boost: For an extra-crispy coating, try using panko breadcrumbs instead of plain breadcrumbs. They have a coarser texture that creates a wonderful crunch.
- Gluten-Free Option: For a gluten-free version, use gluten-free all-purpose flour and gluten-free breadcrumbs.
What to Serve With Crispy Golden Chicken Cutlets
These versatile chicken cutlets can be served in so many ways! They’re fantastic in sandwiches, on top of salads, or as a main course with your favorite sides. Consider serving them with creamy spiced potatoes for a comforting meal. For a lighter option, try a simple salad with a vinaigrette dressing. These cutlets also pair beautifully with golden vegetable rice pilaf, adding a delightful touch to the meal.
Your Crispy Golden Chicken Cutlets Questions Answered (FAQ)
Why are my chicken cutlets not crispy?
Several factors can contribute to soggy chicken cutlets. The most common culprits are overcrowding the pan, not drying the chicken thoroughly before breading, and not using hot enough oil. Make sure to follow the recipe carefully and pay attention to these details for optimal crispiness.
Can I bake these chicken cutlets instead of frying them?
While frying gives the best results for crispiness, you can bake the chicken cutlets. Preheat your oven to 400°F (200°C), place the breaded cutlets on a baking sheet lined with parchment paper, and bake for 20-25 minutes, or until cooked through. For extra browning, you can lightly spray the cutlets with cooking oil before baking. This method won’t be quite as crispy as frying, but it’s a healthier alternative. You can also try air frying them!
Can I prepare the chicken cutlets ahead of time?
Yes, you can prepare the chicken cutlets ahead of time. You can pound and bread the chicken cutlets and store them in the refrigerator for up to 24 hours before cooking. Place them on a plate or baking sheet lined with parchment paper and cover them tightly with plastic wrap. This makes weeknight dinners a breeze!
How do I store leftover chicken cutlets?
Store leftover chicken cutlets in an airtight container in the refrigerator for up to 3-4 days. To reheat, you can bake them in a preheated oven at 350°F (175°C) for 10-15 minutes, or until heated through. You can also reheat them in a skillet over medium heat, or even in the microwave (although they won’t be as crispy).
Enjoy Your Homemade Crispy Golden Chicken Cutlets!
Now that you’ve mastered the art of making crispy golden chicken cutlets, you’ll never have to suffer through a dry, flavorless cutlet again! This recipe is a game-changer, guaranteeing juicy, tender chicken wrapped in a perfectly crispy coating. Give it a try, and don’t forget to leave a comment below to let me know how they turned out! Happy cooking!
Crispy Golden Chicken Cutlets (Juicy Inside Every Time)

Ingredients
- 2 large boneless, skinless chicken breasts
- 1 cup all-purpose flour
- 1 teaspoon salt
- 1/2 teaspoon black pepper
- 1/2 teaspoon garlic powder
- 2 large eggs
- 1 tablespoon water
- 2 cups plain breadcrumbs
- Vegetable oil or other neutral oil for frying
Directions
- Cut each chicken breast in half horizontally to make four thinner cutlets. Place each cutlet between two pieces of plastic wrap or in a large zip-top bag.
- Gently pound the chicken using the flat side of a meat mallet or a heavy pan until they are about 1/4 inch thick. Aim for even thickness across the cutlet. This is a key step for even cooking and tenderness.
- Set up your breading station. In a shallow dish, mix the flour, salt, pepper, and garlic powder. In a second shallow dish, whisk the eggs with the water. In a third shallow dish, place the breadcrumbs.
- Pat the pounded chicken cutlets dry with paper towels. This helps the coating stick better.
- Dredge each cutlet first in the flour mixture, shaking off excess.
- Dip the floured cutlet into the egg wash, letting excess drip off.
- Press the cutlet into the breadcrumbs, ensuring it’s fully coated on both sides. Gently press the crumbs onto the chicken.
- Heat about 1/2 inch of oil in a large skillet over medium-high heat until it reaches about 350 degrees F (175 degrees C). If you don’t have a thermometer, a pinch of breadcrumbs should sizzle immediately but not burn.
- Carefully place 1-2 chicken cutlets in the hot oil, making sure not to overcrowd the pan. Cook for 2-4 minutes per side, or until golden brown and the chicken is cooked through. **The key to juicy chicken is cooking it quickly at the right temperature until it just reaches the internal temperature of 165 degrees F (74 degrees C). Pounding it thin helps it cook through before the outside burns or the inside dries out.**
- Remove cooked cutlets from the skillet and place them on a wire rack set over a baking sheet to drain off excess oil and keep them crispy. Let them rest for a minute or two before serving.