Tired of your beautiful, comforting casseroles and creamy pasta dishes being topped with soggy, disappointing breadcrumbs? You know the ones – they promise crunch but deliver a sad, soft layer that detracts from the deliciousness underneath. I’ve been there, and honestly, it used to frustrate me to no end! But after lots of experimenting, I finally cracked the code to making perfectly crispy golden crumbs every single time. It’s truly just a simple technique, but oh boy, does it make all the difference in elevating dishes like our creamy chicken and rice casserole or our famous golden crust mac and cheese.
Forget store-bought breadcrumbs that can sometimes fall flat or homemade ones that turn out greasy. This method is quick, easy, and results in breadcrumbs that are so incredibly golden and crunchy, you’ll want to sprinkle them on everything. Get ready to transform your favorite meals with this simple yet revolutionary addition!
Why You’ll Love This Crispy Golden Crumbs Recipe
Why go through the minor effort of making crispy golden crumbs yourself when you could just top your dish and bake? Let me tell you, the difference is profound!
- Unbeatable Texture: Store-bought or raw breadcrumbs often absorb moisture during baking, leading to that dreaded sogginess. These pre-toasted crispy golden crumbs hold their texture beautifully, providing that essential crunch contrast.
- Superior Flavor: Toasting the breadcrumbs in butter develops a rich, nutty flavor that raw crumbs simply don’t possess. It adds another layer of deliciousness to your dish.
- Guaranteed Crispiness: The method is foolproof! The controlled toasting and cooling process ensures they stay crisp, whether you’re using them on a hot casserole or as a cool salad topping.
- Quick & Easy: You only need three ingredients and about 10-15 minutes from start to finish. It’s a small step that yields huge results.
- Versatile: While perfect for casseroles and pasta, these crispy crumbs are fantastic on so many other things (more on that later!).
Gathering Your Ingredients for Crispy Golden Crumbs
One of the most beautiful things about this recipe is its simplicity. You only need a handful of pantry staples. Choosing the right type of breadcrumb and using good quality butter are the keys here to achieving that perfect golden hue and irresistible crunch. This isn’t a recipe where you need fancy equipment or hard-to-find items.
Here’s what you’ll need:
- Dry Bread Crumbs: You’ll need 1 cup of dry bread crumbs. The recipe specifically calls out panko bread crumbs as a fantastic option, and I wholeheartedly agree! Panko, a type of Japanese breadcrumb, is made from crustless white bread that is processed into flakes and then dried. The larger, irregular flakes are naturally lighter and airier than traditional breadcrumbs, which gives them an edge when it comes to crispiness. If you don’t have panko, regular dry breadcrumbs will certainly work, but panko offers that extra ‘wow’ factor in texture.
- Unsalted Butter: 2 tablespoons of unsalted butter are essential. Butter not only adds incredible flavor but also acts as the medium for toasting the breadcrumbs evenly and helps them achieve that beautiful golden color. Using unsalted butter gives you control over the final saltiness of your crumbs, allowing you to adjust the pinch of salt as needed.
- Salt: Just a pinch of salt. This might seem minor, but salt enhances the flavor of the butter and the toasted breadcrumbs, making the topping taste even better. You can adjust this amount based on your personal preference or the saltiness of the dish you plan to use the crumbs on.
See? Simple! Three ingredients are all that stand between you and glorious, crispy golden crumbs.
Crafting Your Crispy Golden Crumbs: Step-by-Step
Making these crispy golden crumbs is less about complex techniques and more about paying attention. The entire process happens in a skillet on your stovetop and requires just a few minutes of focused stirring. Let’s walk through each step to ensure your success!
-
Start with the Butter Base:
Grab a medium-sized skillet. A non-stick skillet works wonderfully here, but any medium skillet will do the job. Place the skillet over medium heat. Add the 2 tablespoons of unsalted butter to the pan. Allow the butter to melt completely. Using medium heat gives you good control; you don’t want the butter to burn before you even add the breadcrumbs. Watch for it to be fully liquid and perhaps just starting to lightly bubble.
-
Introduce the Crumbs and Salt:
Once the butter is melted and shimmering slightly, add the 1 cup of dry bread crumbs (or panko) directly into the skillet. Sprinkle in a pinch of salt. Now, this is where the coating magic happens! Stir everything together really well. Use a spatula or a wooden spoon to ensure every single breadcrumb is coated in that lovely melted butter. This even coating is vital for uniform toasting and preventing dry, un-toasted spots.
-
The Crucial Toasting Phase:
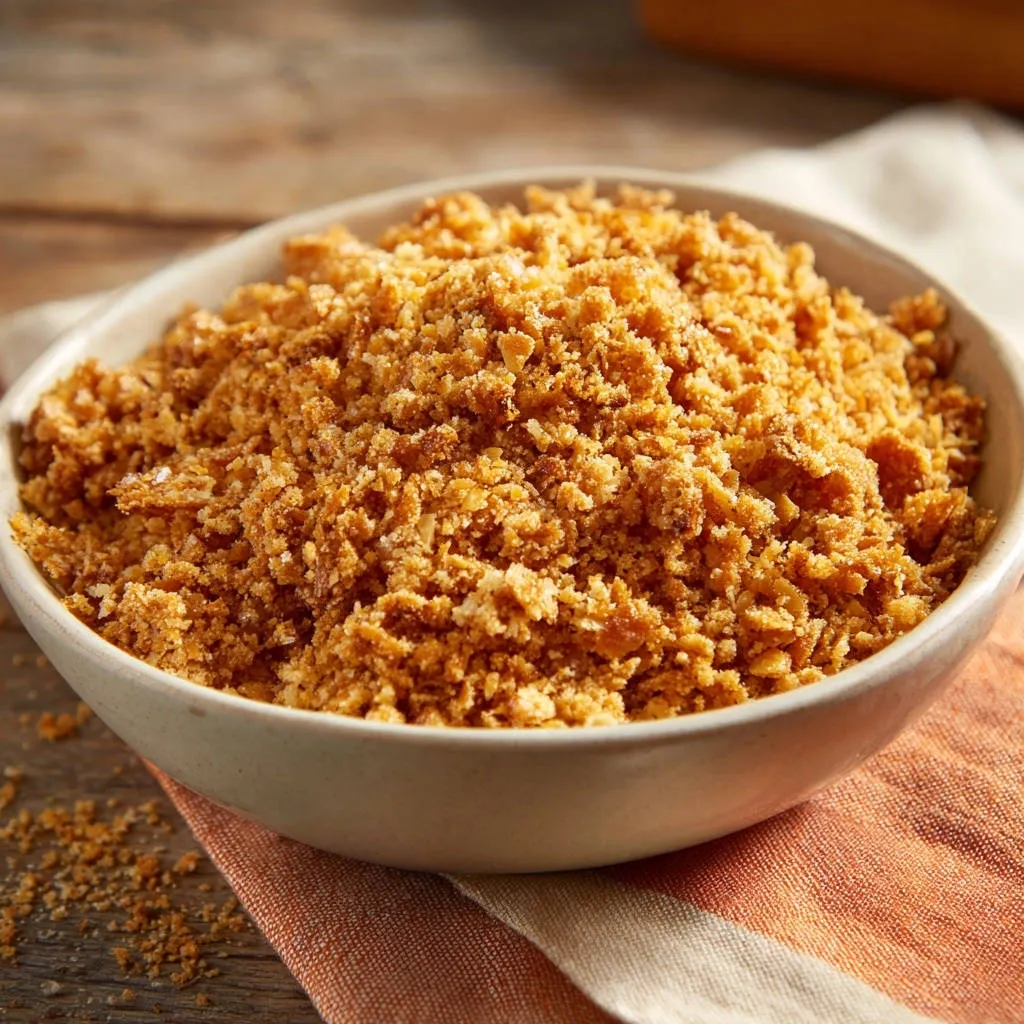
After the crumbs are well-coated, reduce the heat slightly. Move it down to medium-low. This lower heat is critical for controlled toasting. If the heat is too high, the crumbs will burn on the outside before they have a chance to toast all the way through and dry out properly. Now, the stirring begins! Stir the crumbs frequently. The recipe says you can stir constantly for faster results, and that’s true – constant stirring ensures every side of every crumb gets equal heat exposure, leading to even browning. Keep stirring for 5 to 10 minutes. The timing depends on your stove, pan, and the exact heat setting, so watch the color, not just the clock! You are looking for the crumbs to transform from pale white or light beige to a deep, beautiful golden brown. As you stir, you’ll also notice they start to feel lighter and drier. This careful toasting is the absolute secret to achieving that perfect, lasting crispiness.
-
Cooling for Maximum Crunch:
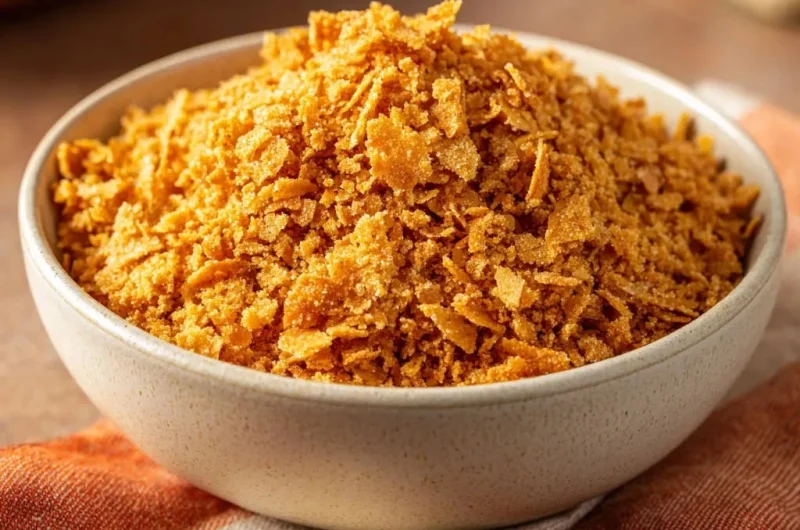
As soon as the breadcrumbs reach that gorgeous deep golden brown color, and they smell toasted and feel light, immediately remove the skillet from the heat. Do not leave them in the hot pan, as residual heat will cause them to continue cooking and potentially burn. Quickly spread the hot crumbs out in a thin, single layer. You can use a plate or a small baking sheet for this. The key is to get them off the hot surface and spread out so they can cool quickly and evenly. Do not pile them up. Let them cool completely undisturbed. This cooling process is just as important as the toasting! As they cool, the moisture evaporates further, and they become even crispier. Think of it like cooling cookies or roasted vegetables – the crispness develops as they sit. Once they are fully cooled, they are ready to use!
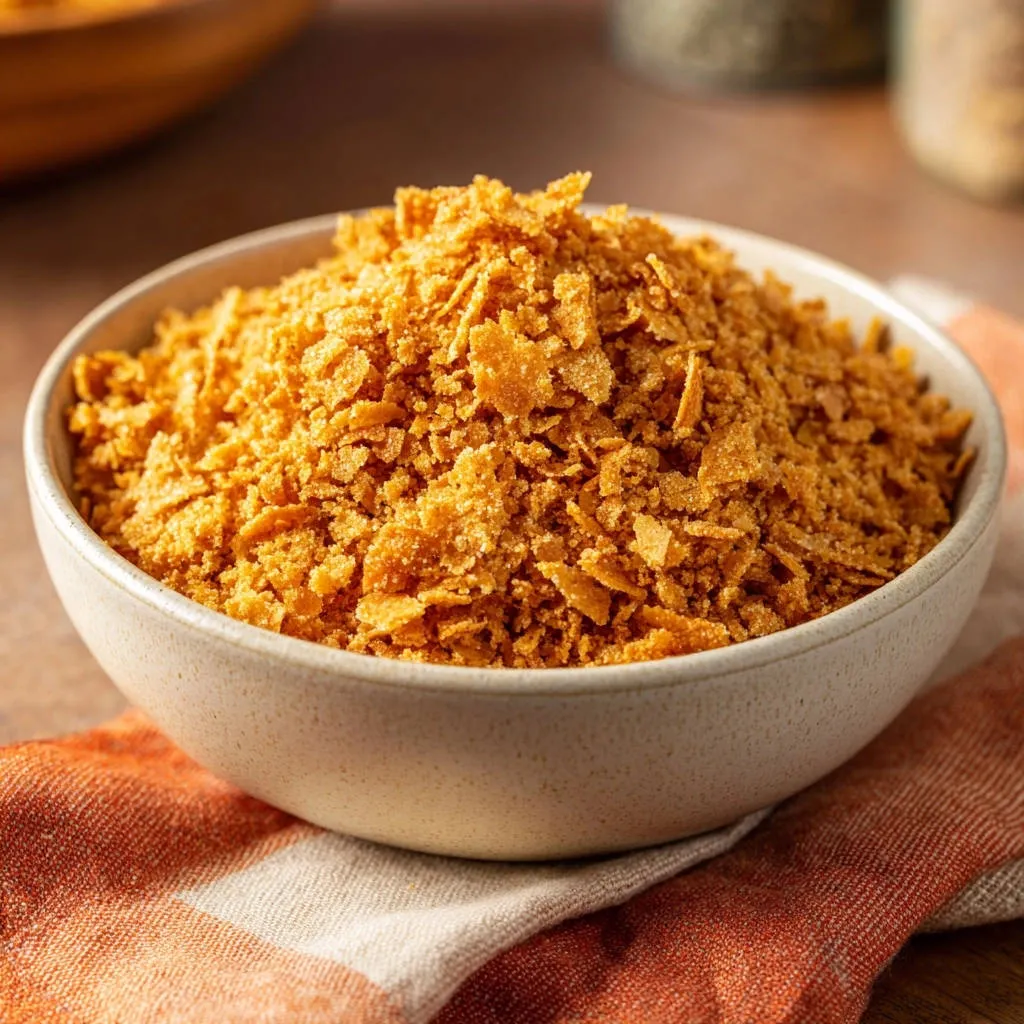
And just like that, you have a batch of glorious, perfectly crispy golden crumbs ready to elevate any dish!
Tips for Perfect Crispy Golden Crumbs Every Time
While the steps are straightforward, a few extra pointers can ensure your success and help you avoid common pitfalls:
- Watch Like a Hawk: I can’t stress this enough. Breadcrumbs go from perfectly golden to burnt tragedy in mere seconds. Especially towards the end of the cooking time, keep your eyes glued to the pan and be ready to remove them from the heat instantly.
- Stir, Stir, Stir (Especially with Panko): Panko’s irregular shape means it toasts unevenly if not constantly moved around. Frequent or constant stirring ensures even browning and prevents hot spots from burning sections of your crumbs.
- Use the Right Heat: Starting on medium is fine to melt the butter, but quickly reduce to medium-low. This lower heat allows the crumbs to dry out and toast gradually, building flavor and crispiness without burning the outside too quickly.
- Don’t Skip the Cooling: Letting the crumbs cool completely and undisturbed is non-negotiable for maximum crispness. Resist the urge to pile them up or use them before they’ve fully cooled.
- Consider Your Pan Size: Using a skillet that is too small for the amount of breadcrumbs can lead to overcrowding, which can cause them to steam instead of toast. A medium skillet for 1 cup of crumbs is usually perfect, allowing for a relatively thin layer even before spreading.
- Seasoning Variations: Once cooled, you can stir in other seasonings! Think garlic powder, onion powder, dried herbs like parsley or oregano, a pinch of paprika, or even a tiny bit of cayenne for heat. Add these after toasting so they don’t burn.
- Starting with Fresh Bread: This recipe is for dry breadcrumbs. If you’re starting with fresh bread, you’ll need to process it into crumbs and then potentially dry it out slightly in a low oven before adding it to the butter. This stovetop method is designed for already dry crumbs.
Serving Suggestions for Crispy Golden Crumbs
Now that you have your perfect batch of crispy golden crumbs, what do you do with them? The possibilities are endless! Here are some of my favorite ways to use these crunchy gems:
- Casseroles: This is their classic home! Sprinkle them generously over baked dishes just before serving or during the last few minutes of baking (if the casserole is already hot) for that signature crispy topping. They are perfection on green bean casserole, cheesy chicken bakes, or any dish needing a textural finish.
- Mac and Cheese: A creamy mac and cheese is simply elevated by a layer of crispy crumbs on top. The contrast between the smooth, rich cheese sauce and the crunchy topping is divine.
- Pasta Dishes: Sprinkle them over pasta dishes that don’t get baked, like creamy tomato pasta or carbonara, for added texture and flavor. Think of it as a non-cheesy alternative to parmesan.
- Roasted Vegetables: Toss roasted broccoli, Brussels sprouts, cauliflower, or asparagus with a spoonful of crispy crumbs just before serving for an extra layer of deliciousness and crunch. Our perfectly roasted veggies would be amazing with these on top!
- Salads: Use them instead of croutons for a lighter, crispier crunch on your favorite salads.
- Soups: A little sprinkle over creamy soups (like tomato or butternut squash) adds a welcome textural element.
- Baked Fish or Chicken: Finish off baked fish fillets or chicken breasts with a sprinkle of crumbs for a delightful, savory crust.
- Eggs: Believe it or not, a pinch of crispy crumbs can be fantastic sprinkled over fried or scrambled eggs for an unexpected crunch!
Seriously, once you have these on hand, you’ll find yourself adding them to everything!
Your Crispy Golden Crumbs Questions Answered (FAQ)
Got questions about making these perfectly crispy crumbs? Here are some common ones I hear:
Can I use fresh breadcrumbs for this recipe?
This particular recipe is designed for dry breadcrumbs (like store-bought or panko) because they already have a low moisture content, which is key for quick crisping on the stovetop. If you want to use fresh bread, you’ll need to process it into crumbs and then either leave them out at room temperature for several hours (or overnight) to dry slightly, or gently toast them in a low oven (around 250°F / 120°C) for 10-15 minutes until they feel dry before proceeding with the butter and stovetop toasting method.
Can I use oil instead of butter?
Yes, you absolutely can use oil (like olive oil or vegetable oil) instead of butter. The crumbs will still toast and get crispy. However, butter adds a wonderful richness and nutty flavor that oil doesn’t provide, contributing significantly to the “golden” and delicious aspect of these crumbs. If you use oil, adjust the amount as needed to ensure the crumbs are evenly coated but not swimming in grease.
How should I store crispy golden crumbs?
Once the crumbs are completely cooled, transfer them to an airtight container. A glass jar or a plastic container with a tight-fitting lid works perfectly. Proper storage is key to maintaining their crispness.
How long do homemade crispy breadcrumbs last?
Stored properly in an airtight container at room temperature, these crispy golden crumbs should last for at least 2-3 weeks. They might last even longer, but I find they get used up quickly because they’re so delicious! For longer storage, you could also freeze them in a freezer-safe bag or container for a few months.
My crumbs aren’t getting crispy even after cooling. What went wrong?
There are a couple of likely culprits! The most common reason is not toasting them long enough or over too high heat. They need sufficient time on medium-low heat to truly dry out and become brittle. If the heat is too high, the outside browns quickly, but the inside remains soft and will soften more as it cools. Another possibility is not spreading them out to cool – if they are in a pile, trapped steam can make them soggy. Ensure they are a deep golden brown and feel very light and dry in the pan before removing them from the heat.
Can I double or triple this recipe?
Yes, you can easily scale this recipe up. However, if you double or triple it, make sure you use a larger skillet (or two skillets) so that the breadcrumbs are not too crowded. Overcrowding will prevent them from toasting evenly and can lead to sogginess.
Enjoy Your Homemade Crispy Golden Crumbs!
See? Achieving that perfect, satisfying crunch on your baked dishes is totally within reach with just a few simple ingredients and a little bit of care on the stovetop. No more soggy disappointment! These crispy golden crumbs are easy to make, incredibly versatile, and add that missing layer of texture and flavor to so many meals.
Give this method a try the next time a recipe calls for breadcrumb topping. I promise you’ll notice the difference! What will you sprinkle your first batch on? Let me know in the comments below!
Crispy Golden Crumbs
Course: Side DishCuisine: AmericanDifficulty: easy4
servings2
minutes5
minutes240
kcal7
MinutesTired of soggy toppings? Learn how to make perfectly crispy golden crumbs every single time with this easy guaranteed method using just 3 ingredients!
Ingredients
1 cup dry bread crumbs (panko works great for extra crispiness)
2 tablespoons unsalted butter
Pinch of salt
Directions
- Melt the butter in a medium skillet over medium heat.
- Add the bread crumbs and salt. Stir well to coat the crumbs evenly with the melted butter.
- Reduce the heat slightly to medium-low. Cook the crumbs, stirring frequently (or constantly for faster results), for 5 to 10 minutes. Watch them very carefully as they can burn quickly. You want them to turn a deep golden brown and feel light and dry when stirred. This careful toasting is the secret to getting them crispy.
- Once they are golden brown, remove the skillet from the heat immediately. Spread the hot crumbs out in a thin layer on a plate or a small baking sheet. Let them cool completely undisturbed. They will crisp up even more as they cool. Use them right away or store in an airtight container once fully cooled.
Notes
- For the crispiest results, ensure your breadcrumbs are completely dry before starting. Don’t be afraid to stir frequently as they toast to achieve an even golden color and prevent any burnt bits.