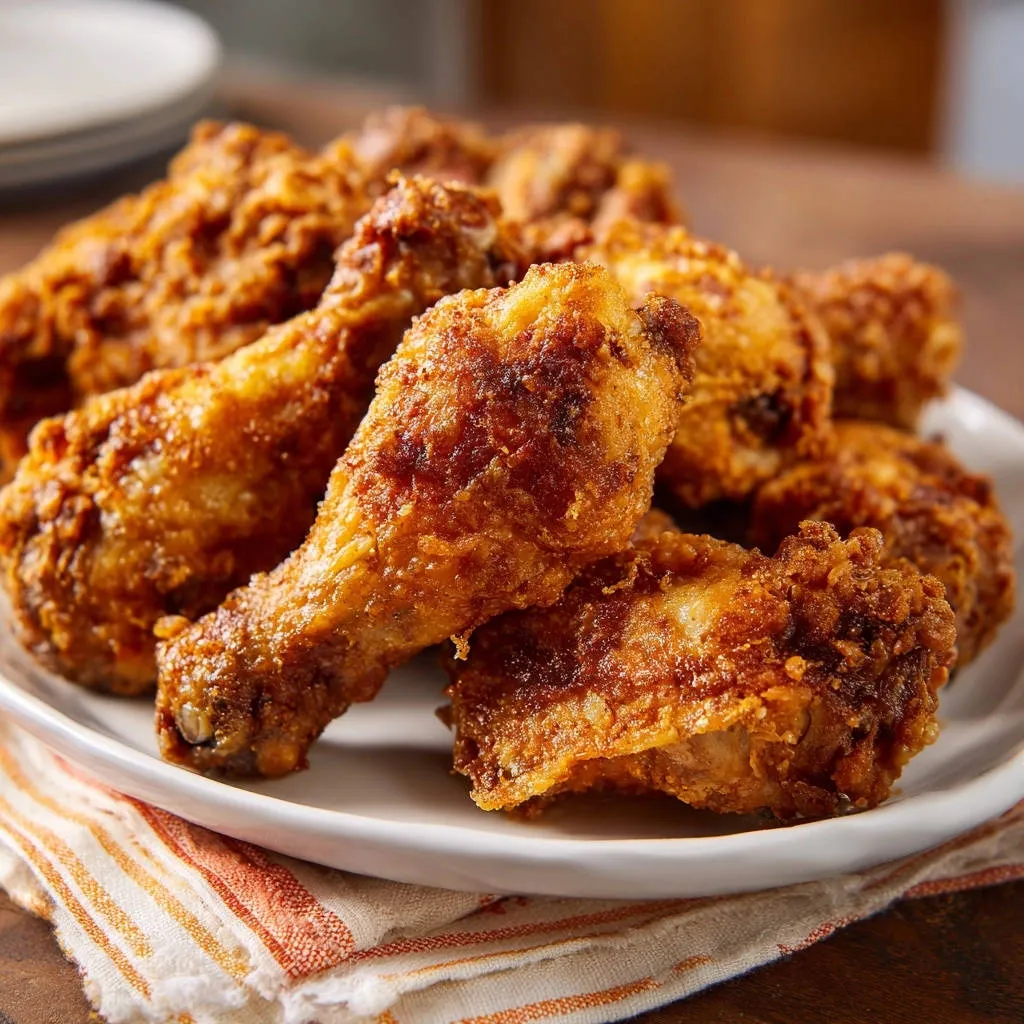
For years, I struggled to achieve that perfect balance: fried chicken with a truly crispy, golden crust that still boasted incredibly juicy, tender meat inside. It often felt like an impossible feat. After countless experiments and adjustments, I finally cracked the code to making the most exquisite Crispy Golden Fried Chicken every single time, right in your home kitchen. This recipe delivers on both crunch and succulence, elevating your homemade fried chicken experience.
Cracked the Code: Why This Crispy Golden Fried Chicken Recipe Wins
This recipe transforms the common dilemma of crispy versus juicy. We’re not choosing; we’re achieving both simultaneously, making every bite a delight.
Its reliability is unmatched, guiding home cooks of all skill levels to consistently excellent results. You’ll build confidence with each golden-brown batch.
The carefully curated seasoning blend penetrates the chicken, ensuring a flavor profile that is irresistible, not just surface-level. It’s a taste that brings comfort and joy.
The Essential Lineup: Ingredients for Your Crispy Golden Fried Chicken
Star of the Show: Chicken Cuts
For optimal results, drumsticks and thighs are your best choices. Their higher fat content ensures the chicken stays incredibly juicy throughout the frying process.
The Buttermilk Magic: Secret to Tender Chicken
Buttermilk is a game-changer; its mild acidity tenderizes the chicken, breaking down tough fibers. This pre-soak also infuses moisture, preventing dryness even during frying.

If dairy-free, a plant-based milk (like almond or soy) with a tablespoon of vinegar or lemon juice can be used as a quick buttermilk substitute, though the texture might vary slightly.
Flavor Foundation: The Ultimate Seasoned Flour Blend
The blend of salt, black pepper, paprika, garlic powder, and onion powder creates a robust, savory crust. Each spice adds depth, complementing the chicken’s natural flavors.
All-purpose flour provides the essential structure for that signature crispy coating. It’s the canvas for all that glorious seasoning.
Oil Selection: Achieving That Golden Fry
Choose vegetable oil, canola oil, or peanut oil for deep frying. These oils have a high smoke point and neutral flavor, ensuring your chicken tastes like chicken, not oil.
You’ll need enough oil to submerge the chicken pieces by about 2-3 inches. This ensures even cooking and a consistent crispy coating.
Beyond the Recipe: Essential Tools for Fried Chicken Success
Dutch Oven or Heavy-Bottomed Pot: A sturdy, thick-bottomed pot is crucial for maintaining a stable oil temperature, which is key to evenly cooked and beautifully golden chicken.
Cooking Thermometer: This is arguably your most important tool. Precise oil temperature control prevents soggy chicken, burnt exteriors, or undercooked interiors.
Wire Rack & Baking Sheet: Placing fried chicken on a wire rack allows air circulation, preventing the bottom from becoming soggy as it cools and drips excess oil.
Tongs: Long, sturdy tongs are essential for safely lowering chicken into hot oil and turning it during frying, protecting your hands from splatters.
Your Path to Crispy Golden Fried Chicken Perfection: A Detailed Guide
-
The Buttermilk Bath: Infusing Tenderness
Start by placing your chicken pieces in a large bowl. Pour enough buttermilk over them to ensure every piece is well-coated or mostly submerged. This initial soak is where the magic begins.
Cover the bowl and refrigerate for at least 30 minutes, or ideally up to 4 hours. This crucial step allows the buttermilk to work its tenderizing magic, ensuring your chicken remains incredibly moist.
-
Crafting the Seasoned Flour Blend
In a separate shallow dish or a large resealable bag, combine the all-purpose flour, salt, black pepper, paprika, garlic powder, and onion powder. This is your flavorful coating.
Mix these dry ingredients thoroughly until they are evenly distributed. A well-mixed blend ensures every bite of crust has consistent, delicious seasoning.
-
The Perfect Dredge: Achieving Golden Armor
Remove the chicken from the buttermilk, letting any significant excess drip off. Then, dredge each piece generously in the seasoned flour mixture.
Press the flour firmly onto the chicken to ensure a thick, even coating. This ‘golden armor’ is what will become your incredibly crispy crust. Set the coated chicken on a wire rack while you finish coating the rest.
-
Oil Preparation: Getting the Temperature Right
In a large, heavy-bottomed pot or Dutch oven, pour vegetable oil to a depth of 2-3 inches. Heat the oil over medium-high heat until it reaches exactly 350°F (175°C).
Using a cooking thermometer is non-negotiable for this step. Precise temperature control is the secret to a perfectly fried exterior and fully cooked interior.
-
Careful Placement: Preventing Overcrowding
Carefully lower 3-4 pieces of chicken into the hot oil. Avoid dropping them in, which can cause splatters and temperature fluctuations.
Do not overcrowd the pot. Too many pieces at once will drastically lower the oil temperature, leading to greasy, soggy chicken instead of that desired crispy golden fried chicken.
-
The Fry Cycle: Mastering Temperature Control
Fry the chicken, consistently monitoring and adjusting the heat to maintain the oil temperature between 300°F and 325°F (150°C and 160°C). This range allows for thorough cooking without burning.
Turn the chicken occasionally for even browning on all sides. This ensures a uniformly golden-brown crust and consistent internal doneness.
-
Confirming Doneness: Golden Brown & Cooked Through
Continue frying for about 8-12 minutes per batch, or until the chicken reaches a beautiful golden brown color. Visual cues are helpful, but internal temperature is king.
Insert a meat thermometer into the thickest part of the chicken (avoiding bone); it should read 165°F (74°C). This ensures your chicken is safely and perfectly cooked through, while remaining juicy.
-
The Golden Finish: Draining & Resting for Juiciness
Once cooked, carefully remove the chicken from the oil using tongs. Place it on a wire rack set over a baking sheet to drain any excess oil, which helps maintain crispiness.
Allow the chicken to rest for a few minutes before serving. This critical step allows the juices to redistribute throughout the meat, guaranteeing the ultimate tender and juicy bite.
Chef’s Secrets: Elevate Your Crispy Golden Fried Chicken Game
Don’t Skip the Buttermilk Soak: This step is non-negotiable for tender, moist results. The buttermilk’s acidity gently breaks down proteins, ensuring a succulent interior that contrasts beautifully with the crisp exterior.
Master the Oil Temperature: Consistency is key. Fluctuations lead to greasy or burnt chicken. Use your thermometer diligently, adjusting the heat up or down slightly to keep that perfect 300-325°F range.
Avoid Overcrowding the Pot: Resist the urge to rush! Overcrowding significantly drops the oil temperature, leading to a longer cook time, excess oil absorption, and a less crispy crust. Fry in batches for best results.
Always Rest Your Chicken: After frying, letting the chicken rest for 5-10 minutes allows the internal juices, which have migrated to the center during cooking, to redistribute throughout the meat. This guarantees maximum juiciness with every bite.
Season Generously: Taste your flour blend before coating. Don’t be shy with the seasonings! A well-seasoned flour mixture is what gives your Crispy Golden Fried Chicken its incredible flavor, not just crunch.
Common Fried Chicken Challenges, Solved!
Why is My Fried Chicken Soggy or Not Crispy?
This usually points to oil temperature issues. If the oil is too cool, the chicken absorbs too much grease, becoming soggy. If it’s too hot initially, the outside crisps too fast before the inside cooks, leading to steam trapped beneath the crust, making it soft. Ensure consistent oil temperature, and always drain on a wire rack.
My Chicken is Burnt on the Outside but Raw Inside!
Your oil temperature is likely too high. While 350°F is a good starting point, the frying temperature needs to be maintained between 300-325°F. Too much heat cooks the exterior too quickly, leaving the inside raw. Use your thermometer to manage the heat throughout the entire frying process.
How Do I Prevent My Coating from Falling Off?
Proper dredging is essential. After the buttermilk soak, let excess buttermilk drip off before coating. Press the flour mixture firmly onto the chicken pieces, ensuring a thick, even layer. Don’t handle the chicken too much once it’s coated until it goes into the oil.
My Chicken is Dry and Flavorless.
This can happen if the chicken wasn’t soaked long enough in buttermilk, or if it was overcooked. The buttermilk soak is crucial for moisture and tenderization. Additionally, ensure you’re frying to the correct internal temperature (165°F) and not beyond, as overcooking dries out the meat. Generous seasoning in the flour blend also adds essential flavor.
Your Crispy Golden Fried Chicken Questions Answered
Can I Make This Recipe Gluten-Free?
Yes, you can substitute the all-purpose flour with a gluten-free all-purpose flour blend (one that contains xanthan gum) for a gluten-free version. The texture of the crust might be slightly different, perhaps a bit more delicate, but it will still be delicious.
Can I Bake or Air Fry This Chicken Instead?
While this recipe is optimized for frying, you can adapt it for baking or air frying. For a crispy baked chicken, preheat your oven to 400°F (200°C) and bake for 30-40 minutes, flipping halfway. For air frying, use 375°F (190°C) for 20-25 minutes, flipping every 7-8 minutes. The texture will be crispy but not as profoundly deep-fried as the original method, though still very tasty. For another fantastic crispy oven option, you might enjoy our Crispy Skin Juicy Chicken Thighs.
How Long Does Fried Chicken Last and How Should I Store It?
Cooked fried chicken should be stored in an airtight container in the refrigerator for up to 3-4 days. For longer storage, it can be frozen for up to 3 months, though the crispiness may diminish slightly upon thawing and reheating.
Can I Prepare the Chicken Ahead of Time?
Yes, you can certainly prepare the chicken ahead! Marinating the chicken in buttermilk can be done up to 24 hours in advance in the refrigerator. Dredging the chicken in flour is best done closer to frying time, no more than 30-60 minutes before, to prevent the coating from becoming soggy.
Perfect Pairings: What to Serve with Your Golden Fried Chicken Feast
Classic pairings like creamy mashed potatoes, tangy coleslaw, or a fresh potato salad always hit the spot with fried chicken. For a hearty meal, consider serving alongside perfectly crispy skillet potatoes and onions or a simple green salad.
Elevate your meal with dipping sauces such as a homemade honey mustard, a spicy hot sauce, or a classic country gravy. Even a simple squeeze of lemon can brighten the flavors.
Enjoying Your Fried Chicken Later: Storage & Reheating Tips
Proper Storage for Leftovers
To keep your leftover fried chicken fresh, allow it to cool completely before placing it in an airtight container. Refrigerate promptly, and it will remain delicious for 3-4 days.
Reheating for Maximum Crispiness
For the best texture, avoid the microwave when reheating. Instead, preheat your oven to 375°F (190°C) and reheat the chicken on a wire rack set over a baking sheet for 15-20 minutes, or until warmed through and crispy. An air fryer is also excellent, typically at 350°F (175°C) for 10-12 minutes.
These methods help restore the desired crispiness of your fried chicken without drying out the meat, making leftovers almost as good as the first serving.
Ready to Fry? Your Crispy Golden Fried Chicken Awaits!
With these expert tips and a clear, detailed guide, you’re now equipped to master the art of making truly exceptional Crispy Golden Fried Chicken. This recipe promises not just a meal, but an experience: a perfect harmony of crunchy, savory crust and incredibly juicy, tender meat beneath. Get ready to delight your family and friends with this homemade masterpiece.
Don’t just dream of the perfect bite-make it a reality in your kitchen tonight. For more cherished recipes and culinary inspiration, be sure to explore our extensive recipe collection!

Crispy Golden Fried Chicken
Course: Main CourseCuisine: American CuisineDifficulty: easy4
servings (8 pieces)45
minutes40
minutes60
minutesAmerican Cuisine
Ingredients
8 pieces chicken (drumsticks and/or thighs)
2 cups buttermilk
2 cups all-purpose flour
2 teaspoons salt
1 teaspoon black pepper
1 teaspoon paprika
1 teaspoon garlic powder
1/2 teaspoon onion powder
4-6 cups vegetable oil, for frying
Directions
- Place chicken pieces in a large bowl. Pour buttermilk over the chicken, ensuring all pieces are submerged or well-coated. Cover and refrigerate for at least 30 minutes, or up to 4 hours. This step is key for moisture.
- In a separate shallow dish or large resealable bag, combine the flour, salt, black pepper, paprika, garlic powder, and onion powder. Mix well.
- Remove chicken from the buttermilk, allowing excess to drip off slightly. Dredge each piece thoroughly in the seasoned flour mixture, pressing to ensure a thick, even coating. Set on a wire rack while you coat the remaining chicken.
- In a large, heavy-bottomed pot or Dutch oven, pour enough vegetable oil to reach about 2-3 inches deep. Heat the oil over medium-high heat until it reaches 350°F (175°C). Use a cooking thermometer to monitor the temperature.
- Carefully lower 3-4 pieces of chicken into the hot oil, ensuring you do not overcrowd the pot, which can lower the oil temperature too much.
- Fry the chicken, adjusting the heat as needed to maintain a consistent oil temperature between 300°F and 325°F (150°C and 160°C). This specific temperature range is crucial for the chicken to cook through evenly without burning the outside or drying out the inside. Turn the chicken occasionally for even browning.
- Continue frying for about 8-12 minutes per batch, or until the chicken is golden brown and a meat thermometer inserted into the thickest part (without touching bone) reads 165°F (74°C). Reaching this internal temperature ensures the chicken is fully cooked and juicy.
- Remove the cooked chicken from the oil and place it on a wire rack set over a baking sheet to drain any excess oil. Repeat with remaining chicken batches. Allow the chicken to rest for a few minutes before serving to let the juices redistribute.
Notes
- Key to success: monitor oil temperature precisely between 300-325°F for consistent results. Resting chicken after frying ensures maximum juiciness.