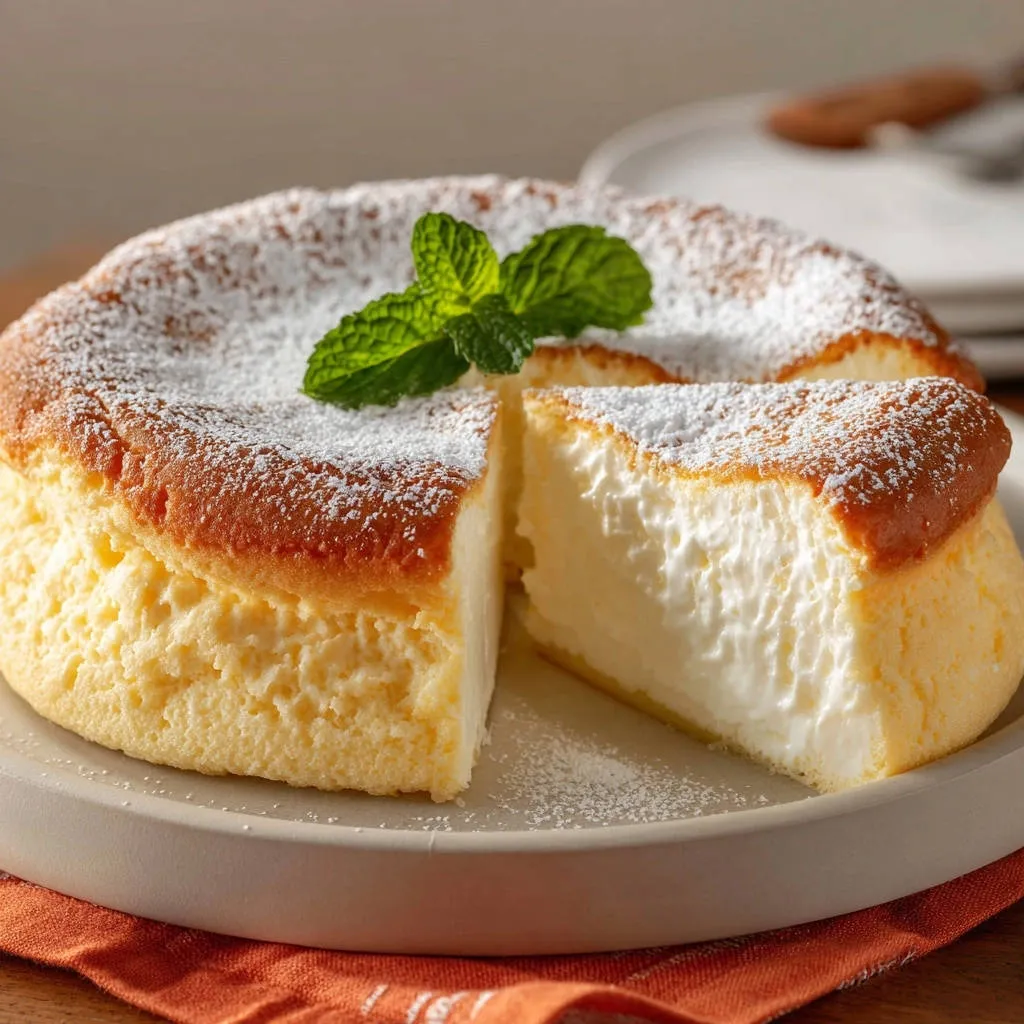
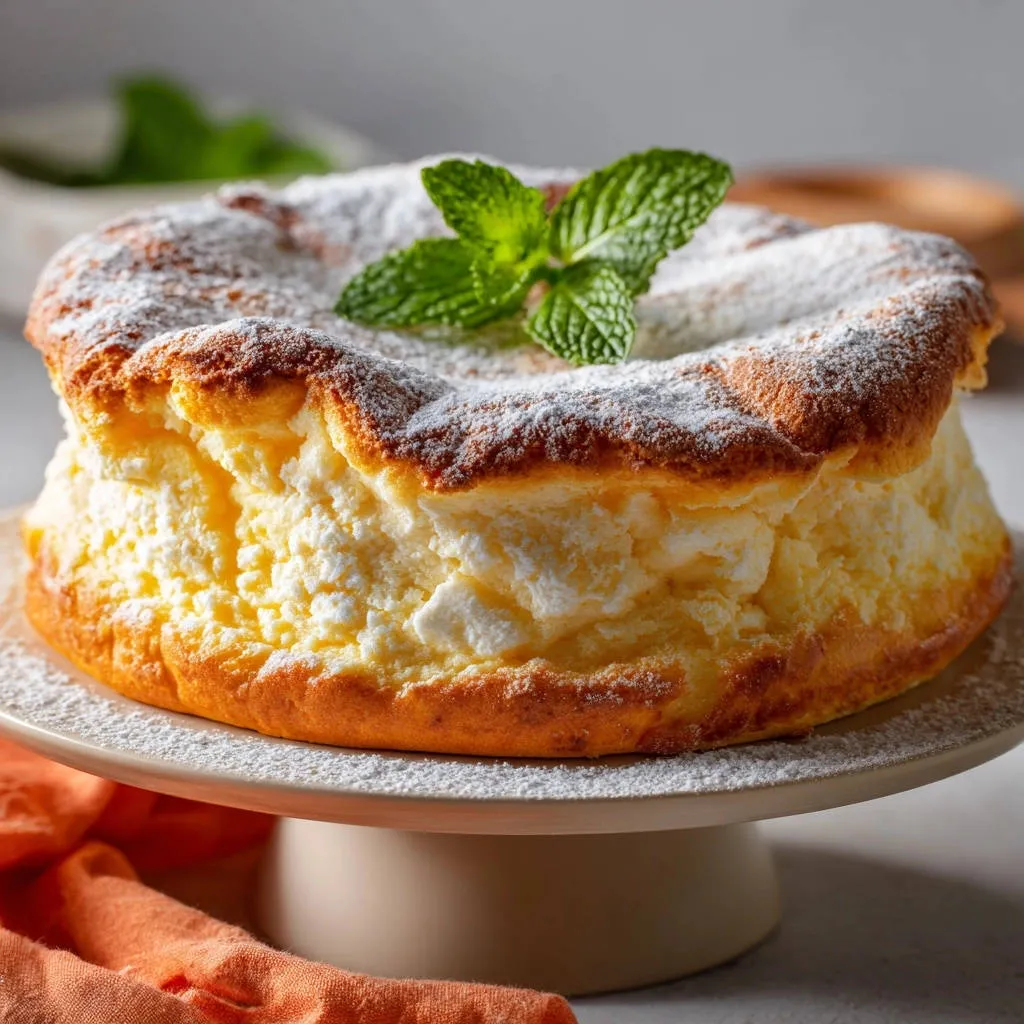
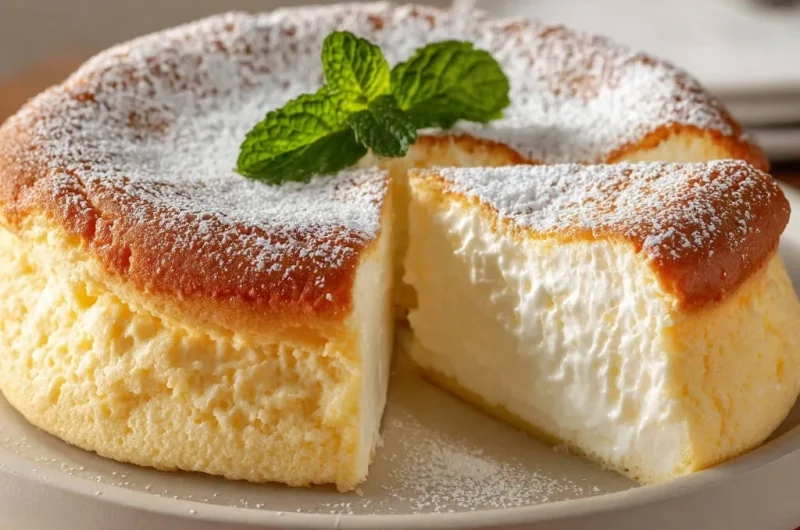
For years, the elusive, cloud-like perfection of a Japanese Souffle Cheesecake felt like a baking magic trick, often leaving me with a beautifully risen cake that would sadly deflate right before my eyes. But I finally cracked the code to achieving that signature, tall, and incredibly airy texture that defines a truly remarkable Fluffy Japanese Souffle Cheesecake, and it all comes down to one crucial, simple step. This recipe is your secret weapon for consistently stunning results, transforming a notoriously finicky dessert into a delightful baking triumph.
Why This Fluffy Japanese Souffle Cheesecake Belongs in Your Recipe Box
If you’ve ever been disappointed by a deflated or dense cheesecake, this recipe is your answer. It’s designed to deliver that quintessential jiggly, cloud-like texture without the usual heartbreak.
Our method specifically addresses the common issue of sinking, guaranteeing a tall and ethereal result every single time.
This isn’t just a dessert; it’s an experience-light as air, subtly sweet, and melts in your mouth with an almost custard-like finish.
Essential Tools for Cloud-Like Perfection
Springform Pan: Essential for easy release and maintaining the cheesecake’s delicate shape.
Large Roasting Pan: Needed for the crucial water bath, ensuring gentle, even baking.
Electric Mixer: For efficiently whipping cream cheese and creating stiff, stable meringue peaks.
Fine-Mesh Sieve: Perfect for sifting dry ingredients, preventing lumps for the smoothest batter.
Parchment Paper & Aluminum Foil: Critical for lining the pan and protecting it during the water bath.
Wire Cooling Rack: For proper air circulation during the final cooling stages.
Gathering Your Ingredients for a Dreamy Souffle Cheesecake
Key Dairy & Egg Components
Softened Cream Cheese (8 ounces): Using softened cream cheese is non-negotiable. It creams smoothly with sugar, preventing lumps and ensuring a velvety, uniform batter that’s key to the cheesecake’s texture.
Large Eggs, Separated (3): Eggs provide structure and richness. Separating them allows us to whip the whites into a stable meringue, which is the secret to the cheesecake’s incredible fluffiness. Room temperature eggs whip more efficiently.
Whole Milk (1/4 cup): Whole milk adds moisture and contributes to the creamy, delicate consistency of the cheesecake batter. Its fat content also helps with richness.
The Dry Essentials: Flour & Starch
All-Purpose Flour (1/4 cup): Just a small amount of flour provides essential structure to the cheesecake without making it heavy. It helps stabilize the batter.
Cornstarch (2 tablespoons): Cornstarch is a hero ingredient here! It works with the flour to create a fine, tender crumb and helps prevent cracks. It also contributes to the jiggly, pudding-like texture.
Sweeteners & Flavor Enhancers
Granulated Sugar (1/4 cup for batter, 1/4 cup for meringue): Sugar isn’t just for sweetness; it plays a vital role in both parts of the batter. In the cream cheese, it helps create a smooth emulsion. In the meringue, it stabilizes the egg whites, ensuring they hold their stiff peaks and contribute to the cake’s height and fluffy texture.
Vanilla Extract (1 teaspoon): Vanilla adds warmth and depth to the overall flavor. Use a good quality pure vanilla extract for the best results.
Powdered Sugar & Fresh Mint (optional): These are for a beautiful final presentation, adding a touch of elegance and freshness. Powdered sugar dusts the cake with a soft, sweet finish.
Step-by-Step: Crafting Your Fluffy Japanese Souffle Cheesecake Masterpiece
- Prepare Your Pan & Oven:
Preheat your oven to 325 degrees Fahrenheit (160 degrees Celsius). Line the bottom and sides of an 8-inch round springform pan with parchment paper, ensuring no gaps. Tightly wrap the outside of the springform pan with a double layer of heavy-duty aluminum foil to create a waterproof barrier, preventing any water from entering during the water bath.
- Create the Creamy Base:
In a large mixing bowl, combine the softened cream cheese with the first 1/4 cup of granulated sugar (for the batter). Beat with an electric mixer on medium speed until the mixture is exceptionally smooth, creamy, and completely free of any lumps. This step is fundamental for a flawless, uniform cheesecake texture.
- Incorporate Wet Ingredients:
Add the egg yolks one at a time to the cream cheese mixture, beating thoroughly after each addition until fully incorporated and the batter is homogeneous. Next, gently stir in the whole milk and vanilla extract until they are just combined, being careful not to overmix at this stage.
- Fold in Dry Ingredients Gently:
Using a fine-mesh sieve, sift the all-purpose flour and cornstarch directly over the cream cheese mixture. Gently fold these dry ingredients into the wet mixture using a spatula until just combined and smooth. It’s crucial not to overmix here, as this can develop gluten and lead to a tougher, less tender cheesecake.
- Whip the Meringue to Stiff Peaks:
In a separate, impeccably clean and dry bowl (free of any grease!), beat the egg whites with an electric mixer on medium-high speed until soft peaks begin to form. Gradually add the remaining 1/4 cup of granulated sugar (for the meringue), one tablespoon at a time, continuing to beat until stiff, glossy peaks form. The meringue should hold its shape when you lift the beaters, but still have a slight pliability, indicating it’s not overly dry.
- Combine Batters with Care:
Gently fold about one-third of the whipped meringue into the cream cheese batter. This initial addition helps to lighten the denser cream cheese mixture, making it easier to incorporate the remaining meringue. Then, carefully fold in the remaining meringue in two additions, using a light, upward motion to maintain as much air as possible in the batter. The goal is a light, airy batter that still has volume.
- Set Up the Water Bath:
Pour the prepared fluffy batter into your prepped springform pan. Place the springform pan into a larger baking pan, such as a roasting pan. Carefully pour hot water into the larger pan, ensuring the water level reaches about 1 inch up the sides of the springform pan. This water bath (bain-marie) creates a moist, consistent baking environment, preventing cracks and ensuring an incredibly tender cheesecake.
- The Crucial Baking & Gradual Cooling Process:
Carefully transfer the pans to the preheated oven. Bake for 60-70 minutes, or until the top is beautifully golden brown and the cake appears set but still has a slight, delicate wobble in the very center when gently nudged. Once baked, this is the undisputed key to preventing your cheesecake from sinking: immediately turn off the oven but resist the urge to open the oven door. Let the cheesecake cool undisturbed in the closed oven for 1 full hour. After this initial hour, crack open the oven door slightly (you can use a wooden spoon to prop it open) and allow the cheesecake to continue cooling inside the gradually cooling oven for another 30-45 minutes. This slow, gradual temperature reduction prevents the sudden shock that causes soufflé cheesecakes to collapse.
- Final Cooling & Refrigeration:
Remove the cheesecake from the oven and carefully lift it out of the water bath. Unwrap the aluminum foil and gently release the sides of the springform pan. Transfer the cake to a wire rack and allow it to cool completely at room temperature. Once cooled, refrigerate the cheesecake for at least 4 hours, or preferably overnight, for the best possible texture, firmness, and ease of slicing.
- Garnish & Serve:
Before serving your exquisite Fluffy Japanese Souffle Cheesecake, generously dust the top with powdered sugar for a snowy, elegant finish. For a touch of color and fresh aroma, garnish with a fresh mint sprig, if desired.
Chef’s Secrets for Your Best Souffle Cheesecake Yet
The Magic of Gradual Cooling (No More Sinking!)
The number one reason most Japanese Souffle Cheesecakes sink is a sudden temperature drop. When a hot cake hits cool room air, the structure collapses. Our method of leaving the cake in the oven as it cools slowly allows the delicate air cells to stabilize gradually, maintaining that impressive height and cloud-like texture.
Temperature is Everything: Ingredients & Oven
Ensure your cream cheese is completely softened and your eggs are at room temperature. Cold ingredients don’t emulsify properly, leading to a lumpy batter. Precision in oven temperature is also critical; too hot, and your cake will rise too fast and crack; too cool, and it won’t set properly.
Mastering the Meringue (Stiff Peaks, Not Dry)
For a stable meringue, your bowl and beaters must be spotless and grease-free. Gradually adding sugar helps stabilize the egg whites, creating glossy, stiff peaks that are flexible but hold their shape. Over-beating can lead to a dry, grainy meringue that won’t fold smoothly.
The Art of Folding (Don’t Deflate!)
The goal when folding meringue into the batter is to maintain maximum airiness. Use a large rubber spatula and a gentle, upward motion, cutting through the center and folding over. Don’t stir or beat. A light hand here preserves the fluffy texture.
Why a Water Bath Matters for Souffle Cheesecake
A water bath creates a humid, evenly heated environment, preventing the edges of the cheesecake from cooking faster than the center. This gentle steam bath ensures slow, uniform baking, which is crucial for the cake’s tender crumb, even rise, and helps prevent cracks on the surface.
Troubleshooting Common Souffle Cheesecake Issues
“My Cheesecake Sank!”
The most common culprit is too rapid a temperature change after baking. Ensure you follow the crucial gradual cooling steps precisely, leaving the cake in the oven with the door closed, then slightly ajar, for the specified times.
“It Cracked on Top!”
Cracking usually indicates overbaking or an oven that’s too hot. Verify your oven temperature with an external thermometer. Also, ensure your water bath contains enough hot water throughout the baking process to maintain humidity and prevent the surface from drying out too quickly.
“My Cheesecake is Dense/Rubbery!”
This often happens from overmixing the batter, which develops gluten and deflates the airy meringue. Be gentle when folding in dry ingredients and especially when incorporating the meringue. A heavy hand can quickly lose all that precious air.
“It’s Not Golden Brown!”
If your cheesecake isn’t golden, your oven might be running too cool, or you might need a few more minutes of baking time. Ensure your oven is accurately preheated and consider checking its calibration if this is a recurring issue.
Serving, Storage, and Make-Ahead Tips
Perfect Presentation: Garnish Ideas
Beyond the classic powdered sugar and fresh mint, consider adding a vibrant burst of fresh berries like raspberries or blueberries. A drizzle of a light fruit coulis or a scattering of toasted coconut flakes also makes a beautiful and delicious topping for your fluffy dessert.
How to Store Your Fluffy Creation
Store your Fluffy Japanese Souffle Cheesecake in an airtight container in the refrigerator. It will maintain its delightful texture and flavor for up to 3-4 days. For optimal freshness, cover it loosely with plastic wrap before placing it in the container.
Can You Make This Cheesecake Ahead of Time?
Absolutely! This cheesecake benefits greatly from refrigeration, and making it a day in advance is highly recommended. It allows the flavors to meld and the texture to fully set, ensuring perfect slices every time. Simply store it as directed and dust with powdered sugar just before serving.
Frequently Asked Questions About Japanese Souffle Cheesecake
Can I make this Fluffy Japanese Souffle Cheesecake gluten-free?
Yes, you can. Substitute the all-purpose flour with a high-quality gluten-free all-purpose flour blend that contains xanthan gum. The cornstarch already helps with texture, so a good blend should work well.
What if I don’t have a springform pan for my cheesecake?
While a springform pan is ideal for its easy release, you could potentially use a regular round cake pan, but unmolding will be tricky. Line it thoroughly with parchment paper, leaving an overhang on the sides to use as “handles” for lifting the chilled cake out.
Can I use different size pans for this recipe?
This recipe is optimized for an 8-inch springform pan. Using a different size will significantly alter baking times and could affect the texture and height. For best results, stick to the recommended pan size.
How do I know when the Japanese Souffle Cheesecake is done baking?
The top should be a deep golden brown, and the cake should feel set around the edges but still have a slight, delicate wobble in the very center. This wobble indicates that it’s cooked through but not overbaked, which is key to its jiggly texture.
Why do I need to beat egg whites in a clean, dry bowl?
Even the tiniest speck of fat or moisture can prevent egg whites from whipping up properly into stiff, stable peaks. Fat interferes with the protein structure, collapsing the air bubbles. A clean, dry bowl is crucial for a successful meringue.
Ready to Impress? Share Your Souffle Cheesecake Success!
Now that you have the ultimate guide to creating a tall, perfectly jiggly, and undeniably delicious Fluffy Japanese Souffle Cheesecake, it’s time to impress everyone around your table. I promise, the effort is well worth the awe-inspiring results.
We absolutely can’t wait to see your cloud-like creations! Share your photos and tag us on social media-let’s celebrate your baking triumph together!
Fluffy Japanese Souffle Cheesecake
Course: DessertCuisine: Asian cuisineDifficulty: easy8
servings45
minutes1
hour180
minutesAsian cuisine
Ingredients
8 ounces cream cheese, softened
1/4 cup granulated sugar (for batter)
3 large eggs, separated
1/4 cup whole milk
1/4 cup all-purpose flour
2 tablespoons cornstarch
1 teaspoon vanilla extract
1/4 cup granulated sugar (for meringue)
Powdered sugar for dusting
Fresh mint sprig for garnish (optional)
Directions
- Preheat your oven to 325 degrees Fahrenheit (160 degrees Celsius). Line the bottom and sides of an 8-inch round springform pan with parchment paper. Wrap the outside of the springform pan tightly with aluminum foil to prevent water from entering during the water bath. Set aside.
- In a large bowl, beat the softened cream cheese with 1/4 cup granulated sugar until smooth and creamy, with no lumps.
- Add the egg yolks, one at a time, beating well after each addition until fully incorporated.
- Stir in the whole milk and vanilla extract until combined.
- Sift the all-purpose flour and cornstarch directly into the cream cheese mixture. Gently fold until just combined and smooth. Do not overmix.
- In a separate clean, dry bowl, beat the egg whites with an electric mixer until soft peaks form. Gradually add the remaining 1/4 cup granulated sugar, a tablespoon at a time, continuing to beat until stiff, glossy peaks form. The meringue should hold its shape but still be slightly pliable.
- Gently fold about one-third of the meringue into the cream cheese batter to lighten it. Then, carefully fold in the remaining meringue in two additions, taking care not to deflate the mixture. The goal is a light, airy batter.
- Pour the batter into the prepared springform pan. Place the springform pan into a larger baking pan (such as a roasting pan). Pour hot water into the larger pan, reaching about 1 inch up the sides of the springform pan.
- Carefully transfer the pans to the preheated oven. Bake for 60-70 minutes, or until the top is golden brown and the cake is set but still slightly wobbly in the center.
- This is the key to preventing sinking: Once baked, turn off the oven but do not open the oven door. Let the cheesecake cool in the oven for 1 hour with the door closed.
- After 1 hour, crack open the oven door slightly (you can use a wooden spoon to prop it open) and allow the cheesecake to cool for another 30-45 minutes inside the cooling oven. This gradual cooling prevents the sudden temperature change that causes the cake to collapse.
- Remove the cheesecake from the oven and the water bath. Carefully unwrap the foil and remove the springform pan sides. Let the cake cool completely on a wire rack before refrigerating for at least 4 hours, or preferably overnight, for the best texture.
- Before serving, dust generously with powdered sugar and garnish with a fresh mint sprig, if desired.
Notes
- Requires at least 4 hours of refrigeration, preferably overnight, for best texture. Gradual cooling in the oven is crucial to prevent sinking.