We’ve all been there, right? Excitedly biting into what you thought was going to be a succulent, flavorful chicken skewer, only to discover it’s dry, tough, and frankly, a little sad. It’s such a disappointment, especially when you’re looking forward to a delicious, easy meal like juicy chicken skewers.
For years, I struggled with this exact problem. I tried different marinades, varying cook times, everything! But the chicken always seemed to end up dry. That is, until I discovered a simple, yet incredibly effective technique. It’s not complicated, requires no fancy ingredients, and it guarantees perfectly tender and juicy chicken every single time, complete with those coveted grill marks.
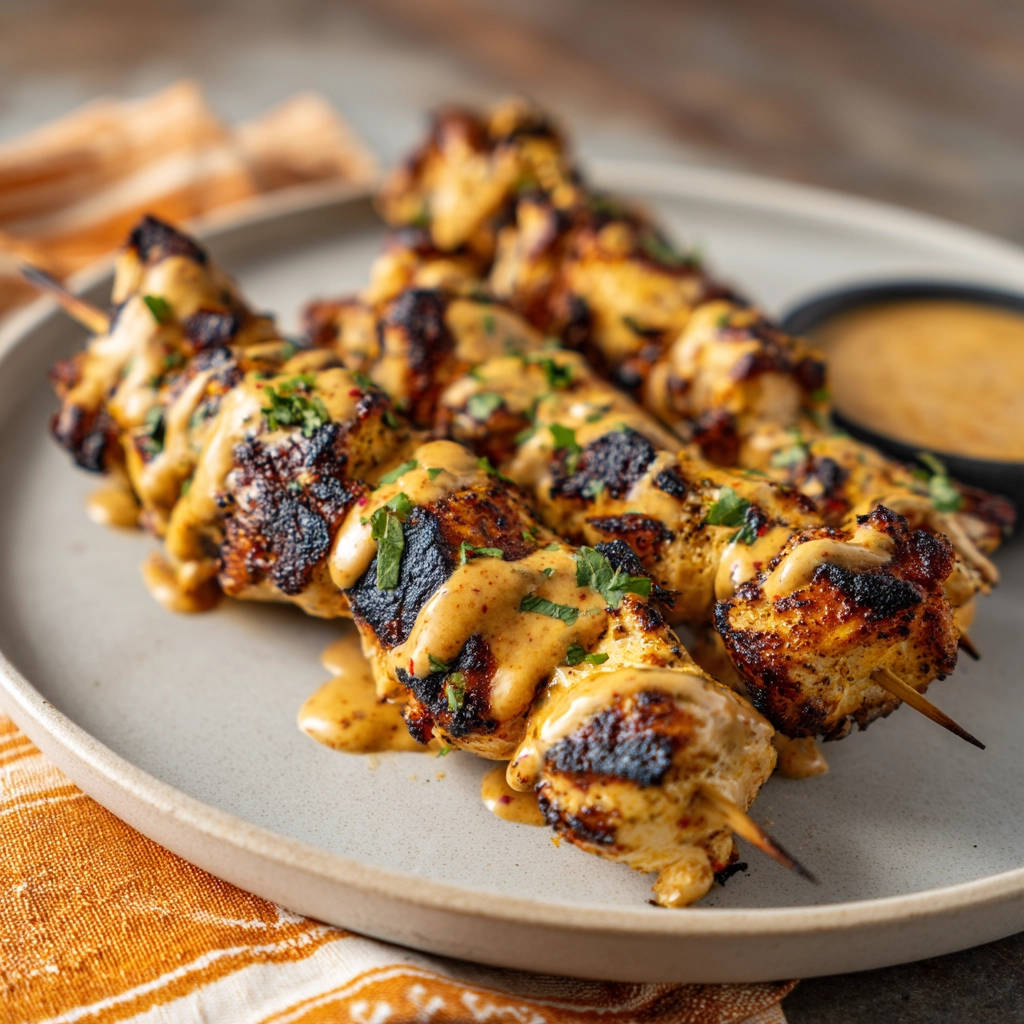
Say goodbye to dry chicken on a stick forever! This recipe for juicy chicken skewers, complete with a creamy, flavorful peanut sauce, is about to become your go-to. Whether you’re grilling outdoors or using a skillet inside, you’re just minutes away from bite-sized perfection.
Why You’ll Absolutely Love This Juicy Chicken Skewers Recipe
Besides solving the universal problem of dry chicken, there are so many reasons why this recipe deserves a spot in your rotation:
- Guaranteed Juiciness: The core technique we use makes all the difference. You get flavorful, moist chicken every time.
- Incredible Flavor: The simple marinade infuses the chicken with sweet and savory notes, while the peanut sauce adds a creamy, rich, and slightly spicy kick that’s absolutely addictive.
- Versatile Cooking: Perfect for outdoor grilling season, but equally fantastic cooked indoors in a skillet or grill pan, making it a year-round favorite.
- Quick & Easy: Minimal prep time and fast cooking mean you can have a delicious meal on the table in under 30 minutes (plus marinating time).
- Kid-Friendly (Adjustable Spice): The base marinade is mild, and you can easily adjust the heat in the peanut sauce, making it suitable for the whole family.
- Meal Prep Dream: Cooked skewers are great for packed lunches or quick dinners throughout the week.
Gathering Your Ingredients for Tender Chicken Skewers
One of the beauties of this recipe is that the ingredients are relatively simple, creating complex layers of flavor without needing a million different bottles and jars. We’ll focus on selecting quality components that work together to achieve that perfectly juicy chicken and a balanced, delicious sauce.
Let’s start with the stars:

- Chicken: You’ll need 1.5 pounds of boneless, skinless chicken. You have a choice here between chicken breast or thighs. Chicken breast is leaner and popular for skewers, but it’s also notoriously easy to dry out – which is where our trick comes in! Chicken thighs are naturally more forgiving due to their higher fat content and often stay juicier with less effort. Either works beautifully with this method; choose your preference. Cut the chicken into uniform 1-inch cubes to ensure even cooking.
- Marinade Base: We’ll use a simple blend to infuse flavor and help tenderize.
- Soy Sauce: Provides salinity and umami depth. If you’re following a gluten-free diet, be sure to use tamari instead.
- Neutral Oil: Such as vegetable or canola oil. This helps distribute the flavors and keeps the chicken moist during cooking.
- Honey or Maple Syrup: Adds a touch of sweetness that balances the savory soy sauce and helps the chicken caramelize beautifully on the grill or in the pan.
- Flavor Builders (Marinade):
- Smoked Paprika: Brings a wonderful smoky undertone without needing to cook over open fire. It adds depth and a touch of color.
- Garlic Powder: A pantry staple that provides that essential allium flavor evenly throughout the marinade.
- Cayenne Pepper (Optional): For those who like a little heat! Add just a pinch for a subtle warmth or a bit more to kick things up.
- Skewers: You’ll need wooden or metal skewers. If using wooden, remember to soak them in water for at least 30 minutes before threading to prevent them from burning during cooking.
Now, let’s talk about that glorious peanut sauce. It’s creamy, dreamy, and the perfect partner for the chicken.
- Creamy Peanut Butter: The base of our sauce. Use a smooth, creamy variety for the best texture. Natural peanut butter might require a little extra stirring to get the right consistency.
- Warm Water: This is crucial for thinning out the peanut butter into a smooth, drizzle-able sauce.
- Soy Sauce (or Tamari): Adds saltiness and that signature umami backbone to the sauce.
- Honey or Maple Syrup: Sweetness is key to balancing the savory peanut butter and tangy lime.
- Lime Juice or Rice Vinegar: Adds brightness and acidity, cutting through the richness of the peanut butter. Freshly squeezed lime juice is always preferred!
- Chili Garlic Sauce or Sriracha: Provides heat and extra layers of flavor. Start with a teaspoon and add more to reach your desired spice level. If you’re enjoying this with sides like perfect Mexican rice or craving more heat, you can always increase the amount!
Finally, for an optional fresh garnish, have some chopped fresh cilantro or parsley on hand. A sprinkle of fresh herbs adds a pop of color and brightness right before serving.
Crafting Your Juicy Chicken Skewers: Step-by-Step Transformation
Ready to transform simple chicken into incredibly tender and flavorful skewers? Let’s walk through the process, with a little extra detail on the “why” behind each step. This isn’t just a list; it’s your guide to guaranteed success!
- Prepare the Chicken and Marinade: Grab a medium-sized bowl. Whisk together the liquid components of the marinade first – the soy sauce (or tamari), neutral oil, and honey or maple syrup. These wet ingredients will help the dry spices adhere evenly. Next, stir in your flavor builders: the smoked paprika, garlic powder, and cayenne pepper if you’re using it for that hint of heat. Mix everything until well combined. Now, add your uniformly cubed chicken pieces to this flavorful mixture. Toss gently but thoroughly with a spoon or your hands (gloves are helpful here!) until every single piece of chicken is well coated in the marinade. This ensures maximum flavor penetration. Let the chicken soak up all that goodness for at least 15 minutes at room temperature if you’re short on time. For even deeper flavor, you can cover the bowl and refrigerate for up to 4 hours. Marinating longer than that, especially with leaner chicken breast, can sometimes break down the proteins too much, leading to a slightly mushy texture, so stick to the 4-hour max in the fridge.
- Whip Up the Delicious Peanut Sauce: While the chicken is soaking in the marinade, turn your attention to the sauce. In a separate bowl, measure out your creamy peanut butter. Pour in the warm water – this step is key to getting a smooth, lump-free sauce. Whisk vigorously until the peanut butter and water are fully emulsified and smooth. Then, stir in the rest of the sauce ingredients: the soy sauce (or tamari), honey or maple syrup, lime juice or rice vinegar for tang, and your chili garlic sauce or sriracha for spice. Taste the sauce here! This is your chance to adjust the flavors. Need it thinner for drizzling? Add another tablespoon of warm water and whisk again. Want more heat? Add a little more chili garlic sauce. Sweeter? A touch more honey. This sauce is also fantastic as a dipping sauce for other things, perhaps alongside some crispy baked zucchini fries!
- Thread Those Skewers: If you’re using wooden skewers, make sure they’ve had their 30-minute soak – this simple step prevents them from catching fire or breaking during cooking. Retrieve your marinated chicken. Carefully thread the chicken cubes onto the prepared skewers. The trick here is not to cram them on too tightly. Leave a small gap, maybe about 1/8 to 1/4 inch, between each piece. This space allows the hot air or grill surface to circulate around each cube, ensuring even cooking and those lovely char marks. Don’t worry about perfection, just aim for roughly equal spacing.
- Time to Cook: Heat up your cooking surface. Whether you’re using an outdoor grill or a large skillet or grill pan on your stovetop, you want medium-high heat. This heat level is perfect for getting a nice sear and char on the outside without overcooking the inside before it’s done. Lightly oil the grill grates or the surface of your skillet to prevent sticking. Once your cooking surface is hot, carefully place the threaded skewers onto it.
- The Secret to Juicy Chicken: The Cook Time and Temperature! This is the MOST important step to avoiding dry chicken. Cook the skewers for about 3-4 minutes per side. You’ll want to flip them occasionally to ensure even cooking and those beautiful char marks on all sides. The total cooking time will depend on your heat and the thickness of your chicken pieces, but it’s usually around 8-12 minutes total. The CRUCIAL part is knowing when they are done. For juicy chicken, especially chicken breast, you absolutely must avoid overcooking. The internal temperature of the thickest part of the chicken should reach 165°F (74°C). Chicken thighs are more forgiving and can safely go a little higher, but will still be incredibly juicy at 165°F. If you have an instant-read thermometer, now is the time to use it! It is truly your best friend in preventing dry chicken. Insert it into the thickest part of a chicken piece on a skewer. As soon as it hits 165°F, or just slightly above for thighs, remove those skewers from the heat IMMEDIATELY. Don’t let them sit there!
- Rest and Serve: Once the skewers are off the heat, resist the urge to dive right in! Place them on a plate or cutting board and let them rest for 2-3 minutes. This resting period allows the juices inside the chicken to redistribute throughout the meat, ensuring every bite is moist and tender. If you cut into chicken too soon, all those precious juices will just run out onto the plate. After resting, arrange your beef and potato skewers (just kidding, these delicious chicken ones!) on a platter. Drizzle them generously with that amazing peanut sauce you made. Add a sprinkle of fresh chopped cilantro or parsley for a touch of freshness and color if you like.
Tips for Perfectly Tender Chicken Skewers Every Time
Mastering the art of the tender chicken skewer is easier than you think with a few handy tips up your sleeve. Here are some pro pointers to help you get the best results every time you make these:
- Uniform Cuts are Key: Taking the extra minute to ensure your chicken pieces are roughly the same size (about 1 inch) makes a world of difference in cooking. If pieces are wildly different sizes, the smaller ones will overcook by the time the larger ones are done, leading to uneven tenderness.
- Don’t Skip the Skewer Soaking (for Wooden): Seriously, just do it! 30 minutes in water is enough to prevent most burning issues on the grill or in a hot pan.
- Listen to the Sizzle, Not the Clock (Exactly): While the 3-4 minutes per side is a great guideline, every grill and stove is different. Pay attention to the sound and appearance. You want a good sizzle indicating proper heat for searing, and you’re looking for that lovely golden-brown char.
- Invest in a Meat Thermometer: I can’t stress this enough. It’s the single most reliable way to know your chicken is perfectly cooked – not under, and critically, not over. They are inexpensive and make all the difference between dry and juicy. For this recipe, aiming for that 165°F target is your tender chicken insurance policy.
- Mix Up Your Marinade: The marinade here is fantastic, but feel free to play! Swap smoked paprika for sweet paprika, add a pinch of ginger powder, or even a little onion powder alongside the garlic. Just keep the base ratio of soy sauce, oil, and sweetener similar.
- Sauce Consistency is Personal: The peanut sauce consistency in the recipe is for drizzling. If you prefer a thicker sauce for dipping, just use slightly less warm water when whisking the peanut butter. Need it super thin? Add a splash more water until it’s just right.
- Add Veggies (Carefully): Want to make these full meal skewers? You can add vegetables like bell peppers, onions, zucchini, or cherry tomatoes. However, be mindful that vegetables and chicken cook at different rates. For best results, you might consider cooking vegetable skewers separately, or choose quicker-cooking veggies and cut them large enough to cook alongside the chicken without burning. Need inspiration for veggie skewers? Check out our rainbow veggie skewers!
What to Serve With Your Delicious Skewers
These juicy chicken skewers are incredibly versatile! The rich, savory-sweet flavor of the chicken pairs wonderfully with a variety of side dishes. A simple bed of steamed rice is always a classic and satisfying option, perfect for soaking up that delicious peanut sauce. Jasmine or brown rice both work beautifully.
For a lighter meal, serve them alongside a crisp green salad or a refreshing cucumber salad. If you’re looking for something heartier, roasted vegetables are a fantastic choice. Their sweetness and slight char complement the skewers perfectly. Consider serving them with our recipe for perfectly roasted veggies or maybe some crispy baked hasselback potatoes.
Other great sides include simple noodles, quinoa, or even serving the chicken straight off the stick as an appetizer! The sauce is also fantastic for dipping spring rolls or adding to a rice bowl.
Your Juicy Chicken Skewers Questions Answered (FAQ)
Got questions about making these delicious skewers? Here are some common ones I hear:
Can I use frozen chicken?
Yes, you can use frozen chicken, but you MUST thaw it completely before cutting it into cubes and marinating. Chicken should never be marinated or cooked from frozen, as it won’t absorb the flavors properly and will cook unevenly, leading to dry spots.
How long can the chicken marinate?
For best results, marinate the chicken for at least 15 minutes at room temperature. If refrigerating, 30 minutes to 4 hours is ideal. Marinating chicken breast for much longer than 4 hours can sometimes start to break down the proteins too much, resulting in a slightly mushy texture. Chicken thighs are more forgiving and can sometimes handle slightly longer marination, but 4 hours is generally a safe maximum for both cuts in this marinade.
Can I make the peanut sauce ahead of time?
Absolutely! The peanut sauce can be made a day or two in advance. Store it in an airtight container in the refrigerator. You might need to add a tiny splash more warm water and give it a good whisk before serving, as it can thicken as it chills.
Can I cook these in the oven instead of grilling or using a skillet?
Yes, you can! Preheat your oven to 400°F (200°C). Place the threaded skewers on a baking sheet lined with parchment paper or foil (for easy cleanup). Bake for 15-20 minutes, flipping halfway through, until the chicken reaches an internal temperature of 165°F (74°C) and is cooked through. You might not get the same deep char marks as grilling or skillet cooking, but they will still be juicy and delicious!
How do I store and reheat leftovers?
Store leftover chicken skewers and peanut sauce separately in airtight containers in the refrigerator for up to 3-4 days. To reheat the chicken, you can gently warm it in a skillet over medium heat, in the microwave, or even briefly in the oven. Be careful not to overcook it when reheating, as this will dry it out! Reheat the peanut sauce gently, adding a splash of warm water if needed to thin it back down.
Is this recipe gluten-free?
As written, you can easily make this recipe gluten-free by using tamari instead of regular soy sauce in both the marinade and the peanut sauce. Ensure all other ingredients (like smoked paprika or chili garlic sauce) are certified gluten-free if you have strict dietary needs.
Enjoy Your Homemade Juicy Chicken Skewers!
There you have it! The secret weapon against dry chicken skewers, combined with a truly irresistible peanut sauce. This recipe is proof that delicious, tender, and flavorful food doesn’t have to be complicated. It’s perfect for a casual weeknight dinner, a backyard gathering, or just whenever the craving strikes for juicy chicken on a stick.
Give these juicy chicken skewers a try, and let me know what you think! Did the trick work for you? What did you serve them with? Leave a comment below and share your experience. Happy cooking!
Juicy Chicken Skewers

Ingredients
- 1.5 pounds boneless, skinless chicken breast or thighs, cut into 1-inch cubes
- 1/4 cup soy sauce (or tamari for gluten-free)
- 2 tablespoons neutral oil (like vegetable or canola)
- 1 tablespoon honey or maple syrup
- 1 teaspoon smoked paprika
- 1/2 teaspoon garlic powder
- 1/4 teaspoon cayenne pepper (optional, for heat)
- Wooden or metal skewers (if using wooden, soak them in water for 30 minutes)
- For the sauce:
- 1/2 cup creamy peanut butter
- 1/4 cup warm water
- 2 tablespoons soy sauce (or tamari)
- 1 tablespoon honey or maple syrup
- 1 tablespoon lime juice or rice vinegar
- 1 teaspoon chili garlic sauce or sriracha (adjust to taste)
- Optional garnish: Chopped fresh cilantro or parsley
Directions
- Prepare the chicken: In a medium bowl, combine the soy sauce, oil, honey, smoked paprika, garlic powder, and cayenne (if using). Add the cubed chicken and toss to coat evenly. Let marinate for at least 15 minutes at room temperature, or up to 4 hours in the refrigerator.
- Prepare the sauce: In a separate bowl, whisk together the peanut butter and warm water until smooth. Stir in the soy sauce, honey, lime juice, and chili garlic sauce. Add a little more water if needed to reach your desired drizzling consistency. Set aside.
- Thread the skewers: Thread the marinated chicken pieces onto the soaked wooden or metal skewers, leaving a small space between pieces for even cooking. Don’t pack them too tightly.
- Cook the skewers: Heat a grill or large skillet over medium-high heat. Lightly oil the grill grates or skillet. Place the skewers on the hot surface.
- This is the key to juicy chicken: Cook for 3-4 minutes per side, flipping occasionally, until the chicken is cooked through and has nice char marks. Crucially, do NOT overcook. Chicken breast should reach an internal temperature of 165°F (74°C) at its thickest part. Thighs can go slightly higher but will still be juicy. Use an instant-read thermometer if you have one; it’s your best friend for preventing dry chicken! Remove skewers immediately once they reach temperature.
- Rest and Serve: Let the cooked skewers rest for 2-3 minutes before serving. Drizzle generously with the prepared peanut sauce and garnish with fresh cilantro or parsley if desired.