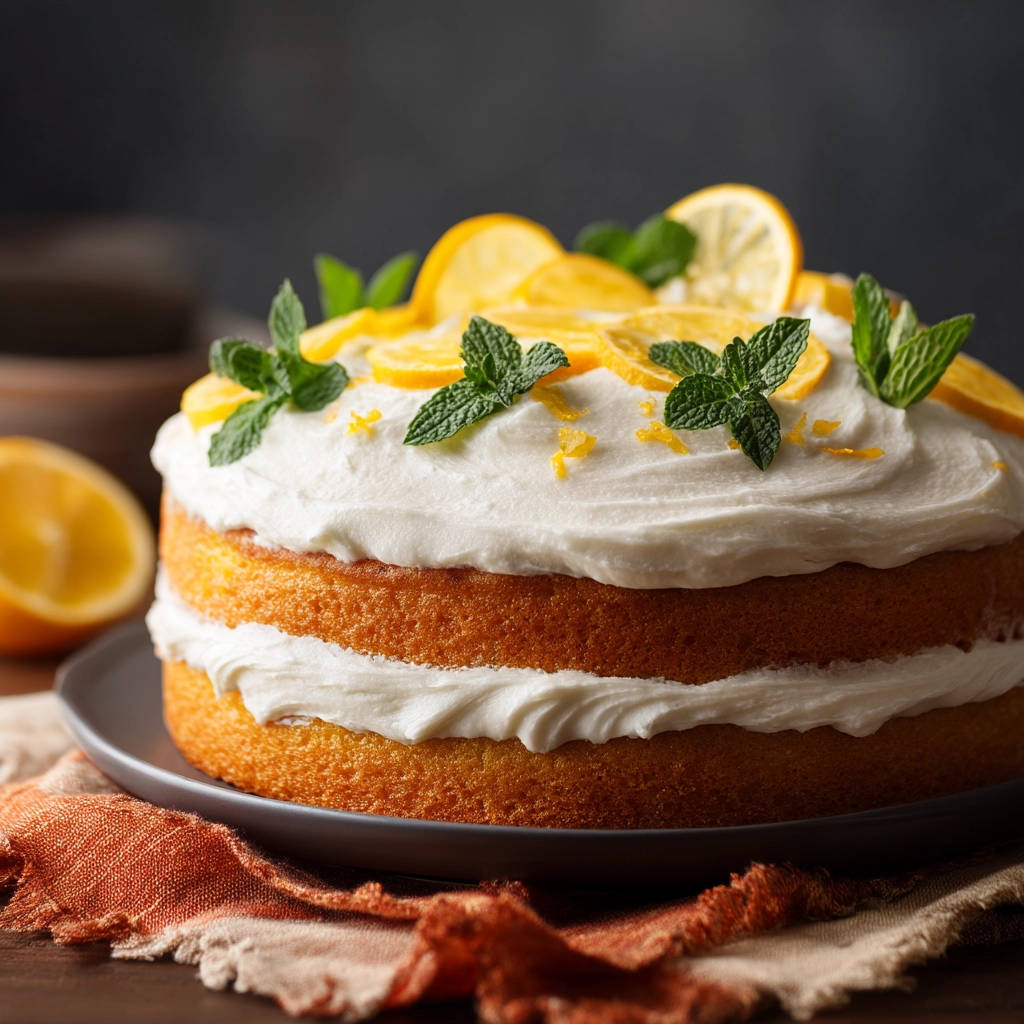
Craving a slice of sunshine? This Lemon Layer Cake is the answer! Forget dense, disappointing cakes – this recipe guarantees a light, airy texture that will have everyone begging for seconds. The secret? A simple technique that transforms your baking game forever. Get ready to impress with this beautiful, delicious, and surprisingly easy-to-make lemon masterpiece.
Why You’ll Love This Lemon Layer Cake
This isn’t just any lemon cake. Here’s why this Lemon Layer Cake will become your new go-to:
- Incredibly Light Texture: The simple mixing technique ensures a tender crumb that melts in your mouth.
- Intense Lemon Flavor: We’re not shy with the lemon zest and juice, delivering a bright, refreshing taste.
- Easy to Make: Don’t let “layer cake” intimidate you! This recipe is straightforward and beginner-friendly.
- Beautiful Presentation: The lemon slices and mint sprigs add a touch of elegance that’s perfect for any occasion.
- Crowd-Pleasing: Everyone loves a good lemon cake, and this one is guaranteed to be a hit.
Gathering Your Ingredients for Lemon Layer Cake
Before we dive into baking, let’s talk about the key players in this lemony symphony. This cake is all about balancing the tangy citrus with a delicate sweetness, and using high-quality ingredients truly makes a difference. You’ll want to have everything measured and ready to go before you start mixing.
- For the Cake Base:
- 2 and 1/2 cups all-purpose flour: This provides the structure for the cake. For a slightly denser, more rustic crumb, you could substitute up to 1/2 cup of whole wheat pastry flour, but all-purpose is the key to light and fluffy!
- 1 and 1/2 teaspoons baking powder & 1/2 teaspoon baking soda: These are our leavening agents, working together to create that beautiful rise. Baking soda reacts with the acidity of the lemon juice, so it’s essential for achieving the right texture.
- 1/4 teaspoon salt: Enhances the flavors and balances the sweetness.
- For the Richness and Flavor:
- 1 cup unsalted butter, softened: Softened butter is crucial for proper creaming, which incorporates air into the batter for a lighter cake. Make sure it’s truly soft, but not melted!
- 1 and 3/4 cups granulated sugar: The sweetness that binds everything together. Granulated sugar also helps with the creaming process, creating tiny air pockets.
- 3 large eggs: Provide structure, richness, and moisture. Use room-temperature eggs for best results.
- 1 teaspoon vanilla extract: Adds a subtle warmth and enhances the other flavors.
- The Lemon Infusion:
- 1/2 cup fresh lemon juice: Freshly squeezed is always best! Bottled lemon juice simply doesn’t have the same bright, vibrant flavor.
- Zest of 2 lemons: This is where the real lemon flavor comes from! Use a microplane to zest the lemons, being careful not to grate the white pith, which is bitter.
- 1/4 cup milk: Adds moisture and helps to create a tender crumb.
- 1/4 cup sour cream or plain yogurt: Adds moisture and a slight tang that complements the lemon flavor. Sour cream will create a slightly richer cake, while yogurt will keep it a little lighter.
- For the Lemon Buttercream Frosting:
- 1 cup unsalted butter, softened: Again, softened is key!
- 4 cups powdered sugar: Provides the sweetness and structure for the frosting. Sift it before using to prevent lumps.
- 1/4 cup milk or heavy cream: Adjusts the consistency of the frosting. Use heavy cream for a richer, more decadent frosting.
- 1 teaspoon vanilla extract: A touch of warmth.
- Pinch of salt: Balances the sweetness.
- Optional: 1 tablespoon lemon juice: For an extra burst of lemon flavor in the frosting.
- For Decoration:
- Thinly sliced lemons: Use a sharp knife or mandoline to create beautiful, even slices.
- Fresh mint sprigs: Adds a pop of color and freshness.
- Lemon zest: For an extra sprinkle of lemony goodness.
Crafting Your Lemon Layer Cake: Step-by-Step
Ready to bake? Don’t be intimidated by the thought of a layer cake. This recipe is all about taking it one step at a time. The most important thing to remember is not to overmix the batter! Overmixing develops the gluten in the flour, resulting in a tough, dense cake. Let’s get started, and you will have this perfect Lemon Layer Cake made in no time!
- Prepping for Success: First, preheat your oven to 350 degrees F (175 degrees C). Proper oven temperature is critical for even baking. While the oven heats, grease and flour two 8-inch round cake pans. This ensures the cakes release easily after baking. You can also line the bottoms of the pans with parchment paper rounds for extra insurance.
- Combining the Dry Ingredients: In a medium bowl, whisk together the flour, baking powder, baking soda, and salt. Whisking ensures that these ingredients are evenly distributed, which is essential for a consistent rise and texture.
- Creaming Butter and Sugar: The Key to Lightness: In a large bowl, using an electric mixer, cream together the softened butter and granulated sugar until light and fluffy, about 3-5 minutes. This creaming step is absolutely crucial for a light cake. The goal is to incorporate air into the butter and sugar mixture, creating tiny air pockets that will lighten the cake’s texture. Scrape down the sides of the bowl as needed to ensure everything is evenly combined.
- Adding Eggs and Vanilla: Add the eggs one at a time, beating well after each addition. This allows each egg to fully emulsify into the butter and sugar mixture. Stir in the vanilla extract for that extra warmth.
- Creating the Lemon Infusion: In a small bowl, whisk together the lemon juice, milk, sour cream or yogurt, and lemon zest. This mixture will add moisture and that bright lemon flavor to the cake.
- Combining Wet and Dry: The Gentle Touch: Gradually add the dry ingredients to the wet ingredients, alternating with the liquid mixture, beginning and ending with the dry ingredients (about 3 additions of dry, 2 of wet). Mix only until just combined. This is crucial for preventing a dense cake. Do not overmix! The batter may look slightly lumpy, and that’s perfectly okay. A few streaks of flour are preferable to an overmixed batter.
- Dividing and Smoothing: Divide the batter evenly between the prepared pans. Use a kitchen scale for perfect accuracy! Smooth the tops with a spatula.
- Baking to Golden Perfection: Bake for 30-35 minutes, or until a wooden skewer inserted into the center comes out clean. Start checking for doneness around the 30-minute mark. If the cakes are browning too quickly, you can tent them with foil.
- Cooling and Releasing: Let the cakes cool in the pans for 10 minutes before inverting them onto a wire rack to cool completely. This prevents the cakes from sticking and allows them to cool evenly.
- Making the Lemon Buttercream: While the cakes cool, make the frosting. In a large bowl, beat the softened butter until creamy. Gradually add the powdered sugar, alternating with the milk/cream, beating until smooth and fluffy. Add the vanilla, salt, and optional lemon juice, and beat until well combined. If the frosting is too thick, add a little more milk/cream. If it’s too thin, add a little more powdered sugar.
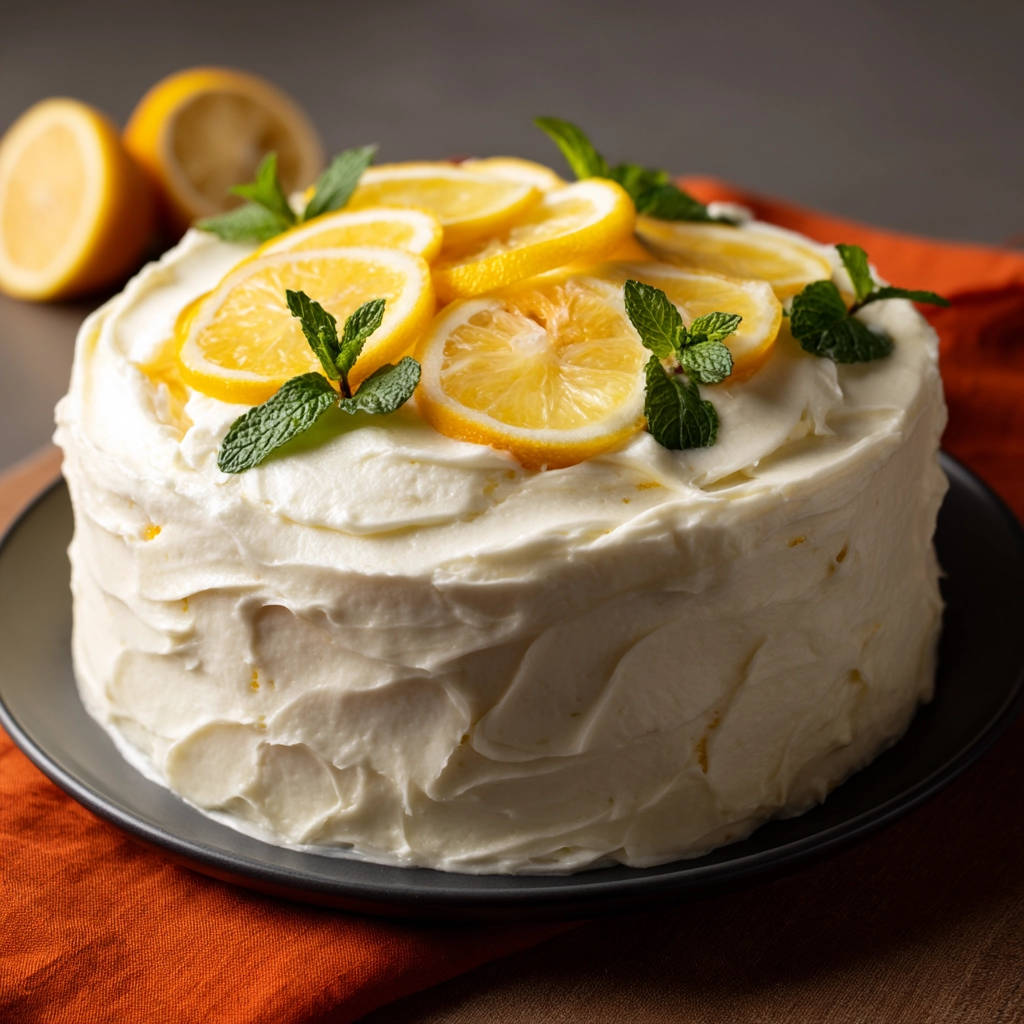
- Assembling Your Masterpiece: Once the cakes are completely cool (this is important!), place one layer on a serving plate. Spread about one-third of the frosting evenly over the top. Place the second cake layer on top. Frost the top and sides of the cake with the remaining frosting.
- Decorating with Flair: Decorate the top with lemon slices, fresh mint sprigs, and lemon zest as desired. Get creative and have fun!
Tips for Perfect Lemon Layer Cake Every Time
Want to ensure your Lemon Layer Cake is a showstopper? Here are a few extra tips to help you achieve baking success:
- Room Temperature is Key: Make sure your butter, eggs, and milk/sour cream are all at room temperature. This helps them emulsify properly, resulting in a smoother batter and a more even texture.
- Don’t Overmix: We can’t stress this enough! Overmixing leads to a tough cake. Mix only until the ingredients are just combined.
- Measure Accurately: Baking is a science, so accurate measurements are crucial. Use measuring cups and spoons, and level them off with a knife.
- Cool Completely Before Frosting: Frosting a warm cake will cause the frosting to melt and slide off. Make sure the cakes are completely cool before frosting.
- Level the Cake Layers: If your cake layers are uneven, use a serrated knife to level them before frosting. This will give you a more professional-looking cake.
What to Serve With Lemon Layer Cake
This Lemon Layer Cake is delicious on its own, but it also pairs well with a variety of accompaniments. Consider serving it with a scoop of vanilla ice cream or a dollop of whipped cream. It’s also lovely with a cup of tea or coffee. For a fruity touch, a side of fresh berries would be perfect. If you are looking for another decadent dessert, then try our decadent chocolate-topped cream cake recipe
Your Lemon Layer Cake Questions Answered (FAQ)
Can I use bottled lemon juice instead of fresh?
While fresh lemon juice is highly recommended for the best flavor, you can use bottled lemon juice in a pinch. However, the flavor will be less bright and vibrant. If using bottled juice, use a high-quality brand and consider adding a little extra lemon zest to compensate.
Can I make this cake ahead of time?
Yes! You can bake the cake layers a day or two in advance. Wrap them tightly in plastic wrap and store them at room temperature or in the refrigerator. You can also make the frosting a day in advance and store it in the refrigerator. Let it come to room temperature and re-whip it before using. You can even assemble and frost the cake a day ahead; just store it in the refrigerator.
My cake is dry. What did I do wrong?
A dry cake can be caused by a few things: overbaking, using too much flour, or not enough liquid. Make sure you’re measuring your ingredients accurately and not overbaking the cake. Also, make sure your oven temperature is accurate. Consider adding an extra tablespoon or two of milk or sour cream to the batter next time.
Can I make this cake gluten-free?
Yes, you can! Substitute the all-purpose flour with a gluten-free all-purpose flour blend. Be sure to use a blend that contains xanthan gum, as this will help to bind the ingredients together. You might need to adjust the liquid slightly, as gluten-free flours can absorb more moisture. Alternatively, you could explore our other delightful dessert options. While we don’t have a gluten-free lemon cake specifically, you might enjoy our recipe for easy caramel nut dessert jars, which can be easily adapted to be gluten-free.
Enjoy Your Homemade Lemon Layer Cake!
There you have it – a foolproof recipe for a light, fluffy, and utterly delicious Lemon Layer Cake. This cake is perfect for birthdays, celebrations, or simply a sweet treat on a sunny afternoon. So, gather your ingredients, preheat your oven, and get ready to bake! Don’t forget to leave a comment below and let us know how your cake turns out. And if you loved this recipe, be sure to share it with your friends!