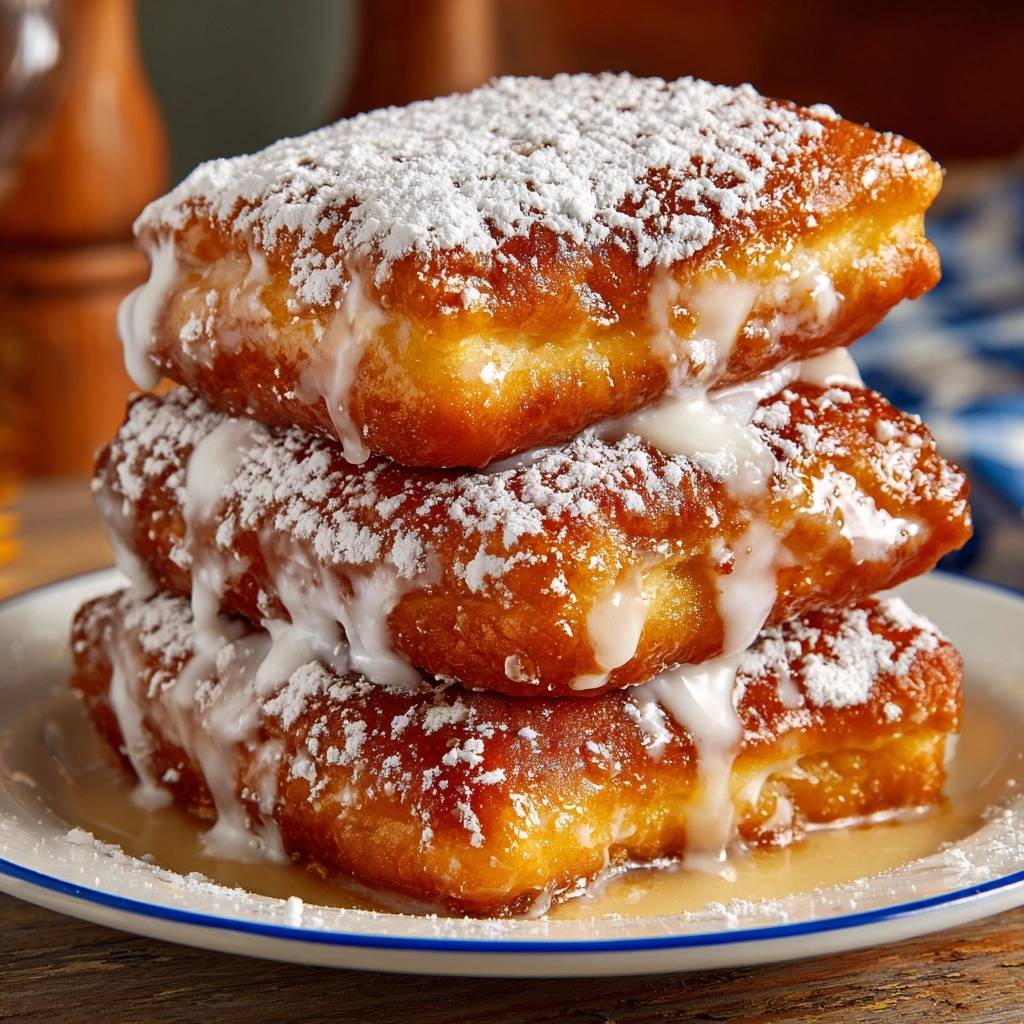
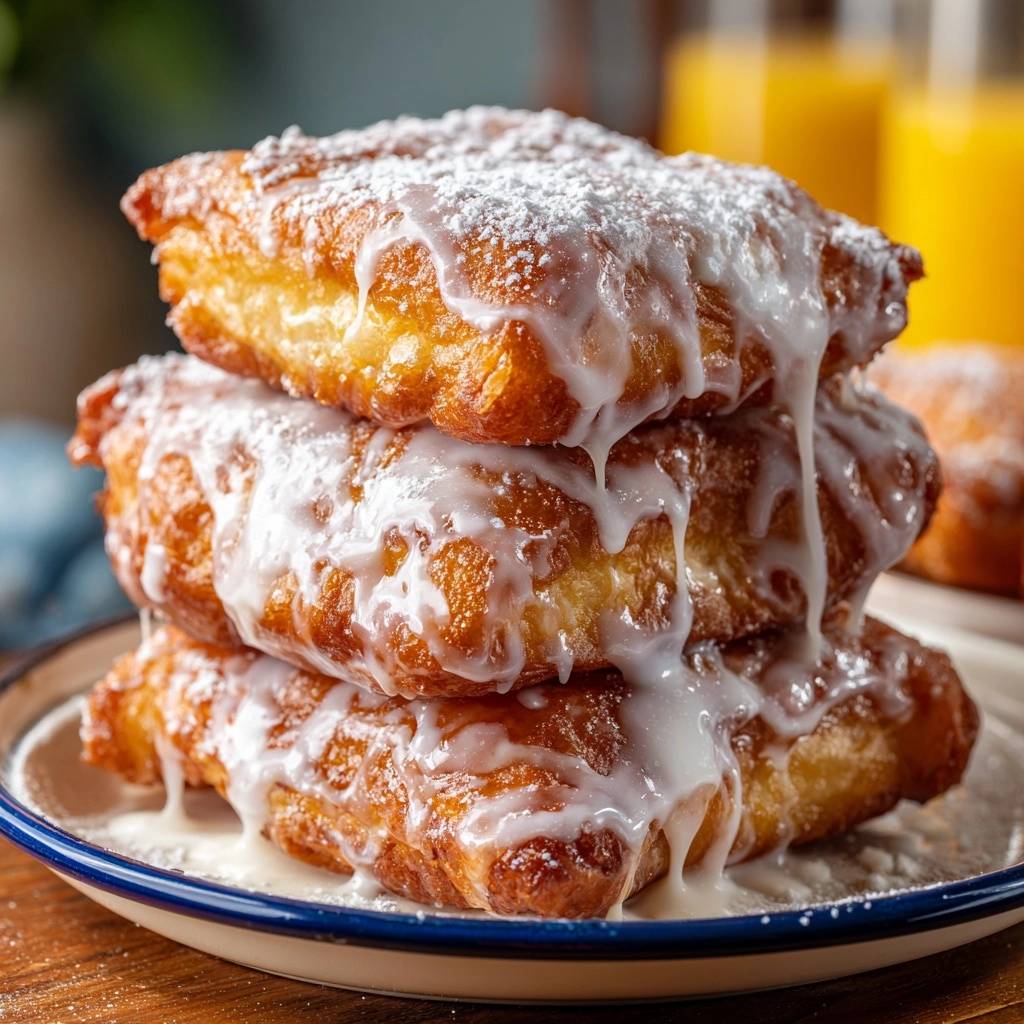
Imagine biting into a cloud that’s been flash-fried to a golden crisp and drenched in a velvety vanilla glaze. The true New Orleans beignet isn’t just a square doughnut; it’s a sensory experience defined by a shattering outer crust and a hollow, airy center that catches every bit of falling powdered sugar. When you pull one apart, steam should escape from that perfect internal pocket, signaling a dough that’s light enough to float.
However, many home cooks end up with dense, bready squares that feel heavy and soak up far too much oil. The frustration of a flat beignet usually comes down to one thing: the dough didn’t get the memo to puff. This recipe solves that by using a specific cold-rest technique that relaxes the gluten, allowing the dough to expand the second it hits the hot oil.
The secret to that iconic “pillow” shape is all about the thermal shock between chilled dough and precisely heated oil. By refrigerating your dough for at least two hours, you develop a complex flavor while ensuring the moisture inside turns to steam instantly upon frying. This steam is what pushes the dough outward, creating that coveted hollow middle that makes these beignets legendary.
The Anatomy of a Perfect New Orleans Beignet
A authentic New Orleans style beignet is a beautiful contradiction. It must be sturdy enough to hold a mountain of sugar but delicate enough to melt in your mouth. Unlike a standard yeast doughnut, which has a fine, cake-like crumb, a beignet is mostly air. It lacks a center hole because the entire square is meant to inflate like a balloon during the frying process.
While the traditional version is served with a simple dusting of sugar, this glazed variation adds a layer of decadence. The glaze acts as a “glue” for the powdered sugar, preventing it from simply blowing away and creating a rich, creamy mouthfeel. This combination of textures—the crunch of the fried dough, the silkiness of the glaze, and the softness of the sugar—is what sets this recipe apart.
Essential Components for the Beignet Dough
Success starts with your ingredients, specifically the temperature of your water. You need it at exactly 110°F; any hotter and you’ll kill the yeast, any cooler and it won’t wake up. I always use a digital thermometer here because “lukewarm” is too subjective when you’re chasing a perfect rise.
Evaporated milk is another non-negotiable. Because it has about 60% of the water removed, it provides a concentrated hit of milk solids and fats. This results in a much more tender crumb and a richer flavor than regular whole milk could ever achieve. It also helps the dough brown beautifully without burning.
For the flour, stick with all-purpose. While bread flour is great for chewy bagels, it has too much protein for beignets. You want a lower protein content so the dough remains supple and easy to stretch. Finally, choose a high-smoke point oil like vegetable oil or shortening. These can handle the 360°F heat without breaking down or imparting a bitter taste to your pastry.
The Role of Evaporated Milk and Fats
The science of the Maillard reaction is at play here. The concentrated sugars and proteins in evaporated milk react with the heat of the oil to create that deep, golden-brown hue and toasted aroma. Without these extra milk solids, your beignets might look pale and unappetizing even when they’re fully cooked.
We also wait to add the softened butter until after the initial flour is mixed in. This technique ensures that the flour can properly hydrate with the water and milk first. Once the gluten structure begins to form, the butter coats those strands, keeping them short and flexible. This is why the beignets stay soft and pillowy rather than becoming tough or bread-like.
The Science of the Fail-Safe Rise Technique
The “puff” is pure physics. When the dough hits the 360°F oil, the moisture trapped inside the dough turns into steam almost instantly. Because the outside of the dough sets quickly in the heat, the steam has nowhere to go but out, forcing the dough to expand and create a large internal cavity.
Using a cold-rested dough is the ultimate “pro move.” Cold dough is easier to handle and cut into clean squares, but more importantly, the cold temperature slows down the yeast. This allows the gluten to fully relax. A relaxed dough can stretch much further and faster than a room-temperature dough, which often fights back and stays dense.
Step-by-Step: Preparing the Yeast and Initial Mix
Start by whisking your warm water, sugar, and yeast. You’re looking for a thick, creamy foam to form on top within about 10 minutes. If the surface stays flat and watery, stop right there. Your yeast is likely dead, and no amount of prayer will make those beignets rise. Fresh yeast is the heartbeat of this recipe.
Once the yeast is bubbly, stir in your beaten egg and evaporated milk. When you start adding the flour, do it gradually. You’ll see the mixture transform from a liquid into a “shaggy mass”—a messy, lumpy dough that looks like it won’t come together. Don’t worry; this is exactly where you want to be before you start kneading.
Kneading and the Critical Cold-Rest Period
When you begin kneading, aim for a texture that is “tacky but not sticky.” It should pull away from your hands but still feel moist to the touch. If you add too much flour during this stage, you’ll weigh the dough down, and it won’t have the strength to puff up in the fryer. Stop kneading as soon as the dough looks smooth and elastic.
Now comes the most important part: the fridge. Place your dough in a greased bowl and let it chill for at least 2 hours. If you have the time, 24 hours is even better. This long rest allows the flour to fully hydrate and the gluten to lose its tension. You’ll notice the dough is much more “extensible” after a cold rest, meaning it will stretch without snapping back.
Precision Cutting and Shaping for Maximum Expansion
Roll your chilled dough out to a 1/2 inch thickness. This might feel thick, but it’s the secret to getting that massive, airy rise. If you roll it too thin, you’ll end up with crispy crackers instead of soft pillows. Use a ruler if you have to; precision pays off here.
Use a pizza cutter or a very sharp knife to cut the dough into 2 1/2 inch squares. Avoid using a dull knife that “drags” through the dough, as this can seal the edges shut and prevent the beignet from inflating. Clean, sharp cuts allow the edges to expand freely, giving you that perfect square shape.
The Art of Deep Frying at 360°F
Temperature control is the difference between a greasy mess and a golden masterpiece. At 360°F, the dough fries quickly enough that it doesn’t absorb excess oil. If the temperature drops too low, the oil will seep into the dough, making it heavy. Keep a thermometer in the pot at all times to monitor the heat.
When you drop the dough in, it should sink for a split second and then pop to the surface like a buoy. Use a slotted spoon to gently splash a little hot oil over the top of the beignets as they rise; this helps the top expand evenly. Flip them once they are a deep, honey-gold color, usually after about 90 seconds.
Troubleshooting Flat or Greasy Beignets
If your beignets didn’t puff, the most likely culprit is the oil temperature or the yeast. If the oil was hot enough and the yeast was foamy, check your rolling thickness. Dough that is rolled too thin simply doesn’t have enough internal moisture to create the steam needed for a big rise.
If they are greasy, your oil was definitely too cold. Every time you add a batch of dough, the oil temperature will drop. Wait a minute or two between batches to let the oil climb back up to 360°F. If they are raw in the middle but burnt on the outside, turn your heat down; the exterior is cooking faster than the steam can do its job.
Crafting the Signature Vanilla Glaze and Sugar Dusting
The glaze should be thick, similar to the consistency of heavy cream. If it’s too thin, it will just soak into the beignet and make it soggy. You want it to sit on top and slowly drip down the sides. Whisk the powdered sugar, milk, and vanilla until it’s completely smooth with no lumps.
Timing is everything. Drizzle the glaze over the beignets while they are still hot from the fryer. The heat helps the glaze set slightly, creating a tacky surface that the final dusting of powdered sugar will cling to. Don’t be shy with the sugar; a true New Orleans beignet should be buried in a white mountain of sweetness.
Essential Equipment for French Quarter Results
You don’t need a fancy deep fryer, but a heavy-bottomed Dutch oven is a lifesaver. The thick walls hold heat much better than a thin stainless steel pot, which means your oil temperature won’t fluctuate as much. This stability is key to getting a consistent fry across the whole batch.
A “spider” strainer or a large slotted spoon is also essential. You need to be able to move the beignets quickly and safely without splashing hot oil. Finally, make sure you have a wire cooling rack. Draining beignets on a flat paper towel can make the bottoms soggy; a rack allows air to circulate so they stay crisp on all sides.
Make-Ahead Strategies and Storage Realities
Beignets are best eaten within minutes of leaving the oil. However, the dough is incredibly forgiving. You can make the dough a day in advance and keep it in the fridge. In fact, the flavor actually improves after 24 hours as the yeast slowly ferments. Just pull out what you need, roll, cut, and fry.
If you have leftover fried beignets, avoid the microwave at all costs. It will turn the light dough into a rubbery, chewy mess. Instead, pop them into a 350°F oven or an air fryer for 2-3 minutes. This will recrisp the exterior and warm the center without ruining the texture. They won’t be quite as perfect as fresh, but they’ll still be delicious.
Pairing Your Beignets: Beyond the Cafe Au Lait
The classic pairing is a steaming cup of cafe au lait made with chicory coffee. The slight bitterness of the chicory is the perfect foil for the intense sweetness of the glaze and powdered sugar. It cuts through the richness of the fried dough and cleanses your palate between bites.
If coffee isn’t your thing, a cold glass of whole milk is a fantastic alternative. For a cozy afternoon treat, try pairing them with a spicy chai tea or a dark, unsweetened black tea. The goal is to find a beverage that offers a bit of contrast to the sugar, allowing the delicate flavor of the fried dough to shine through.
Frequently Asked Questions
Can I use Instant Yeast instead of Active Dry?
Yes, you can substitute instant yeast one-for-one in this recipe. However, since instant yeast doesn’t require “blooming,” you can mix it directly into the dry ingredients. You should still use 110°F water to ensure the dough reaches the right temperature for the initial rise, but you don’t have to wait for the foam to appear before mixing.
Why did my beignets turn into balls instead of squares?
This usually happens because of dough tension. If you handle the dough too much after cutting it, or if you “scrunch” the edges when picking them up, the dough will pull toward the center as it fries, forming a ball. To keep them square, use a spatula to gently lift the cut squares and slide them into the oil without stretching them.
Can I bake these instead of frying?
Technically you can bake them, but they will not be beignets. The “rise” and the hollow center are entirely dependent on the thermal shock of the hot oil. Baking will produce a soft, dinner-roll-like texture. If you are looking for that authentic New Orleans experience, frying is the only way to achieve the correct texture and flavor.
How do I keep the oil temperature consistent on a gas stove?
Gas stoves can be finicky because the flame provides direct, intense heat. The key is to adjust the flame in small increments. Once you hit 360°F, turn the heat down slightly before adding your dough. After you remove a batch, turn the heat back up for a minute to recover. Always wait for the thermometer to hit the target temperature before starting the next batch.
Can I freeze the fried beignets?
You can freeze them, though fresh is always superior. To freeze, let the fried (but unglazed) beignets cool completely. Place them on a baking sheet in a single layer and freeze until solid. Transfer to a freezer bag for up to a month. To serve, bake them at 375°F directly from the freezer until hot and crisp, then apply the glaze and sugar.

Glazed New Orleans Style Beignets
Course: DessertCuisine: AmericanDifficulty: easy12
beignets20
minutes15
minutes120
Minutes240
kcalAmerican
Ingredients
1 cup warm water (exactly 110°F)
1/4 cup granulated sugar
2 1/4 teaspoons (1 packet) active dry yeast
1 large egg, beaten
1/2 cup evaporated milk
3 1/2 cups all-purpose flour, plus extra for dusting
1/2 teaspoon salt
2 tablespoons unsalted butter, softened
Vegetable oil or shortening for deep frying
For the Glaze & Topping:
1 1/2 cups powdered sugar (divided)
2 tablespoons whole milk
1/2 teaspoon vanilla extract
Directions
- To ensure the fail-safe rise, whisk the warm water, sugar, and yeast in a large bowl. Let it sit for 10 minutes until it is very foamy. If it does not foam, your yeast is inactive and the beignets will not puff.
- Stir in the beaten egg and evaporated milk. Gradually add 2 cups of flour and the salt, beating with a wooden spoon or dough hook until smooth.
- Add the softened butter and the remaining 1 1/2 cups of flour. Knead the dough on a lightly floured surface for about 3-5 minutes. The dough should be smooth and slightly sticky. Do not over-flour, or the dough will become too heavy to rise.
- Place the dough in a greased bowl, cover tightly with plastic wrap, and refrigerate for at least 2 hours (or up to 24 hours). This cold rest is the critical step that allows the gluten to relax so the dough can stretch and puff during frying.
- Roll the chilled dough out to 1/2 inch thickness on a floured surface. For the thick, pillow-like appearance in the image, do not roll it too thin. Cut into 2 1/2 inch squares using a pizza cutter or sharp knife.
- Heat 3 inches of oil in a deep pot or Dutch oven to 360°F. Use a thermometer to maintain this heat; if the oil is too cool, the dough will soak up grease; if too hot, the outside will burn before the center puffs.
- Carefully slide 3-4 squares into the oil at a time. They should pop to the surface and puff up within seconds. Fry for 1 to 2 minutes per side until deep golden brown.
- Drain on a wire rack set over paper towels for 30 seconds.
- Prepare the glaze by mixing 1/2 cup of the powdered sugar with the milk and vanilla until thick and pourable.
- While the beignets are hot, generously drizzle the white glaze over the stack so it drips down the sides as pictured. Immediately finish with a heavy dusting of the remaining 1 cup of powdered sugar so it clings to the wet glaze. Serve immediately.
Notes
- The cold rest is the critical step that allows the gluten to relax so the dough can stretch and puff during frying. Ensure your yeast is active and foamy before proceeding to ensure a hollow center.