We’ve all been there: you’re craving that deep, diner-style crunch, but you end up with a pile of mushy, steamed potatoes instead. It’s frustrating when your breakfast dreams turn into a soggy mess on the plate. The secret to achieving that shatteringly crisp exterior and a fluffy, tender center lies in mastering moisture control and using the right vessel.
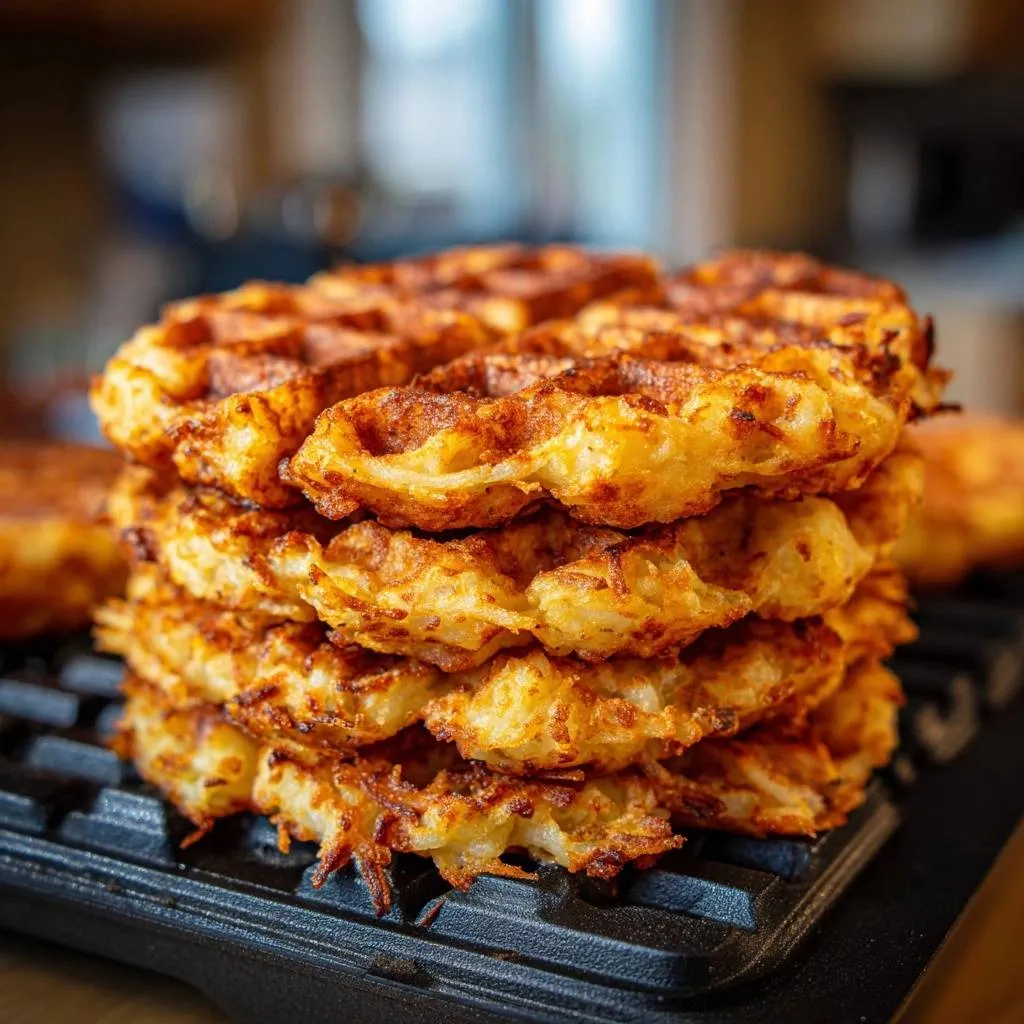
While a skillet is the traditional choice, the waffle iron is actually the superior tool for the job. It provides dual-sided heat and a massive amount of surface area, ensuring every single potato shred gets hit with direct heat. This method transforms humble potatoes into a structural masterpiece that holds its shape and delivers a satisfying snap with every bite.
I’ve found that the real trick isn’t just the heat; it’s the preparation of the potato itself. You have to treat the moisture like an enemy that needs to be defeated before the potatoes ever touch the iron. If you follow this “Anti-Soggy” philosophy, you’ll never go back to the frying pan again.
The Physics of Crunch: Why Most Hash Browns Fail
To get that perfect Golden Crispy Hash Brown Waffles texture, you have to understand the science of potato starch. Potatoes are naturally full of water, and when that water heats up, it turns into steam. If that steam stays trapped inside the potato shreds, it softens the starch instead of crisping it, leading to that dreaded mushy texture.
The Maillard reaction is what we’re after—that beautiful chemical reaction between amino acids and reducing sugars that gives browned food its distinctive flavor. By using a waffle iron, you maximize the contact points between the heat and the potato. This high-contact surface area allows the moisture to escape rapidly as steam, leaving behind a dehydrated, golden crust that stays firm.
Moisture Control: The Secret to Structural Integrity
Think of a potato shred like a tiny sponge. Even if the surface looks dry, the cellular structure is holding onto liquid that will ruin your crunch the moment things get hot. Surface moisture is easy to see, but internal moisture is the real culprit behind a waffle that falls apart.
When you remove that water, you’re essentially concentrated the starches. This creates a stronger “skeleton” for the waffle. Without the excess water diluting the starches, the binding agents can work more effectively, ensuring your waffle doesn’t disintegrate into the grates of your iron.
Essential Components for the Perfect Potato Base
Quality ingredients make a massive difference here. While you can use fresh potatoes, a package of frozen shredded hash browns is actually a fantastic shortcut because the freezing process helps break down the cell walls, making it easier to squeeze out the water. Just make sure they are completely thawed before you start.
The binding agent is the unsung hero of this recipe. A single, lightly beaten egg acts as the “glue” that holds the shreds together. Without it, you’re just cooking loose potatoes that will likely stick to the iron or crumble when you try to lift them out. The egg emulsifies with the fats to create a thin coating that browns beautifully.
The Role of Fats and Seasoning Profiles
Melted butter is my go-to for this recipe because it adds a rich, nutty flavor that oil just can’t match. However, the fat isn’t just for taste; it’s a heat conductor. It helps the heat from the waffle iron penetrate deep into the potato shreds, ensuring the middle isn’t raw while the outside is burning.
For seasoning, a simple blend of garlic powder, onion powder, salt, and black pepper provides a savory backbone. If you want even more structural “glue,” adding finely shredded cheddar cheese is a pro move. As the cheese melts and fries against the hot iron, it creates a lacy, caramelized crust that adds both flavor and strength.
The Pre-Cook Ritual: Preparing Your Shreds
This is the most important part of the entire process, so don’t rush it. If you’re using frozen potatoes, let them thaw in the fridge overnight or on the counter for an hour. Once they’re soft, you’ll notice a significant amount of liquid at the bottom of the bag. Get rid of it immediately.
Now, grab a clean kitchen towel or a large piece of cheesecloth. Dump the potatoes in the center, gather the corners, and twist. You need to squeeze with all your might. You’ll be shocked at how much water comes out—sometimes up to half a cup! Keep twisting and squeezing until the towel feels damp but no more drops are falling.
When you open the towel, the potatoes should look matte and feel almost like wood shavings. They should be “bone-dry” to the touch. If they still feel slippery or wet, grab a fresh towel and do it again. This extra five minutes of effort is the difference between a mediocre breakfast and a legendary one.
Step-by-Step: Engineering the Golden Crispy Hash Brown Waffles
Start by whisking your egg, melted butter, and spices in a large bowl until they’re well combined. Once that’s ready, toss in your dry potato shreds. Use a fork or your hands to toss the mixture, ensuring every single strand is lightly coated in the egg and butter mixture. You want a light coating, not a soggy batter.
Be gentle during this stage. You want to coat the potatoes without bruising them or mashing them into a paste. The goal is to keep the individual shreds distinct so that air can circulate between them during the cooking process, which helps with that internal fluffiness.
Calibrating Your Waffle Iron for Success
Don’t even think about starting until your waffle iron is screaming hot. Set it to the highest possible setting. A low temperature will just “stew” the potatoes in their own juices, leading to a soft texture. You want that immediate sizzle the moment the potatoes hit the metal.
Even if your iron is non-stick, give it a generous coating of non-stick spray or brush it with extra melted butter. Potatoes are notoriously clingy, and the egg binder makes them even more likely to stick. Proper lubrication ensures the waffle slides out in one perfect piece.
The Loading and Pressing Technique
Spread the potato mixture evenly across the bottom grid, going all the way to the edges. Use a spatula to pack it down slightly. This ensures the shreds are in contact with each other, which is vital for the waffle to hold its shape. You aren’t looking for a thick layer; a medium thickness works best for the crunch-to-fluff ratio.
Close the lid and press down firmly for about 30 seconds. This “sets” the shape and ensures the top and bottom grids are making full contact with the potatoes. Now, the hardest part: leave it alone! Do not peek for at least 10 minutes. Opening the lid too early releases the steam needed to cook the inside and can cause the waffle to tear in half.
Troubleshooting: Avoiding Common Potato Pitfalls
If your waffle sticks to the iron, it’s usually because the iron wasn’t hot enough or you didn’t use enough fat. If this happens, don’t panic. Use a thin knife or an offset spatula to gently pry the edges up. Next time, let the iron preheat for an extra five minutes before adding the potatoes.
If the waffle is brown on the outside but feels soft or limp, you likely didn’t squeeze enough water out of the potatoes. You can try to save it by leaving it in the iron for another 3-4 minutes with the lid slightly cracked to let more steam escape. Remember, the “steam cue” is your best friend—when the visible steam stops rising from the sides, it’s usually done.
Equipment Essentials: Why the Iron Matters
The type of waffle iron you use will change the final result. A Belgian waffle iron has deeper pockets, which creates more “fluff” in the center and very distinct, crunchy ridges. A standard, shallow-grid iron will produce a thinner, more consistently crunchy waffle that resembles a giant, round hash brown patty.
I highly recommend using an offset spatula for removal. Its thin, flexible blade can slide right under the waffle without breaking the delicate crust. A regular fork can work in a pinch, but you risk poking holes in your beautiful creation. Having the right tools makes the transition from iron to plate much smoother.
Flavor Variations and Savory Swaps
Once you’ve mastered the base recipe, you can start getting creative. For a “Loaded” version, fold in some chopped chives and crispy turkey bacon bits into the potato mixture before cooking. The bacon fat will render out slightly, adding even more flavor and crunch to the exterior.
If you like a bit of heat, add a half-teaspoon of smoked paprika or a pinch of cayenne pepper to the spice mix. You can also swap the cheddar for pepper jack cheese to give it a spicy kick. For a Mediterranean twist, try adding some dried oregano and serving the finished waffle with a dollop of Greek yogurt.
Optimal Pairings for a Complete Breakfast
These waffles are a fantastic base for other breakfast items. A poached egg is the ultimate companion; when you break the yolk, it acts as a rich, velvety sauce that soaks into the potato ridges. It’s a texture combination that is hard to beat.
If you want something a bit more refined, top your Golden Crispy Hash Brown Waffles with a few slices of smoked salmon, a dollop of sour cream, and some fresh dill. The cold salmon and cream contrast beautifully with the hot, salty potatoes. A sprinkle of fresh scallions or a squeeze of lemon juice can also help cut through the richness of the butter.
Make-Ahead Strategy and Reheating for Maximum Snap
You can actually make a big batch of these and save them for busy mornings. Let the cooked waffles cool completely on a wire rack so they don’t get soggy from their own steam. Once cool, wrap them individually in parchment paper and store them in a freezer bag for up to a month.
When you’re ready to eat, stay away from the microwave! A microwave will turn your crispy masterpiece into a rubbery disaster. Instead, pop the frozen waffle directly into a toaster or an air fryer at 350°F for a few minutes. This revives the original crunch and heats the center perfectly.
Expert Tips for High-Volume Cooking
If you’re cooking for a crowd, the biggest mistake you can make is stacking the finished waffles on a plate. The residual heat will create steam, and the bottom waffles will lose their crunch instantly. Instead, set a wire cooling rack over a baking sheet and keep it in a 200°F oven.
As each waffle comes out of the iron, place it on the wire rack in the oven. The air will circulate around the waffle, keeping it hot and shatteringly crisp until you’re ready to serve everyone at once. This method ensures the first person in line gets the same high-quality crunch as the last person.
Frequently Asked Questions
Can I use fresh potatoes instead of frozen?
Yes, you can use fresh Russet potatoes, but they require a bit more work. After shredding them, you must rinse them in cold water several times to wash away the excess surface starch, which can make the waffles gummy. After rinsing, follow the squeezing process religiously to ensure they are bone-dry before mixing with the other ingredients.
Why did my waffle stick to the iron?
Sticking is usually caused by one of two things: a cold iron or not enough fat. Make sure your iron has preheated for at least 5-10 minutes on its highest setting. Additionally, even if your iron is non-stick, the egg binder needs a layer of oil or butter to help it release. Be sure to grease both the top and bottom plates thoroughly right before adding the potatoes.
Is the cheese mandatory for the crunch?
The cheese is not mandatory, but it does help. The proteins and fats in the cheese caramelize against the hot iron, creating a very sturdy, crispy lattice. However, if you follow the “Anti-Soggy” method of squeezing out all the moisture, you will still get a very crispy waffle using just the potatoes, egg, and butter.
How do I know exactly when they are done?
The best indicator is the steam. When you first close the iron, a lot of steam will billow out the sides. As the water evaporates and the waffle crisps up, the steam will slow down significantly. When you see almost no steam escaping, the waffle is likely ready. It should be a deep, mahogany golden brown when you open the lid.
Can I make these vegan?
You can substitute the egg with a commercial vegan egg replacer or a “flax egg” (1 tablespoon ground flaxseed mixed with 3 tablespoons water). Use melted vegan butter or a neutral oil like avocado oil. Keep in mind that vegan binders may not provide the exact same structural “snap” as a real egg, so you might need to cook them a minute or two longer to ensure they are set.

Golden Crispy Hash Brown Waffles
Course: BreakfastCuisine: AmericanDifficulty: easy4
servings10
minutes15
minutes25
Minutes210
kcalAmerican
Ingredients
1 package (20 ounces) shredded hash brown potatoes, thawed completely
1 large egg, lightly beaten (essential for binding the shreds)
1/4 cup finely shredded cheddar cheese (optional, for extra browning and structure)
3 tablespoons melted butter or vegetable oil
1/2 teaspoon garlic powder
1/2 teaspoon onion powder
1/2 teaspoon salt
1/4 teaspoon black pepper
Non-stick cooking spray
Directions
- The most critical step to prevent sogginess is removing every drop of excess water. Place your thawed shredded potatoes in a clean kitchen towel or several layers of cheesecloth. Twist and squeeze with all your might over the sink until no more liquid comes out. Dry potatoes are the only way to get a true crunch.
- Preheat your waffle iron to the highest setting. A hot iron is essential for immediate searing and preventing the potatoes from sticking.
- In a large bowl, whisk the egg, melted butter, garlic powder, onion powder, salt, and pepper. Add the bone-dry potatoes (and cheese, if using) and toss until every shred is evenly coated. The egg and butter work together to conduct heat and glue the shreds into a solid waffle shape.
- Generously coat both the top and bottom grids of the waffle iron with non-stick spray or additional melted butter.
- Spread the potato mixture evenly across the bottom grid, filling it to the edges. Pack it down slightly with a spatula to ensure the shreds are in contact with each other.
- Close the lid and press down firmly for the first 30 seconds to set the shape. Cook for 10 to 12 minutes. Do not open the lid early! Opening it too soon releases steam and can cause the waffle to tear in half.
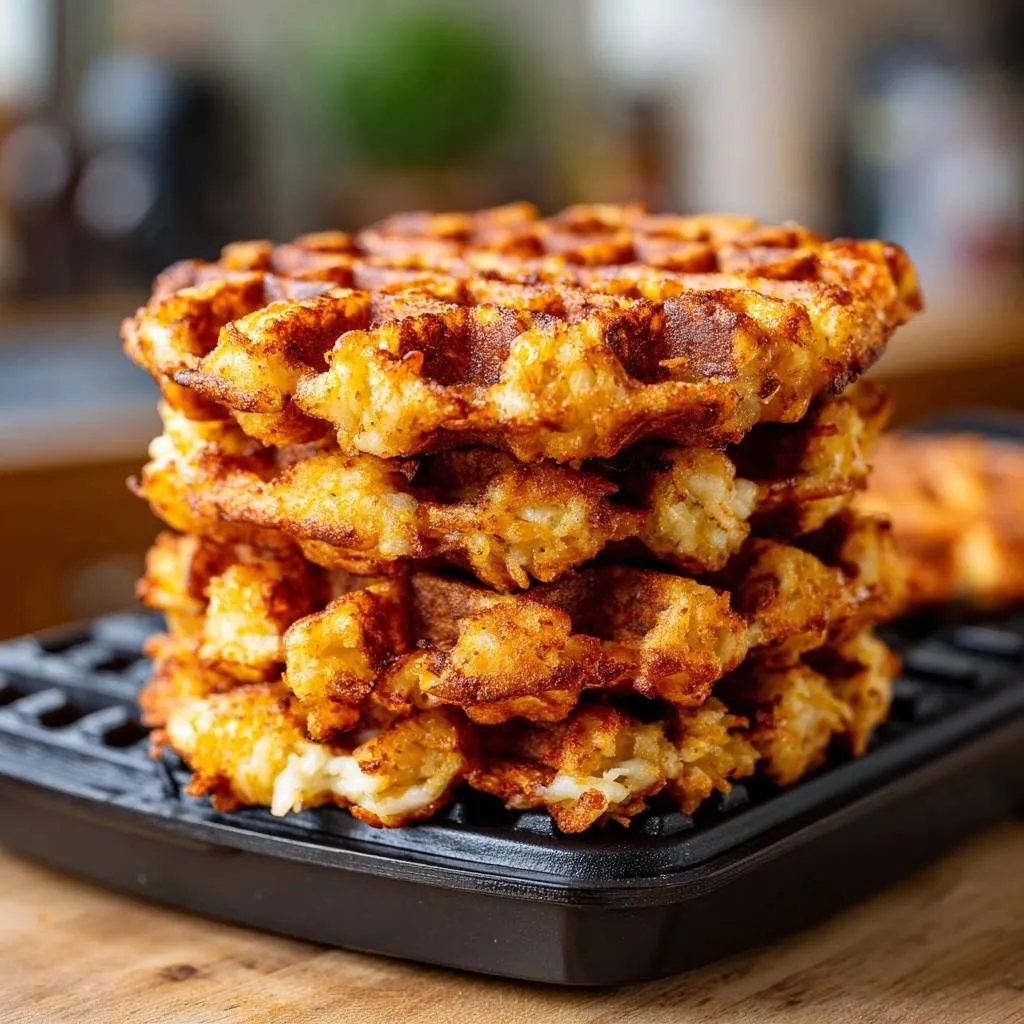
- Once the steam stops rising and the waffles have reached the deep mahogany brown color seen in the photo, carefully lift them out with a fork or offset spatula. Serve immediately for maximum crunch.
Notes
- The most critical step is squeezing all liquid out of the thawed potatoes using a kitchen towel. Do not open the waffle iron lid early, as the steam needs to escape to ensure the waffle doesn’t tear.