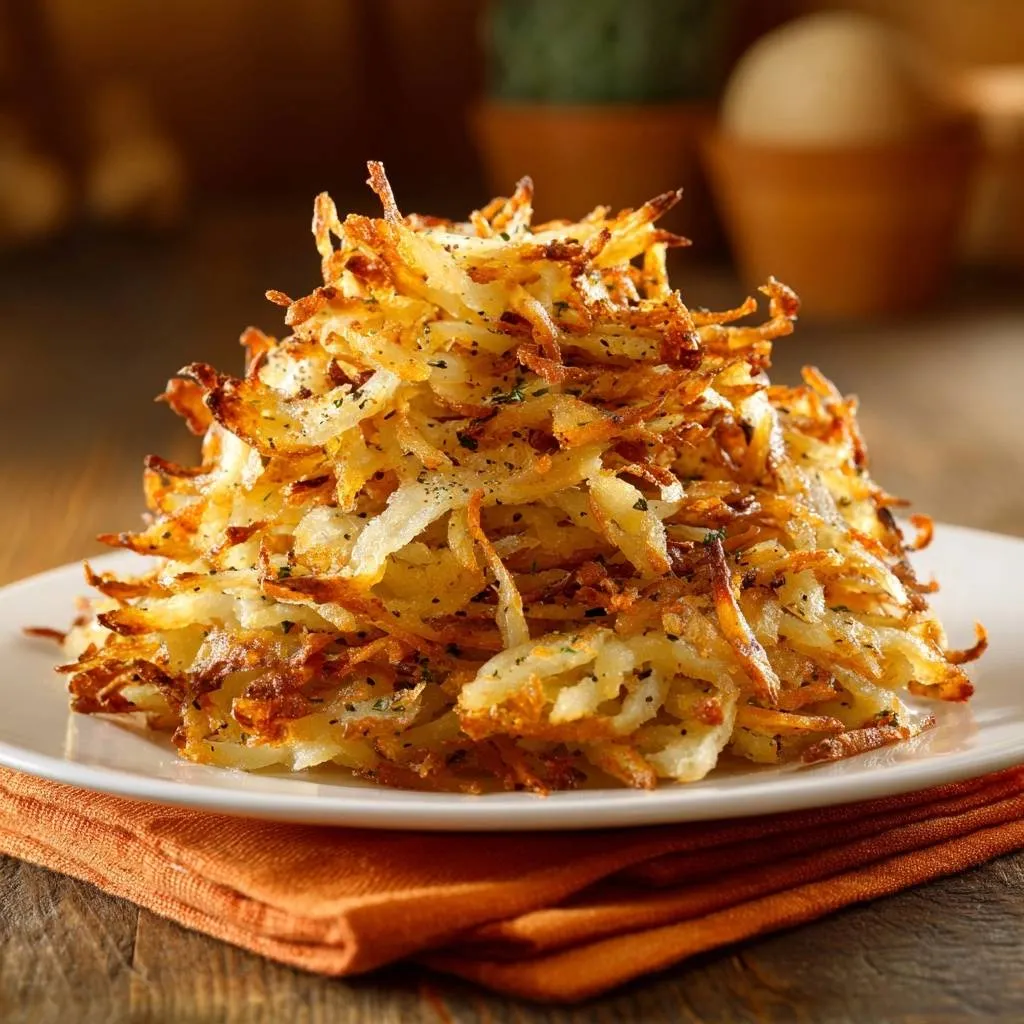
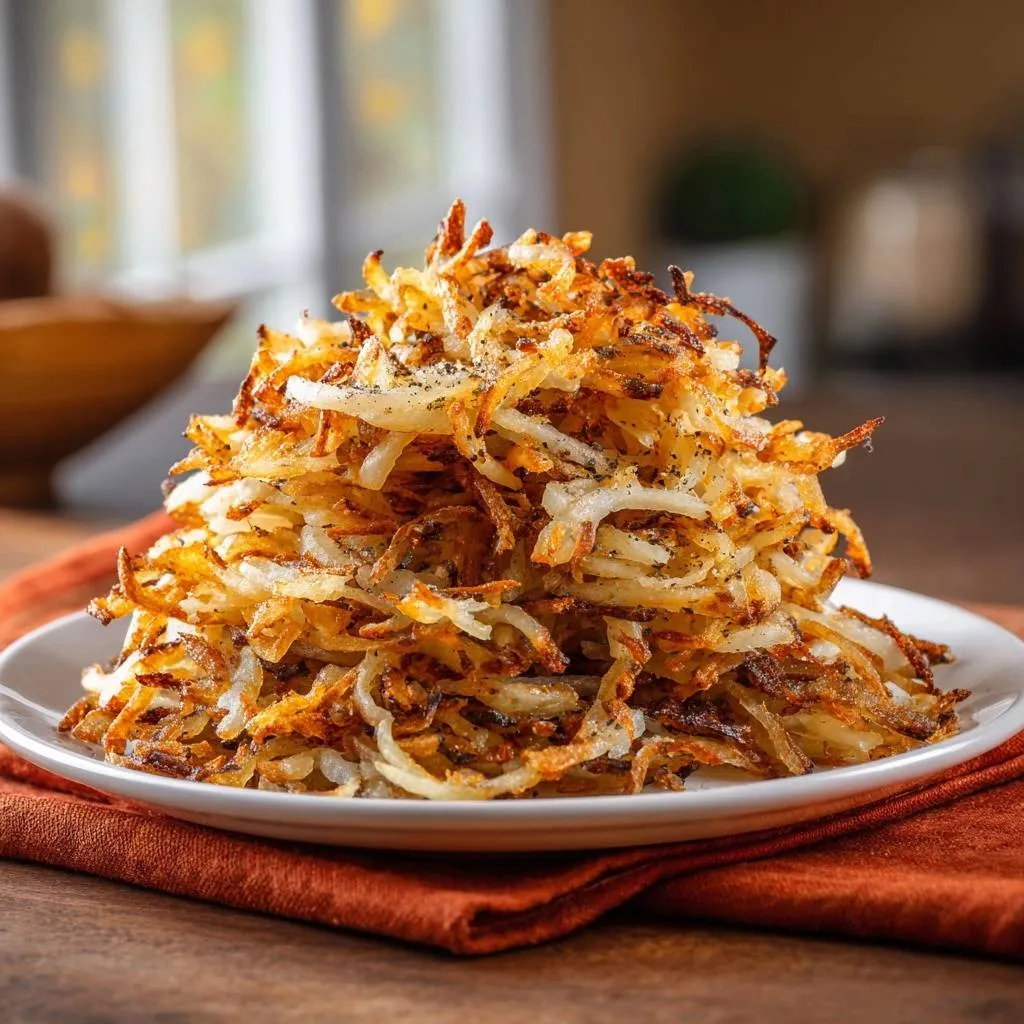
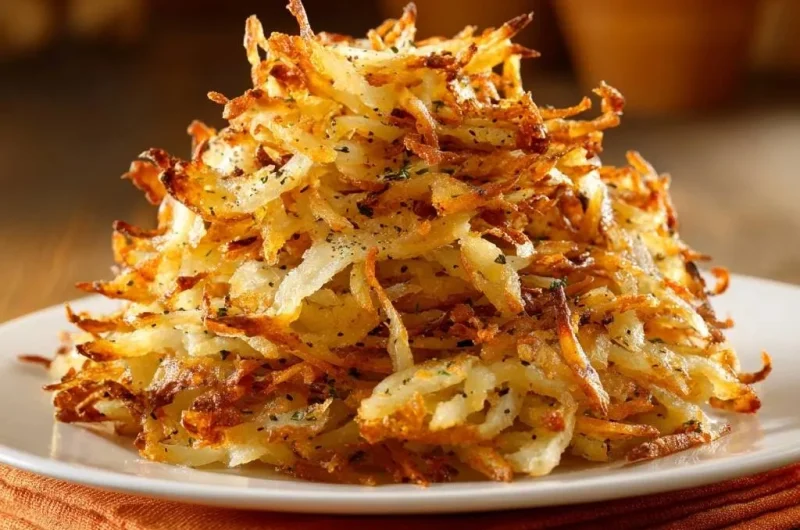
We’ve all been there, sitting at a diner counter with high hopes, only to be served a pile of potatoes that are charred on the outside but a gummy, gray mess in the middle. It’s a heartbreak on a plate. Truly great hash browns should be a mountain of golden, tangled threads that offer a loud, satisfying crunch with every single forkful.
The secret to achieving that “skyscraper” height and airy texture isn’t a fancy restaurant griddle. It’s about understanding how to manipulate the starch and moisture inside the potato. When you master the balance of heat and dryness, you stop making “potato pancakes” and start making the shatteringly crisp shreds of your dreams.
I’ve found that the biggest mistake home cooks make is rushing the prep work. If you want that airy, piled-high look, you have to treat the potatoes like they’re delicate lace rather than heavy dough. The secret is the “double-dry” method, which ensures the surface of every shred is ready to blister and brown the moment it hits the hot oil.
The Anatomy of a Perfect Russet Potato
When you’re aiming for Golden Crispy Shredded Hash Browns, the type of potato you grab at the grocery store makes or breaks the dish. You absolutely must use Russet potatoes, often called Idaho potatoes. These are high-starch tubers, specifically high in amylose, which is the secret to a fluffy interior and a crisp exterior.
Waxy potatoes like Red Bliss or Yukon Gold have too much moisture and a different sugar structure. If you try to shred a waxy potato, the strands will likely clump together into a sticky, translucent mass. Russets, however, have a dry, mealy texture that allows the individual shreds to stay separate and distinct during the frying process.
Selecting and Prepping Your Spuds
Look for Russets that feel heavy for their size and have a firm, unblemished skin. Avoid any potatoes with a green tint or soft spots, as these indicate age or improper storage. I always recommend peeling the potatoes completely because the thick, dusty skin of a Russet can interfere with the clean, golden color we’re after.
When it comes to shredding, a standard box grater with large holes is your best friend. While a food processor is fast, it often tears the potato or creates uneven bits. Using the large holes of a box grater gives you long, uniform strands that have enough surface area to get crispy without disappearing into the pan.
Essential Components for High-Heat Frying
The ingredient list for this recipe is short, which means every item has a vital job to do. We aren’t just adding fat for flavor; we’re using it as a heat transfer medium. You’ll need a high-heat cooking oil and, if you want that classic diner aroma, a little bit of unsalted butter to finish things off.
I prefer using sea salt over standard table salt because the larger grains provide better coverage and a more pleasant “pop” of flavor. Freshly cracked black pepper is also a must. Pre-ground pepper often tastes like dust, but freshly cracked peppercorns add a floral heat that cuts right through the richness of the oil.
Choosing the Right High-Smoke Point Oil
Since we are frying these potatoes at a medium-high temperature, you need an oil that won’t smoke or break down. Avocado oil and grapeseed oil are fantastic choices because they have high smoke points and neutral flavors. This allows the natural, earthy sweetness of the Russet potato to shine through.
If you use an oil with a low smoke point, like extra virgin olive oil, it will burn before the potatoes are actually cooked. This results in a bitter, acrid taste and a dark, unappealing color. You want the oil to be shimmering in the pan—almost dancing—before the potatoes ever touch the surface.
The Science of Starch Removal
Have you ever noticed how shredded potatoes turn gray or even purple if they sit out for a few minutes? That’s oxidation, and it’s caused by the surface starch reacting with the air. To prevent this and to ensure the potatoes don’t stick together, you must rinse them thoroughly in cold water.
When you drop the shreds into a bowl of water, you’ll see it turn cloudy almost instantly. That cloudiness is the excess starch that would otherwise turn into a “glue” in your frying pan. Swish them around vigorously and drain them until the water runs clear, which ensures every shred is an independent agent of crunch.
The “Double-Dry” Technique for Maximum Crunch
This is the most critical part of the entire process. If your potatoes are wet when they hit the oil, they will steam instead of fry. Water boils at 212°F, but the Maillard reaction—the chemical process that creates browning and flavor—doesn’t really kick in until much higher temperatures.
By removing every possible drop of water, you allow the oil to immediately begin browning the potato. If there’s moisture left, the energy of the stove goes into evaporating that water first, leaving you with a soggy, limp center. We want to bypass the steaming phase entirely and go straight to the crisping phase.
The Kitchen Towel Squeeze Method
After rinsing, pile your potato shreds into the center of a clean, lint-free kitchen towel or a large piece of cheesecloth. Gather the corners to create a bundle and start twisting. You need to use some real muscle here; squeeze that bundle until you think you can’t get another drop out, and then squeeze one more time.
When you open the towel, the potatoes should feel surprisingly dry to the touch and fall apart easily, almost like wood shavings. If they are still clumping together in a wet ball, they aren’t dry enough. This physical labor is the difference between mediocre breakfast potatoes and legendary ones.
Step-by-Step: Achieving the Golden Crispy Shredded Hash Browns
Start by heating your oil in a heavy skillet until it is shimmering. You can test the heat by dropping a single shred of potato into the pan; if it sizzles violently on contact, you’re ready. Carefully scatter the potatoes across the surface of the pan, making sure you don’t overcrowd them.
Once the potatoes are in, resist the urge to move them. They need several minutes of undisturbed contact with the heat to form a structural crust. You’ll see the edges start to turn a light tan, and the aroma of toasted potatoes will fill your kitchen. This is the transformation from raw vegetable to golden treasure.
The “No-Press” Rule for Airy Texture
Many people use their spatula to smash the potatoes down into a flat disc, but I want you to avoid that. When you press them down, you trap steam between the layers, which leads to a mushy interior. By scattering them loosely, you allow heat to circulate through the pile.
This “scatter” method creates those wonderful little nooks and crannies that catch the salt and pepper. It also gives the hash browns a much lighter, more voluminous mouthfeel. You want a pile of crispy shards, not a dense potato brick.
Timing the First Flip
After about 5 or 6 minutes, use a thin spatula to gently peek under one corner. If you see a deep, rich amber color, it’s time to flip. Don’t worry about flipping the whole thing like a pancake; it’s actually better to turn them over in sections or toss them gently.
This brings the pale, less-cooked shreds to the bottom so they can get their turn against the hot metal. If the pan looks a little dry after the flip, this is the perfect time to drop in a tablespoon of butter. The butter will melt down through the layers, adding a nutty flavor and helping the second side brown beautifully.
Troubleshooting Soggy or Burnt Potatoes
If your hash browns are turning dark brown on the outside but still feel raw or soft, your heat is likely too high. Simply turn the burner down to medium and keep tossing them. The residual heat in a heavy pan will finish the interior without burning the exterior.
On the flip side, if they look pale and greasy, your pan wasn’t hot enough when you started, or you crowded too many potatoes into one skillet. If the pan temperature drops too low, the potatoes just soak up the oil like a sponge. In this case, turn the heat up slightly and try to spread the potatoes out more.
Equipment: Why Cast Iron is King
While a good non-stick skillet will work, a heavy-bottomed cast iron pan is the gold standard for hash browns. Cast iron has incredible heat retention, meaning that when you add a pile of cold potatoes, the pan temperature doesn’t plummet. This consistent heat is what creates that even, edge-to-edge browning.
Carbon steel is another excellent choice for those who want the heat properties of cast iron with a bit less weight. If you must use non-stick, just ensure it is a high-quality, heavy-duty pan. Thin pans often have “hot spots” that will burn the center of your hash browns while the edges stay raw.
Flavor Variations and Herb Infusions
Once you’ve mastered the basic technique, you can start playing with flavors. I love adding a pinch of smoked paprika or garlic powder to the dry shreds before they hit the pan. Just be careful with fresh ingredients like onions or garlic; they contain a lot of moisture and can burn quickly.
If you want an onion flavor, try mixing in a little bit of onion powder or very finely minced shallots during the last two minutes of cooking. Fresh herbs like parsley or chives should always be added at the very end as a garnish. This keeps their color bright and their flavor fresh against the salty, fried potatoes.
What to Serve with Golden Crispy Shredded Hash Browns
These hash browns are the ultimate companion to soft, velvety textures. A perfectly poached egg with a runny yolk creates a natural sauce that coats the crispy potato strands. They are also incredible alongside a spicy shakshuka, where the crunch of the potato contrasts with the soft, stewed tomatoes.
For a simple breakfast, serve them with some sliced avocado and a squeeze of lemon. The acidity of the lemon and the creaminess of the avocado balance the salt and oil of the hash browns perfectly. Because these are so crispy, they can stand up to being served under heavy toppings without immediately turning to mush.
Make Ahead and Reheating Strategies
You should never shred potatoes ahead of time and leave them raw, as they will turn an unappetizing gray color even in water. However, you can par-cook your hash browns. Fry them until they are just starting to turn golden, then spread them on a baking sheet to cool and freeze them.
To reheat, the air fryer is your best friend. A few minutes at 375°F will bring back that “shatter” crispness without making them oily. If you don’t have an air fryer, a hot oven or a quick toss in a dry skillet will also do the trick. Avoid the microwave at all costs, as it will turn your hard work into a soggy mess.
Expert Tips for Restaurant-Quality Results
One of my favorite pro tips is the “Butter Finish.” Instead of cooking in butter from the start, add it during the last 90 seconds. This gives you all the flavor of the milk solids without the risk of them burning during the long cook time. It makes the hash browns smell absolutely incredible right as they hit the table.
Another trick is to always serve your hash browns on a warm plate. If you put hot, crispy potatoes on a cold ceramic plate, condensation forms underneath almost instantly. That steam will soften the bottom layer of your hash browns before you even get your fork ready. A quick minute in a low oven for your plates makes a huge difference.
How to Scale for a Crowd
If you’re cooking for a large group, don’t try to cram four potatoes into one 10-inch skillet. You’ll end up with a thick, steamed cake. Instead, use two pans or a large electric griddle. You need enough surface area so that the potato shreds can be scattered loosely rather than piled deep.
If you only have one pan, cook the hash browns in batches. You can keep the first batch warm and crispy on a wire rack set over a baking sheet in a 200°F oven. The wire rack allows air to circulate around the potatoes so they don’t get soggy while you finish the rest.
The Role of Seasoning Timing
Timing your salt is just as important as the heat of your pan. Salt draws out moisture through osmosis. If you salt your raw, shredded potatoes before you squeeze them, you’ll actually help get more water out, but you’ll also lose some of that seasoning in the towel.
I prefer to salt the potatoes while they are in the pan, specifically after the first flip. This ensures the salt sticks to the light coating of oil on the shreds. Salting at the end allows the crystals to stay on the surface, giving you that immediate hit of flavor that makes these so addictive.
How do I store leftover hash browns?
Place any leftovers in an airtight container and keep them in the refrigerator for up to three days. To maintain the texture, do not stack them too deeply while they are still warm, as the trapped steam will make them soft. When you are ready to eat them again, avoid the microwave. Instead, reheat them in a skillet with a tiny bit of oil or in an air fryer at 375°F for 3-4 minutes until they regain their crunch.
Why are my hash browns soggy in the middle?
Soggy centers are almost always caused by excess moisture or overcrowding the pan. If you don’t squeeze the shredded potatoes until they are “bone-dry,” the water inside will turn to steam, cooking the potatoes from the inside out like a boiled potato. Additionally, if you pile the potatoes too high or press them down firmly with a spatula, the steam cannot escape, which leads to a mushy, wet interior rather than a light and airy one.
Can I use a different type of potato if I don’t have Russets?
While Russets are the gold standard for this specific “shredded” style, you can use Yukon Golds in a pinch. However, be aware that Yukon Golds have a higher sugar content and more moisture, so they will brown much faster and may not get quite as crispy. You will need to be even more diligent about rinsing and drying them. Avoid red potatoes entirely for this recipe, as their waxy texture is better suited for roasting or boiling than shredding and frying.
Why did my potatoes turn gray before I could cook them?
Potatoes turn gray or brown due to a process called enzymatic browning, which happens when the starch is exposed to oxygen. To prevent this, you should shred your potatoes directly into a bowl of cold water. As long as the potatoes are submerged, they won’t discolor. Once you squeeze them dry, you should get them into the hot pan immediately. If you need to wait a few minutes, keep the squeezed bundle wrapped tightly in the towel to minimize air exposure.
Can I make these without oil?
To get the specific “shatteringly crisp” texture of a classic hash brown, you need a fat source to transfer heat evenly to all the nooks and crannies of the shreds. If you try to cook them dry, they will likely stick to the pan and scorch rather than turn golden. If you are looking to reduce oil, you can use a high-quality non-stick pan and a light coating of oil spray, but the results will be closer to toasted potatoes than traditional fried hash browns.
Golden Crispy Shredded Hash Browns
Course: BreakfastCuisine: AmericanDifficulty: easy4
servings15
minutes15
minutes30
Minutes210
kcalAmerican
Ingredients
2 large Russet potatoes, peeled
4 tablespoons high-heat cooking oil (such as avocado or grapeseed oil)
1 tablespoon unsalted butter (optional, for flavor)
1 teaspoon sea salt
1/2 teaspoon freshly cracked black pepper
1/2 teaspoon dried parsley or chives
Directions
- Grate the potatoes using the large holes of a box grater.
- Place the shredded potatoes in a large bowl of cold water. Toss them around to release excess starch (the water will turn cloudy). Drain the potatoes.
- To solve the soggy center problem, place the rinsed shreds in a clean kitchen towel or cheesecloth. Twist the towel tightly and squeeze with all your strength over the sink. You must remove as much liquid as possible until the potato shreds feel dry and separated, not clumped together.
- Heat the oil in a large heavy-bottomed cast iron or non-stick skillet over medium-high heat. The oil must be shimmering and hot before adding the potatoes to ensure an immediate sear.
- Spread the dried potato shreds into the pan. To achieve the light, airy texture shown in the image, do not press them down into a flat cake. Instead, scatter them loosely so heat can circulate between the strands.
- Cook undisturbed for 5 to 6 minutes. Once the bottom layer is deeply golden and crisp, use a spatula to gently toss and turn the potatoes, bringing the pale shreds to the bottom.
- Add the butter (if using) to the edges of the pan to help brown the remaining sides. Season evenly with salt, pepper, and dried parsley while cooking.
- Continue to sauté and toss for another 5-7 minutes until the potatoes are a uniform golden brown and have increased in volume.
- Pile the hash browns high on a warm plate to maintain the “shattered” crisp texture and serve immediately.
Notes
- Do not press the potatoes down into a flat cake; scattering them loosely allows heat to circulate for a lighter texture. High-heat oil is essential to prevent sticking and ensure a proper sear.