Imagine biting into a pastry that shatters with a crisp, buttery snap before giving way to a cloud of velvety vanilla cream and the bright tang of fresh berries. It is the ultimate sensory experience, but all too often, home-baked tarts end up with a limp, doughy “soggy bottom” that collapses under the weight of the toppings. When the moisture from the fruit and cream seeps into those delicate layers, the magic of the puff pastry simply vanishes.
The secret to professional-grade Heart-Shaped Strawberry Cream Pastries lies in a strategic defense against moisture. By using a specialized blind-docking method and a clever sugar-barrier technique, you can create a shell that stays remarkably crunchy for hours. We aren’t just baking a treat; we are engineering a structural masterpiece that ensures every single bite maintains its bakery-style integrity.
To achieve this, you must prioritize the bake of the pastry shell itself. Most people under-bake puff pastry because they fear burning it, but a pale pastry is a soft pastry. You want a deep, mahogany gold color. This level of caramelization not only provides a robust flavor but also creates a sturdier wall that resists the softening effects of the cream filling.
The Physics of Flaky Puff Pastry
Puff pastry is a marvel of culinary engineering, consisting of hundreds of paper-thin layers of dough separated by solid fat. When that cold fat hits the intense heat of a 400°F oven, the water within the fat evaporates instantly. This creates steam that forces the dough layers upward, resulting in that iconic, airy lift.
However, those very gaps that make the pastry light also make it vulnerable. Once you add a wet filling like sweetened cream or juicy strawberries, the porous layers act like a sponge. Without a protective layer, the moisture migrates into the flour fibers, turning your crisp heart into a gummy mess within minutes of assembly.
This is why we employ “blind-docking” and “sugar-barriers.” Docking involves pricking the center of the dough to prevent it from rising as high as the edges, creating a natural well for the filling. By adding a thin layer of granulated sugar to that center area before baking, we create a hydrophobic seal. The sugar melts into a micro-thin layer of caramel that blocks moisture from penetrating the base.
Why Temperature Control Prevents Dough Failure
Temperature is your best friend or your worst enemy when working with laminated dough. If the pastry becomes too warm while you are cutting out your heart shapes, the butter layers will melt into the flour. Instead of puffing up into distinct flakes, the dough will bake into a flat, greasy cracker.
Always work with dough that is thawed but still very cold to the touch. If you feel the pastry getting soft or sticky, pop it back into the refrigerator for ten minutes. This ensures the butter remains solid until it hits the oven, guaranteeing those beautiful, defined layers that give the pastry its height and crunch.
Essential Components for Heart-Shaped Strawberry Cream Pastries
Success starts with the quality of your pantry staples. For the filling, you need heavy cream with a high fat content, ideally 36% or higher. This ensures the cream whips into a stable, stiff foam that won’t weep or deflate over time. Chilling the cream—and even the bowl—is vital for a quick, voluminous aeration.
The cream cheese acts as a stabilizer, providing a tangy backbone and a thick, pipeable texture. It must be completely softened to room temperature before you begin. If the cream cheese is even slightly cold, it will form tiny, stubborn lumps that ruin the silky mouthfeel of your vanilla bean filling.
Pure vanilla extract or vanilla bean paste adds a sophisticated depth that balances the sweetness of the powdered sugar. While it might seem like a small addition, it transforms the cream from a simple topping into a rich, custard-like component that rivals any high-end patisserie.
Selecting the Best Strawberries for Baking
When choosing your fruit, look for medium-sized strawberries that are fragrant and red all the way to the hull. Avoid overripe, mushy berries, as they release too much juice. Quartering the berries is better than slicing them thin; the thicker pieces hold their shape and provide a satisfying textural contrast to the soft cream.
The Role of Granulated Sugar as a Moisture Barrier
The tablespoon of granulated sugar in this recipe isn’t just for sweetness. As the pastry bakes, the sugar crystals dissolve and fuse into the surface of the dough. This creates a thin, glass-like coating that is naturally water-resistant. It is a professional trick that keeps the pastry base “shatteringly crisp” even after the cream is added.
Required Tools for Professional Pastry Shaping
To get those clean, sharp edges, a metal heart-shaped cookie cutter is superior to plastic. A 3-inch cutter provides the perfect individual serving size. You will also need a smaller cutter or a sharp paring knife to score the inner border, which guides the pastry on where to rise and where to stay flat.
A wire cooling rack is perhaps the most underrated tool in this process. If you leave the hot pastries on the baking sheet, steam will trap underneath them, softening the bottom you worked so hard to keep crisp. Elevating them allows air to circulate entirely around the shell, locking in that crunch as they cool.
Step-by-Step: Engineering the Perfect Pastry Shell
Start by unfolding your cold pastry and cutting your eight hearts. Use your paring knife to score a smaller heart inside each one, about a quarter-inch from the edge. Be careful not to cut all the way through; you only want to “tell” the outer border to puff up while the center stays down.
Next, dock the center of each heart thoroughly with a fork. This creates vents for steam to escape, preventing the middle from ballooning. Sprinkle your granulated sugar barrier inside that scored line, then apply your egg wash to the outer border. This ensures the edges get a beautiful shine while the center stays functional.
Bake until the pastries are a deep, rich gold. If you pull them out when they are pale yellow, they will collapse. You are looking for a firm, toasted appearance. If the centers did puff up slightly, use the back of a spoon to gently press them down while they are still hot from the oven.
Scoring and Docking for Uniform Rising
The scoring process creates a “break” in the dough’s surface. This allows the outer rim to expand freely, creating a decorative wall that holds your cream in place. Think of it as building a little edible bowl. The docking pattern should be dense—don’t be afraid to prick the center ten or twelve times.
The Egg Wash: Achieving a Lacquered Finish
An egg wash made with a whole egg and a splash of water provides the best balance of shine and color. The proteins in the egg white create a glossy sheen, while the fats in the yolk promote the Maillard reaction. This results in a lacquered, professional finish that makes the pastries look like they came from a French bakery.
Stabilizing the Vanilla Cream Filling
To create a filling that doesn’t run, start by beating the softened cream cheese with the powdered sugar and vanilla. Once that is completely smooth, slowly pour in the chilled heavy cream while continuing to beat. This gradual addition allows the fats to emulsify properly, creating a thick, stable structure.
Whip the mixture until it reaches stiff peaks. This means when you lift the beaters, the cream stands straight up without drooping. Be careful not to over-whip, or you will end up with sweetened butter. The goal is a texture that is firm enough to be piped through a star tip but soft enough to melt on the tongue.
Assembly Strategy to Maintain Maximum Crunch
Patience is the most important ingredient during assembly. You must wait until the pastry shells are completely cold before adding the cream. If the shell is even slightly warm, it will melt the fat in the cream, causing it to liquefy and soak into the pastry, destroying the crisp texture instantly.
For a clean look, use a piping bag to fill the wells of the hearts. Start from the center and spiral outward. This ensures the cream reaches every corner of the heart shape. Once filled, nestle your strawberry quarters into the cream, pressing down just enough so they stay secure but don’t squash the filling.
Applying the Optional Fruit Glaze
A quick glaze made from warmed strawberry jam adds a stunning “jewel-toned” finish to your fruit. It also serves a practical purpose by sealing the cut surfaces of the strawberries, preventing them from drying out or losing their luster. Use a soft pastry brush to dab the glaze on gently so you don’t disturb the cream.
Troubleshooting Common Pastry Obstacles
If your heart shapes look distorted or “shrunken” after baking, you likely overworked the dough. When you handle puff pastry too much, the gluten becomes elastic and snaps back in the oven. To fix this, always let the cut shapes rest in the fridge for 15 minutes before they go into the oven.
If the pastry feels greasy rather than flaky, the oven temperature might be too low. A hot oven is required to turn the water in the butter into steam quickly. Ensure your oven is fully preheated to 400°F before the tray goes in. If your oven runs cool, the butter will simply melt out of the dough instead of lifting it.
Make-Ahead Logistics and Storage Standards
You can easily prep the components of this dish in advance. The pastry hearts can be cut, scored, and docked, then kept in the freezer for up to a month. Bake them straight from frozen, adding a few extra minutes to the timer. The cream filling can also be made a day ahead and stored in an airtight container in the fridge.
Once assembled, these pastries are best enjoyed within two hours. While our sugar-barrier technique buys you extra time, the moisture from the strawberries will eventually win. If you have leftovers, store them in the refrigerator, but be aware that the pastry will lose its signature shatter-crisp texture by the next day.
Flavor Variations and Seasonal Adaptations
While strawberry is the classic choice, this “anti-soggy” technique works for any fruit. Try a layer of lemon curd under the cream for a citrus punch, or swap the strawberries for fresh raspberries and a hint of lime zest. You can even brush the inside of the baked shell with a thin layer of melted chocolate before adding the cream for an extra layer of flavor and moisture protection.
How do I store leftover pastries?
Store any leftover assembled pastries in an airtight container in the refrigerator for up to 24 hours. Note that the pastry will lose its crispness over time due to the moisture in the cream and fruit. For the best experience, store the baked shells in a dry container at room temperature and the cream in the fridge, then assemble just before serving.
Why did my pastry shells come out flat?
Flat pastry usually happens if the dough got too warm before baking or if the oven wasn’t hot enough. If the butter melts before the steam can lift the layers, the pastry won’t rise. Always ensure your dough is cold and your oven is fully preheated to 400°F. Also, check that your puff pastry isn’t expired, as the layers can stick together over time.
Can I use frozen strawberries instead of fresh?
It is not recommended to use frozen strawberries for this specific recipe. Frozen berries release a significant amount of liquid as they thaw, which will quickly overwhelm the cream and the pastry base, leading to a soggy mess. Stick to fresh, firm berries for the best structural and flavor results.
What can I use if I don’t have a heart-shaped cutter?
If you don’t have a cutter, you can draw a heart on a piece of parchment paper to use as a template. Place the template over the cold dough and cut around it with a sharp paring knife. Alternatively, you can cut the pastry into simple squares or circles; the “anti-soggy” docking and sugar techniques will work exactly the same way.
My cream filling is too runny, how can I fix it?
If the filling is runny, it likely wasn’t whipped long enough or the heavy cream wasn’t cold enough. You can try chilling the mixture for 30 minutes and then whipping it again. If it still won’t hold a peak, you can beat in an extra ounce of softened cream cheese to help stabilize the structure and provide more body.
Heart-Shaped Strawberry Cream Pastries
Course: DessertCuisine: French-AmericanDifficulty: easy8
pastries20
minutes18
minutes38
Minutes215
kcalFrench-American
Ingredients
1 sheet frozen puff pastry, thawed but very cold
4 ounces cream cheese, softened
1/4 cup heavy cream, chilled
3 tablespoons powdered sugar, plus extra for dusting
1/2 teaspoon vanilla extract
1 cup fresh strawberries, hulled and quartered
1 egg, beaten with 1 teaspoon water (egg wash)
1 tablespoon granulated sugar (for the barrier)
Optional: 1 tablespoon strawberry jam (for glazing the fruit)
Directions
- Preheat your oven to 400°F (200°C) and line a large baking sheet with parchment paper.
- Unfold the puff pastry on a lightly floured surface. Use a 3-inch heart-shaped cookie cutter to cut out 8 hearts.
- Use a slightly smaller heart cutter or a sharp paring knife to lightly score a border 1/4 inch from the edge of each heart. Do not cut all the way through the dough.
- To prevent the soggy bottom: Use a fork to prick (dock) the center of the heart inside the scored border multiple times. Sprinkle a thin, even layer of granulated sugar only within the docked center area. This sugar will melt and caramelize into a moisture-proof seal during baking.
- Brush the outer borders of the hearts with the egg wash.
- Bake for 15 to 18 minutes until the pastries are deeply golden brown and the centers look dry and set.
- While the pastries bake, prepare the filling: In a medium bowl, beat the softened cream cheese, powdered sugar, and vanilla until smooth. Gradually add the heavy cream and whip until the mixture is thick and holds its shape.
- Remove pastries from the oven. If the centers have puffed up despite docking, immediately and gently press the centers down with the back of a small spoon to create a well.
- Transfer the shells to a wire rack to cool completely. This is essential; if you fill them while warm, the cream will melt and the pastry will soften.
- Once cool, spoon or pipe a generous dollop of the cream mixture into the center of each heart.
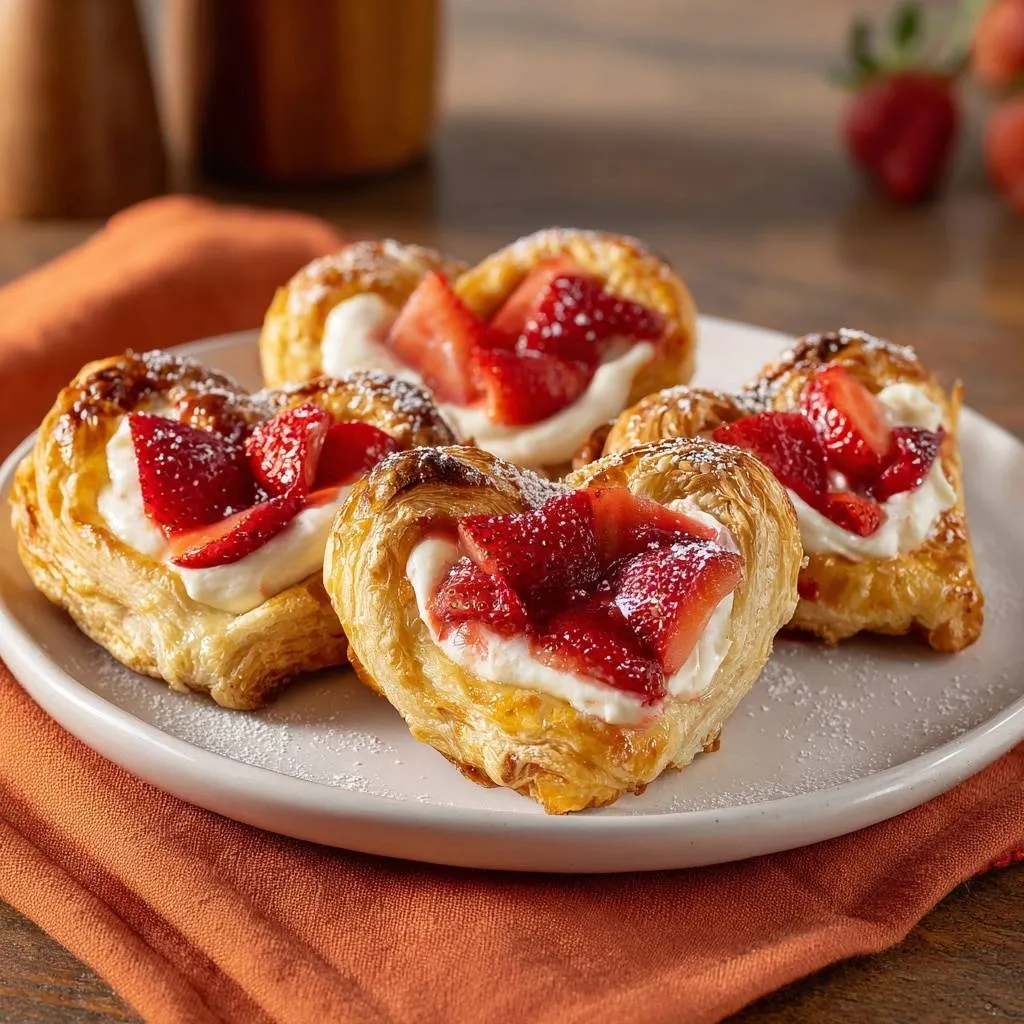
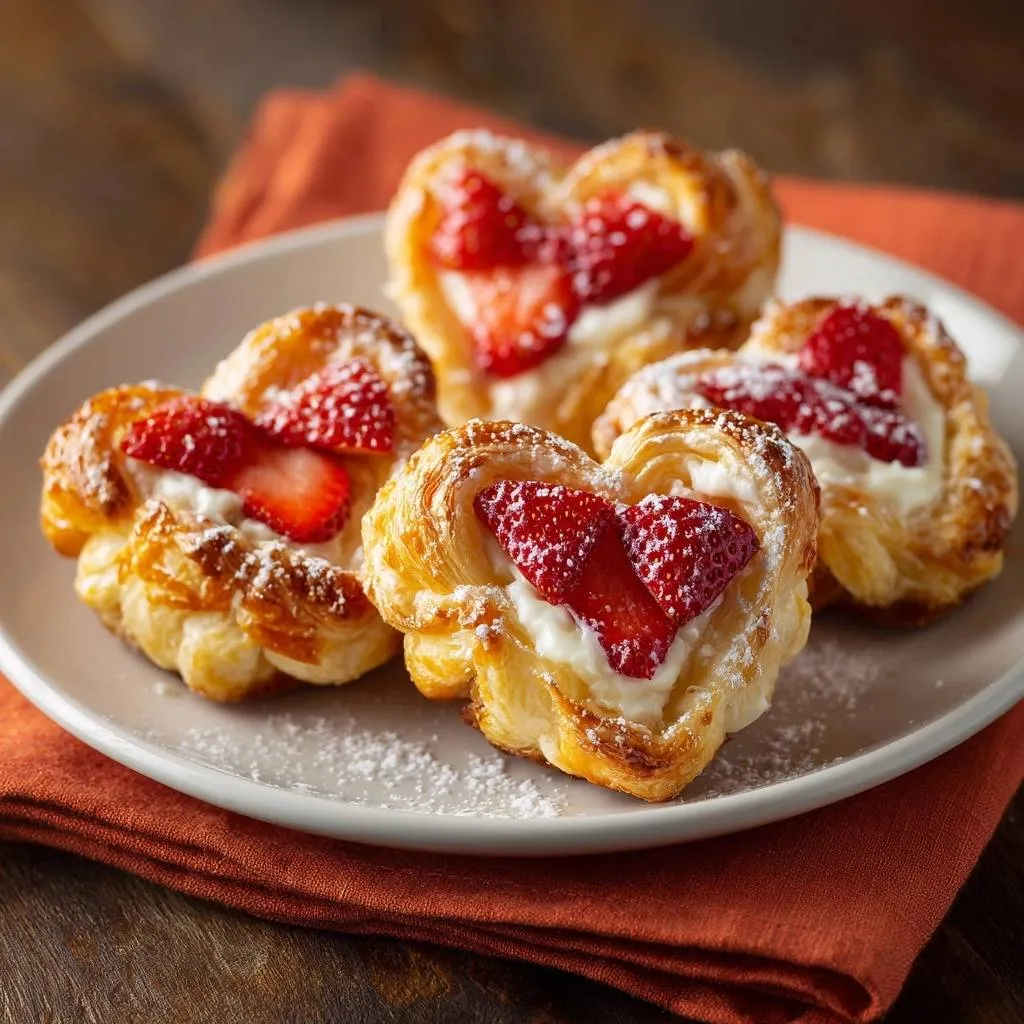
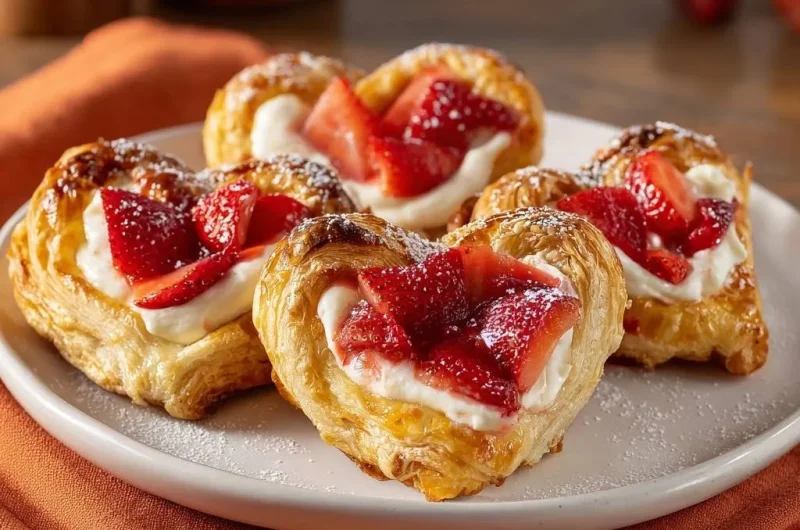
- Arrange the quartered strawberries on top of the cream. For the glossy look seen in the image, you can microwave a tablespoon of jam for 10 seconds and lightly brush it over the berries.
- Finish with a light dusting of powdered sugar and serve immediately.
Notes
- The strategic blind-docking and granulated sugar barrier create a moisture-proof seal to ensure the pastry stays crunchy even after adding the cream.