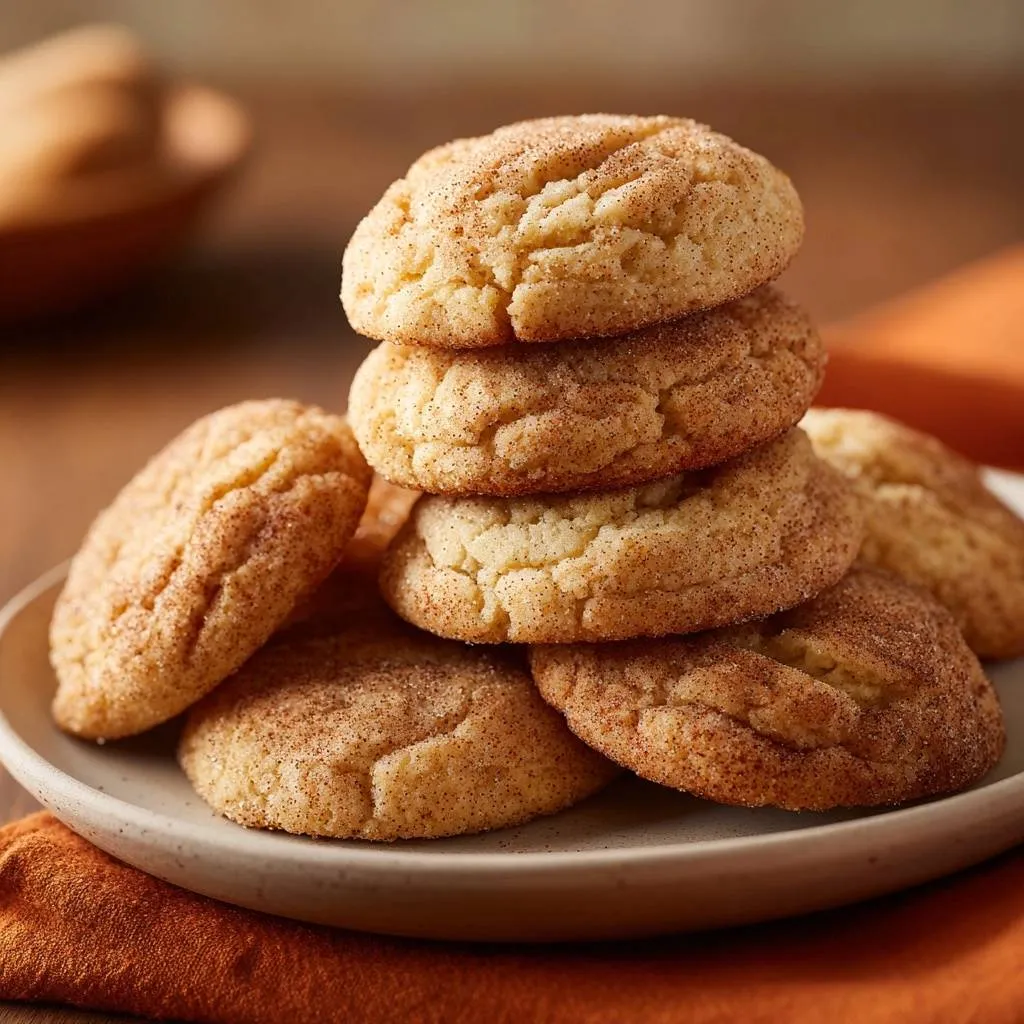
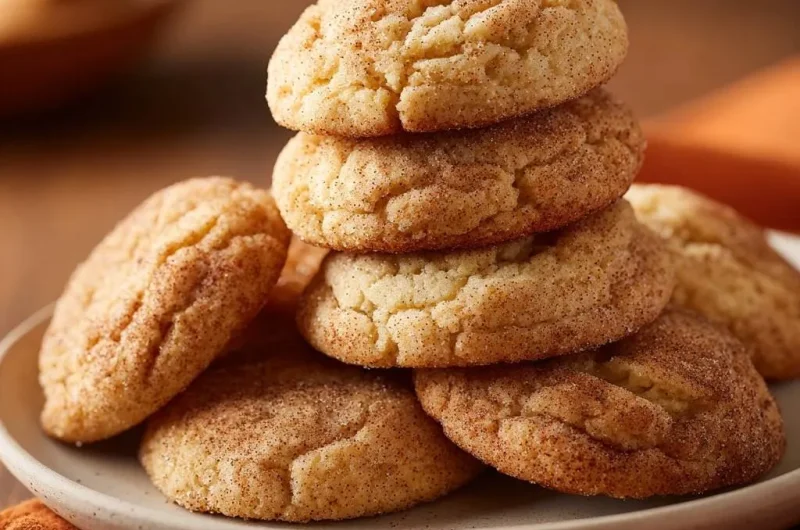
Imagine pulling a tray out of the oven and finding thick, pillowy mounds with deep, golden cracks and a heavy dusting of cinnamon sugar. Your kitchen smells like a warm hug, and when you take that first bite, the edges offer a slight crunch before giving way to a center so soft it almost melts. That is the hallmark of a perfect snickerdoodle, a cookie that balances sweet warmth with a subtle, sophisticated tang.
However, many bakers end up with thin, greasy puddles that spread across the pan until they touch. This happens because the delicate balance of fat temperature and leavening agents gets disrupted. If you have ever been disappointed by a flat cookie, you are in the right place to fix it forever.
The secret to that iconic loft lies in a specific temperature-control method and the chemical reaction of cream of tartar. By chilling the dough and using butter that is soft but still cool to the touch, we ensure the structure sets before the fat melts. This creates a cookie that stands tall and stays chewy for days.
The Chemistry of the Classic Snickerdoodle
A snickerdoodle is not just a sugar cookie rolled in cinnamon; it is a distinct scientific creation. The defining ingredient is cream of tartar, also known as potassium bitartrate. This acidic byproduct of winemaking serves two critical purposes in your dough.
Firstly, it prevents the sugar in the dough from crystallizing into a crunch. This results in a much chewier, softer texture than a standard butter cookie. Secondly, it provides that signature “tang” that cuts through the sweetness of the sugar coating.
When cream of tartar meets baking soda, it creates a powerful chemical reaction. This duo produces carbon dioxide gas the moment the heat hits the dough. This rapid expansion is what gives the snickerdoodle its “puff,” which then collapses slightly to create those beautiful, craggy surface cracks.

Essential Components for Soft and Chewy Snickerdoodles
Quality ingredients are the foundation of a great bake, but how you handle them matters even more. I always recommend using unsalted butter so you can control the exact amount of salt in the recipe. If you use salted butter, the flavor can become unpredictable and may mask the delicate spice of the cinnamon.
Flour measurement is the most common place where home bakers go wrong. If you scoop the flour directly with the measuring cup, you pack it down and end up with too much, leading to a dry, cakey cookie. Instead, use the “spoon and level” method by spooning flour into the cup and leveling it off with a flat edge.
Furthermore, make sure your eggs are at room temperature before you start mixing. Cold eggs can cause the creamed butter to seize and clump, which ruins the smooth emulsion you need for a uniform crumb. Simply set your eggs on the counter for thirty minutes, or soak them in warm water for five minutes if you are in a rush.
Selecting the Right Cinnamon and Sugar
The coating is the soul of this cookie, so do not settle for old spices sitting in the back of the pantry. Most grocery stores sell Cassia cinnamon, which has a bold, spicy bite that stands up well to the sweet dough. If you prefer a more delicate, floral aroma, look for Ceylon cinnamon.
The ratio of sugar to cinnamon in the coating is vital for the “crackle” effect. The sugar crystals on the outside draw moisture from the surface of the dough as it bakes. This dries out the top layer just enough to make it snap and crack while the inside remains moist and tender.
Temperature Control: The Secret to Cookie Height
Butter temperature is the single most important factor in preventing flat cookies. You want your butter “softened” but still holding its shape. If you press it with your finger, it should leave an indent without your finger sliding through or the butter looking shiny and oily.
When you cream this cool butter with sugar, you are actually beating tiny air bubbles into the fat. These air pockets are what the leavening agents will expand later in the oven. If the butter is too warm, it cannot hold those air bubbles, and your cookies will lose their lift before they even start to bake.
Spend a full two to three minutes on the creaming step. You will see the mixture transform from a yellow, dense paste into a pale, fluffy cloud. This aeration is the physical foundation of a thick, mounded snickerdoodle.
Why Chilling the Dough is Non-Negotiable
I know it is hard to wait when you want cookies now, but chilling the dough for at least thirty minutes is a game-changer. This step allows the flour to fully hydrate, which improves the flavor and texture. More importantly, it solidifies the butter again.
When chilled dough hits a hot oven, the outside of the cookie starts to set while the butter in the center is still cold. This delay in melting gives the flour and eggs time to build a sturdy “wall” that holds the cookie up. An unchilled dough will melt and spread the second it feels the heat, resulting in a thin disc.
Step-by-Step: Mixing for Maximum Loft
Once your wet ingredients are fluffy and your dry ingredients are whisked, it is time to combine them. This is the moment where you must be gentle. Use a low speed on your mixer or a sturdy spatula to fold the flour into the butter mixture.
Stop mixing the very second you no longer see white streaks of flour. Overworking the dough develops gluten, which is great for bread but terrible for cookies. Overmixed dough results in a tough, rubbery texture rather than the tender, short crumb we are aiming for.
The dough should be soft and slightly tacky but cohesive enough to handle. If it feels too sticky to roll into balls even after chilling, you can lightly flour your hands. However, the chill time usually solves any stickiness issues.
The Rolling and Coating Technique
To get that professional, mounded look, roll your dough into 1.5-inch spheres, roughly the size of a golf ball. Do not press them down or flatten them on the baking sheet. Keeping them in a tall ball shape encourages the cookie to bake “up” rather than “out.”
When coating, I like to do a double-roll. Drop the ball in the cinnamon sugar, roll it around, and then give it a second pass to ensure every millimeter is covered. This creates a thick, crunchy crust that contrasts beautifully with the soft interior.
Space the balls at least two inches apart on your baking sheet. Even with the anti-flat method, these cookies need a little room to breathe and expand. Using parchment paper is also a smart move, as it prevents the bottoms from browning too quickly compared to a greased pan.
Precision Baking for a Tender Center
Every oven is different, so start checking your cookies at the nine-minute mark. You are looking for the edges to be set and slightly golden, while the centers should still look a bit soft and “underdone.” If the centers look fully cooked in the oven, the cookies will be hard once they cool.
This is where “carryover cooking” comes into play. Leave the cookies on the hot baking sheet for five to ten minutes after you pull them out of the oven. The residual heat from the pan finishes cooking the centers gently, locking in that moist, chewy texture while the structure firms up.
Once they are stable enough to move, transfer them to a wire rack. This prevents steam from building up under the cookie, which would make the bottoms soggy. A wire rack ensures the air circulates, keeping the edges crisp and the centers soft.
Troubleshooting Common Snickerdoodle Failures
If your cookies turned out cakey, you likely used too much flour or over-beat the eggs. Eggs act as a leavening agent, and beating too much air into them can create a sponge-cake texture. Stick to mixing just until the egg is incorporated.
Flat cookies are almost always the result of warm butter or expired leavening agents. Check the date on your baking soda and cream of tartar. To test if they are still active, drop a pinch of baking soda into vinegar; if it doesn’t fizz violently, it is time to buy a new box.
If the bottoms of your cookies are burning before the tops are done, your baking sheet might be too dark. Dark metal absorbs more heat. You can fix this by doubling up your baking sheets (stacking one on top of the other) or moving your oven rack to a higher position.
Storage and Moisture Retention Strategies
To keep your snickerdoodles soft for up to a week, store them in an airtight container once they are completely cool. If you notice them starting to get firm, place a single slice of plain white bread in the container. The cookies will absorb the moisture from the bread, staying perfectly soft.
You can also freeze the raw dough balls after rolling them in the cinnamon sugar. Place them on a tray to freeze solid, then toss them into a zip-top bag. When you are ready for a treat, bake them straight from the freezer, adding just one or two minutes to the total bake time.
Baked cookies also freeze well for up to three months. Just make sure they are wrapped tightly to prevent freezer burn. When you want one, let it thaw at room temperature or pop it in the microwave for ten seconds to regain that fresh-from-the-oven warmth.
Expert Baking Troubleshooting
Can I substitute lemon juice for cream of tartar?
In a pinch, you can use two teaspoons of lemon juice for every one teaspoon of cream of tartar. However, this adds liquid to the dough, which can change the texture and cause more spreading. For the authentic snickerdoodle loft and tang, the dry powder is much better.
Why did my cinnamon sugar coating melt instead of crackle?
This usually happens if the dough is too wet or if the kitchen is very humid. If the sugar dissolves into the dough before it hits the oven, you won’t get that crackled crust. Ensure you are measuring your flour correctly and chilling the dough to keep the surface dry.
How does altitude affect the rise of these cookies?
At high altitudes, air pressure is lower, so cookies rise faster and can collapse. If you are above 3,000 feet, try increasing your oven temperature by 15 degrees and reducing the baking soda by a quarter teaspoon to help the structure set more quickly.
Can I use margarine or vegan butter substitutes?
Margarine and many vegan butters have a higher water content than real butter. This extra water creates steam, which can lead to a cakey texture or excessive spreading. If you must use a substitute, choose a high-quality vegan butter stick specifically designed for baking.
What is the best way to reheat a day-old snickerdoodle?
The microwave is your best friend here. Heat a cookie for about 8 to 10 seconds. This softens the fats and sugars just enough to mimic the texture of a fresh bake. Don’t go too long, or the sugar coating will become molten and burn your mouth!
Perfect Pairings for Cinnamon-Spiced Treats
A cold glass of whole milk is the classic choice for a reason. The creamy fat in the milk coats the palate and balances the sharp, acidic tang of the cream of tartar. It is a nostalgic combination that never fails.
If you want something warmer, a cup of medium-roast coffee or a hot spiced apple cider works beautifully. The cinnamon in the cookie complements the fruity notes in the cider and the roasted depth of the coffee. The acidity in the cookie actually makes the drink taste smoother.
For a more indulgent dessert, try sandwiching a scoop of vanilla bean ice cream between two warm snickerdoodles. The cinnamon-sugar crust provides a wonderful texture against the smooth ice cream, creating a quick and sophisticated ice cream sandwich.
How should I store leftover snickerdoodles?
Store your cookies in an airtight container at room temperature for up to 5 to 7 days. To keep them extra soft, you can place a slice of white bread in the container with them; the cookies will absorb the moisture from the bread. For longer storage, these cookies freeze beautifully in a freezer-safe bag for up to 3 months.
Why did my snickerdoodles come out flat?
Flat cookies usually happen for two reasons: the butter was too warm when you started, or you skipped the chilling step. If the butter is oily or melted, it won’t hold air during the creaming process. Always ensure your butter is cool to the touch and give the dough at least 30 minutes in the fridge to firm up the fats before baking.
Can I make these without cream of tartar?
Technically you can substitute the cream of tartar and baking soda with 2 teaspoons of baking powder, but they won’t be true snickerdoodles. You will lose the signature tangy flavor and the specific chewy texture that the acidic cream of tartar provides. If you want the real deal, it is worth a trip to the store for that little spice jar.
Why are my cookies tough instead of soft?
Toughness is almost always caused by overmixing the dough once the flour is added. When you mix flour with wet ingredients, gluten begins to develop. If you mix too long, that gluten becomes strong and elastic, like bread dough. For a tender cookie, mix only until the last streaks of flour disappear.
Do I need to flatten the dough balls before baking?
No, do not flatten them! Keeping the dough in a tall, round ball ensures that the center stays thick and soft while the edges set. As they bake, they will naturally spread into the perfect thick disc with a mounded center. If you flatten them manually, they are much more likely to end up thin and crispy.
Soft and Chewy Snickerdoodles
Course: DessertCuisine: AmericanDifficulty: easy24
cookies45
minutes10
minutes55
MinutesAmerican
Ingredients
1 cup unsalted butter, softened but still cool to the touch
1 1/2 cups granulated sugar
2 large eggs, room temperature
1 teaspoon vanilla extract
3 cups all-purpose flour (spooned and leveled)
2 teaspoons cream of tartar
1 teaspoon baking soda
1/2 teaspoon salt
3 tablespoons granulated sugar (for coating)
1 tablespoon ground cinnamon (for coating)
Directions
- In a large bowl, cream together the butter and 1 1/2 cups sugar. The secret to preventing flat cookies is using butter that is soft enough to indent with a finger but still holds its shape. Beat for 2 to 3 minutes until pale and fluffy.
- Add the eggs one at a time, followed by the vanilla extract, mixing well after each addition.
- In a separate bowl, whisk together the flour, cream of tartar, baking soda, and salt. The cream of tartar is essential for that signature tang and for providing the lift that prevents a flat cookie.
- Gradually add the dry ingredients to the wet ingredients, mixing just until combined. Do not overmix.
- The Anti-Flat Secret: Cover the dough and refrigerate for at least 30 to 60 minutes. Chilling the fat ensures the cookies hold their “pillowy” shape shown in the image rather than spreading immediately upon hitting the heat.
- Preheat your oven to 350 degrees F. Line two large baking sheets with parchment paper.
- In a small bowl, mix the 3 tablespoons of sugar and 1 tablespoon of cinnamon for the coating.
- Roll the chilled dough into 1.5-inch balls (about 2 tablespoons of dough each). Roll each ball generously in the cinnamon-sugar mixture until heavily coated.
- Place the balls 2 inches apart on the prepared baking sheets. Do not flatten them. Keeping them in a tall ball shape ensures the thick, mounded center seen in the photo.
- Bake for 9 to 11 minutes. The key to the perfect texture is to pull them out when the edges are set and the tops have just begun to crackle, but the centers still look slightly soft.
- Let the cookies cool on the baking sheet for 5-10 minutes. This carryover cooking time allows the structure to set, locking in the height and preventing them from collapsing. Transfer to a wire rack to cool completely.
Notes
- The secret to preventing flat cookies is using butter that is soft but still cool, and ensuring the dough is chilled for at least 30-60 minutes before baking. Do not flatten the dough balls before placing them in the oven.