Southern fried chicken is more than just a meal; it’s a culinary tradition that centers on the perfect balance of juicy meat and a crust that can be heard across the room. However, many home cooks find themselves disappointed when their breading turns out flat, pale, or—worst of all—soggy within minutes of leaving the pan. You want those deep ridges and golden peaks that define the best soul food joints, but achieving that texture at home often feels like a trade secret.
The “Anti-Soggy” philosophy focuses on moisture management and surface area. Instead of a thin, dusty coating, we’re aiming for a heavy, craggy armor that protects the chicken while providing a massive crunch. This isn’t about a simple dip in flour; it’s about a deliberate construction of texture that stays crisp long after the chicken has cooled slightly on the rack.
The real secret to this recipe is the “clump-and-press” technique. By intentionally introducing small amounts of liquid into your dry flour, you create tiny pebbles of dough that fuse to the chicken. These shaggy bits fry up into the iconic golden ridges you see in professional kitchens, ensuring every bite has a multidimensional snap that standard dredging just can’t replicate.
The Science of the Shatter-Crisp Coating
Creating a crust that shatters requires understanding how ingredients react to heat. While all-purpose flour provides the bulk of the breading, it contains proteins that can develop gluten, which sometimes leads to a chewy rather than crunchy finish. Therefore, we introduce cornstarch into the mix to act as a gluten-inhibitor, resulting in a more brittle and delicate structure that snaps perfectly under your teeth.
The “clump-and-press” method works by dramatically increasing the surface area of the chicken. When you create those shaggy pebbles in the flour and press them into the meat, you’re building a landscape of nooks and crannies. As the tenders hit the hot oil, the water in those clumps evaporates rapidly, leaving behind a hardened, airy matrix of seasoned flour that resists absorbing excess grease.
Essential Components for Southern Fried Chicken Tenders
Every ingredient in this lineup serves a functional purpose beyond just flavor. Buttermilk is the backbone of the marinade because its lactic acid gently breaks down the lean proteins in the chicken breast, ensuring the tenders stay supple. In addition, the thick consistency of buttermilk helps the flour adhere better than a standard egg wash would on its own.
Pickle juice is our secret weapon for deep, briny umami. It acts as a secondary brine, driving salt and vinegar deep into the meat so the chicken is seasoned from the inside out. For the dry mix, we use a heavy hand with smoked paprika and garlic powder to ensure the crust tastes as good as it looks. Always use kosher salt here; its larger grains distribute more evenly and provide a cleaner salt flavor than fine table salt.
Why Pickle Juice and Buttermilk are Non-Negotiable
The combination of buttermilk and pickle juice creates an enzymatic powerhouse. The vinegar in the pickle juice and the natural cultures in the buttermilk work together to tenderize the chicken fibers without making them mushy. You’ll notice the meat becomes significantly more hydrated and plump after a good soak.
Timing is everything when it comes to marinating. While 30 minutes is enough to get the flavors moving, a 4-hour soak is the sweet spot for maximum tenderness. However, don’t let it go overnight, as the high acidity can eventually start to “cook” the chicken, leading to a mealy texture that ruins the final result.
The Flour and Cornstarch Ratio for Maximum Crunch
We use a specific 4:1 ratio of flour to cornstarch to achieve that professional-grade finish. Cornstarch is a pure starch that doesn’t brown as quickly as flour, which allows you to fry the chicken long enough to cook the center without burning the outside. Furthermore, cornstarch is hydrophobic, meaning it repels oil more effectively than flour, keeping your tenders light and airy.
The “Crag” Technique: Creating the Perfect Breading
This is where the magic happens. Before you even touch the chicken, take a few tablespoons of your buttermilk marinade and drizzle it directly into your seasoned flour. Use a fork to toss the mixture until you see small, shaggy clumps forming. These “pebbles” are the foundation of your crust’s texture.
When you move a tender from the liquid to the flour, don’t just toss it. Bury the chicken completely and use the palms of your hands to firmly press the flour and those shaggy clumps into the meat. You want to force the breading to bond with the chicken. When you lift it out, give it one gentle shake; the bits that stay attached are what will become those glorious, crunchy ridges.
Step-by-Step: Frying Your Tenders to Golden Perfection
Frying is a game of temperature and patience. You’ve done the work to build a beautiful crust, so now you must protect it by managing your heat. If the oil is too cold, the breading will soak up grease like a sponge; if it’s too hot, the outside will burn before the chicken is safe to eat.
Preparing the Oil and Maintaining Heat
Choose an oil with a high smoke point, such as peanut or canola oil. A heavy-bottomed Dutch oven or a cast-iron skillet is essential because the thick metal holds heat better than thin stainless steel. This prevents the temperature from plummeting the moment you add the cold chicken.
Aim for a steady 350°F. Use a clip-on thermometer to monitor the oil throughout the process. If you see the temperature dipping below 325°F, stop and let the oil recover before adding more chicken. Maintaining this heat ensures the crust sears instantly, locking in the juices.
The Batch Frying Method to Prevent Crowding
It’s tempting to crowd the pan to finish faster, but this is a recipe for soggy chicken. When you add too many tenders at once, they release a large amount of steam and drop the oil temperature rapidly. This steam gets trapped between the pieces, effectively boiling the breading instead of frying it.
Fry in small batches, giving each tender plenty of “elbow room” to swim in the oil. This allows the hot oil to circulate around every cranny of the breading, ensuring the entire surface area becomes equally crisp and golden brown.
Monitoring Internal Temperature for Juicy Results
Chicken tenders cook quickly, usually taking only 3 to 4 minutes per side. However, the only way to be 100% sure they are done is to use an instant-read thermometer. You are looking for an internal temperature of 165°F.
Keep in mind that carry-over cooking will occur. If you pull the chicken at 162°F, the residual heat will bring it up to the safe zone while it rests. This prevents the lean breast meat from drying out and becoming stringy.
Avoiding Common Mistakes and Troubleshooting
One of the biggest frustrations is breading that slides off the chicken like a loose coat. This usually happens because the chicken was too wet or the flour wasn’t pressed in firmly enough. Always let the excess buttermilk drip off for a second before hitting the flour, and remember to use the “press” part of the clump-and-press method.
To keep your hands from becoming “clubbed” with dough, use the wet hand/dry hand technique. Use one hand for moving chicken from the marinade and the other hand for tossing and pressing the dry flour. Finally, never drain your fried chicken on paper towels. The towels trap steam against the bottom of the chicken, which turns your hard-earned crust into mush. Use a wire cooling rack instead.
Southern Sides: What to Serve with Your Tenders
A heavy, fried main dish needs bright, acidic sides to balance the palate. A creamy, vinegar-based coleslaw is the traditional choice, providing a cool crunch that cuts through the richness of the fried coating. You might also consider a drizzle of hot honey for a sweet and spicy kick that highlights the smoked paprika in the breading.
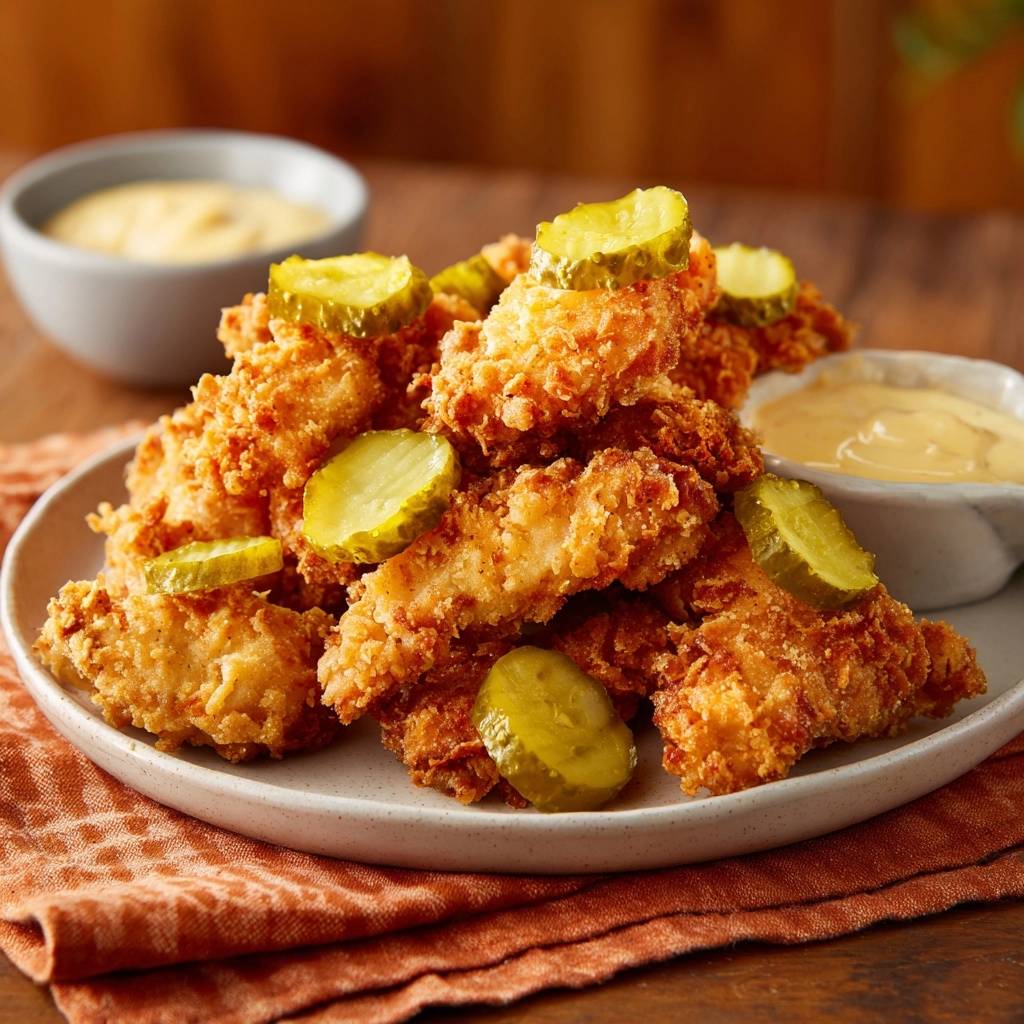
Don’t forget the pickles! Serving these tenders with extra dill pickle slices isn’t just for looks; the sharp acidity of the pickles cleanses the tongue between bites. Warm, flaky biscuits or a side of honey mustard dipping sauce can turn these tenders into a full Southern feast.
Make-Ahead Strategies and Reheating for Maximum Texture
If you want to prep ahead, you can bread the tenders and place them on a parchment-lined tray in the fridge for up to an hour. This actually helps the breading set even more firmly. For long-term storage, you can freeze the breaded, uncooked tenders. Fry them directly from frozen, adding an extra 2 minutes to the cook time.
To reheat leftovers, stay away from the microwave. Instead, place the tenders in a 375°F oven or an air fryer for 5 to 7 minutes. This high-heat blast reactivates the oils in the crust, returning that “shatter-crisp” texture that makes these tenders so special.
Expert Troubleshooting for Fried Chicken Success
Can I use an air fryer for this specific craggy breading?
While you can use an air fryer, it won’t produce the exact same results as deep frying. The “clump-and-press” method relies on oil to fill the gaps between the shaggy bits of dough. In an air fryer, these clumps can remain dry and chalky. If you must use one, you need to spray the tenders very generously with oil until no dry flour is visible to ensure they brown properly.
What is the best substitute for buttermilk?
If you don’t have buttermilk, you can make a quick substitute by mixing one cup of whole milk with one tablespoon of lemon juice or white vinegar. Let it sit for 10 minutes until it curdles slightly. While it won’t be as thick as real buttermilk, it provides the necessary acidity to tenderize the chicken and help the flour stick.
How do I keep the oil from getting dirty with burnt flour bits?
As you fry, small bits of breading will inevitably fall off and settle at the bottom of the pan. These bits can burn and give the oil a bitter taste. Between batches, use a fine-mesh skimmer or a slotted spoon to remove any floating debris. This keeps your oil clean and ensures every batch of chicken tastes fresh and golden.
Can I use chicken thighs instead of tenders?
Absolutely! Chicken thighs are actually more forgiving than tenders because they have a higher fat content and stay juicy even if slightly overcooked. Simply slice boneless, skinless thighs into strips to mimic the shape of tenders. Note that thighs may take an extra minute or two to reach the safe internal temperature of 165°F.
The Final Plate: Presentation and Garnishing
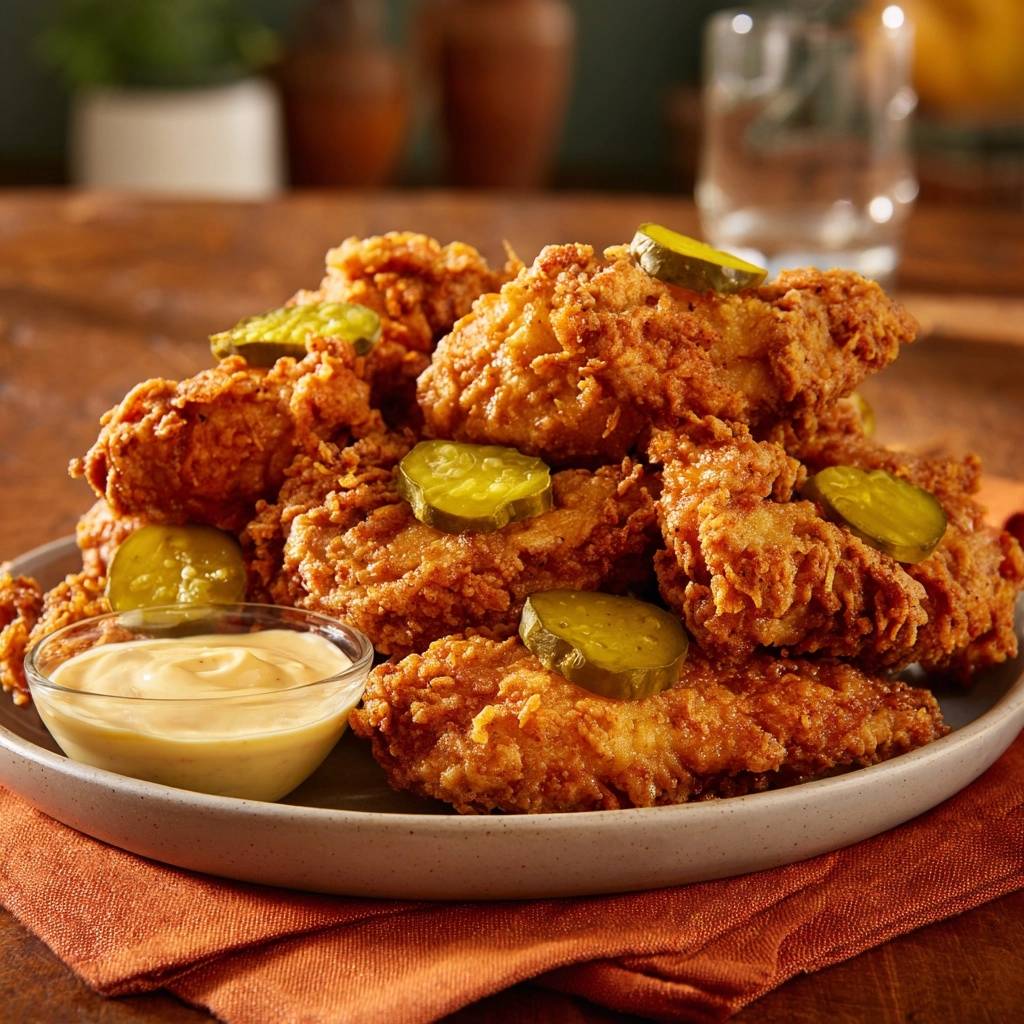
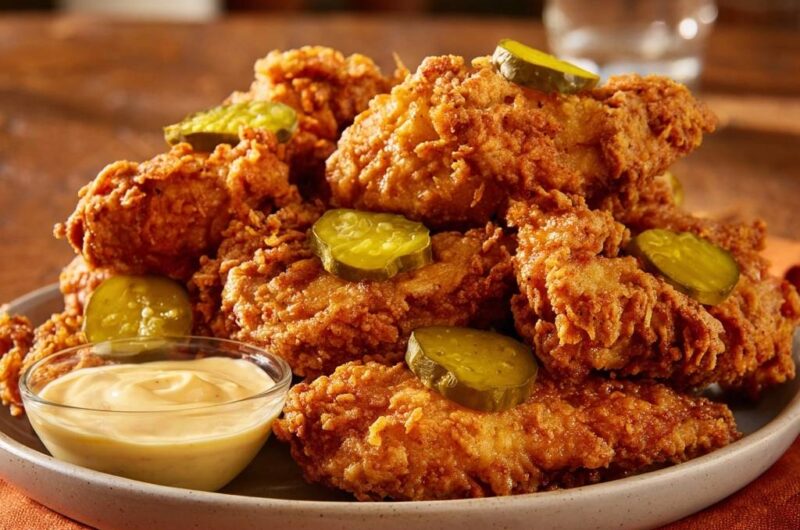
When you pull that final batch of chicken from the oil, the visual reward is immediate. The deep, golden-brown crust should be covered in those beautiful, craggy ridges that promise a massive crunch. Placing them on a wire rack allows air to circulate, keeping the bottom just as crisp as the top.
Garnish the plate with a few bright green dill pickle slices and a small bowl of your favorite dipping sauce. The contrast between the rustic, textured chicken and the smooth, vibrant pickles makes for a stunning presentation. Once you master the “clump-and-press” technique, you’ll never go back to basic breading again. It’s the ultimate way to bring authentic, restaurant-quality Southern fried chicken into your own kitchen.
Southern Fried Chicken Tenders
Course: Main CourseCuisine: AmericanDifficulty: easy4
servings20
minutes15
minutes35
Minutes510
kcalAmerican
Ingredients
1.5 lbs chicken breast tenders
2 cups all-purpose flour
1/2 cup cornstarch (for extra crunch)
1 cup buttermilk
1/2 cup pickle juice (from the jar)
1 large egg
1 tablespoon garlic powder
1 tablespoon smoked paprika
1 teaspoon onion powder
1 teaspoon cayenne pepper
2 teaspoons kosher salt
1 teaspoon cracked black pepper
Neutral oil for frying (Peanut, Canola, or Vegetable)
Dill pickle slices for garnish
Honey mustard or dipping sauce of choice
Directions
- In a large bowl, whisk together the buttermilk, pickle juice, and the egg. Submerge the chicken tenders in this mixture and let them marinate for at least 30 minutes (up to 4 hours) in the refrigerator.
- In a separate wide, shallow dish, whisk together the flour, cornstarch, garlic powder, paprika, onion powder, cayenne, salt, and pepper.
- Create the “Crag”: Drizzle 3 to 4 tablespoons of the buttermilk marinade into the dry flour mixture. Use a fork to toss and rub the flour together until small, shaggy clumps and “pebbles” form throughout the mix.
- Working with one tender at a time, remove it from the liquid, let the excess drip off, and bury it in the flour mixture. Press down firmly with the palms of your hands to force the shaggy flour clumps to adhere to the meat. Shake off only the very loose excess.
- Heat 2 inches of oil in a heavy-bottomed skillet or Dutch oven to 350°F (175°C).
- Carefully lower the tenders into the oil. Do not overcrowd the pan; fry in batches if necessary to maintain the oil temperature.
- Fry the tenders for 3 to 4 minutes per side. Use tongs to flip them once the bottom is a deep golden brown. Ensure the internal temperature reaches 165°F.
- Transfer the chicken to a wire cooling rack set over a baking sheet. Do not drain on paper towels, as the trapped steam will soften the bottom crust.
- Serve immediately, garnished with fresh pickle slices as shown in the photo, with a side of creamy dipping sauce.
Notes
- The secret to the craggy texture is drizzling a bit of marinade into the flour to create small dough pebbles. Always drain on a wire rack instead of paper towels to prevent the bottom from becoming soggy.