Stop settling for thin, flavorless vegetable curries that pool at the bottom of your plate like a sad soup. We’ve all been there—you follow a recipe only to end up with a watery mess that refuses to cling to your rice. The secret to a rich, restaurant-quality texture isn’t a mystery; it’s all about the coconut milk reduction and the precise timing of your vegetables.
This Golden Chickpea and Squash Curry delivers a thick, velvety sauce that wraps around every ingredient without the need for heavy thickeners or cornstarch. By mastering the way you handle coconut fats, you’ll create a dish that feels indulgent and professional right in your own kitchen. The balance of earthy turmeric and sweet squash creates a comfort meal that actually satisfies.
The real trick to success here is using the thick cream from the top of the coconut milk can first. Most home cooks shake the can, but keeping that fat separate allows you to “fry” your curry paste in the coconut solids. This technique, known as cracking the cream, ensures your sauce is stable, glossy, and incredibly deep in flavor from the very first bite.
The Anatomy of a Thick Curry Sauce
Achieving a luxurious mouthfeel in a plant-based curry relies entirely on the science of emulsion. Coconut milk is essentially an emulsion of water and fat, and when you heat it correctly, you can manipulate those fats to act as a natural thickener. Shaking the can before you start is a mistake because it dilutes the concentrated fats you need for the initial sauté.
When you use the thick solids from the top of the can to bloom your spices, you’re creating a concentrated flavor base. As the water evaporates during the simmering process, the fat solids reduce and coat the vegetables. This natural reduction eliminates the need for flour, which often dulls the vibrant colors and sharp flavors of the turmeric and ginger.
Essential Components for Golden Chickpea and Squash Curry
Every ingredient in this curry serves a specific purpose for both flavor and structural integrity. For the butternut squash, aim for 1-inch cubes; this is the “goldilocks” size that allows the outside to soften into the sauce while the center stays tender. If the cubes are too small, they’ll dissolve into mush before the other vegetables are even warm.
Canned chickpeas are a fantastic pantry staple, but don’t just dump them in with the canning liquid. Rinsing them thoroughly removes excess starch and that metallic aftertaste that can ruin a delicate sauce. This step ensures the nutty flavor of the legume shines through without adding unwanted salt or preservatives to your golden base.
Fresh green beans provide the essential “snap” that breaks up the creaminess of the squash and coconut. While frozen beans are convenient, they often release too much water, which can thin out your carefully reduced sauce. Fresh ginger and garlic are non-negotiable here; the sharp, spicy bite of fresh aromatics provides a necessary contrast to the heavy, sweet coconut cream.
Selecting the Right Yellow Curry Paste
Yellow curry paste is generally milder and sweeter than its red or green cousins, often featuring a heavy dose of turmeric and cumin. However, brands vary wildly in heat levels and saltiness. Always check the label for hidden additives, and if you’re sensitive to spice, start with half the recommended amount. You can always stir in more later, but you can’t take it out once it’s simmered!
The Sizzle: Blooming Spices for Maximum Fragrance
The first step to a professional curry is “tempering” your cumin seeds in hot coconut oil. This isn’t just for show; many of the flavor compounds in spices are fat-soluble, meaning they only release their full potential when toasted in oil. You’ll know it’s working when the seeds begin to sizzle and dance in the pan.
After about 30 seconds, the aroma will shift from raw to toasted and nutty. This is your cue to add the curry paste, garlic, and ginger. By sautéing these aromatics in the oil before adding liquid, you remove the “raw” edge of the garlic and ensure the spices are evenly distributed throughout the fat, preventing a gritty texture in the finished dish.
The Reduction Secret: Working with Coconut Cream
This is the most critical phase for avoiding a watery curry. Spoon that thick, white coconut cream into the skillet and stir it into your bloomed spices. As it heats, you’ll notice a visual transition: the liquid will begin to bubble, thicken, and eventually, tiny beads of shimmering oil will separate from the solids. This is exactly what you want.
This “oil separation” signifies that the water has evaporated, leaving behind a concentrated, flavorful paste. By reducing the cream now, you create a stable base that won’t break later. It also creates a protective coating for the squash, preventing the vegetable from leaching its own moisture into the sauce and thinning it out during the simmer.
Simmering the Squash to Fork-Tender Perfection
Once your base is concentrated, add the squash and the remaining liquid from the coconut milk can. During this stage, keep the lid on for the first 10 minutes. The trapped steam helps the dense squash cook through evenly without the sauce evaporating too quickly. You want the squash to be fork-tender—soft enough to pierce easily but still holding its square shape.
If you notice the squash is absorbing the liquid too fast and the pan looks dry, don’t panic. This is where the vegetable broth comes in. Add it a tablespoon at a time just to keep the squash submerged. The goal is a gentle simmer, not a rolling boil, which can toughen the vegetables and cause the coconut milk to curdle.
The Final Reduction: Achieving a Velvety Glaze
In the final five minutes, toss in the chickpeas and green beans, and most importantly, leave the lid off. This uncovered simmer is a mechanical way to let excess moisture escape. As the steam rises, the sauce transforms from a thin liquid into a velvety glaze that should coat the back of a spoon beautifully.
Watch the green beans closely; you want them to turn a vibrant, bright green. As soon as they reach a tender-crisp texture, pull the pan off the heat. The residual heat will continue to cook them slightly, so taking them off early ensures they don’t turn olive-drab and soggy before they hit the table.
Avoiding Common Texture Mistakes
If your squash turns to mush, it’s usually a result of high heat or overcooking. Keep the flame at a medium-low simmer once the liquid is added. If you find the sauce is still too thin for your liking at the end, use the “mash a few chickpeas” trick. Simply crush 5 or 6 chickpeas against the side of the pan with your spoon; the released starch will instantly thicken the sauce.
Another common issue is a “raw” spice taste. This happens if the curry paste wasn’t sautéed long enough in Step 1. If you’ve already added the liquid, the best fix is to let it simmer a few minutes longer, though the best prevention is ensuring that initial 2-minute sauté until the aromatics are truly fragrant and darkened slightly.
Flavor Variations and Ingredient Swaps
This recipe is incredibly adaptable to what you have in your pantry. If you want more protein, pan-seared tofu cubes are a fantastic addition—just stir them in at the very end with the chickpeas. For those who prefer leafy greens, you can swap the green beans for spinach or kale. Just remember that greens wilt in seconds, so only add them in the final minute of cooking.
If butternut squash isn’t in season, sweet potatoes or pumpkin work beautifully as substitutes. Keep in mind that sweet potatoes are slightly denser and may require an extra 3 to 5 minutes of simmering time. Regardless of the vegetable, the “reduction method” remains the same to ensure that signature thick, glossy finish.
Plating and Presentation for the Home Chef
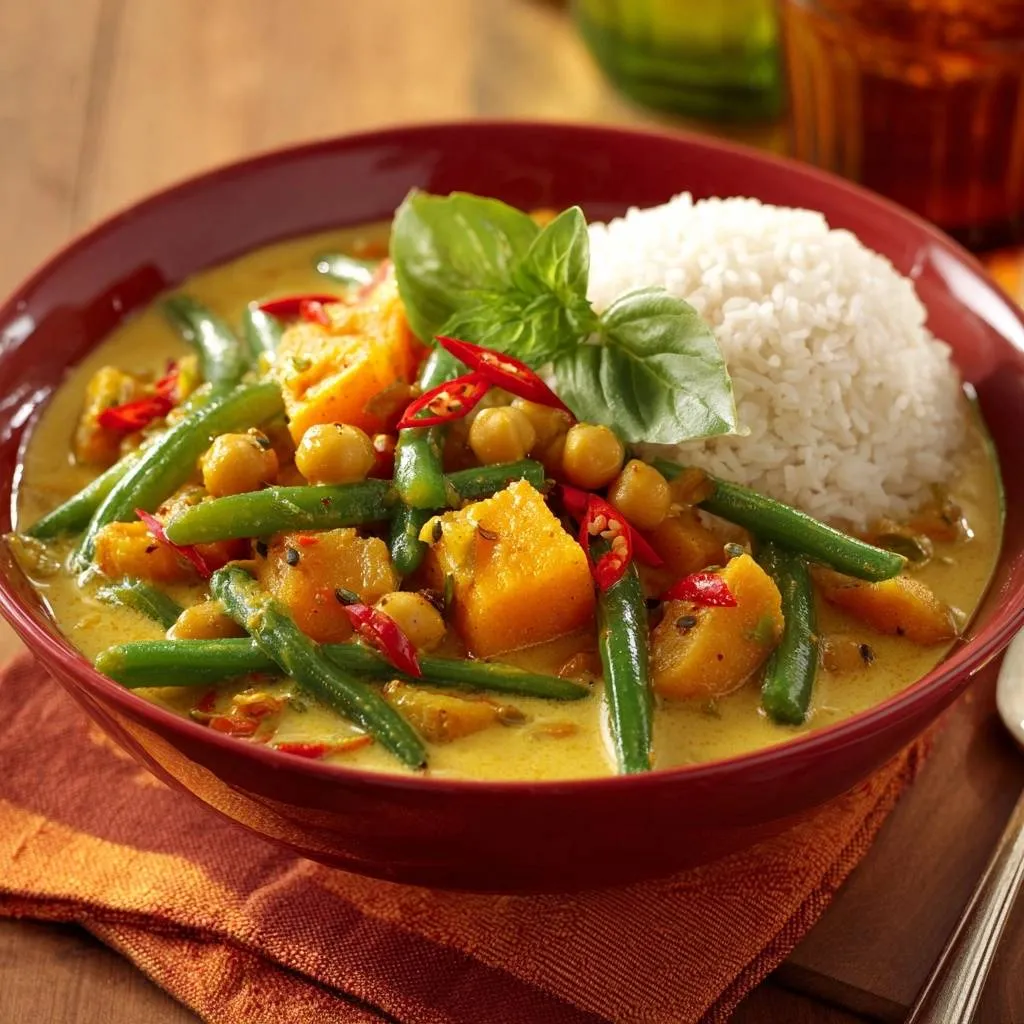
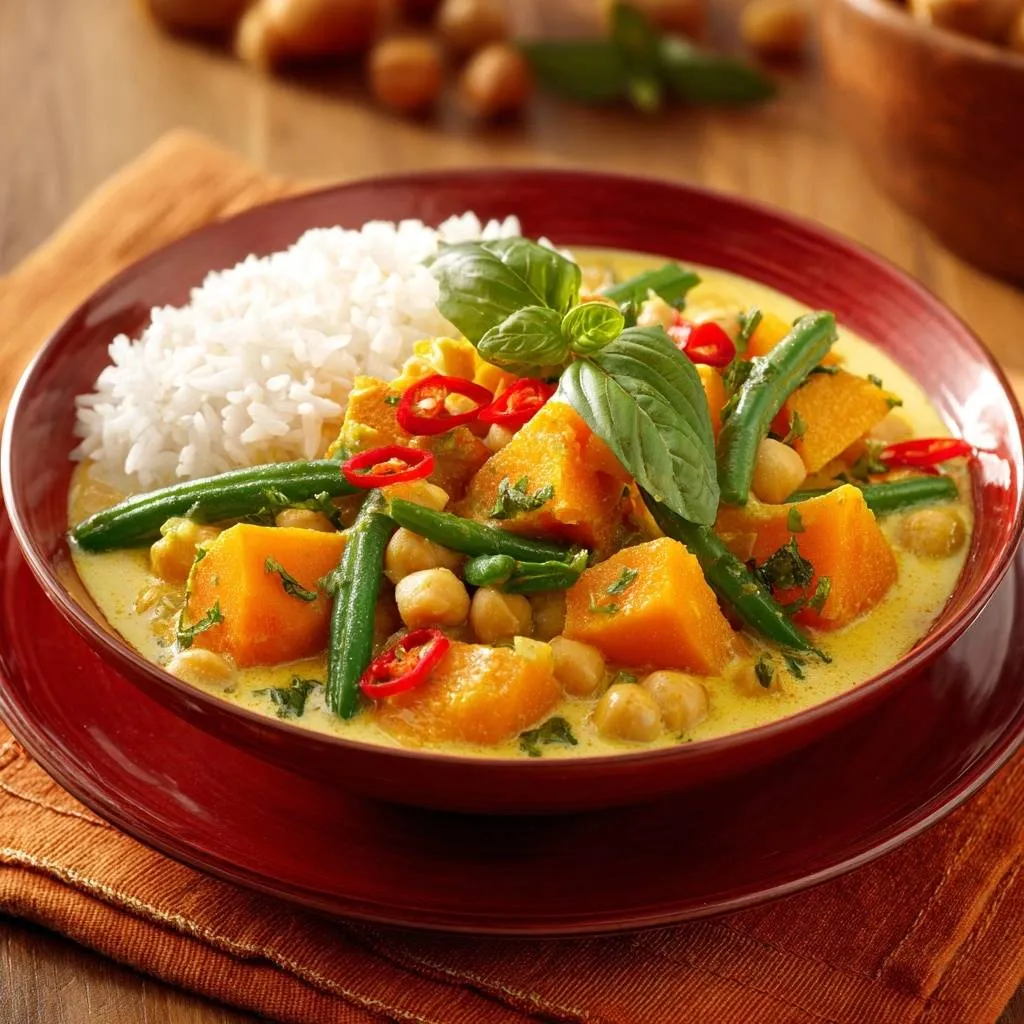
The visual contrast of the deep golden curry against snowy white jasmine rice is stunning. For a professional look, pack your rice into a small bowl and invert it onto the plate to create a clean mound. Ladle the curry generously around the base, ensuring you get a good mix of squash, beans, and that thick sauce.
Don’t skip the fresh basil and red chilies. These aren’t just for color; the anise-like sweetness of the basil and the sharp heat of the chili cut through the richness of the coconut fat. They provide a “brightness” that wakes up the palate and prevents the creamy sauce from feeling too heavy or one-note.
Make Ahead and Storage Strategy
Like many spiced dishes, this curry actually tastes better the next day. As it sits in the fridge, the spices continue to permeate the squash and chickpeas, deepening the overall flavor profile. It will thicken significantly as it cools because the coconut fats solidify, so don’t be alarmed if it looks like a solid block the next morning.
When reheating, add a splash of water or broth to the pan to loosen the fats and bring back that velvety consistency. This curry freezes remarkably well because it doesn’t contain dairy or waxy potatoes, which can get grainy. Store it in an airtight container for up to three months, and thaw it in the fridge overnight before reheating on the stove.
Expert Troubleshooting
Why is my curry sauce separating?
A “broken” sauce usually happens if the heat is too high or if you add an acidic ingredient like lime juice too early. The high heat causes the fat to separate from the solids. To fix this, remove the pan from the heat and give it a vigorous whisk. Sometimes adding a tablespoon of room-temperature coconut milk can help pull the emulsion back together.
Can I use light coconut milk instead of full-fat?
You can, but the results will be significantly different. Light coconut milk has a much higher water content and often contains stabilizers that prevent the “reduction” effect we’re looking for. Your sauce will be much thinner and won’t have that signature velvety glaze. If you must use light, you’ll likely need a cornstarch slurry to achieve a similar thickness.
How do I adjust the salt without over-seasoning?
Store-bought curry pastes are often very high in sodium, so it’s vital to follow the “season at the end” rule. As the sauce reduces, the salt concentration increases. If you salt at the beginning, the final dish might be inedible. Taste the sauce only after the final reduction is complete, then add salt or a splash of soy sauce if needed.
What is the best rice pairing for this texture?
Jasmine rice is the gold standard for this curry. Its slightly floral aroma complements the coconut, and its soft, slightly sticky texture is perfect for soaking up a thick, squash-based sauce. Basmati is a good second choice if you prefer a fluffier, more distinct grain, but Jasmine’s ability to hold onto the glaze makes it the superior partner here.
Golden Chickpea and Squash Curry
Course: Main CourseCuisine: Asian-InspiredDifficulty: easy4
servings15
minutes25
minutes40
Minutes340
kcalAsian-Inspired
Ingredients
1 tablespoon coconut oil
1 small butternut squash, peeled and cubed into 1-inch pieces
1 can (15 oz) chickpeas, drained and rinsed
1/2 pound fresh green beans, trimmed
1 can (14 oz) full-fat coconut milk (do not shake the can; use the thick cream from the top first)
2 tablespoons yellow curry paste
1 teaspoon ground turmeric
1 teaspoon cumin seeds (to match visual texture)
1 tablespoon ginger, minced
2 cloves garlic, minced
1/2 cup vegetable broth (optional, for desired consistency)
1 red chili, sliced for garnish
Fresh basil leaves for garnish
2 cups cooked white jasmine rice
Directions
- Heat the coconut oil in a large deep skillet over medium heat. Add the cumin seeds and let them sizzle for 30 seconds. Add the curry paste, garlic, and ginger. Sauté for 2 minutes until fragrant. This blooms the spices and prevents a raw, gritty taste.
- Spoon the thick coconut cream from the top of the can into the skillet. Stir constantly for 3 to 5 minutes until the oil begins to separate slightly from the cream. This reduction step is the secret to solving the watery sauce problem; it creates a concentrated, thick base before any vegetable moisture is released.
- Add the butternut squash cubes and the remaining coconut milk from the can. If the liquid doesn’t quite cover the squash, add a splash of vegetable broth. Cover and simmer for 10 to 12 minutes. The squash should be fork-tender but not mushy.
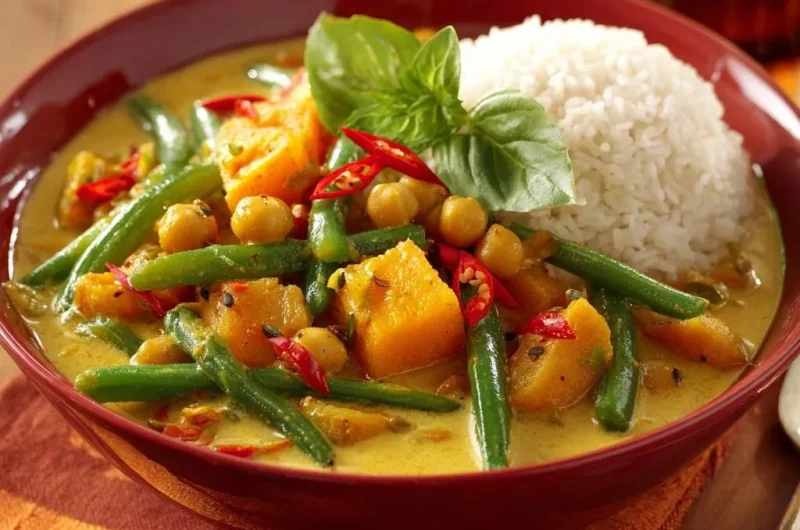
- Stir in the chickpeas and the fresh green beans. Continue to simmer uncovered for another 5 to 7 minutes. Leaving the lid off during this final stage allows excess steam to escape, further thickening the sauce to the perfect velvety consistency seen in the image.
- Once the green beans are bright green and tender-crisp, and the sauce has reduced to a thick glaze, remove from heat.
- Serve immediately in deep bowls. Place a tight mound of fluffy jasmine rice on one side and ladle the thick curry next to it. Top with fresh sliced red chilies and a sprig of basil for a pop of heat and freshness.
Notes
- The secret to the thick sauce is using the coconut cream first and simmering the final stage uncovered to reduce moisture.