The scent of warm ginger, sharp cloves, and deep molasses drifting through the house is the ultimate signal that cozy season has arrived. This isn’t just a dessert; it’s a piece of culinary history that has anchored winter celebrations for generations. However, many bakers struggle with the heartbreaking sight of a beautiful cake that looks perfect in the oven but collapses into a gummy, sunken crater the moment it hits the cooling rack.
You don’t have to settle for a dense or fallen center anymore. The secret to a tall, airy, and resilient crumb lies in a specific technique involving boiling water. By understanding how temperature affects your leavening agents, you can ensure your cake maintains its structural integrity from the first rise to the final slice.
The real trick is the timing of your liquid addition. Most cakes call for room temperature liquids, but for a heavy molasses batter, you need a thermal jumpstart. Adding boiling water as the very last step creates an immediate reaction with the baking soda, trapping air bubbles before the flour’s weight can pull the batter down. This ensures a light texture that defies the usual heaviness of traditional gingerbread.
The Chemistry of the Boiling Water Method
When you pour boiling water into your gingerbread batter, you aren’t just thinning it out. You’re initiating a rapid chemical reaction. The intense heat of the water hits the baking soda and the acidic molasses simultaneously, causing a massive release of carbon dioxide. This creates a foam-like aeration that lightens the heavy fats and syrups.
Furthermore, the hot water helps to partially gelatinize the starches in the flour. This “pre-sets” the crumb structure. Because the batter is already warm when it enters the oven, the center begins to bake and set much faster than it would with a cold batter. This prevents the common issue where the edges bake through while the middle remains liquid and eventually collapses.
Why Gingerbread Cakes Sink
Gingerbread is notoriously heavy because molasses is a dense, viscous invert sugar. It weighs significantly more than granulated sugar, which puts immense pressure on the delicate protein bonds of the flour. If the leavening isn’t strong enough to lift that weight, the cake will struggle to rise or, worse, fall once the oven door opens.
Another culprit is the “gummy middle” caused by improper leavening activation. If your baking soda is old or if it isn’t distributed perfectly, you’ll get uneven pockets of air. The boiling water method solves this by ensuring the soda is fully dissolved and reacting uniformly throughout the entire pan, providing a consistent lift across the surface.
Essential Components for a Robust Crumb
Every ingredient in this cake serves a dual purpose: flavor and architecture. While the spices provide that iconic warmth, the balance of fats, sugars, and proteins determines whether your cake is a success or a soggy mess. Using high-quality, fresh ingredients is the first step toward a professional-grade result.
For instance, salt might seem like a minor addition, but it’s vital here. It tightens the gluten structure and balances the intense sweetness of the molasses. Without it, the cake tastes flat and the structure can feel “loose.” Always use fine sea salt or table salt to ensure it dissolves completely into the batter.
Selecting the Right Molasses
You should always reach for unsulphured molasses for this recipe. Sulphured molasses is made from young sugarcane and treated with sulfur dioxide, which can leave a harsh, chemical aftertaste. Unsulphured molasses is made from mature cane and has a much cleaner, more concentrated sweetness that pairs perfectly with ginger.
Avoid using blackstrap molasses unless you want a very bitter, medicinal flavor. Blackstrap is the result of the third boiling of the sugar syrup and is extremely low in sugar and high in minerals. It lacks the necessary acidity to react properly with the baking soda in this specific recipe, which could lead to a flat cake.
The Importance of Room Temperature Fats and Eggs
It’s tempting to rush the process, but using a cold egg or chilled butter will ruin your emulsion. When you cream butter and sugar, you’re creating a network of air pockets. If you drop a cold egg into that mixture, the butter will seize and clump, destroying those tiny air bubbles you just worked so hard to create.
Take your egg out of the fridge at least 30 minutes before baking. If you’re in a hurry, place the whole egg in a bowl of warm water for five minutes. A room-temperature egg incorporates smoothly, ensuring a velvety batter that bakes evenly without any oily streaks or dense patches.
Measuring Flour by Weight vs. Volume
The most common reason for a dry, bready gingerbread is using too much flour. If you scoop your measuring cup directly into the flour bag, you’re likely packing it down. This can result in up to 25% more flour than the recipe actually requires, leading to a tough and crumbly texture.
For the best results, use a digital kitchen scale. 2 1/2 cups of all-purpose flour should weigh approximately 312 grams. If you don’t have a scale, use the “spoon and level” method. Spoon the flour into the cup until it overflows, then sweep the excess off with a flat knife. This keeps the flour aerated and light.
Step-by-Step: Mixing for Maximum Aeration
The way you combine these ingredients is just as important as the ingredients themselves. You’re looking to build a structure that can support the heavy molasses while keeping the cake tender. This requires a gentle hand and a watchful eye on the texture of the batter as it transforms.
Start by ensuring your mixing bowl is large enough to handle the final addition of water. The batter will go from a thick, dough-like consistency to a very thin liquid. Don’t be alarmed by this change; the thinness is exactly what allows the cake to have such a delicate, melt-in-your-mouth crumb.
Creaming Butter and Sugar for Stability
When you cream the softened butter and granulated sugar, don’t stop as soon as they’re mixed. You want to beat them for about 3 to 5 minutes until the mixture looks pale yellow and feels slightly gritty but fluffy. This process is called mechanical leavening, and it’s the foundation of your cake’s height.
As the sugar crystals rub against the butter, they carve out millions of microscopic air pockets. Later, in the oven, the steam and carbon dioxide will fill these pockets, causing the cake to expand. If you skip this step, your cake will be heavy and resemble a dense bar rather than a light sponge.
Sifting and Whisking Dry Spices
Baking soda has a tendency to clump, especially in humid kitchens. If a clump of soda ends up in your cake, you’ll find a bitter, soapy-tasting green spot in your finished slice. Always whisk your dry ingredients thoroughly, or better yet, sift them together to ensure the spices and leavening are perfectly distributed.
Whisking also ensures that the ginger, cinnamon, and cloves are evenly dispersed. You want every single bite to have a consistent hit of spice. This also prevents the flour from clumping when it hits the wet ingredients, which helps you avoid over-mixing later on.
The Final Incorporation: Adding the Boiling Water
Once your dry ingredients are mixed into the molasses base, the batter will be very stiff. This is the moment of truth. Pour the boiling water over the batter and use a hand whisk to gently stir. You’ll see the batter begin to foam slightly as the heat activates the baking soda.
Stir until the mixture is completely smooth and no streaks of water remain. Work quickly but carefully. You want to get the batter into the oven while the reaction is at its peak. The batter will be much thinner than a standard cake batter—almost like a heavy cream—but this is exactly what you want for a perfect rise.
Thermal Precision: Baking and Cooling Phases
The oven environment is where the chemistry finishes its job. Because this batter is thin and contains a high amount of sugar from the molasses, it is sensitive to temperature fluctuations. Consistency is key here to prevent the edges from overcooking before the center is set.
Avoid opening the oven door during the first 25 minutes of baking. A sudden drop in temperature can cause the fragile air bubbles to pop before the flour proteins have solidified, leading to the very “sink” we are trying to avoid. Trust the process and let the heat do its work.
Oven Calibration and Pan Placement
Most home ovens are off by 10 to 25 degrees. If your oven runs too hot, the molasses will caramelize too quickly and the edges will burn. If it’s too cool, the cake won’t rise fast enough. Using an inexpensive oven thermometer can save you from a lot of baking frustration.
Always place your 9×9 inch pan on the center rack. This allows the hot air to circulate evenly around all four sides and the bottom. If the pan is too close to the top or bottom heating elements, you’ll end up with an uneven bake and a distorted shape.
The Toothpick Test and Visual Cues
Start checking your cake at the 35-minute mark. Insert a wooden toothpick into the very center. You aren’t looking for a bone-dry toothpick; a few moist crumbs clinging to it are a sign of a perfectly baked, moist cake. If the toothpick comes out with wet batter, give it another 5 minutes.
The cake should also slightly pull away from the edges of the pan, and the top should spring back gently when touched. Because of the dark molasses, it can be hard to tell if it’s browning too much by sight alone, so rely on the toothpick and the “spring-back” test for accuracy.
The Necessity of a Full Cool Down
I know it’s hard to wait when the kitchen smells like a dream, but you must let this cake cool completely in the pan. Gingerbread is a “high-moisture” cake. As it cools, the starches finish setting and the moisture redistributes. If you cut it while it’s hot, the steam will escape, and the crumb will turn gummy.
Furthermore, the flavor of gingerbread actually improves as it reaches room temperature. The spices mellow and the molasses develops a more complex, toffee-like profile. Give it at least two hours on a wire rack before you even think about dusting it with powdered sugar.
Troubleshooting Common Gingerbread Obstacles
If your cake turned out dry, you likely over-mixed the batter after adding the flour. Over-mixing develops gluten, which makes the cake tough and bready. Next time, mix the dry ingredients until they are *just* incorporated before adding the boiling water.
If the edges are burnt but the middle is still raw, your pan might be the problem. Dark metal pans absorb heat much faster than light-colored ones. If you only have a dark pan, try reducing the oven temperature by 25 degrees and baking for a few minutes longer. Glass pans also hold heat differently and may require a slightly longer bake time.
Flavor Variations and Texture Enhancements
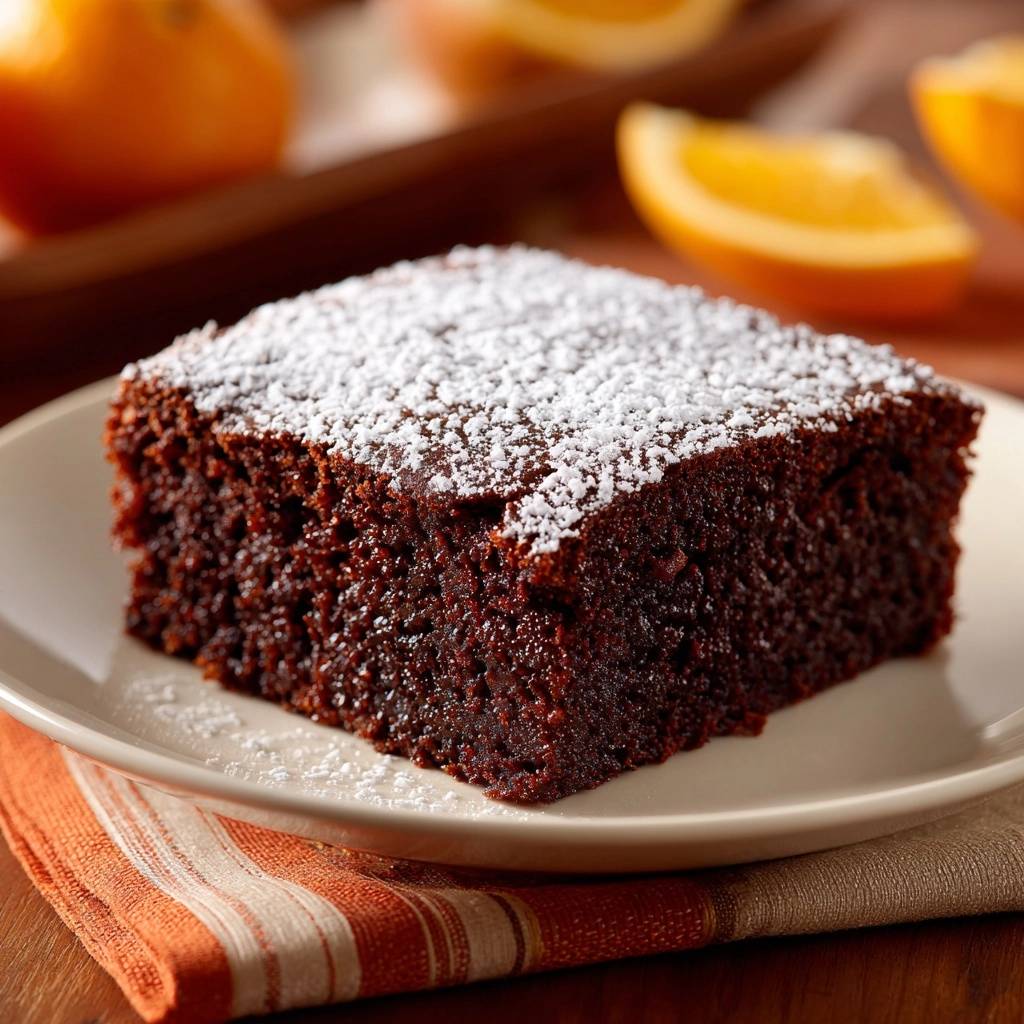
While the classic version is a masterpiece on its own, you can easily customize the texture. If you love a bit of “zing,” fold in 1/4 cup of finely minced crystallized ginger right before adding the boiling water. These little nuggets of spice provide a wonderful chewy contrast to the soft cake.
You can also modernize the flavor by adding the zest of one large orange to the sugar and butter while creaming. The bright citrus oils cut through the heavy molasses and elevate the spices. A pinch of freshly ground black pepper or cardamom can also add a sophisticated, “grown-up” heat to the finish.
Storage and Make-Ahead Strategies
Gingerbread is one of the few cakes that actually tastes better on day two. The moisture from the molasses keeps it soft for days. Store your cake at room temperature, tightly wrapped in plastic wrap or kept in an airtight container. It will stay fresh and delicious for up to 4 or 5 days.
If you want to freeze it, wrap the completely cooled cake in a double layer of plastic wrap and then a layer of aluminum foil. It freezes beautifully for up to 3 months. To serve, thaw it overnight on the counter while still wrapped to prevent the moisture from condensing on the surface of the cake.
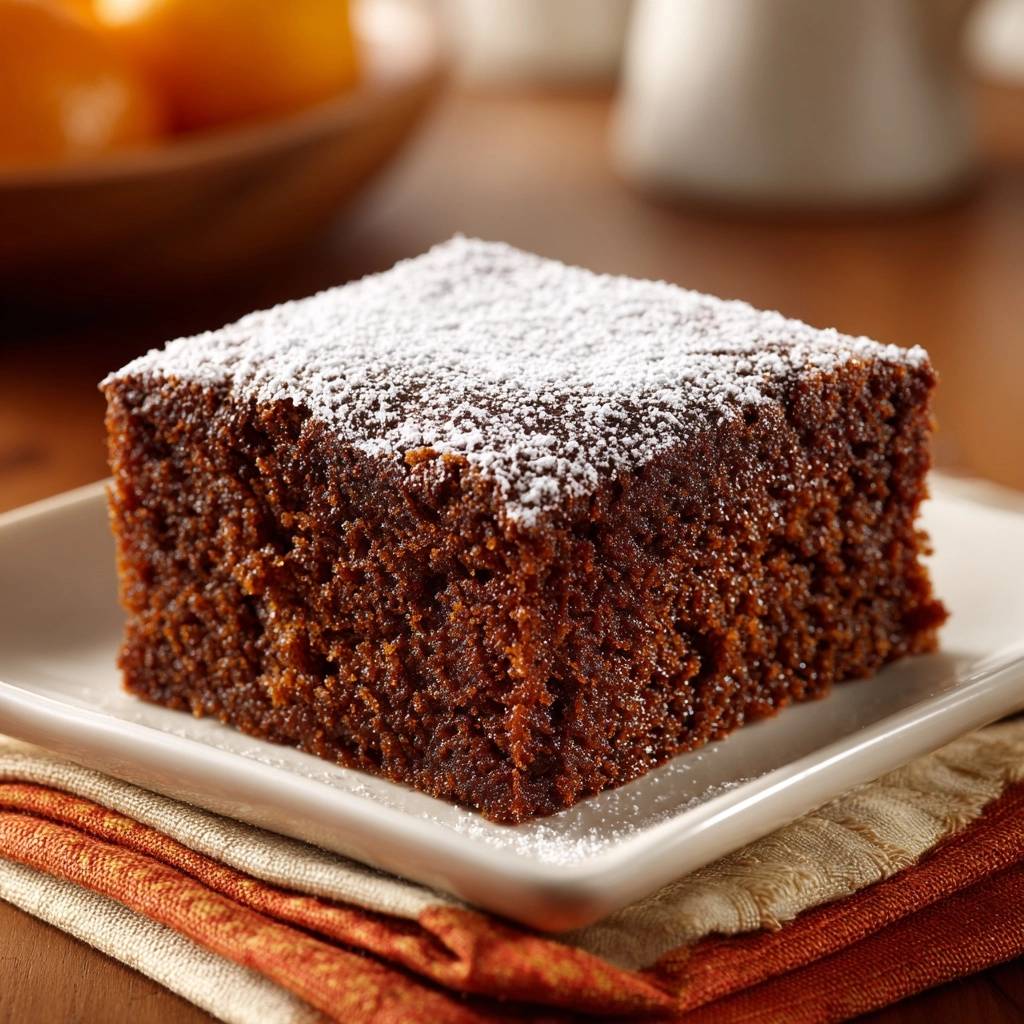
Expert Tips for the Perfect Presentation
A simple dusting of powdered sugar is the traditional way to finish this cake, and for good reason. It looks like a light dusting of snow against the dark, rich cake. Use a fine-mesh sieve to get an even coating, and only do this right before serving, as the moisture in the cake will eventually dissolve the sugar.
For a more indulgent treat, serve a slightly warm square with a dollop of unsweetened whipped cream or a side of tart lemon curd. The acidity of the lemon is a classic pairing for gingerbread, as it brightens the deep, earthy notes of the cloves and molasses. It’s a simple way to turn a humble snack cake into a dinner-party-worthy dessert.
Frequently Asked Questions
Can I use a 9-inch round pan instead of a square one?
Yes, you can use a 9-inch round cake pan. The volume is very similar, so the bake time should remain roughly the same. However, keep a close eye on it starting at 30 minutes, as round pans can sometimes bake slightly faster at the edges. Ensure the pan is at least 2 inches deep to accommodate the rise.
Why does my gingerbread taste bitter?
Bitterness usually comes from two sources: the molasses or the leavening. If you used blackstrap molasses, the flavor will be naturally very bitter. Alternatively, if the baking soda wasn’t whisked properly into the dry ingredients, you might be hitting “pockets” of soda. Always ensure you are using unsulphured molasses and sifting your dry ingredients.
Can I substitute honey or maple syrup for the molasses?
While you can technically substitute them, the texture and flavor will change significantly. Molasses is more acidic than honey or maple syrup, which means the baking soda won’t react as vigorously, potentially leading to a flatter cake. You will also lose that deep, iconic “old-fashioned” gingerbread color and spice profile.
How do I prevent the edges from sticking to the pan?
The high sugar content in molasses makes this cake prone to sticking. The best method is to grease the pan generously with butter and then dust it with flour, tapping out the excess. For extra insurance, you can line the bottom of the pan with parchment paper, leaving a little overhang on the sides to use as a “sling” to lift the cake out.
Can this recipe be made into cupcakes?
Yes, this batter works well for cupcakes. Line a standard muffin tin with paper liners and fill them about two-thirds full. Because the batter is thin, it’s easiest to pour it from a measuring pitcher. Bake at 350°F for 18 to 22 minutes. Check them early, as the smaller volume means they will set much faster than a whole cake.
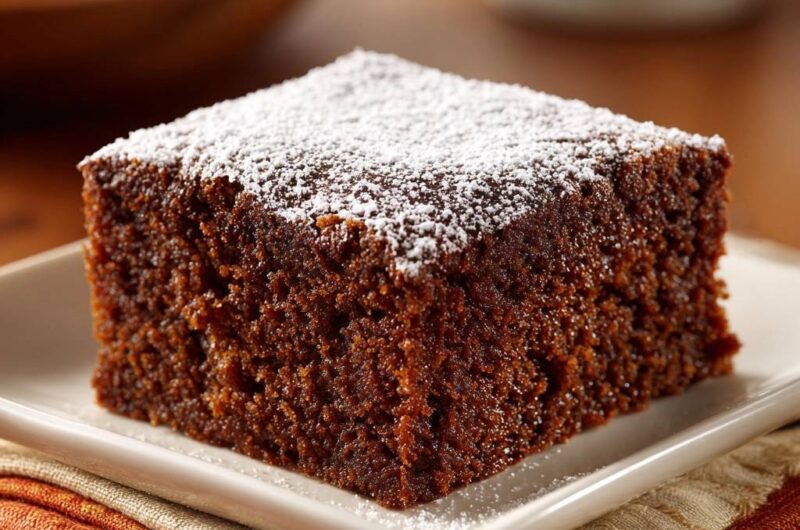
Old-Fashioned Gingerbread Cake
Course: DessertCuisine: AmericanDifficulty: easy9
servings15
minutes40
minutes55
Minutes285
kcalAmerican
Ingredients
1/2 cup granulated sugar
1/2 cup unsalted butter, softened
1 large egg, room temperature
1 cup unsulphured molasses
2 1/2 cups all-purpose flour
1 1/2 teaspoons baking soda
2 teaspoons ground ginger
1 teaspoon ground cinnamon
1/2 teaspoon ground cloves
1/2 teaspoon salt
1 cup boiling water
Powdered sugar for dusting
Directions
- Preheat your oven to 350 degrees F (175 degrees C). Grease and flour a 9×9 inch square baking pan.
- In a large bowl, cream together the softened butter and granulated sugar until light and fluffy. Beat in the egg and then the molasses until fully combined and smooth.
- In a separate medium bowl, whisk together the flour, baking soda, ginger, cinnamon, cloves, and salt. Ensure there are no clumps of baking soda.
- Gradually add the dry ingredients to the creamed mixture. Mix until just combined; the batter will be very thick and heavy at this stage.
- To solve the sinking issue, pour the boiling water into the batter last. Stir gently by hand with a whisk or spatula until the mixture is smooth and the water is fully incorporated. The hot water reacts with the molasses and baking soda to create immediate aeration, which is the key to a permanent rise.
- Pour the thin batter into the prepared pan immediately. Do not let the batter sit on the counter, as the chemical leavening reaction is most active right after the water is added.
- Bake for 35 to 40 minutes, or until a toothpick inserted into the center comes out clean or with just a few moist crumbs.
- Allow the cake to cool completely in the pan on a wire rack. This is crucial for gingerbread, as it allows the crumb to set and the flavors to deepen.
- Once completely cool, dust generously with powdered sugar through a fine-mesh sieve before slicing into squares.
Notes
- The secret to preventing the cake from sinking is adding the boiling water last and moving the batter to the oven immediately to capture the aeration from the baking soda reaction.