
There’s nothing quite like the disappointment of cutting into a beautiful layered dessert, only to find a soggy, crumbling crust at the bottom. I’ve been there countless times, but after much experimentation, I’ve perfected these No-Bake Pumpkin Chocolate Dream Bars to deliver a firm, flavorful foundation that holds up beautifully every single time.
This recipe isn’t just about ease; it’s about creating an impressive, rich, and perfectly textured treat that will become your new go-to for fall gatherings and beyond.
Beyond Basic: What Makes Our No-Bake Pumpkin Chocolate Dream Bars So Special?
The Anti-Soggy Bottom Revolution: A Game-Changing Crust
The secret to these truly exceptional no-bake bars lies in a brief, intentional bake of the cookie crust. This simple step transforms the crust, setting it just enough to create an impervious barrier.
No more worries about moisture from the creamy pumpkin filling seeping in; you’ll enjoy a perfectly firm, chocolatey base with every bite.
Effortless Elegance: Impress Without the Oven (Mostly!)
While the crust gets a quick stint in the oven, the rest of these No-Bake Pumpkin Chocolate Dream Bars come together with minimal effort and no baking required. This makes them ideal for busy hosts, novice bakers, or anyone who wants a spectacular dessert without heating up the kitchen.
The layers are easy to assemble, offering impressive results with surprisingly little fuss.
A Symphony of Flavors: Sweet, Spicy, and Decadent
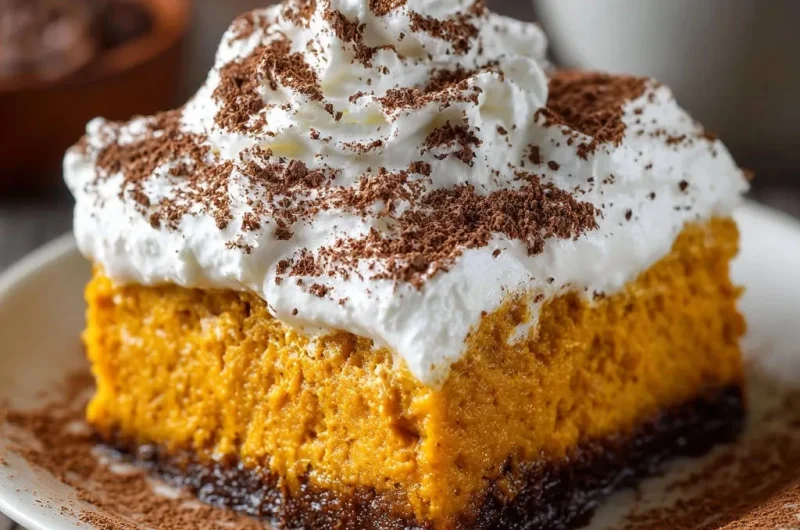
These bars offer a harmonious blend of classic fall flavors. The rich, spiced pumpkin filling is perfectly complemented by the deep chocolate crust, creating a balance that’s both comforting and indulgent.
It’s a dessert that truly captures the essence of autumn in every delightful spoonful.
Gather Your Dream Team: Essential Ingredients for Success
The Foundation: Chocolate Cookie Crust Essentials
For the crust, we rely on chocolate sandwich cookie crumbs, which provide a deeply satisfying, rich flavor and a dark contrast. You’ll need about 20-24 cookies, finely crushed, to get the right volume and texture.
Melted unsalted butter binds the crumbs, ensuring a cohesive and flavorful base. Unsalted butter allows you to control the overall saltiness, ensuring a balanced sweet profile.
The Velvety Pumpkin Filling: Key Components
Pumpkin Puree: Ensure you use pure pumpkin puree, not pumpkin pie filling. Pie filling contains added spices and sweeteners that can throw off the delicate balance of this recipe.
Cream Cheese: Softened cream cheese is vital for a smooth, lump-free filling. It provides the signature creamy texture and a subtle tang that balances the sweetness.
Sugars: A combination of granulated sugar for sweetness and packed brown sugar for a deeper, molasses-like note creates a rich flavor profile.
Pumpkin Pie Spice & Vanilla Extract: These elevate the pumpkin flavor, adding warmth and complexity. Good quality vanilla extract makes a noticeable difference.
Vanilla Instant Pudding Mix: This is our secret weapon for a perfectly set, velvety pumpkin layer. It thickens the filling without needing any cooking, ensuring a smooth, sliceable bar. For another delightful no-bake treat that sets beautifully, consider our amazing no-bake peanut butter bars that never fall apart.
The Finishing Touches: Whipped Topping & Garnish
Whipped Topping: A container of thawed frozen whipped topping creates a light, airy crown for your bars. Ensure it’s fully thawed for easy, even spreading.
Bittersweet Chocolate: Shaved or grated bittersweet chocolate adds an elegant finish and a hint of sophisticated cocoa flavor. You can also use semi-sweet chocolate chips or cocoa powder if preferred.
Your Kitchen Arsenal: Tools for Perfect Pumpkin Dream Bars
Indispensable Baking Dish
A 9×13 inch baking dish is essential for this recipe, ensuring the correct thickness for your layers. This size allows for generous, well-proportioned bars that are easy to cut and serve.
Mixing Bowls & Whisk/Electric Mixer
You’ll need a medium bowl for the crust and a large bowl for the pumpkin filling. An electric mixer is highly recommended for achieving the smoothest, lump-free cream cheese base, ensuring a velvety texture for your filling.
Measuring Tools & Spatulas
Accurate measuring cups and spoons are crucial for consistent results in baking (or no-baking!). Spatulas are indispensable for combining ingredients and spreading layers evenly in the dish.
Crafting Perfection: A Step-by-Step Guide to Your Dream Bars
The Foundation: Mastering the Cookie Crust
Preheat & Prep: Begin by preheating your oven to 350°F (175°C) and lightly greasing a 9×13 inch baking dish. Greasing ensures your crust lifts easily once baked.
Crumb Creation: In a medium bowl, combine the chocolate sandwich cookie crumbs and melted butter. Mix thoroughly until the crumbs are evenly moistened, resembling wet sand.
Press Firmly: Press this mixture firmly and evenly into the bottom of the prepared baking dish. For a super compact base, use the bottom of a flat glass or measuring cup to really press it down.
Bake for Barrier: Place the baking dish with the crust into the preheated oven and bake for 8 to 10 minutes. This critical step sets the crust and creates a barrier, preventing it from absorbing moisture from the pumpkin filling and becoming soggy. It’s the secret to a perfect layered bar!
Cool Completely: Remove the crust from the oven and let it cool completely on a wire rack. This is crucial for maintaining its firm, crisp texture before adding the filling, so be patient.
Whipping Up the Velvety Pumpkin Filling
Cream Cheese Smoothness: While the crust cools, prepare the pumpkin filling. In a large bowl, beat the softened cream cheese until smooth and creamy. Ensure it’s truly at room temperature for the best, lump-free consistency.
Pumpkin Perfection: Add the pumpkin puree, granulated sugar, brown sugar, pumpkin pie spice, and vanilla extract to the cream cheese. Beat until all ingredients are well combined and the mixture is uniform, scraping down the sides of the bowl as needed.
Thicken with Pudding: Add the instant vanilla pudding mix to the pumpkin mixture and beat for 2 to 3 minutes, or until the mixture begins to visibly thicken. Don’t worry if it’s not super thick yet; it will continue to firm up beautifully as it chills.
The Grand Finale: Assembling and Chilling
Layering the Dream: Carefully pour the pumpkin filling over the completely cooled crust, spreading it evenly with a spatula or the back of a spoon. Aim for a smooth, level layer for beautiful presentation.
The Chill Factor: Cover the baking dish tightly with plastic wrap and refrigerate for at least 4 hours, or preferably overnight, until the pumpkin layer is fully set and firm. Adequate chilling is paramount for clean, neat slices and optimal texture.
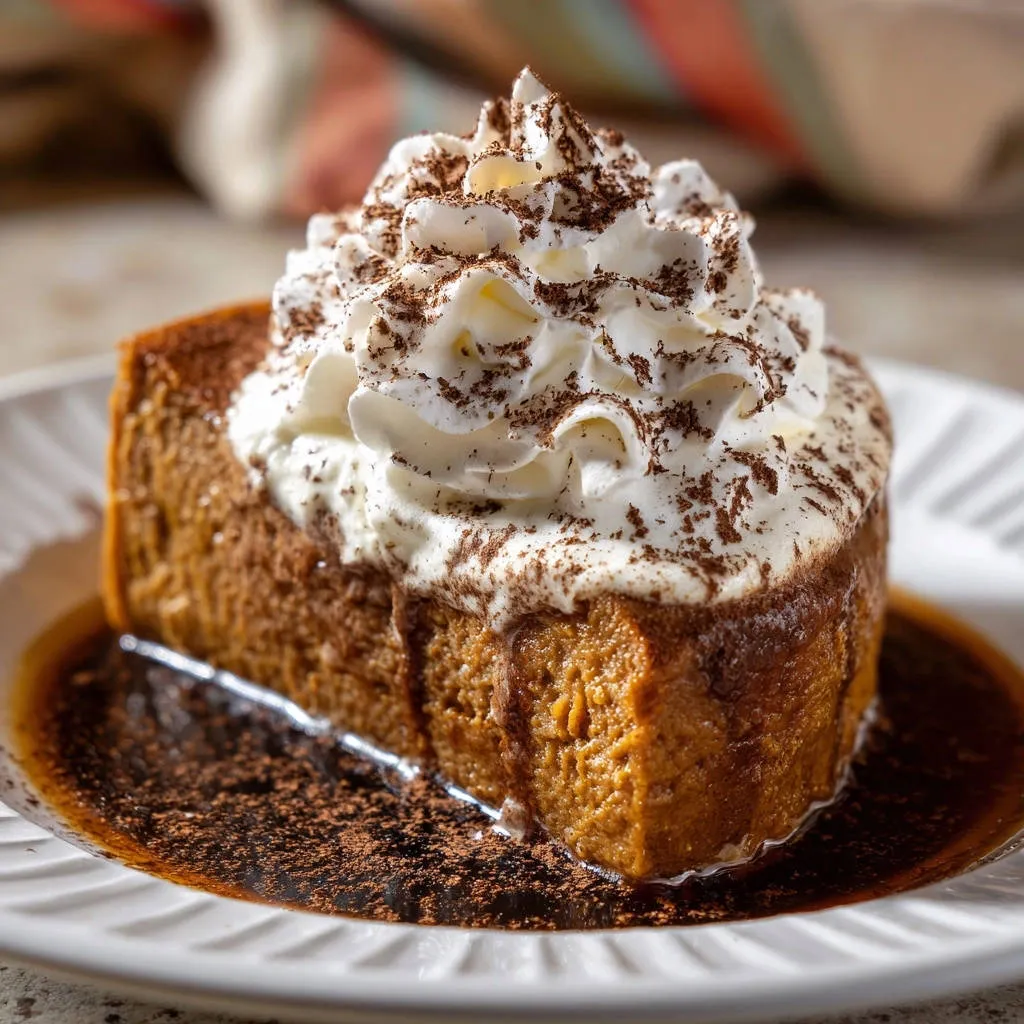
Garnish & Serve: Before serving your No-Bake Pumpkin Chocolate Dream Bars, spread the thawed whipped topping evenly over the pumpkin layer. Garnish with elegant chocolate shavings or finely grated chocolate. Cut into squares using a warm, sharp knife and serve chilled for the ultimate experience.
Unlock the Magic: Expert Tips for Your Best Dream Bars Ever
The Importance of Perfectly Softened Cream Cheese
Using truly room temperature cream cheese is non-negotiable for a silky-smooth filling. Cold cream cheese will result in lumps, no matter how much you beat it, leading to a less appealing texture.
Take it out of the fridge at least an hour before you plan to start, or cut it into smaller pieces to speed up the softening process.
Don’t Skimp on Chilling Time
The minimum 4-hour chilling time is crucial, but an overnight chill is ideal for these No-Bake Pumpkin Chocolate Dream Bars. This allows the pudding mix to fully activate and the pumpkin layer to set completely.
Properly chilled bars mean clean slices, superior texture, and a more enjoyable eating experience.
Mastering Chocolate Shavings
For impressive chocolate garnishes, use a vegetable peeler or the large holes of a box grater on a block of bittersweet chocolate. For best results, ensure the chocolate is slightly chilled.
The shavings will curl beautifully and add an elegant, professional touch to your dessert.
Precision in Pressing the Crust
Achieving an evenly distributed and compact crust is key to preventing crumbling. After pouring in the crumbs, use the flat bottom of a drinking glass or a metal measuring cup to firmly and evenly press the mixture across the entire bottom of the pan.
This creates a solid, uniform foundation that bakes beautifully and holds its shape.
Dream Bar Dilemmas Solved: Common Issues & Quick Fixes
“My Crust Isn’t Firm Enough!”
If your crust is crumbly or too soft, it might not have been pressed firmly enough, or it didn’t bake quite long enough. Ensure you compact the crumbs thoroughly into the dish before baking.
A few extra minutes in the oven (up to 12 minutes total) can help set it more firmly, creating that essential barrier against sogginess.
“Filling Too Runny?”
A runny pumpkin layer usually indicates insufficient chilling time or incorrect measurement of the instant pudding mix. Make sure your cream cheese was properly softened, and beat the pudding mixture for the full 2-3 minutes to activate it.
Extend the refrigeration period; often, an overnight chill is all that’s needed for perfect setting.
“Uneven Layers?”
For neat, distinct layers, ensure your crust is pressed perfectly level. When adding the pumpkin filling and whipped topping, use an offset spatula or the back of a spoon to spread them gently and evenly across the surface.
Take your time and smooth each layer carefully before adding the next. This attention to detail will ensure your No-Bake Pumpkin Chocolate Dream Bars look as good as they taste.
“Bars Are Hard to Cut Cleanly!”
Clean slices are a sign of proper chilling. If your bars are difficult to cut, they likely need more time in the refrigerator. Use a long, sharp knife, warming it slightly under hot water and wiping it dry between each cut.
This technique helps glide through the layers without dragging, yielding pristine squares.
Beyond the Recipe: Serving, Storing, and Sharing Your Dream Bars
Presentation Perfect: Creative Serving Ideas
These No-Bake Pumpkin Chocolate Dream Bars are beautiful on their own, but you can elevate their presentation further. A light dusting of pumpkin pie spice or cocoa powder over the whipped topping can enhance both appearance and aroma.
Serve them on individual dessert plates for an elegant touch, or arrange them on a platter for a crowd.
Keep Them Fresh: Storage Tips for Longevity
Store your bars tightly covered with plastic wrap in the refrigerator. This prevents them from absorbing odors and maintains their freshness and texture. Proper storage keeps them delicious for up to 3-4 days.
Planning Ahead: Make-Ahead Strategies
These bars are an excellent make-ahead dessert. You can prepare the entire recipe (including the whipped topping and garnish) up to 24 hours in advance.
Simply keep them covered in the refrigerator until ready to serve, making entertaining a breeze.
Your Top Questions Answered: No-Bake Pumpkin Chocolate Dream Bars FAQ
Can I Use Graham Crackers Instead of Cookies for the Crust?
While chocolate sandwich cookies provide a unique flavor and color, you can absolutely substitute them with graham cracker crumbs. Use the same quantity (2 cups) and melted butter.
The flavor profile will shift slightly, but the method for baking the crust will remain the same to ensure a firm base.
What if I Can’t Find Instant Vanilla Pudding Mix?
Instant vanilla pudding mix is key to the texture of this specific recipe. If you absolutely cannot find it, a similar instant pudding mix like white chocolate or cheesecake flavor might work, but the vanilla offers the most neutral base for the pumpkin.
Avoid cooked pudding mixes, as they require different preparation and won’t set the same way.
Can I Freeze No-Bake Pumpkin Chocolate Dream Bars?
Yes, you can freeze these bars! It’s best to freeze them before adding the whipped topping. Wrap the fully chilled bars (crust and pumpkin layer) tightly in plastic wrap, then in foil.
They can be frozen for up to 1 month. Thaw in the refrigerator overnight, then add the whipped topping and garnish just before serving.
How Long Do These Bars Last in the Refrigerator?
When properly stored in an airtight container or tightly covered with plastic wrap, these No-Bake Pumpkin Chocolate Dream Bars will stay fresh and delicious in the refrigerator for 3 to 4 days.
Are There Dairy-Free or Gluten-Free Options?
For a gluten-free version, use gluten-free chocolate sandwich cookies for the crust. For dairy-free, you would need to find dairy-free cream cheese, dairy-free whipped topping, and ensure your cookies and pudding mix are also dairy-free.
Always double-check ingredient labels for specific dietary needs.
Your Next Culinary Masterpiece Awaits!
You now have all the tools and knowledge to create truly spectacular No-Bake Pumpkin Chocolate Dream Bars that will impress everyone. Say goodbye to soggy crusts and hello to perfectly set, irresistibly delicious layers!
We encourage you to try this recipe and share your creations with us. Your journey to mastering this dessert starts now – happy baking (and chilling)!
No-Bake Pumpkin Chocolate Dream Bars
Course: DessertCuisine: American CuisineDifficulty: easy4
12-16 bars30
minutes10
minutes300
minutesAmerican Cuisine
Ingredients
For the Crust:
2 cups chocolate sandwich cookie crumbs (about 20-24 cookies, crushed)
1/2 cup unsalted butter, melted
For the Pumpkin Filling:
1 (15 ounce) can pumpkin puree (not pumpkin pie filling)
1 (8 ounce) package cream cheese, softened
1/2 cup granulated sugar
1/4 cup brown sugar, packed
1 teaspoon pumpkin pie spice
1/2 teaspoon vanilla extract
1 (3.4 ounce) package vanilla instant pudding mix
For the Topping:
1 (8 ounce) container frozen whipped topping, thawed
1 ounce bittersweet chocolate, shaved or grated, for garnish
Directions
- Preheat your oven to 350°F (175°C). Lightly grease a 9×13 inch baking dish.
- For the Anti-Soggy Bottom Crust: In a medium bowl, combine the chocolate sandwich cookie crumbs and melted butter. Mix until the crumbs are evenly moistened. Press this mixture firmly and evenly into the bottom of the prepared baking dish.
- Place the baking dish with the crust into the preheated oven and bake for 8 to 10 minutes. This critical step sets the crust and creates a barrier, preventing it from absorbing moisture from the pumpkin filling and becoming soggy.
- Remove the crust from the oven and let it cool completely on a wire rack. This is crucial for maintaining its firm texture.
- While the crust cools, prepare the pumpkin filling. In a large bowl, beat the softened cream cheese until smooth. Add the pumpkin puree, granulated sugar, brown sugar, pumpkin pie spice, and vanilla extract. Beat until well combined.
- Add the instant vanilla pudding mix to the pumpkin mixture and beat for 2 to 3 minutes, or until the mixture begins to thicken. It will continue to firm up as it chills.
- Pour the pumpkin filling over the completely cooled crust, spreading it evenly.
- Cover the baking dish tightly with plastic wrap and refrigerate for at least 4 hours, or preferably overnight, until the pumpkin layer is fully set and firm.
- Before serving, spread the thawed whipped topping evenly over the pumpkin layer. Garnish with chocolate shavings or grated chocolate. Cut into squares and serve chilled.
Notes
- Baking the crust briefly is critical to prevent sogginess. Ensure crust is completely cool before adding the pumpkin filling.