
Ever dream of baking Funfetti cookies that are thick, chewy, and bursting with colorful sprinkles? So many homemade cookies end up as flat, disappointing disks. But don’t worry! This recipe unlocks the secret to achieving bakery-worthy Funfetti cookies – perfectly thick with delightfully soft centers every single time. Get ready to impress your friends and family with these irresistible treats!
Why You’ll Love These Funfetti Cookies
These aren’t just any cookies; they’re a celebration in every bite! Here’s why you’ll be making them again and again:
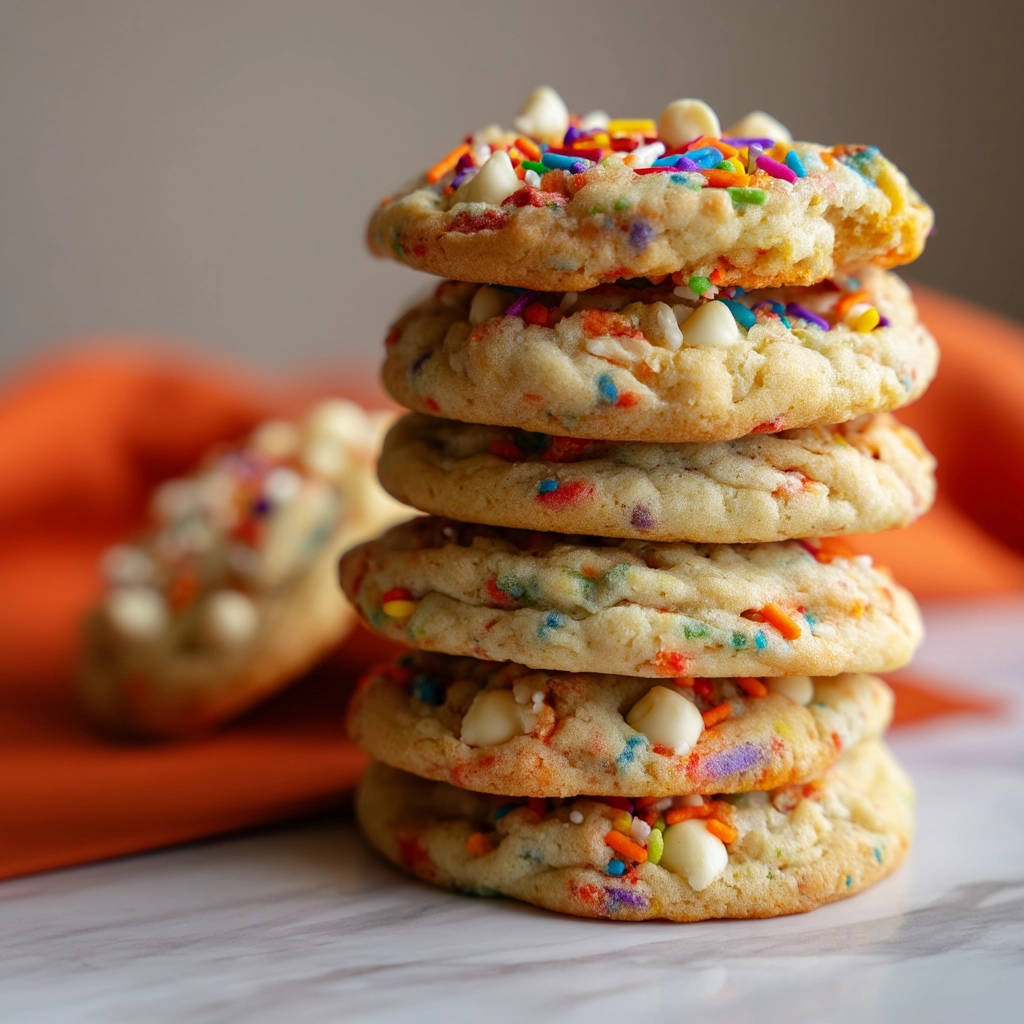
- Unbelievably Thick: Say goodbye to flat, sad cookies! These stay beautifully plump.
- Soft and Chewy: The texture is absolutely divine – a perfect balance of soft and chewy.
- Bursting with Fun: Sprinkles galore make these cookies visually appealing and joyful to eat.
- Easy to Make: Despite their impressive results, the recipe is surprisingly simple.
- Crowd-Pleaser: Perfect for parties, holidays, or just a sweet treat any day of the week!
Gathering Your Ingredients for Funfetti Cookies
Let’s gather the ingredients that will transform into these delightful Funfetti cookies! The key to success lies not only in the amounts but also in the quality and preparation of these components. We’re aiming for a symphony of flavors and textures, where the buttery richness complements the sweetness and the sprinkles add a playful touch.
Here’s what you’ll need:
- 1 cup unsalted butter, softened: The foundation of our cookies. Unsalted butter allows us to control the overall saltiness of the recipe. Make sure it’s properly softened (but not melted!) – it should be pliable enough to easily cream with the sugars.
- 3/4 cup granulated sugar: This adds sweetness and contributes to the cookies’ crisp edges.
- 3/4 cup packed light brown sugar: Brown sugar is crucial for moisture and chewiness. The molasses content gives the cookies a richer flavor. Pack it lightly when measuring to ensure consistency.
- 2 large eggs: Eggs bind the ingredients together and add richness. Use large eggs at room temperature for best results.
- 1 teaspoon vanilla extract: A touch of vanilla enhances the other flavors. Use a high-quality pure vanilla extract for the most noticeable difference.
- 2 and 1/4 cups all-purpose flour: Provides structure to the cookies. Measure accurately by spooning the flour into your measuring cup and leveling it off with a knife.
- 1 teaspoon baking soda: This is our leavening agent, helping the cookies rise and become soft.
- 1/2 teaspoon salt: Salt balances the sweetness and enhances the other flavors.
- 1/2 cup sprinkles: The star of the show! Use your favorite type of sprinkles – jimmies, nonpareils, or even a mix.
- 1/2 cup white chocolate chips: Adds a touch of creamy sweetness that complements the sprinkles beautifully. You can also substitute milk chocolate or semi-sweet chocolate chips, if you prefer.
Crafting Your Funfetti Cookies: Step-by-Step
Ready to bake some magic? These steps might seem simple, but each one plays a vital role in creating those perfectly thick and chewy Funfetti cookies you’ve been dreaming of. Pay attention to the details, and you’ll be rewarded with a batch of irresistible treats!
- Cream the Butter and Sugars: In a large bowl, combine the softened butter, granulated sugar, and brown sugar. Cream them together using an electric mixer on medium speed until the mixture is light and fluffy. This process incorporates air, which is essential for a tender cookie. It usually takes about 3-5 minutes. The mixture should look noticeably paler and feel much lighter.
- Incorporate the Eggs and Vanilla: Beat in the eggs one at a time, making sure each egg is fully incorporated before adding the next. Then, stir in the vanilla extract. The eggs help to bind the ingredients and add richness, while the vanilla enhances the overall flavor profile.
- Whisk the Dry Ingredients: In a separate medium bowl, whisk together the flour, baking soda, and salt. Whisking ensures that the baking soda and salt are evenly distributed throughout the flour, which is crucial for proper leavening and flavor.
- Combine Wet and Dry Ingredients: Gradually add the dry ingredients to the wet ingredients, mixing on low speed until just combined. Be careful not to overmix! Overmixing develops the gluten in the flour, resulting in tough cookies. Mix until you no longer see streaks of flour.
- Fold in the Sprinkles and White Chocolate Chips: Gently fold in the sprinkles and white chocolate chips until they are evenly distributed throughout the dough. Folding is a gentle technique that prevents overmixing and helps to keep the cookies tender.
- Chill the Dough (The Secret Step!): Cover the bowl and refrigerate the dough for at least 2 hours, or ideally 24 hours. This is the most important step for achieving perfectly thick cookies! Chilling the dough solidifies the butter, which prevents the cookies from spreading too much while baking. It also allows the flavors to meld together, resulting in a more flavorful cookie. If you’re in a rush, even 2 hours will make a difference, but the longer the better!
- Preheat the Oven and Prepare Baking Sheets: Preheat your oven to 375 degrees F (190 degrees C). Line baking sheets with parchment paper. Parchment paper prevents the cookies from sticking and makes cleanup a breeze.
- Scoop the Dough: Scoop rounded tablespoons of chilled dough onto the prepared baking sheets, leaving about 2 inches between cookies. Using a cookie scoop ensures that all the cookies are the same size, which helps them bake evenly.
- Bake the Cookies: Bake for 9 to 11 minutes, or until the edges are lightly golden and the centers look slightly soft. The cookies will continue to set up as they cool. Don’t overbake them, or they will be dry and crumbly.
- Cool and Enjoy: Let cookies cool on the baking sheet for 5 minutes before transferring them to a wire rack to cool completely. This allows the cookies to firm up slightly, preventing them from breaking when you transfer them. Once completely cooled, enjoy your delicious Funfetti cookies!
Tips for Perfect Funfetti Cookies Every Time
Want to take your Funfetti cookie game to the next level? Here are a few extra tips and tricks to ensure baking success:
- Use Room Temperature Ingredients: Using room temperature butter and eggs helps them to emulsify properly, resulting in a smoother batter and a more tender cookie.
- Don’t Overmix: Overmixing develops the gluten in the flour, which can lead to tough cookies. Mix until just combined.
- Chill the Dough: This is the key to preventing the cookies from spreading too much while baking. Don’t skip this step!
- Use Parchment Paper: Parchment paper prevents the cookies from sticking and makes cleanup a breeze.
- Don’t Overbake: Overbaked cookies will be dry and crumbly. Bake until the edges are lightly golden and the centers look slightly soft.
- Experiment with Sprinkles: Use your favorite type of sprinkles, or try a mix of different colors and shapes.
- Add a Glaze: For an extra touch of sweetness, drizzle the cooled cookies with a simple glaze made from powdered sugar and milk.
What to Serve With Funfetti Cookies
Funfetti cookies are delicious on their own, but they’re even better when paired with the right accompaniments! Consider these serving suggestions:
- A cold glass of milk: A classic combination that’s always a winner.
- A scoop of ice cream: Vanilla, chocolate, or even birthday cake ice cream would be perfect.
- Hot chocolate: A warm and comforting treat, especially on a cold day.
- Fruit salad: A refreshing contrast to the sweetness of the cookies.
You can also use these Funfetti cookies to create a show-stopping dessert, maybe layered in our easy caramel nut dessert jars for a fun and colorful twist on a classic trifle!
Your Funfetti Cookies Questions Answered (FAQ)
Can I make the dough ahead of time?
Absolutely! In fact, chilling the dough for at least 2 hours (or up to 24 hours) is highly recommended for the best results. It allows the flavors to meld and prevents the cookies from spreading too much during baking. Just make sure to wrap the dough tightly in plastic wrap or store it in an airtight container in the refrigerator.
Can I freeze the Funfetti cookie dough?
Yes, you can! Scoop the dough into balls and place them on a baking sheet lined with parchment paper. Freeze for about 30 minutes, or until solid. Then, transfer the frozen dough balls to a freezer-safe bag or container. They can be stored in the freezer for up to 2 months. When you’re ready to bake, simply place the frozen dough balls on a baking sheet and bake as directed, adding a few extra minutes to the baking time.
Can I use different types of flour?
While all-purpose flour is the standard for this recipe, you can experiment with other types of flour. For a slightly chewier cookie, try using bread flour. If you’re looking for a gluten-free option, a gluten-free all-purpose flour blend should work well, but be sure to check the package instructions for any necessary adjustments. You could also consider using almond flour, but keep in mind that it may alter the texture of the cookies. Perhaps try our recipe for golden cottage cheese fritters, which utilizes alternative flours.
My cookies are spreading too much. What am I doing wrong?
There are a few reasons why your cookies might be spreading too much:
- The butter was too soft: Make sure the butter is softened but not melted.
- The dough wasn’t chilled enough: Chilling the dough is crucial for preventing spreading.
- The oven temperature was too low: Make sure your oven is properly preheated to 375 degrees F (190 degrees C).
Enjoy Your Homemade Funfetti Cookies!
Congratulations! You’ve now mastered the art of making perfectly thick and chewy Funfetti cookies. These colorful and delicious treats are sure to bring a smile to everyone’s face. Don’t forget to share your baking creations with friends and family – and be sure to leave a comment below to let me know how your cookies turned out! Happy baking!