
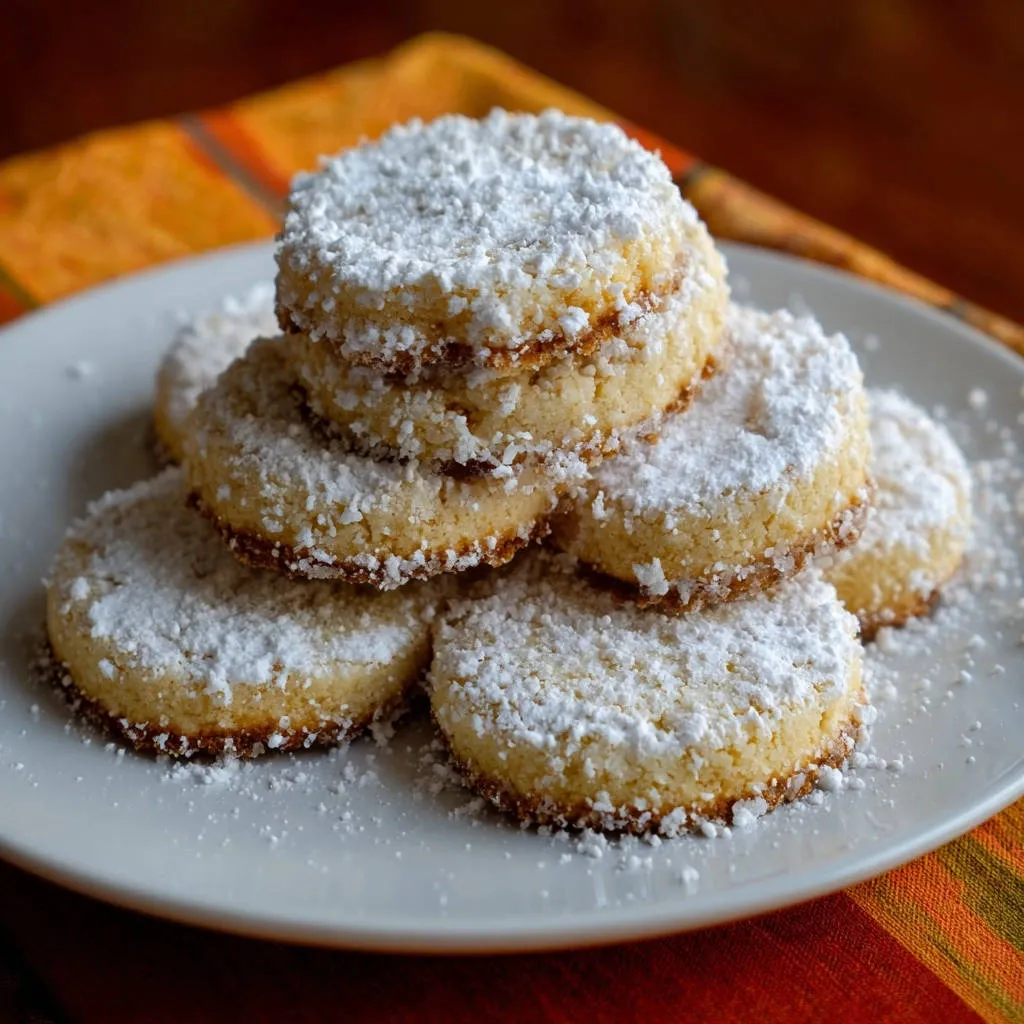
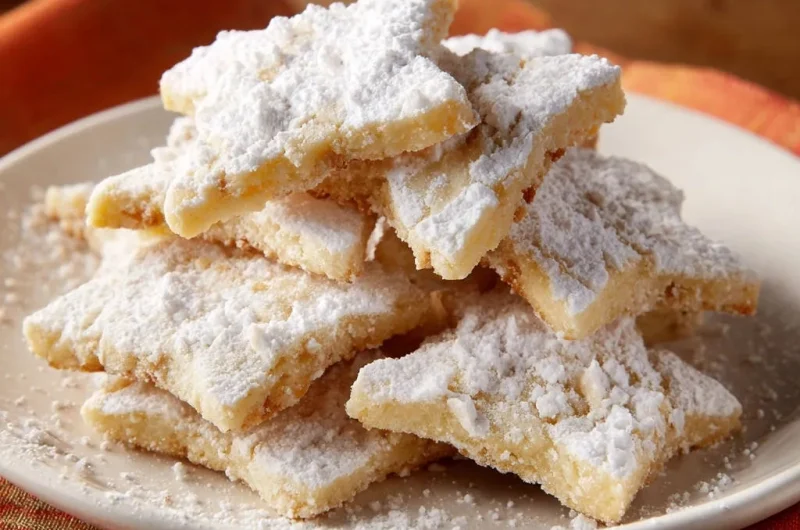
I remember struggling for years to achieve that truly delicate, melt-in-your-mouth texture with shortbread cookies, often ending up with dry or dense results. The secret, it turns out, is simpler than you’d think, and it completely transformed my approach, making these Star-Shaped Shortbread Cookies an absolute sensation every single time. This recipe guarantees an unbelievably soft crumb that vanishes deliciously, perfect for any special occasion or a comforting treat.
The Secret to Unbelievably Soft, Melt-in-Your-Mouth Shortbread
Beyond Basic: Why Our Recipe Stands Out
The magic behind our shortbread’s superior texture lies in two key areas: the precise creaming of butter and sugar, and the critical chilling of the dough. This simple trick ensures the butter emulsifies perfectly, creating air pockets for lightness, and the dough firms up to prevent spreading.
No More Dry or Dense Cookies: Our Tender Texture Guarantee
By carefully controlling the mixing once the flour is added and prioritizing proper chilling, we eliminate the common pitfalls of dry or tough shortbread. This method consistently yields cookies with an exquisite, delicate crumb that practically melts away on your tongue.
Star-Shaped Shortbread Cookies: Simple Ingredients, Incredible Flavor
Butter: The Foundation of Flavor and Texture
Unsalted butter is essential here as it gives you full control over the salt content, ensuring perfect balance. Softened butter creams beautifully with sugar, incorporating air for that signature light and tender shortbread cookie texture.
Sweetness and Structure: Powdered Sugar & Flour
Powdered sugar, or confectioners’ sugar, is a game-changer for shortbread. Its fine consistency blends seamlessly, contributing to the delicate, melt-in-your-mouth feel without any graininess. All-purpose flour provides the necessary structure, but its integration must be gentle.
A Hint of Magic: Vanilla and Salt
Vanilla extract adds a warm, aromatic note that enhances the overall sweetness and richness of the cookies. A touch of salt is crucial for balancing the sweetness, making the buttery flavor truly pop.
Essential Tools for Your Star-Shaped Shortbread Baking Adventure
Basic Baking Necessities
You’ll need a large mixing bowl, whether for an electric mixer or mixing by hand, to combine your ingredients. A sturdy spatula or wooden spoon is also helpful for scraping down the bowl.
For baking, a reliable baking sheet and parchment paper are indispensable. Parchment paper prevents sticking and ensures even baking, making cleanup a breeze.
Star Power: Choosing Your Cookie Cutters
A star-shaped cookie cutter is, of course, essential for these festive treats! However, don’t feel limited to just stars; any shape will work beautifully with this versatile dough. Consider using different sizes for varied serving options.
Baking Brilliance: Your Step-by-Step Guide to Perfect Star-Shaped Shortbread
Prepping for Success: Creaming & Chilling the Dough
- Step 1: Creaming Butter and Sugar:
In a large bowl, combine the softened unsalted butter and powdered sugar. Beat them with an electric mixer on medium speed until the mixture is light, fluffy, and noticeably pale, usually 3-5 minutes. Be careful not to overmix at this stage; stop once it achieves that airy texture.
- Step 2: Adding Flavor:
Once the butter and sugar are perfectly creamed, stir in the vanilla extract and salt. Mix briefly until just combined, ensuring the flavors are evenly distributed.
- Step 3: Gentle Flour Incorporation:
Gradually add the all-purpose flour to the butter mixture, mixing on low speed with an electric mixer or by hand. It’s crucial to mix only until the flour is just incorporated and the dough comes together. Overmixing at this stage will develop the gluten, leading to tough shortbread cookies instead of tender ones. The dough should be soft, pliable, and slightly crumbly but able to hold its shape when pressed.
- Step 4: The Crucial Chill:
Gather the dough and form it into a flattened disk. Wrap it tightly in plastic wrap, pressing out any air pockets. Refrigerate the dough for at least 30 minutes, or up to an hour. This chilling step is absolutely key; it firms up the butter, which prevents the cookies from spreading excessively during baking, and contributes significantly to that tender, melt-in-your-mouth texture we’re aiming for.
Shaping & Baking: From Dough to Golden Stars
- Step 5: Oven Prep:
While the dough is chilling, preheat your oven to 325 degrees Fahrenheit (160 degrees Celsius). Line a baking sheet with parchment paper to prevent sticking and ensure easy release of the delicate cookies.
- Step 6: Rolling and Cutting:
On a lightly floured surface, unwrap your chilled dough. Roll it out evenly to about 1/4 inch thickness. Use your star-shaped cookie cutter to cut out the shapes, re-rolling scraps as needed until all dough is used. Work quickly to keep the dough cool.
- Step 7: Transferring with Care:
Carefully transfer the cut Star-Shaped Shortbread Cookies to the prepared baking sheet, leaving about an inch between each cookie. Their delicate nature requires a gentle hand to maintain their perfect form.
- Step 8: Baking to Perfection:
Bake for 15-18 minutes, or until the edges are just lightly golden and the centers appear set but still pale. Shortbread is meant to remain a beautiful, light color. Avoid overbaking, as this is the biggest culprit for dry or tough shortbread.
The Perfect Finish: Cooling & Dusting
- Step 9: Cooling Gracefully:
Once baked, let the cookies cool on the baking sheet for a few minutes. This allows them to firm up slightly before you move them. Then, carefully transfer them to a wire rack to cool completely. Handling them too soon can cause them to break.
- Step 10: The Signature Dust:
Once the cookies are completely cool, generously dust them with additional powdered sugar. You can use a fine-mesh sieve for an even, ethereal coating that adds both beauty and a touch more sweetness to your homemade shortbread stars.
Chef’s Secrets: Elevate Your Star-Shaped Shortbread Cookies to Perfection
The Golden Rule: Avoiding Overmixing the Dough
Overmixing is the enemy of tender shortbread. When creaming butter and sugar, mix just until light and fluffy to incorporate air. Once flour is added, mix only until the dough just comes together; any more, and you risk developing gluten, leading to a tough, bready texture instead of crumbly deliciousness.
The Chilling Advantage: Why It Matters So Much
Chilling the dough is non-negotiable for perfect shortbread. It allows the butter to re-solidify, preventing the cookies from spreading too much in the oven and retaining their crisp edges. More importantly, it helps create that signature tender, melt-in-your-mouth consistency by allowing the flour to fully hydrate and the gluten to relax.
Baking Wisdom: Don’t Overbake for Optimal Tenderness
Shortbread should always remain pale, with only the very edges turning a faint golden hue. Overbaking, even by a minute or two, can quickly turn these delicate cookies dry and hard. Keep a close eye on them towards the end of the baking time.
Achieving that Beautiful Finish: Powdered Sugar Dusting Tips
For an elegant and even finish, use a small, fine-mesh sieve to dust your cooled cookies with powdered sugar. Hold it a few inches above the cookies and tap gently. You can even create simple stencils with paper for festive patterns!
Troubleshooting Your Star-Shaped Shortbread: Common Pitfalls & Solutions
My Star Cookies Are Too Crumbly/Dry
This often happens from overbaking, or if your butter wasn’t soft enough when creaming. Ensure your butter is truly at room temperature (indent with a finger, but not greasy) and follow the baking times closely, looking for pale, set centers.
Another culprit could be too much flour, or overmixing the flour. Always measure flour accurately, preferably by weight, and stop mixing as soon as the dough forms.
My Star Cookies Spread Too Much While Baking
Insufficient chilling is the most common reason for spreading. Make sure your dough is firm before rolling. If your kitchen is very warm, try chilling the cut cookies on the baking sheet for an extra 10 minutes before baking.
Additionally, very soft butter or an inaccurate flour-to-fat ratio can contribute to spreading. Ensure your butter is softened, not melted, and your measurements are precise.
Why Aren’t My Star-Shaped Shortbread Cookies Tender?
The primary reason for tough shortbread is overmixing after the flour is added, which develops gluten. Another factor can be using granulated sugar instead of powdered sugar, which creates a different texture. Stick to powdered sugar for that desirable delicate crumb.
Your Star-Shaped Shortbread Questions Answered: FAQs
Can I Make These Star-Shaped Shortbread Cookies Gluten-Free?
Yes, you can substitute a good quality 1:1 gluten-free baking flour blend for the all-purpose flour. Be aware that the texture might be slightly different, sometimes a bit more crumbly, but they will still be delicious. Some blends work better than others, so you might need to experiment.
Can I Use Granulated Sugar Instead of Powdered Sugar?
While technically possible, it’s not recommended if you want that signature melt-in-your-mouth shortbread texture. Granulated sugar has larger crystals and will result in a crisper, coarser cookie. Powdered sugar is key to the delicate, almost crumbly tenderness of this recipe.
How Long Do Star-Shaped Shortbread Cookies Last and How Should I Store Them?
These Star-Shaped Shortbread Cookies will stay fresh in an airtight container at room temperature for up to 1-2 weeks. For best results, keep them away from direct sunlight or heat.
Can I Freeze the Dough or Baked Star-Shaped Shortbread Cookies?
Absolutely! You can freeze the dough wrapped tightly in plastic wrap for up to 3 months. Thaw in the refrigerator before rolling and baking. Baked cookies also freeze well; cool completely, then place in an airtight container or freezer bag for up to 1 month. Thaw at room temperature.
What Other Shapes Can I Make with This Dough?
This versatile shortbread dough is perfect for any cookie cutter shape! Feel free to use circles, squares, hearts, or even holiday-themed cutters like trees or bells. The baking time might slightly vary based on the size and thickness of your chosen shape.
Serving & Storing Your Homemade Star-Shaped Shortbread Cookies
Creative Serving Suggestions for Every Occasion
These shortbread cookies are wonderful on their own, but they also make a delightful accompaniment to tea or coffee. For a holiday platter, arrange them with other festive treats like cranberry pistachio shortbread or chocolate fudge brownies. They also make a thoughtful homemade gift when packaged in a pretty tin.
Proper Storage for Maximum Freshness
To keep your Star-Shaped Shortbread Cookies at their best, store them in an airtight container at room temperature. A cookie jar or a sealed plastic container works perfectly. Avoid refrigerating, as it can dry them out.
Make-Ahead Magic: Prepare Your Dough in Advance
One of the beauties of this recipe is its make-ahead potential. You can prepare the dough a day or two in advance and keep it chilled in the refrigerator. This allows for quick, fresh-baked cookies whenever the craving strikes or unexpected guests arrive.
Ready to Impress? Share Your Star-Shaped Shortbread Masterpiece!
There’s immense satisfaction in baking perfect, tender shortbread cookies, and these Star-Shaped Shortbread Cookies are designed to bring joy with every bite. I encourage you to try this recipe, experience the “melt-in-your-mouth” difference yourself, and share your delightful creations. We’d love to hear how your baking adventure goes!
Star-Shaped Shortbread Cookies
Course: DessertCuisine: British cuisineDifficulty: easy60
minutes18
minutes1
hourBritish cuisine
N/A
Ingredients
1 cup (2 sticks) unsalted butter, softened
1/2 cup powdered sugar, plus more for dusting
1 teaspoon vanilla extract
1/4 teaspoon salt
2 cups all-purpose flour
Directions
- In a large bowl, cream together the softened butter and 1/2 cup powdered sugar until light and fluffy. Be careful not to overmix at this stage; just combine them well.
- Stir in the vanilla extract and salt.
- Gradually add the all-purpose flour, mixing on low speed or by hand just until the dough comes together. It’s crucial not to overmix once the flour is added, as this can develop the gluten too much and result in tough cookies. The dough should be soft and pliable.
- Form the dough into a disk, wrap it tightly in plastic wrap, and refrigerate for at least 30 minutes. This chilling step is key; it helps prevent the cookies from spreading too much and ensures a tender, melt-in-your-mouth texture.
- Preheat your oven to 325 degrees Fahrenheit (160 degrees Celsius). Line a baking sheet with parchment paper.
- On a lightly floured surface, roll out the chilled dough to about 1/4 inch thickness. Use a star-shaped cookie cutter to cut out the shapes.
- Carefully transfer the cut cookies to the prepared baking sheet.
- Bake for 15-18 minutes, or until the edges are lightly golden and the centers are just set. Shortbread should remain pale.
- Let the cookies cool on the baking sheet for a few minutes before transferring them to a wire rack to cool completely.
- Once cooled, generously dust the cookies with additional powdered sugar for that beautiful finish.
Notes
- Chilling the dough is key for tender cookies; avoid overmixing once flour is added.