Are you tired of making beautiful, saucy chicken thighs only to find the skin has turned into a sad, rubbery mess underneath that luscious glaze? You are absolutely not alone! For years, I struggled to achieve that perfect balance – a gorgeously sticky, flavorful sauce and wonderfully crispy chicken skin. It felt like an impossible dream. But guess what? I finally cracked the code, and it’s simpler than you think!
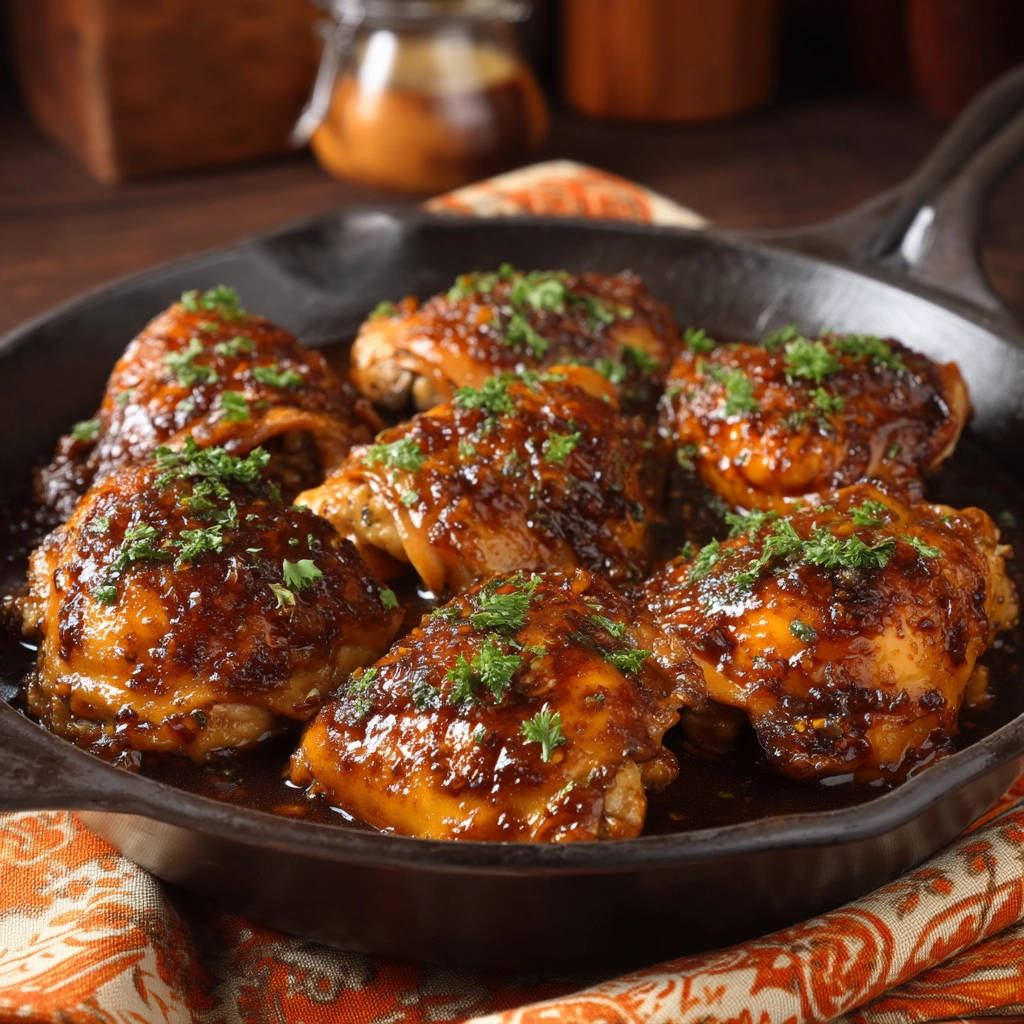
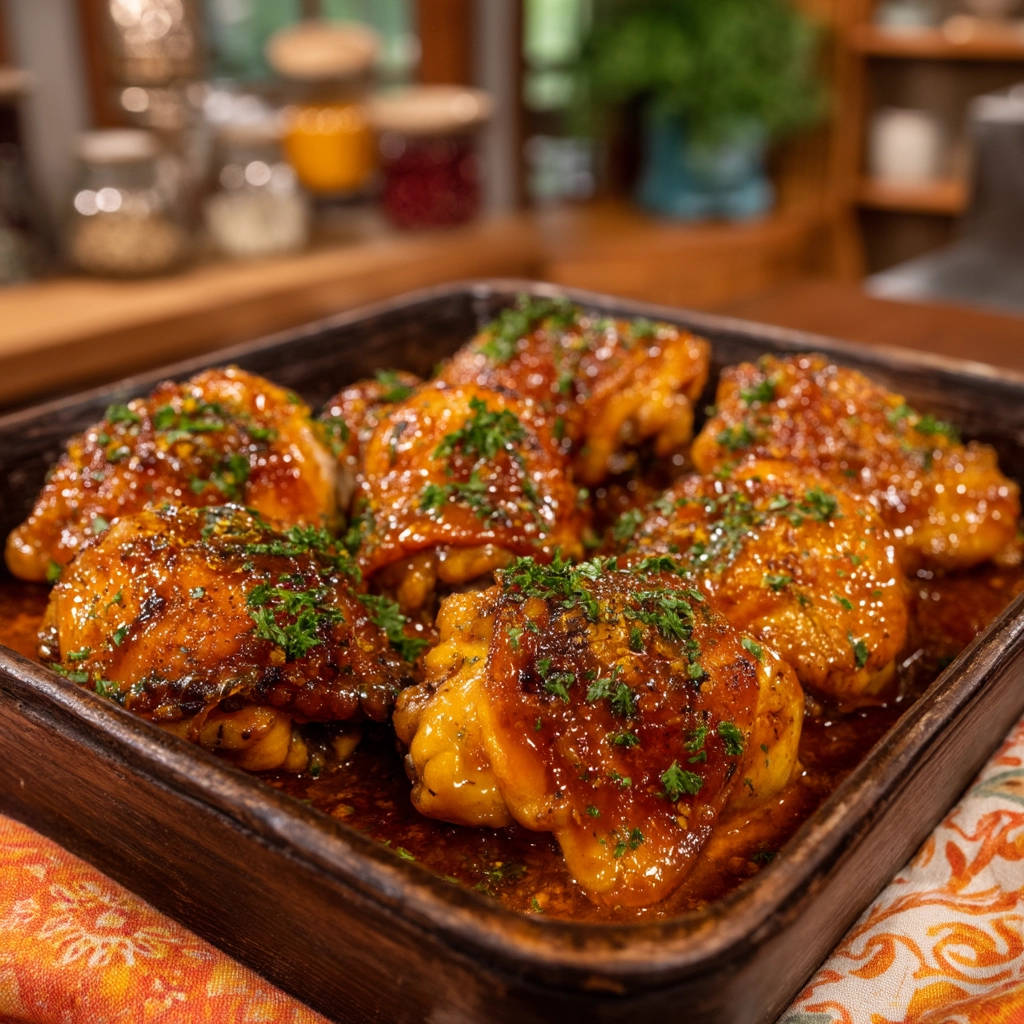
These Sticky Glazed Chicken Thighs are everything you want in a weeknight dinner or a comforting meal. The sauce is a perfect blend of sweet, savory, and tangy, clinging beautifully to the chicken. And the skin? Oh, the skin stays delightfully crisp, providing that satisfying crunch that elevates every bite. Get ready to make the best glazed chicken thighs you’ve ever had, with zero soggy skin in sight!
Why You’ll Absolutely Love This Sticky Glazed Chicken Thighs Recipe
This isn’t just another chicken recipe; it’s a game-changer for anyone who loves flavorful chicken with fantastic texture. Here’s why these glazed chicken thighs will become a staple in your cooking rotation:
- Crispy Skin Guarantee: We use a simple yet crucial technique that ensures the skin renders beautifully and stays crisp, even as the glaze thickens.
- Incredible Flavor: The glaze is a mouthwatering combination of sweet honey, savory soy sauce, pungent garlic and ginger, and bright apple cider vinegar. It hits all the right notes!
- One-Pan Wonder: Everything cooks in a single skillet, minimizing cleanup. Who doesn’t love that?
- Quick and Easy: Perfect for busy weeknights, this recipe comes together relatively fast, delivering maximum flavor with minimal fuss.
- Budget-Friendly: Chicken thighs are economical and packed with flavor, making this dish both delicious and wallet-friendly.
Gathering Your Ingredients for Sticky Glazed Chicken Thighs
The beauty of this recipe lies in its straightforward ingredients, most of which you probably already have in your pantry! Each component plays a vital role in building that irresistible sticky glaze and ensuring your chicken turns out perfectly.
You’ll start with the star: bone-in, skin-on chicken thighs. Thighs are fantastic because they stay incredibly juicy while cooking, and the bone adds extra flavor. The skin is, of course, essential for that crispy texture we’re aiming for. You’ll need a good cooking oil – something with a high smoke point like vegetable, canola, or grapeseed oil is ideal for getting that initial sear.
For the seasoning, simple salt and black pepper are all you need initially to bring out the natural flavors of the chicken before that glorious glaze is added.
Now, onto the glaze. This is where the magic happens! The base is soy sauce (or tamari if you need a gluten-free option), providing that deep, umami foundation. Honey brings the essential sweetness, balancing the savory notes and creating the sticky texture we crave. Freshly minced garlic and grated fresh ginger infuse the sauce with aromatic depth and a hint of warmth. If you don’t have fresh ginger on hand, a smaller amount of ground ginger works in a pinch. Apple cider vinegar adds a touch of acidity, cutting through the richness and brightening the overall flavor profile. A little bit of water helps bring the sauce together, and cornstarch is whisked in to act as a thickening agent, transforming the liquid into that beautiful, clingy glaze.
Finally, fresh chopped parsley is the perfect garnish, adding a pop of color and a fresh, herbaceous note just before serving.
Here’s the simple list of what you’ll need:
- 6 bone-in, skin-on chicken thighs
- 1 tablespoon oil (vegetable, canola, or grapeseed)
- Salt, to taste
- Black pepper, to taste
- 1/2 cup soy sauce (or tamari for gluten-free)
- 1/4 cup honey
- 2 cloves garlic, minced
- 1 teaspoon grated fresh ginger (or 1/2 teaspoon ground)
- 1 tablespoon apple cider vinegar
- 1 tablespoon water
- 1 teaspoon cornstarch
- Fresh parsley, chopped, for garnish
Crafting Your Sticky Glazed Chicken Thighs: Step-by-Step
Ready to get cooking? This process is straightforward, but a couple of key steps make all the difference between soggy skin and glorious crispiness. Follow these steps carefully, and you’ll be rewarded with perfectly cooked, beautifully glazed chicken thighs.
Prepare the Chicken: The absolute first step, and perhaps the most critical for crispy skin, is getting the chicken thighs as dry as possible. Use paper towels to pat them down thoroughly, paying special attention to the skin. Any moisture on the skin will cause it to steam rather than sear, resulting in rubbery texture. Once they are bone-dry, season both sides generously with salt and black pepper. Don’t be shy with the salt, especially on the skin!
Heat the Skillet: Grab a large, heavy-bottomed skillet, ideally cast iron, as it retains heat wonderfully. Add the tablespoon of oil and place it over medium-high heat. You want the oil to get hot – you’ll know it’s ready when it starts shimmering slightly. A hot pan is essential for achieving that initial crispy sear.
Sear Skin-Down: Carefully place the seasoned chicken thighs into the hot skillet, skin-side down. Arrange them in a single layer, making sure not to overcrowd the pan. If your skillet isn’t large enough for all six without them touching, cook them in two batches. Overcrowding lowers the pan temperature and prevents proper searing.
The Crispy Skin Secret: This is the magic moment! Let the chicken cook undisturbed, skin-down, for 6 to 8 minutes. Seriously, resist the urge to peek or move them! This allows the skin to fully render its fat and become deeply golden brown and crispy. The time may vary slightly depending on your stovetop and skillet, but aim for that rich, dark brown color before moving on. This dedicated searing time is the key difference-maker.
Whisk Together the Glaze: While the chicken is performing its crispy-skin transformation, quickly whisk together the glaze ingredients in a small bowl. Combine the soy sauce, honey, minced garlic, grated ginger, apple cider vinegar, water, and cornstarch. Whisk well to ensure the cornstarch is fully dissolved – this prevents lumps and guarantees a smooth, thick glaze later on.
Flip and Reduce Heat: Once the skin is beautifully browned and crispy, carefully flip each chicken thigh. Immediately reduce the heat under the skillet to medium-low. Lowering the heat is important now that the searing is done, allowing the chicken to cook through gently without burning the sauce.
Add the Glaze: Pour the prepared glaze mixture directly into the skillet around the flipped chicken thighs. The sauce will bubble gently around the meat.
Simmer and Glaze: Let the glaze simmer gently for 8 to 10 minutes. As it simmers, it will begin to thicken thanks to the cornstarch. Use a spoon to baste the chicken occasionally with the glaze, focusing mostly on the meatier side. Try to avoid spooning too much thick sauce directly onto the crispy skin side until the very end, just before serving, to help it maintain its crunch. Continue cooking until the internal temperature of the thickest part of the chicken thigh reaches 175 degrees Fahrenheit (about 80 degrees Celsius). The bone helps distribute heat, and chicken thighs are more forgiving than breasts, staying juicy even at this slightly higher temperature. Notice how the crispy skin side is mostly out of the simmering liquid during this phase, which further aids in keeping it crisp.
Thicken the Glaze: By the end of the cooking time, the glaze should have reduced and thickened to a syrupy, sticky consistency that beautifully coats the back of a spoon. If it seems too thin, you can let it simmer for another minute or two, or if it’s too thick, add a tiny splash more water.
Rest Before Serving: Remove the skillet from the heat. This is a crucial step often overlooked! Let the chicken rest in the skillet within the glaze for about 5 minutes. This allows the juices to redistribute throughout the meat, ensuring it stays wonderfully tender and juicy. Plus, the residual heat helps the glaze continue to cling.
Garnish and Serve: Before plating, give the chicken a final drizzle of that sticky glaze from the pan. Garnish generously with fresh chopped parsley. This adds a burst of freshness and makes the dish look as good as it tastes!
Tips for Perfect Sticky Glazed Chicken Thighs Every Time
While the recipe steps are key, here are a few extra tips to guarantee success and maybe even inspire some variations:
- Dryness is Key: I cannot stress this enough! Patting the chicken super dry is the #1 secret to crispy skin. Use plenty of paper towels. You can even leave the chicken uncovered in the fridge for an hour or two before cooking to really dry out the skin.
- Hot Skillet, Then Reduce: Starting with a screaming hot skillet for the skin-side sear is crucial. But remember to reduce the heat significantly once you flip the chicken and add the glaze. This prevents the sauce from burning while the chicken cooks through.
- Don’t Crowd the Pan: Cook in batches if necessary. Overcrowding steams the chicken instead of searing it, preventing crispy skin development.
- Monitor the Glaze: Keep an eye on the glaze as it simmers. It should thicken to a lovely, spoon-coating consistency. If it gets too thick before the chicken is done, add a tablespoon of water at a time to loosen it. If it’s too thin when the chicken reaches temperature, remove the chicken to a plate, increase the heat slightly, and let the sauce bubble and reduce rapidly for a minute or two until thickened, then return the chicken.
- Internal Temperature: Use an instant-read thermometer to check the chicken’s internal temperature. Aim for 175°F (80°C) in the thickest part of the thigh, away from the bone. This ensures it’s safely cooked and perfectly juicy.
- Glaze the Meat, Not the Skin (Mostly): While simmering, spoon the glaze over the meat portion of the thigh. Avoid drowning the skin in the thick sauce until just before serving if you want maximum crispiness.
Flavor Boosters and Variations
Want to mix things up? Here are a few ideas:
- Spicy Kick: Add a pinch of red pepper flakes to the glaze mixture for a touch of heat.
- Sesame Flair: A drizzle of toasted sesame oil in the glaze or a sprinkle of sesame seeds as a garnish adds a wonderful nutty aroma.
- Citrus Brightness: A squeeze of fresh orange or lime juice could be added to the glaze for a different kind of tang.
What to Serve With Sticky Glazed Chicken Thighs
These sticky glazed chicken thighs are incredibly versatile and pair well with many sides. A classic choice is steamed rice – it perfectly soaks up that delicious extra glaze! Roasted or steamed vegetables, like perfectly roasted veggies or some simple green beans, are always a great accompaniment for a balanced meal.
Other ideas include:
- Quinoa or couscous
- A fresh green salad
- Garlic mashed potatoes
- Noodles
Your Sticky Glazed Chicken Thighs Questions Answered (FAQ)
Here are some common questions you might have when making this recipe:
Can I use boneless, skinless chicken thighs?
Yes, you absolutely can use boneless, skinless chicken thighs. The cooking time will be shorter, likely around 12-15 minutes total (searing on both sides). However, you won’t achieve the crispy skin element which is a highlight of this particular recipe. The flavor of the glaze will still be fantastic on boneless thighs!
Can I make this ahead of time?
While you can cook the chicken ahead, the skin will lose its crispiness as it sits in the glaze. The chicken itself reheats well, but for the best texture, it’s ideal to cook and serve immediately after the short resting period. You can prepare the glaze mixture ahead of time and store it in the fridge.
How should I store leftovers?
Store any leftover sticky glazed chicken thighs in an airtight container in the refrigerator for up to 3-4 days. The skin will soften upon refrigeration.
How do I reheat the chicken?
The best way to reheat is in a skillet on the stovetop over medium-low heat, or in an oven or toaster oven at around 350°F (175°C) until heated through. Microwaving will heat it, but the skin will not regain any crispness.
Can I make this recipe gluten-free?
Yes! Simply substitute the soy sauce with tamari, which is a gluten-free alternative with a similar flavor profile. Ensure all other ingredients (like cornstarch) are certified gluten-free if that is a concern.
My glaze isn’t thickening, what went wrong?
This usually happens if the cornstarch wasn’t fully dissolved initially, or if the heat isn’t high enough to maintain a gentle simmer. Make sure you whisk the cornstarch well into the cold liquid before adding it to the pan. If it’s still thin, remove the chicken temporarily, increase the heat slightly, and let the sauce simmer and reduce until it thickens, stirring constantly. You can also make a slurry of a little more cornstarch and water and whisk it in, simmering for another minute.
Enjoy Your Homemade Sticky Glazed Chicken Thighs!
There you have it – the secret to perfectly juicy chicken thighs with that sought-after crispy skin, all coated in a mouthwatering sticky glaze. This recipe is proof that you don’t have to sacrifice texture for flavor. It’s simple enough for a casual family dinner yet impressive enough to share with guests. So grab those chicken thighs, get your skillet hot, and prepare for a truly delicious meal.
Give this recipe a try and let me know how it turns out in the comments below! I’d love to hear your thoughts and any variations you try.
Sticky Glazed Chicken Thighs

Ingredients
- 6 bone-in, skin-on chicken thighs
- 1 tablespoon oil
- Salt, to taste
- Black pepper, to taste
- 1/2 cup soy sauce (or tamari)
- 1/4 cup honey
- 2 cloves garlic, minced
- 1 teaspoon grated fresh ginger (or 1/2 teaspoon ground)
- 1 tablespoon apple cider vinegar
- 1 tablespoon water
- 1 teaspoon cornstarch
- Fresh parsley, chopped, for garnish
Directions
- Pat the chicken thighs completely dry with paper towels, especially the skin. Season generously all over with salt and pepper.
- Heat the oil in a large cast iron skillet over medium-high heat until shimmering.
- Carefully place the chicken thighs in the hot skillet, skin-down.
- This is the key step for crispy skin: Cook undisturbed for 6 to 8 minutes, or until the skin is deeply golden brown and rendered. Do not move the chicken during this time!
- While the chicken cooks, whisk together the soy sauce, honey, minced garlic, ginger, apple cider vinegar, water, and cornstarch in a small bowl to make the glaze mixture.
- Flip the chicken thighs. Reduce the heat to medium-low.
- Pour the glaze mixture into the skillet around the chicken.
- Let the glaze simmer and thicken around the chicken for 8 to 10 minutes more, spooning some of the glaze over the chicken occasionally (avoid coating the crispy skin too heavily with sauce until the very end if possible). Continue simmering until the chicken reaches an internal temperature of 175 degrees Fahrenheit. The skin side will be mostly out of the liquid while the chicken finishes cooking, helping it stay crisp.
- Once cooked and the glaze is thick and sticky, remove the skillet from the heat.
- Let the chicken rest in the skillet for 5 minutes before serving. Garnish with fresh chopped parsley.