There’s something undeniably joyful about a classic strawberry cake, especially one infused with that vibrant jello flavor. It brings back memories of potlucks, picnics, and sunny afternoons. But if you’ve ever tried making one, you might have faced a common frustration: the jello topping just pools on top, creating a dense, separate layer instead of soaking into the cake for that perfect, moist bite. Getting that delightful strawberry goodness all the way through can feel like a baking mystery.
Fear not, fellow dessert lovers! After years of experimenting, I’ve discovered a simple, yet absolutely game-changing trick that ensures the strawberry jello mixture actually soaks in beautifully. This isn’t just any Strawberry Jello Cake; it’s the one where every single forkful is moist, bursting with fresh berry and sweet jello flavor, and has that wonderful, tender texture from top to bottom. Get ready to make your new favorite easy dessert!
Why You’ll Absolutely Love This Strawberry Jello Cake
This recipe isn’t just about solving the jello-soaking dilemma; it’s about creating a truly delightful dessert experience. Here are just a few reasons why this Strawberry Jello Cake will become a go-to in your recipe collection:
- Unbeatable Moisture: Thanks to our special technique, the cake absorbs the jello liquid, resulting in an incredibly moist crumb throughout. No dry spots here!
- Intense Strawberry Flavor: You get a double dose of strawberry goodness – from the jello infused into the cake and the fresh berries layered on top.
- Effortlessly Easy: Starting with a cake mix makes this a remarkably simple recipe, perfect for bakers of all skill levels.
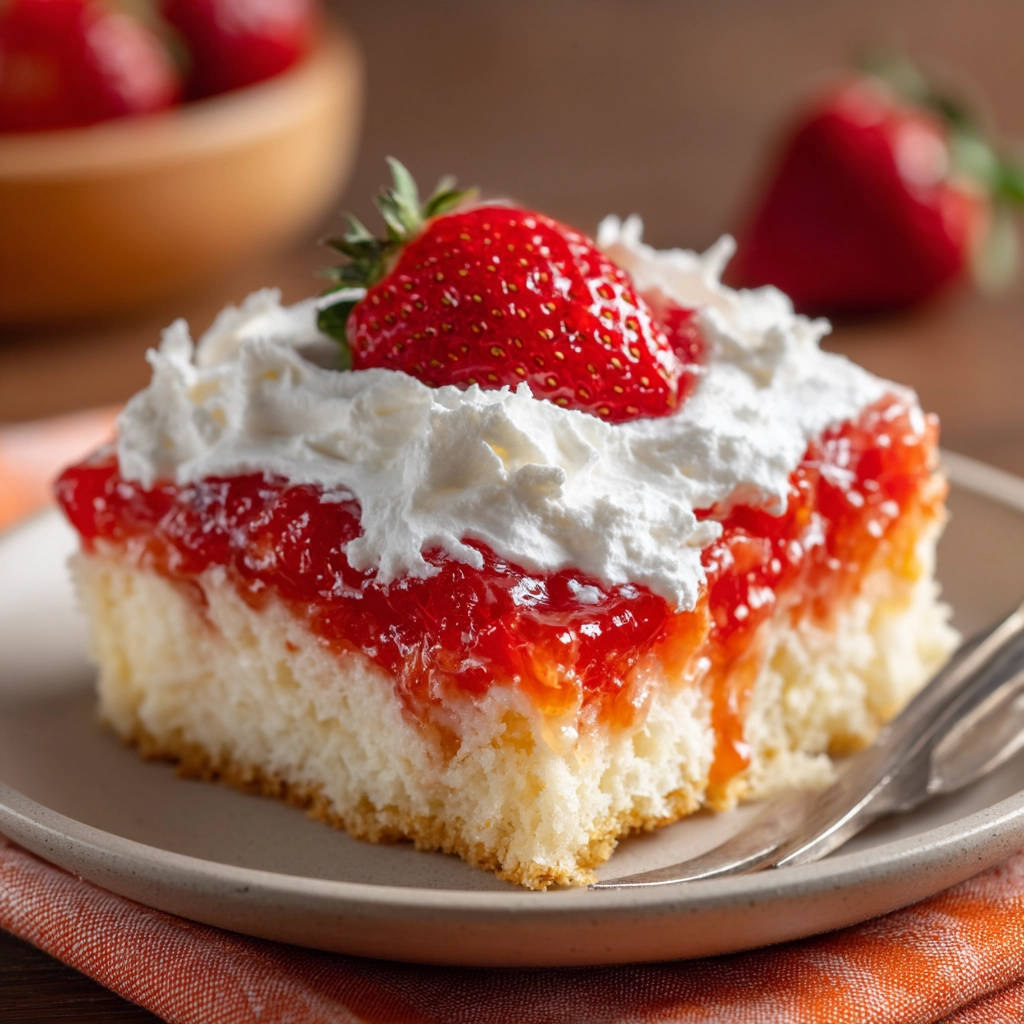
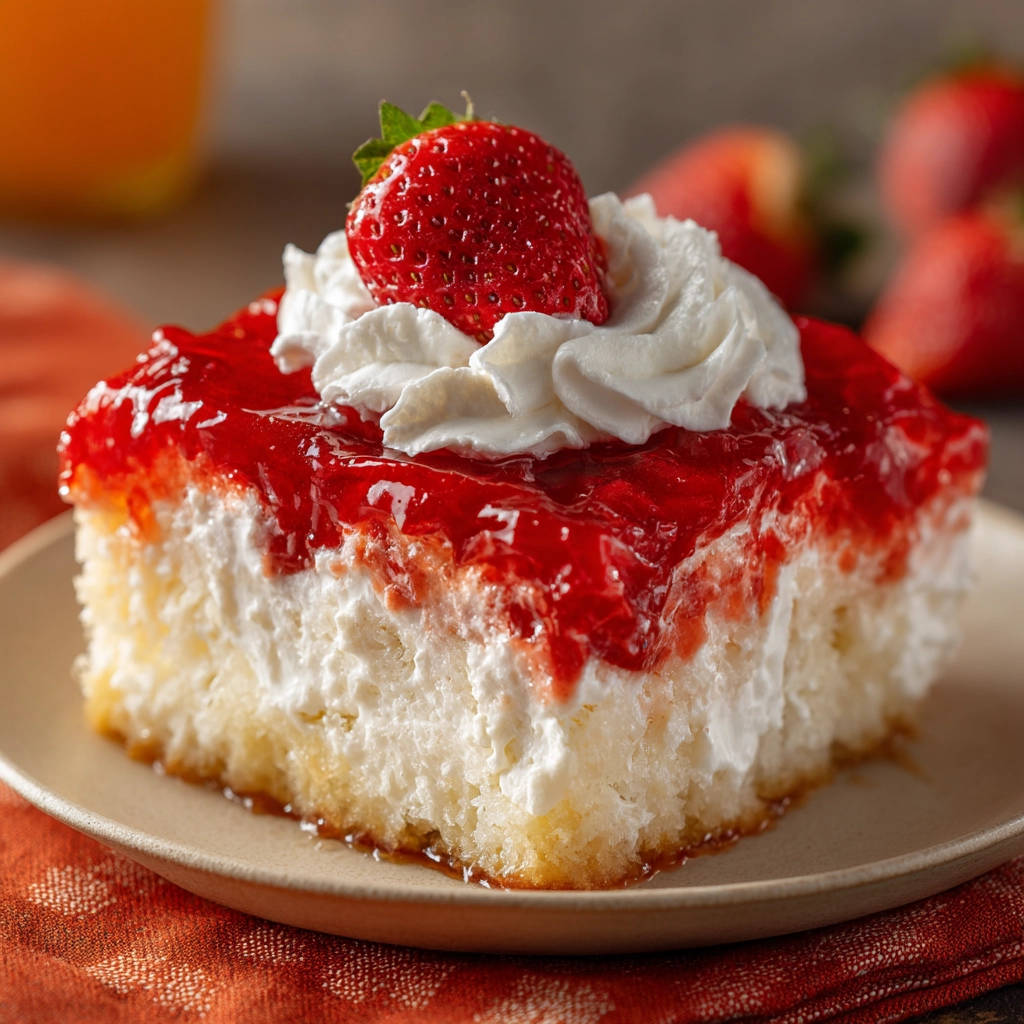
- Beautiful Presentation: The bright pink cake, white whipped topping, and fresh red strawberries create a visually stunning dessert that’s perfect for any occasion.
- Make-Ahead Magic: This cake needs time to chill, making it an ideal dessert to prepare in advance for parties or gatherings.
Gathering Your Ingredients for Perfect Strawberry Jello Cake
One of the best things about this Strawberry Jello Cake is that it uses readily available ingredients. We’re taking a few pantry staples and turning them into something truly special. The combination of a light cake base, the sweet and slightly tangy jello, creamy topping, and fresh fruit creates a symphony of flavors and textures that is simply irresistible. Let’s look at what you’ll need:
For the base of our cake, we’re keeping things simple and using a box of white cake mix. This is our jumping-off point and saves a bit of time while still providing a delicious, tender cake structure. You’ll also need the standard ingredients called for on the cake mix box itself, which typically include eggs, vegetable oil, and water. Using the ingredients listed on the box ensures the cake bakes up correctly to receive the jello later.
The star ingredient for the flavor infusion is the strawberry flavored gelatin mix. A standard 3-ounce package is all you need. This powdered mix, when combined with hot and cold water, turns into the liquid that gives the cake its signature pink hue and sweet, fruity flavor that soaks deep into the cake.
Speaking of water, you’ll need two different temperatures: boiling water to dissolve the gelatin completely and cold water to help bring the mixture to the right temperature before pouring. The specific ratio of boiling to cold water is crucial for the jello to set correctly within the cake.
For the luscious topping, a large container of whipped topping, thawed and ready to spread, adds a light, airy creaminess that perfectly complements the moist cake. It’s a cool, smooth contrast to the cake’s texture and flavor.
Finally, no Strawberry Jello Cake would be complete without plenty of fresh strawberries. You’ll want about a pound of ripe berries, hulled and sliced. These add brightness, natural sweetness, and a lovely fresh texture to the finished cake. If you’re looking for other delicious ways to use fresh berries, you might enjoy exploring recipes like our Strawberry Trifle or Strawberry Banana Dessert Lasagna.
- 1 box white cake mix plus ingredients needed (usually eggs, oil, water)
- 1 package strawberry flavored gelatin mix (3 ounce size)
- 1 cup boiling water
- 1/2 cup cold water
- 1 large container whipped topping, thawed
- 1 pound fresh strawberries, hulled and sliced
Crafting Your Cake: Step-by-Step to Jello Perfection
Now for the fun part! Making this Strawberry Jello Cake is straightforward, but paying attention to a couple of key moments is what makes all the difference in getting that beautiful jello absorption. We’re going to walk through each step, explaining the ‘why’ behind the actions.
- Prepare the Cake Base: Start by preheating your oven to the temperature specified on your white cake mix box. While the oven heats, gather the additional ingredients needed (typically eggs, oil, and water) and prepare the cake batter according to the instructions on the box. This ensures you have the right consistency for your cake base. Once the batter is ready, pour it evenly into a 9×13 inch baking pan.
- Bake to Perfection: Place the pan in the preheated oven and bake the cake following the time and temperature guidelines on the cake mix box. You’ll know it’s done when a toothpick inserted into the center comes out clean. This means the cake is fully cooked and stable, ready for the next step.
- The Crucial Cooling Period: This is one of the most important steps for jello absorption! Remove the baked cake from the oven but leave it right in the pan. Let it cool in the pan for precisely 10 to 15 minutes. It should still be warm to the touch, but not hot from the oven. Letting it cool for this specific time allows the cake structure to firm up slightly while still being warm enough to help draw in the jello liquid. Do not let it cool completely before moving on!
- Poke Those Holes: While the cake is still warm after its 10-15 minute rest, grab a fork or, even better, the round handle of a wooden spoon. Use your chosen tool to poke holes all over the top surface of the cake. Aim to make holes about 1 inch apart. The key here is depth – poke about halfway down into the cake. Don’t go all the way to the bottom of the pan, as this can cause the jello to pool underneath instead of soaking into the cake layers. The holes act like little tunnels, guiding the jello mixture down into the cake.
- Mix the Gelatin: As the cake cools slightly, prepare the jello mixture. In a medium-sized bowl, pour in the measured boiling water. Add the strawberry flavored gelatin mix to the hot water and whisk them together thoroughly. Continue whisking until you can see that all the gelatin crystals have completely dissolved and the mixture is smooth and vibrant in color. Then, stir in the cold water. Adding the cold water helps cool the mixture down slightly, making it the perfect temperature for the cake.
- Pour the Jello Magic: Now for the part that transforms the cake! With the warm, poked cake still in its pan, carefully and slowly pour the prepared gelatin mixture evenly over the entire surface. Take your time and try to make sure some liquid trickles into each hole you created. The residual warmth from the cake helps to gently pull the liquid down into the structure through those poked holes. It’s like the cake is thirsty and ready to drink up all that strawberry flavor!
- Chill Time is Essential: Once the jello has been poured over the cake, cover the pan. Plastic wrap or aluminum foil works perfectly. Place the covered cake into the refrigerator. It absolutely needs time to chill and allow the gelatin to set fully within the cake. Refrigerate for at least 4 hours, but for the very best texture and absorption, leaving it overnight is highly recommended. This long chill time is crucial for the jello to solidify inside the cake’s pores, creating that wonderfully moist, infused texture.
- Add the Finishing Touch: When you’re ready to serve, remove the chilled cake from the refrigerator. Spread the thawed whipped topping evenly over the set gelatin layer on top of the cake. The cool, creamy topping is the perfect contrast to the fruity cake.
- Decorate and Serve: Finally, arrange your fresh strawberry slices beautifully over the layer of whipped topping. The bright red berries add a final burst of freshness and color. Slice the cake into squares directly from the pan and serve cold. Enjoy every moist, flavorful bite!
Tips for Perfect Strawberry Jello Cake Every Time
Achieving that perfectly moist, jello-infused cake is simple when you follow the steps, but a few extra tips can ensure your success and allow for some delicious variations.
- Don’t Rush the Cooling: Seriously, that 10-15 minute cooling period in the pan is non-negotiable. Too hot, and the cake might collapse or the jello won’t absorb properly. Too cool, and the cake won’t have the warmth needed to draw the liquid in.
- Poke Patterns: While 1-inch spacing is a good guideline, don’t stress too much about perfection. Just ensure you have holes distributed relatively evenly across the entire surface. Using the end of a wooden spoon creates slightly larger holes than a fork, which some people find helps with absorption.
- Quality of Gelatin: Stick to the standard boxed gelatin for this recipe. Sugar-free versions may behave differently and could impact the texture and setting time.
- Fresh vs. Frozen Strawberries: For the topping, fresh strawberries are highly recommended. Frozen strawberries can become mushy and release too much liquid when thawed. Save those frozen berries for smoothies or sauces!
- Whipped Topping Options: While thawed whipped topping is quick and easy, you can certainly make your own fresh whipped cream! Just whip heavy cream with a little sugar and vanilla until stiff peaks form. Use it immediately or keep it chilled until ready to frost.
- Flavor Variations: Want to mix it up? Try a different flavor of cake mix (like lemon or vanilla) and pair it with a complementary jello flavor (like lemon jello with lemon cake, or raspberry jello with white cake).
- Make it a Layer Cake (Requires Adjustment): This recipe is designed for a single 9×13 pan. To make a layer cake, you would need to bake two thinner cakes or one cake cut in half horizontally. You would still poke and pour the jello over each layer individually once slightly cooled, then stack them with the whipped topping in between and on top. This requires careful handling!
What to Serve With Your Strawberry Jello Cake
This cake is absolutely delicious on its own, but if you’re hosting or just want to elevate the dessert experience, a few simple additions can make it even more special. A scoop of vanilla ice cream is a classic pairing that’s always a hit. The cold, creamy richness contrasts beautifully with the moist, fruity cake. If you’re feeling fancy, a drizzle of sweet chili sauce might seem unconventional, but hear me out – it’s for savory dishes! For desserts, perhaps a simple strawberry sauce made from pureed fresh berries would be lovely, or even a light silky smooth chocolate mousse on the side for a chocolate-strawberry dream combo.
For a brunch setting, alongside this cake, you might also consider serving classic fluffy waffles or easy blueberry scones to offer a variety of sweet treats.
Your Strawberry Jello Cake Questions Answered (FAQ)
Got questions about making the best Strawberry Jello Cake? Here are some common ones I get asked:
Can I use homemade cake instead of a mix?
Absolutely! If you have a favorite white or vanilla cake recipe for a 9×13 pan, you can use that. Just be sure it’s fully baked and cooled for the required 10-15 minutes in the pan before poking the holes and pouring the jello. The key is the timing and poking technique on a warm cake.
Why does the jello need to soak in?
When the jello soaks into the cake, it doesn’t just add flavor; it adds moisture and creates a tender, almost pudding-like texture throughout the cake layers. If it just pools on top, you get a denser, separate layer of firm jello and a less moist cake underneath.
How deep should I poke the holes?
Aim for about halfway down into the cake. Poking too shallowly means the jello won’t penetrate deeply. Poking all the way to the bottom can cause the jello to leak out or pool at the very bottom of the pan, potentially making the bottom soggy while the rest remains dry.
Can I make this cake the day before?
Yes, and it’s actually recommended! The cake needs at least 4 hours to chill and set, but chilling it overnight gives the jello ample time to fully absorb and the cake’s flavors to meld. Just add the whipped topping and fresh strawberries right before serving for the best appearance.
How long does Strawberry Jello Cake last?
Stored covered in the refrigerator, this cake will typically last for 3-4 days. The moisture from the jello actually helps keep it fresh and delicious.
Can I use a different flavor of jello?
Certainly! While strawberry is classic, feel free to experiment. Raspberry, cherry, or even lemon jello would work beautifully with a white or vanilla cake base. Just ensure it’s a 3-ounce package.
Enjoy Your Homemade Strawberry Jello Cake!
There you have it! The simple secret to a perfectly moist and flavorful Strawberry Jello Cake where the jello actually soaks in. It’s an easy recipe that delivers impressive results, making it ideal for everything from casual family dinners to special celebrations. The bright flavors and delightful texture are sure to be a hit with everyone who tries it.
Give this recipe a try and see for yourself what a difference that little trick makes! I promise, once you’ve made it this way, you won’t go back. What are your favorite easy cake recipes? Let me know in the comments below!
Strawberry Jello Cake

Ingredients
- 1 box white cake mix plus ingredients needed (usually eggs, oil, water)
- 1 package strawberry flavored gelatin mix (3 ounce size)
- 1 cup boiling water
- 1/2 cup cold water
- 1 large container whipped topping, thawed
- 1 pound fresh strawberries, hulled and sliced
Directions
- Preheat oven and prepare cake mix according to box directions. Pour batter into a 9×13 inch baking pan.
- Bake cake as directed on the box until a toothpick inserted in the center comes out clean.
- Remove cake from oven and let cool in the pan for 10 to 15 minutes. This is key for the jello to absorb correctly. Do not cool completely.
- While the cake is still warm, use a fork or the round handle of a wooden spoon to poke holes all over the top of the cake. Poke holes about 1 inch apart, going about halfway down into the cake. Don’t poke all the way to the bottom.
- In a medium bowl, whisk together the boiling water and the gelatin mix until the gelatin is completely dissolved. Stir in the cold water.
- Carefully and slowly pour the gelatin mixture evenly over the warm poked cake. Make sure to get some liquid over each hole. The warmth of the cake helps it absorb.
- Cover the cake and refrigerate for at least 4 hours, or preferably overnight, until the gelatin is completely set within the cake. This long chill time is crucial for the perfect texture.
- Before serving, spread the thawed whipped topping over the chilled cake. Arrange fresh strawberry slices on top.
- Cut into squares and serve cold.