We’ve all been there. You spend time prepping a beautiful, bright green appetizer, only to watch it transform into a muddy, unappetizing brown before the party even hits its stride. It’s frustrating because we eat with our eyes first, and nothing kills a craving faster than oxidized produce.
Most recipes tell you that a quick squeeze of lime juice is the ultimate fix. However, if you’ve ever tried that, you know it only buys you a few minutes of freshness. To keep that neon-bright hue, you need a more strategic approach than just a splash of citrus.
This recipe utilizes a triple-action method to stop browning in its tracks. By combining specific pH balancing, a fat-based emulsification, and a physical oxygen barrier, I’ll show you how to lock in that gorgeous color. The secret is starting with the yogurt and lime at the very bottom of your blender to coat the fruit the second it breaks down.
Understanding Oxidation: Why Avocado Dips Turn Brown
The culprit behind the dreaded brown dip is an enzyme called polyphenol oxidase. When you slice into an avocado, you break the cell walls and expose these enzymes to oxygen. This chemical reaction is the plant’s natural defense mechanism, but it’s the enemy of a beautiful dinner spread.
Many home cooks rely on “old wives’ tales” like leaving the avocado pit in the center of the bowl. Unfortunately, the pit only protects the small patch of dip it’s physically touching. It does absolutely nothing for the rest of the surface area exposed to the air.
To truly win the battle against browning, we have to lower the pH level of the mixture. This recipe uses a scientific approach to deactivate those pesky enzymes. By surrounding the avocado particles with acidic and fatty layers, we create a shield that keeps oxygen from ever making contact with the delicate fruit flesh.
Essential Components for the Creamy Avocado Herb Dip
Every ingredient in this dip serves a functional purpose beyond just tasting great. The Greek yogurt is the heavy lifter here, providing lactic acid that works in tandem with the citric acid from the lime. This dual-acid approach is much more effective at stabilizing color than lime juice alone.
You’ll also want to reach for a high-quality extra virgin olive oil. While it adds a lovely peppery finish, its primary job is to create a fat-based emulsion. This oil literally coats the avocado solids, acting like a liquid “sealant” against the atmosphere.
Fresh cilantro is another non-negotiable. While dried herbs have their place, fresh cilantro provides that punchy, bright aroma and contributes to the deep green color. If you find cilantro tastes like soap, feel free to swap it for fresh flat-leaf parsley or even basil.
Selecting the Perfect Ripe Avocado
The success of this dip starts at the grocery store. Look for avocados that feel slightly soft but not mushy when you apply gentle pressure in the palm of your hand. Avoid using fruit with dark sunken spots, as these indicate bruising that will taste bitter.
A great trick is the “stem test.” Flick off the small woody nub at the top of the avocado. If it’s bright green underneath, you’ve found a winner; if it’s brown, the fruit is likely overripe and will result in a duller dip.
The Role of Lactic Acid in Color Preservation
Greek yogurt is superior to sour cream in this specific application because of its higher protein content and specific lactic acid profile. This acidity creates an environment where browning enzymes simply cannot function. It also provides a thick, velvety body that holds its shape beautifully on a platter.
Step-by-Step: Mastering the Emulsification Technique
The order in which you add ingredients to your blender is the difference between a chunky mash and a professional-grade emulsion. We want to create a “protective bath” for the avocado before the blades even start spinning. This ensures that as soon as the fruit is processed, it’s immediately shielded.
You’ll start with your liquids at the bottom. This prevents the blades from getting stuck and ensures the acidic components are the first thing the avocado touches. It’s a small change that makes a massive difference in the final longevity of the color.
As you blend, you’ll notice the mixture transform from chunky green bits into a pale, aerated mousse. This is where the magic happens. The final step of drizzling in the oil while the motor is running creates a stable structure that won’t weep or separate in the fridge.
Phase 1: Creating the Protective Acid Base
Pour your lime juice and Greek yogurt into the blender first. By placing these at the bottom, you ensure the avocado is instantly submerged in a low-pH environment. This immediate coating is your first line of defense against the oxygen in the blender jar.
Phase 2: Achieving a Silky Aerated Texture
Add your avocado, garlic, and herbs next. Blend on high speed until the mixture looks completely uniform. You’re looking for a texture that resembles thick cake batter—smooth, glossy, and free of any visible chunks of garlic or cilantro stems.
Phase 3: The Slow-Drizzle Oil Emulsion
With the blender still running on a medium-low setting, slowly stream in the olive oil. This is exactly like making a homemade mayonnaise. The oil breaks into tiny droplets that encapsulate the avocado, creating a secondary barrier that blocks air from reaching the fruit’s enzymes.
Troubleshooting Common Texture and Flavor Issues
If your dip feels a bit too thin, don’t panic. This usually happens if the avocados were particularly small or watery. You can easily fix this by blending in an extra half of an avocado or a tablespoon more of Greek yogurt to build back that body.
On the flip side, if the dip is too thick to scoop, add lime juice one teaspoon at a time. Be careful not to over-blend the cilantro, though. If you process the herbs for too long, they can release a slightly bitter, “grassy” note that overpowers the sweetness of the avocado.
Creative Flavor Variations and Herb Swaps
Once you master the base technique, you can play with the flavor profile. For a Mediterranean twist, swap the cilantro for fresh basil and use lemon juice instead of lime. This version tastes incredible when dolloped over warm roasted vegetables or grilled chicken.
If you want some heat, toss a deseeded serrano or jalapeño pepper into the blender during Phase 2. The creaminess of the yogurt and avocado naturally mellows the spice, leaving you with a gentle, lingering warmth that keeps people coming back for more.
Optimal Pairings: What to Serve with Avocado Dip
While tortilla chips are the classic choice, this dip is sturdy enough to handle much more. Chilled crudités like radishes, snap peas, and cucumber spears provide a refreshing crunch that complements the richness of the avocado. The acidity in the dip also helps cut through the starch of warm pita bread.
I also love using this as a spread for sandwiches or wraps. It stays bright green much longer than sliced avocado, making it a perfect addition to a packed lunch. Try it on a toasted turkey club or as a base for a roasted veggie wrap.
Storage Logistics and the Physical Barrier Method
Even with our scientific acid-emulsion method, the best way to store leftovers is the “Physical Barrier” technique. Transfer the dip to a container and press a piece of plastic wrap directly onto the surface. You want to eliminate every single air bubble between the dip and the wrap.
When stored this way, the dip will stay a vibrant, shocking green for up to 24 hours in the refrigerator. Without the wrap, even the best-emulsified dip will eventually succumb to the air in the fridge, so don’t skip this step if you’re prepping ahead of time.
Expert Tips for Professional Presentation
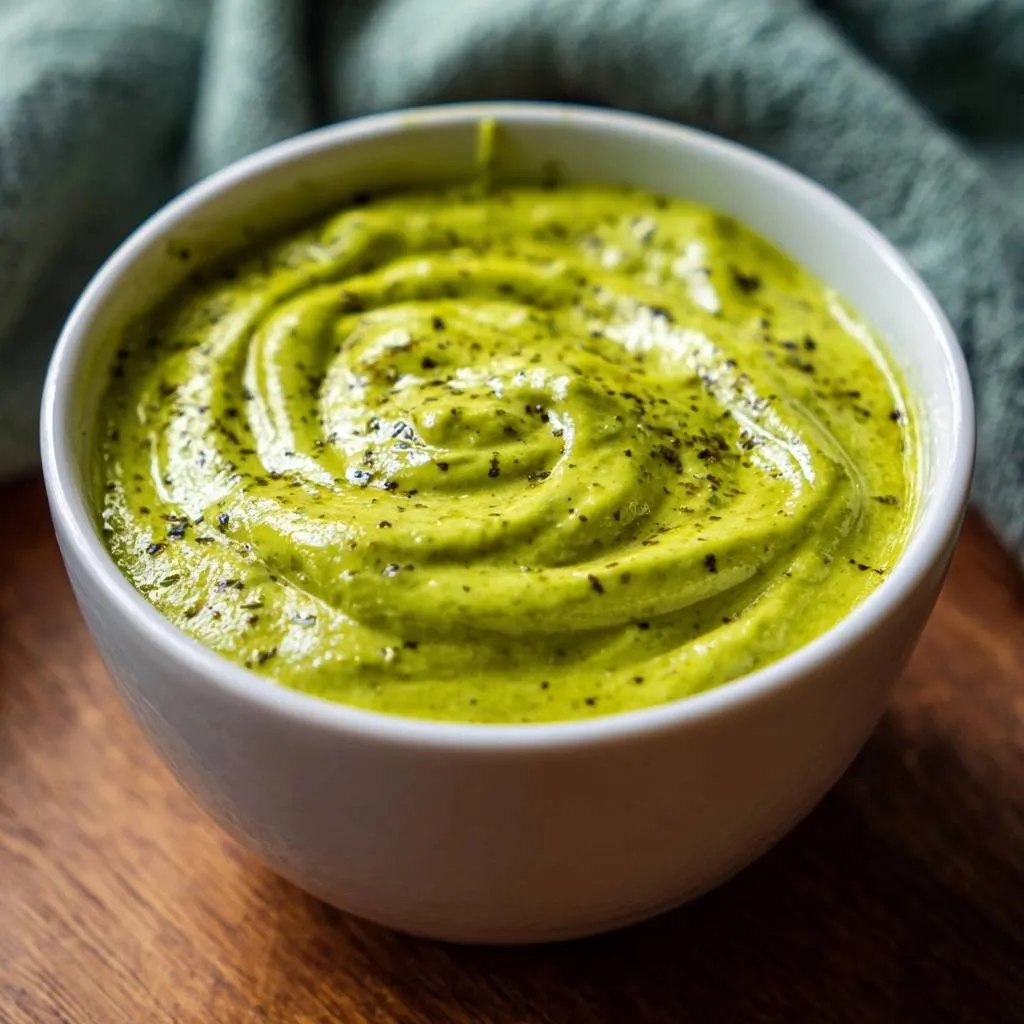
To get that restaurant-style look, use the back of a spoon to create a deep spiral in the bowl. Start in the center and gently swirl outward. This isn’t just for looks; those ridges are the perfect place for your garnishes to settle.
Sprinkle your dried oregano and extra cracked black pepper over the top right before serving. The dark specks of pepper and the earthy green of the oregano provide a beautiful visual contrast against the bright dip. It looks intentional, sophisticated, and incredibly appetizing.
Frequently Asked Questions
Can I make this dip vegan?
Yes, you can easily swap the Greek yogurt for a plain, unsweetened coconut yogurt or even silken tofu. Both options provide the necessary creaminess and a similar protein structure. Just ensure your substitute has a bit of tang to maintain that essential acidic environment for color preservation.
How long does the color actually last?
Thanks to the triple-action method of lime juice, yogurt, and oil emulsion, this dip stays bright green for about 4 to 6 hours at room temperature. If you keep it covered with plastic wrap in the fridge, it will maintain its vibrant color for a full 24 hours without turning brown.
Can I use a food processor instead of a high-speed blender?
A food processor works well, though the texture might be slightly less “mousse-like” than a high-speed blender. If using a processor, make sure to scrape down the sides frequently to ensure the garlic and cilantro are fully incorporated into the emulsion for a smooth finish.
Why is my dip slightly bitter?
Bitterness usually comes from two things: over-processing the herbs or using an avocado that wasn’t quite ripe. When herbs like cilantro are blended too long, they release polyphenols that can taste astringent. Pulse the blender just until smooth to avoid bruising the herbs excessively.
Is it possible to freeze this avocado herb dip?
I don’t recommend freezing this dip. The emulsion between the yogurt, oil, and avocado is delicate. When frozen and thawed, the water in the yogurt will separate, causing the dip to become grainy and watery. It’s best enjoyed fresh or within a day of making it.
Creamy Avocado Herb Dip
Course: AppetizerCuisine: Mexican-AmericanDifficulty: easy4
servings5
minutes5
Minutes215
kcalMexican-American
Ingredients
2 large ripe avocados, pitted and peeled
1/2 cup Greek yogurt or sour cream
1/4 cup fresh cilantro, packed
1 clove garlic, minced
2 tablespoons fresh lime juice
1 tablespoon extra virgin olive oil
1/2 teaspoon sea salt
1/2 teaspoon cracked black pepper (plus extra for garnish)
1/2 teaspoon dried oregano (for garnish)
Directions
- To solve the browning problem, start by placing the lime juice and Greek yogurt in the bottom of a high-speed blender or food processor. The lactic acid in the yogurt works alongside the citric acid in the lime to create a protective pH barrier against oxygen.
- Add the avocado, cilantro, garlic, salt, and half of the black pepper on top of the liquid base.
- Blend on high until completely smooth. While the motor is running, slowly drizzle in the olive oil. This creates a fat-based emulsion that coats the avocado particles, further sealing them away from the air.
- Transfer the dip to a bowl. Using the back of a spoon, start at the center and work outward in a circular motion to create the deep spiral texture shown in the image.
- Generously sprinkle the surface with the remaining cracked black pepper and the dried oregano. The fine herbs and pepper should settle into the ridges of the spiral for a professional finish.
- If not serving immediately, press a piece of plastic wrap directly onto the surface of the dip to eliminate any air gaps. This triple-action method of acid, emulsion, and physical barrier keeps the color perfect for hours.
Notes
- To ensure the dip stays green, use the triple-action method: acid from lime/yogurt, fat emulsion from olive oil, and a physical plastic wrap barrier if storing.