Have you ever dreamt of making beautiful, translucent fresh spring rolls at home, only to end up with a sticky, torn, and collapsing mess? It feels like a kitchen mystery sometimes, right? You carefully dip the wrapper, add those vibrant fillings, and suddenly you’re wrestling with a floppy, fragile package that just won’t cooperate.
For years, I struggled with this exact problem. My spring rolls were tasty, but they were definitely not camera-ready, and they often disintegrated before they made it to the dipping sauce. But after much experimentation and a few kitchen mishaps, I discovered a simple trick. A secret, if you will, to getting those perfect, sturdy fresh spring rolls that look just as amazing as they taste. No more frustrating tears or falls! With this method, you’ll be rolling like a pro in no time.
These light and healthy rolls are packed with fresh flavor and make a wonderful appetizer, light lunch, or even a fun, interactive dinner. Forget the takeout – let’s make incredible homemade fresh spring rolls that hold their shape!
Why You’ll Absolutely Love This Fresh Spring Roll Recipe
Beyond finally achieving that picture-perfect roll that doesn’t fall apart, there are so many reasons these fresh spring rolls are a favorite around here. They’re incredibly versatile, allowing you to customize the fillings to your heart’s content. They’re also wonderfully light and refreshing, making them ideal for warmer weather or as a counterpoint to richer dishes.
Here are a few more reasons why this recipe is a keeper:
- They Stay Together: The key technique I’m sharing ensures your wrappers are perfectly pliable, not overly soft, making them much easier to handle and roll tightly.
- Packed with Freshness: Loaded with crisp vegetables and fragrant herbs, they’re a delightful way to enjoy vibrant, raw ingredients.
- Healthy & Light: Naturally low in fat and calories, they’re a fantastic healthy eating option.
- Highly Customizable: Easily swap proteins or add more veggies based on what you have or what you love.
- Fun to Make: Rolling can be a relaxing and enjoyable process once you get the hang of it – perfect for a kitchen project with family or friends!
Gathering Your Ingredients for Perfect Fresh Spring Rolls
The beauty of fresh spring rolls lies in the simplicity and freshness of their components. Each ingredient plays a vital role, contributing texture, flavor, and color to create a balanced and delightful bite. Building your rolls is like creating a tiny, edible garden bundle!
We start with the foundation: the rice paper wrappers. These delicate, translucent discs are made from rice, water, and sometimes tapioca or salt. Their ability to soften in water is what makes fresh spring rolls possible. Choosing good quality wrappers can make a difference; look for ones that aren’t brittle and are relatively uniform in thickness.
Our protein of choice for this classic combination is chicken. Using cooked chicken breast or thighs, sliced thinly, provides a tender and flavorful core to the roll. Pre-cooking the chicken means you can use leftover roasted chicken, pan-seared chicken breast (like you’d prepare for our creamy chicken salad), or simply boil or steam chicken specifically for this purpose.
Rice vermicelli noodles add a lovely soft texture that contrasts with the crisp vegetables. These thin rice noodles cook very quickly according to package directions, usually just needing a soak in hot water or a brief boil. Ensure they are well-drained so they don’t add excess moisture to the roll.
For the essential crunch and freshness, we include green leaf lettuce. Tearing it into pieces makes it easier to manage inside the wrapper. It provides a cool, crisp base layer.
The aromatic power comes from fresh mint leaves and fresh cilantro sprigs. Don’t skimp on these! The bright, clean flavor of mint and the slightly peppery, citrusy notes of cilantro are signature to authentic fresh spring rolls. Using whole leaves or small sprigs ensures you get bursts of flavor throughout the roll.
Finally, shredded carrots add a touch of sweetness, color, and another layer of delightful crunch. You can buy pre-shredded carrots or shred them yourself for maximum freshness.
Here is a list of the ingredients needed to get started:
- Rice paper wrappers
- Cooked chicken breast or thighs, sliced thin
- Cooked rice vermicelli noodles, drained
- Green leaf lettuce, torn
- Fresh mint leaves
- Fresh cilantro sprigs
- Shredded carrots
Having all your components ready and arranged before you start dipping and rolling is key to a smooth process. Think of it as setting up your assembly line!
Crafting Your Fresh Spring Rolls: Step-by-Step Perfection
Rolling fresh spring rolls can seem intimidating, but with the right technique, it becomes intuitive and even relaxing. The secret to rolls that don’t fall apart lies in how you handle the wrapper and how much filling you use. Follow these steps, paying close attention to the wrapper hydration, and you’ll achieve beautifully sturdy rolls every time.
Get Your Fillings Ready: Before you even touch a wrapper, prepare all your internal ingredients. This means fully cooking and thinly slicing your chicken. Cook the rice vermicelli according to the specific instructions on the package – typically involving soaking in hot water or a quick boil – then drain them thoroughly. Excess water from the noodles can make your wrappers soggy and prone to tearing. Wash and gently pat dry your lettuce leaves, mint, cilantro, and shredded carrots. Having everything prepped and laid out neatly on a platter or separate plates makes the rolling process much more efficient and enjoyable. Imagine a vibrant palette of colors ready for assembly!
Set Up Your Rolling Station: Efficiency is your friend here. Find a shallow dish or pie plate that’s wide enough to comfortably lay a rice paper wrapper flat – a regular dinner plate often works too. Fill it with warm, not hot or cold, water. Warm water helps the wrappers soften evenly. Your rolling surface is also critical. It needs to be clean and slightly damp. A cutting board wiped down with a damp cloth works wonderfully, or you can find specialized rice paper rolling trays with a textured surface that helps prevent sticking. Avoid a dry surface, as the softened wrapper will stick instantly. Avoid a soaking wet surface, as it can make the wrapper too soft too fast.
The Key Wrapper Trick (Read This!): This is the absolute most important step to prevent your fresh spring rolls from tearing and falling apart. Do not soak the rice paper wrapper until it is completely soft and floppy like a wet noodle. Instead, dip one wrapper into the warm water for just 15 to 20 seconds. The exact time can vary slightly depending on the brand and thickness of your wrappers, but the goal is for it to be flexible but still have a slight firmness to it. It will feel pliable but not fully limp. Trust the process – the wrapper will continue to soften as you add the filling and begin rolling. Immediately place the dipped wrapper flat and stretched out on your prepared damp rolling surface.
Layer Your Fillings Sparingly: Now it’s time to build the inside. Place a piece of green leaf lettuce near the edge of the wrapper closest to you, leaving a small border. The lettuce acts as a little barrier, helping to contain the other fillings. On top of the lettuce, layer a small amount of the cooked vermicelli noodles, a few slices of chicken, a few mint leaves, a few cilantro sprigs, and a pinch of shredded carrots. This is crucial: do not overfill the wrapper! This is the second biggest culprit for rolls that burst or are impossible to roll tightly. Start with less filling than you think you need – you can always add more on subsequent rolls once you get a feel for it.
The Initial Fold and Tuck: Take the edge of the wrapper closest to you and fold it up and over the filling. Pull it back slightly as you fold to tuck the filling in snugly. This first tuck is important for creating a tight core for your roll.
Folding the Sides: Next, fold in both the left side and the right side of the wrapper over the tucked filling. This seals the ends of the roll and creates a neat package before the final roll. Ensure these side folds are also snug against the filling.
Roll It Up Tightly: Starting from the tucked edge (the one you folded up first), begin rolling the entire package away from you. Use gentle but firm pressure to roll it tightly and evenly until you reach the end of the wrapper. Remember how the wrapper was slightly firm when you started? This little bit of structure is what helps you get a really tight roll in these final steps. As you roll, the wrapper will continue to soften and become perfectly pliable, sealing itself as you go.
Finishing and Storing: Place the finished roll seam-side down on a serving plate or in your storage container. Placing them seam-side down helps keep them from unraveling. If you need to stack the rolls, which is common if you’re making a batch, place a piece of parchment paper between the layers to prevent them from sticking together. They are quite delicate when they’re fresh and can easily bond to each other. Repeat this process with the remaining wrappers and filling ingredients until you have a beautiful plate of fresh spring rolls!
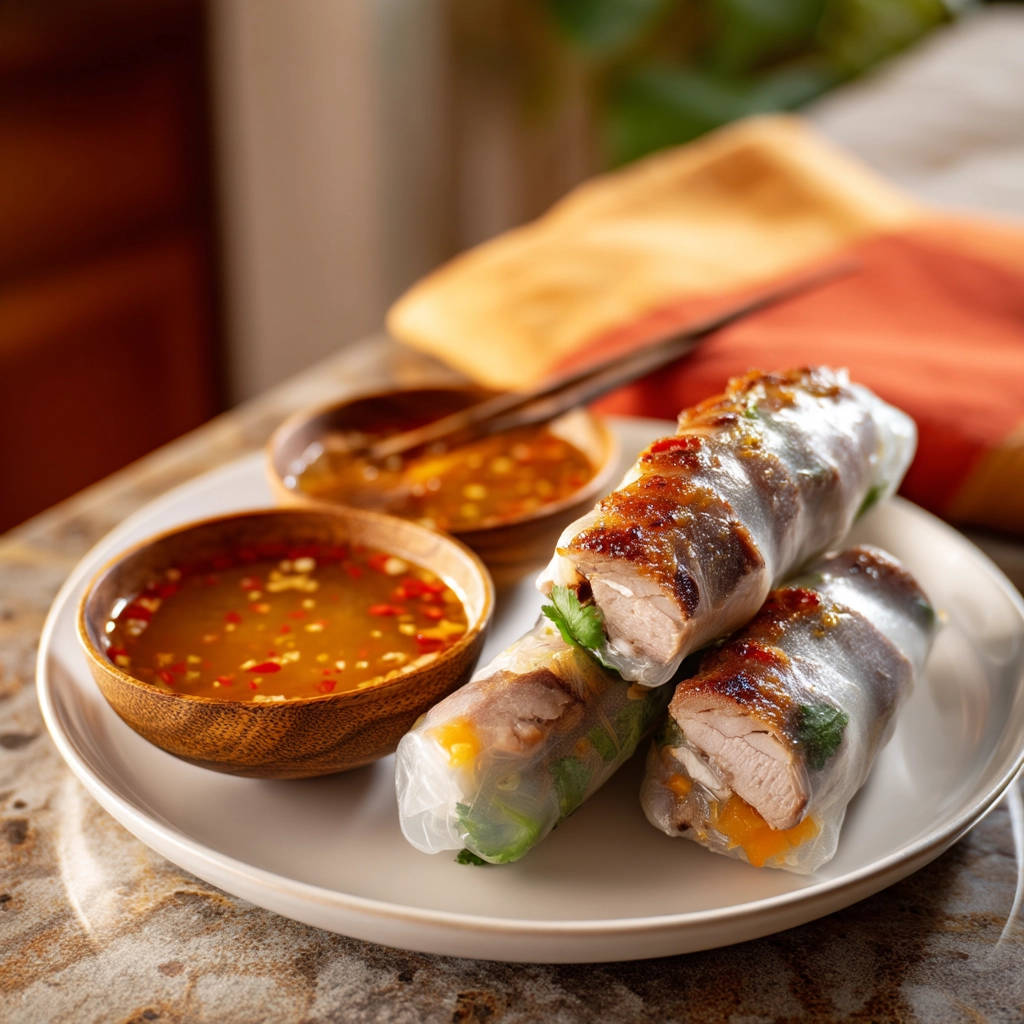
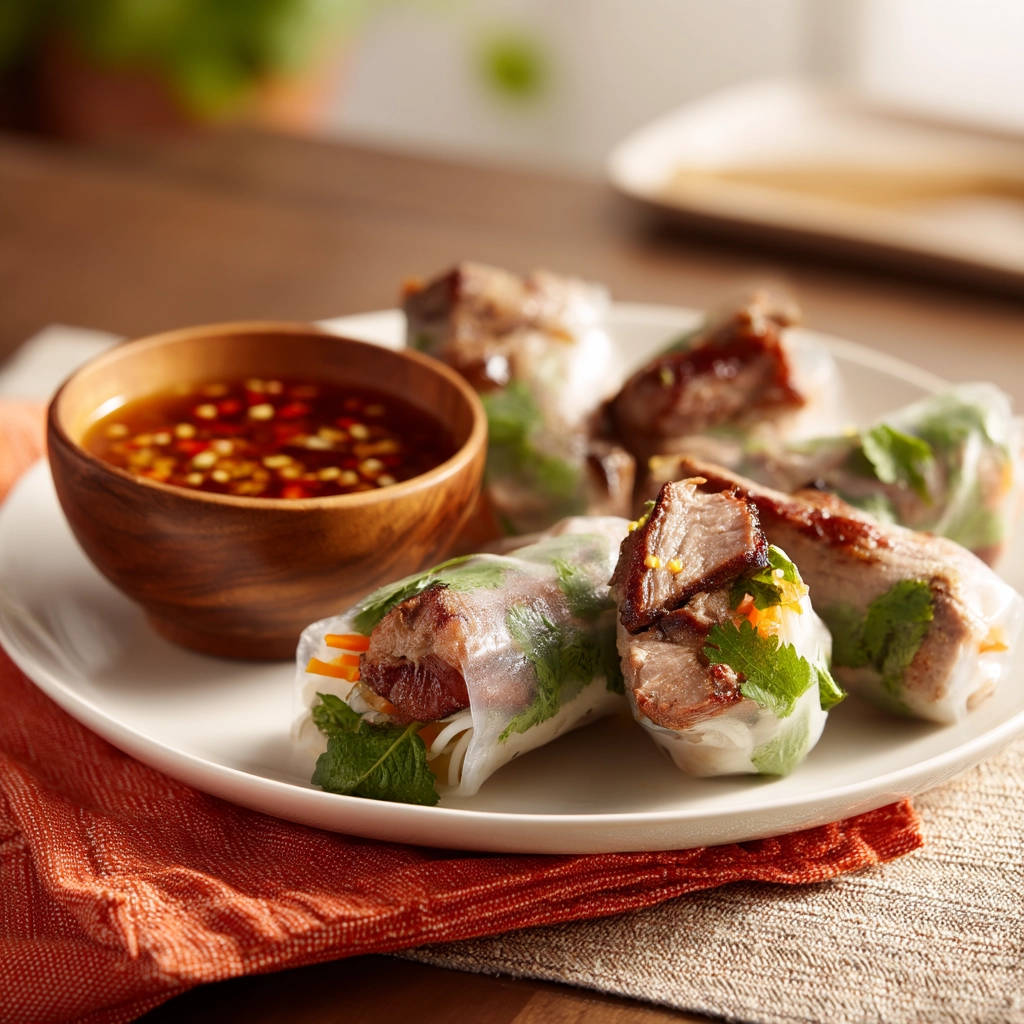
Time to Enjoy: Fresh spring rolls are best enjoyed immediately after rolling. Their delicate wrappers and crisp fillings are at their peak. Serve them alongside your favorite dipping sauce. A classic peanut sauce or a bright and tangy sweet chili sauce works wonderfully. If you’re looking for another delicious dipping option, you might enjoy our recipe for Creamy Jalapeno Dip for a different kind of kick!
Tips for Perfect Fresh Spring Rolls Every Time
Mastering the art of the fresh spring roll is all about practice, but a few key tips can make a huge difference. Keep these pointers in mind as you set up your rolling station and begin assembling your delicious rolls:
- Don’t Over-Soak: Seriously, this is the main takeaway! 15-20 seconds is usually enough. The wrapper should still have a slight ‘bite’ or firmness when you take it out of the water. It will soften as you work.
- Use Warm Water: Not hot (which can cook the wrapper and make it gummy) and not cold (which takes too long to soften). Warm water is just right.
- Damp, Not Wet, Rolling Surface: A surface that is slightly damp helps the wrapper adhere just enough to stay put without sticking permanently or tearing. Wipe your cutting board with a damp cloth.
- Don’t Overfill: This cannot be stressed enough. A small, neat pile of filling is much easier to roll tightly than a large, overflowing mound. Start small!
- Experiment with Fillings: While chicken is classic, feel free to get creative! Cooked shrimp is a popular choice. For a vegetarian option, consider adding pan-fried tofu or extra mushrooms. You could also add avocado slices, bell peppers, cucumber, or shredded cabbage. Just make sure everything is prepped and sliced thinly.
- Herbs are Your Friend: Don’t be shy with the fresh mint and cilantro. They bring so much essential flavor and aroma to the rolls. Basil is another excellent addition!
- Roll Tightly and Evenly: Aim for a snug roll from start to finish. This creates a compact roll that holds its shape and is easier to eat.
- Serve Fresh: While you can store them (see FAQ), they are truly at their best right after rolling when the wrappers are perfectly soft and the vegetables are crisp.
Serving Suggestions: What to Pair With Your Rolls
Fresh spring rolls are incredibly versatile and can be served in many ways. They make an excellent appetizer or a light and healthy main course. The key is the dipping sauce! The tangy, savory, and sometimes spicy flavors of a good dipping sauce elevate the fresh ingredients inside the roll.
Classic pairings include peanut sauce (creamy, nutty, and slightly sweet), or the sweet and tangy notes of a sweet chili sauce. Many Asian markets carry pre-made dipping sauces, or you can whip up your own. A simple mix of soy sauce, rice vinegar, a touch of sesame oil, and some grated ginger or garlic can also be delicious.
If you’re serving them as a light meal, consider pairing them with a simple side like steamed edamame, a light salad, or a small portion of rice. They also make a fantastic addition to a larger spread of appetizers for entertaining, perhaps alongside some crispy options like Crispy Baked Chicken Bites.
Your Fresh Spring Rolls Questions Answered (FAQ)
Why are my rice paper wrappers tearing?
This is almost always due to over-soaking! If you soak them for too long (more than 20 seconds generally), they become overly soft and delicate, making them very prone to tearing when you try to fill and roll them. Try reducing the soaking time until they are just pliable but still have a little firmness.
My rolls are sticky and sticking to the plate (or each other). What did I do wrong?
Sticky wrappers are usually a sign that they were either over-soaked or your rolling surface wasn’t damp enough, causing the wrapper to stick to the surface instead of being able to roll smoothly. Also, if stacking rolls, you absolutely need parchment paper between layers to prevent them from bonding together as the wrappers soften.
Can I make these ahead of time?
Yes, you can, but with a caveat. Fresh spring rolls are best eaten right after they are made for optimal texture. However, you can roll them up to a few hours ahead of time. Store them in a single layer (or with parchment paper between layers) in an airtight container in the refrigerator. It helps to place a slightly damp paper towel over them before sealing the container to keep the wrappers from drying out, but be careful not to make them too wet. The wrappers will get softer over time.
What other fillings can I use?
The possibilities are nearly endless! You can use cooked shrimp, thinly sliced cooked beef, or even crispy tofu. For vegetables, try adding thinly sliced cucumber, bell peppers, avocado, bean sprouts, shredded cabbage, or finely chopped scallions. Feel free to add Thai basil or mint instead of or in addition to cilantro.
How do I cook the chicken for the filling?
You can use any method that results in cooked, tender chicken. Boiling, steaming, baking, or pan-searing all work well. The key is to let it cool slightly before slicing it thinly so it’s easy to handle and doesn’t add excess heat to the roll. For simple baked chicken, you could follow a method similar to preparing chicken for a dish like Meal Prep Chicken and Roasted Veggies, just focus on plain cooked chicken for the rolls.
What kind of rice paper wrappers should I buy?
Look for packages labeled “Rice Paper Wrappers” or “Banh Trang” at your local Asian grocery store or in the international aisle of larger supermarkets. They come in various sizes; a medium size (about 8.5 inches in diameter) is a good starting point for beginners.
Enjoy Your Homemade Fresh Spring Rolls!
See? Making fresh spring rolls that don’t fall apart is totally achievable with just a little patience and that simple trick of not over-soaking the wrapper. It’s amazing how such a small adjustment can make such a big difference in the rolling process and the final result.
These fresh spring rolls are a testament to the beauty of simple, fresh ingredients coming together. They’re light, satisfying, and a fantastic vehicle for all sorts of delicious dipping sauces. Whether you’re making them for a light lunch, a healthy snack, or as a vibrant appetizer for guests, they’re sure to impress.
Give this method a try and discover the joy of rolling your own perfect fresh spring rolls. I promise you’ll never go back to wrestling with soggy, torn wrappers again! Let me know in the comments below how your rolls turn out and what your favorite dipping sauce is!
Fresh Spring Rolls

Ingredients
- Rice paper wrappers
- Cooked chicken breast or thighs, sliced thin
- Cooked rice vermicelli noodles
- Green leaf lettuce, torn into pieces
- Fresh mint leaves
- Fresh cilantro sprigs
- Shredded carrots
Directions
- Prepare your filling ingredients. Slice the cooked chicken, cook the vermicelli according to package directions and drain well, wash and prep the lettuce, herbs, and carrots. Arrange everything on a platter or separate plates so it is easy to grab.
- Set up your rolling station. You will need a shallow dish or pie plate wide enough to dip the rice paper wrappers, filled with warm water. Have a clean, damp surface ready for rolling, such as a cutting board wiped with a damp cloth or a special rice paper rolling tray.
- This is the key step to prevent tearing and falling apart: Dip one rice paper wrapper into the warm water for just 15 to 20 seconds. You want it to be flexible but still slightly firm, not completely soft and floppy. It will continue to soften as you fill it. Place the dipped wrapper flat on your prepared damp rolling surface.
- Place a piece of lettuce near the edge closest to you. Layer a small amount of vermicelli, chicken slices, herbs, and shredded carrots on top of the lettuce. Do not overfill; this is crucial for a tight roll.
- Fold the edge of the wrapper closest to you up and over the filling, tucking it snugly.
- Fold in both the left and right sides of the wrapper over the tucked filling.
- Starting from the tucked edge, roll the entire package away from you tightly and evenly until you reach the end of the wrapper. The slightly firm rice paper at the start helps you get a tight roll that will soften perfectly as you finish.
- Place the finished roll seam-side down on a serving plate or storage container. If stacking, place a piece of parchment paper between layers to prevent sticking. Repeat with remaining wrappers and filling ingredients.
- Serve immediately with your favorite dipping sauce.