Oh, cookie shapes! We’ve all been there, right? You spend precious time carefully cutting out delightful shapes – little bunnies, hearts, stars – only to watch them melt into sad, amorphous blobs in the oven. It’s truly one of the most frustrating moments in baking! For years, I struggled with this, wondering why my perfectly formed dough turned into a cookie puddle.
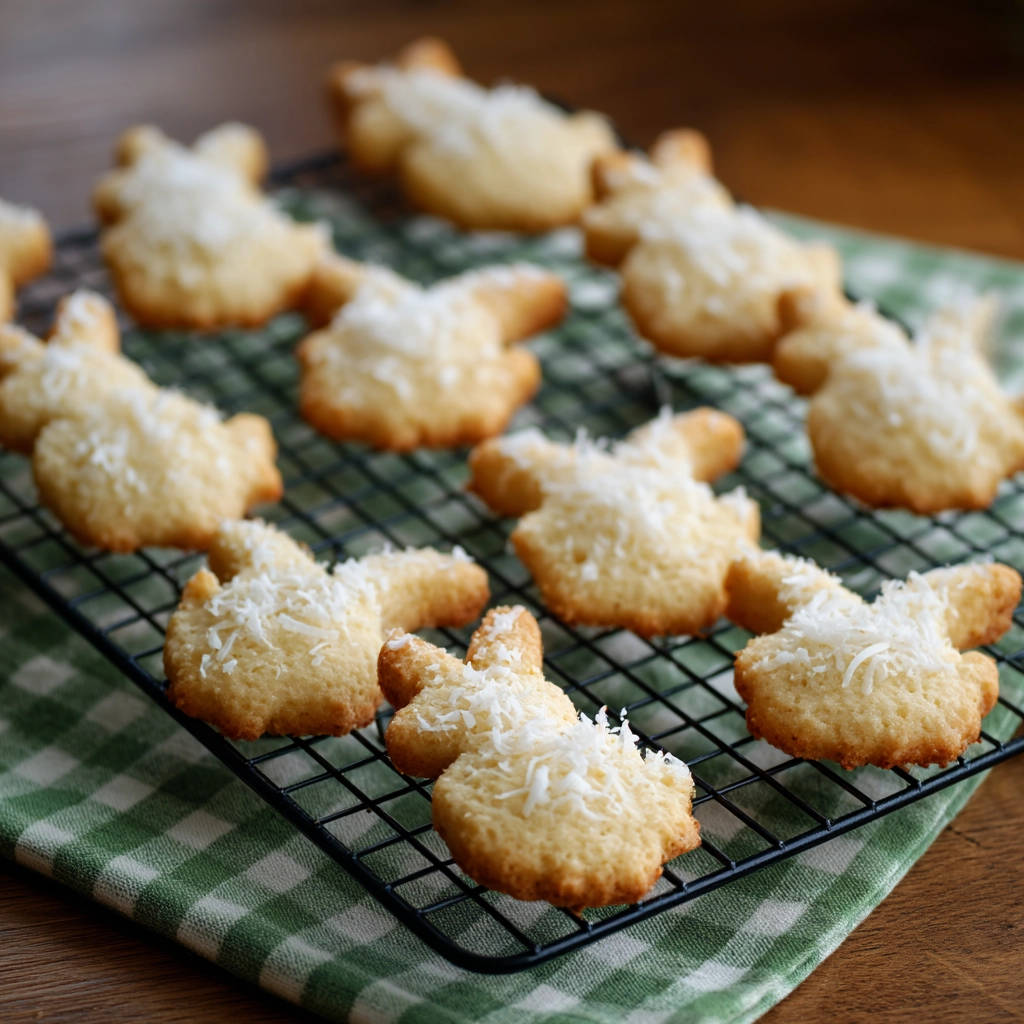
But friends, I have found the secret! The one simple, non-negotiable step that guarantees your cute cutouts stay cute. And when paired with the sweet, tropical flavor of coconut, you get these utterly adorable Coconut Bunny Cookies that hold their shape beautifully, bake up tender, and taste like a little bite of sunshine.
Whether you’re baking for a holiday like Easter, a special birthday, or just because you want something undeniably charming, these coconut cookies are guaranteed to bring smiles. They’re not overly complicated, and the result is so rewarding.
Reasons These Coconut Bunny Cookies Are a Keeper
Beyond the obvious cuteness factor, there are so many reasons you’ll fall in love with this recipe:
- Shape Security: Seriously, this is the biggest win. The method ensures your bunnies look like bunnies, your stars like stars, and so on. No more cookie catastrophes!
- Perfect Texture: They bake up with slightly crisp edges and a tender, buttery center. Just what you want in a classic cut-out cookie.
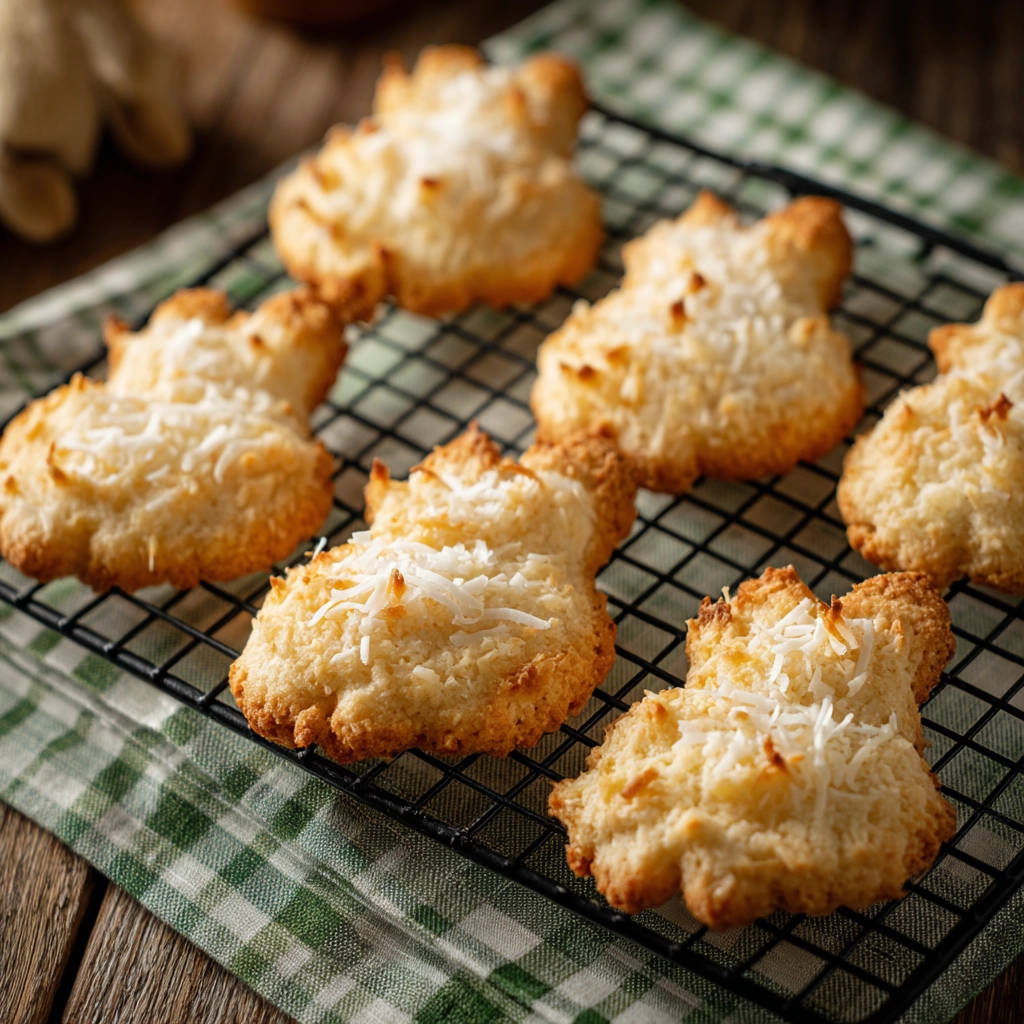
- Tropical Kiss: The shredded coconut adds a lovely texture and a subtle, sweet coconut flavor that’s absolutely delightful, especially when lightly toasted on top.
- Simple Ingredients: You likely have most of these staples in your pantry right now.
- Kid-Friendly Fun: Cutting out shapes and decorating (even just sprinkling coconut!) is a fantastic activity to do with little helpers in the kitchen.
If you’ve ever been disappointed by cookies spreading, this recipe is your solution. It’s become my go-to base for any shaped cookies because the technique is just that reliable.
Gathering Your Ingredients for Adorable Coconut Bunny Cookies
Creating delicious cookies always starts with good ingredients. For these adorable coconut bunny cookies, we rely on a few simple pantry staples that work together to create the perfect dough base and that lovely tropical touch. Think of these as the building blocks for your perfectly shaped, flavorful treats.
We’re starting with the foundation of most great cookies: the fats and sugars. You’ll need 1/2 cup of unsalted butter. It’s important that your butter is softened to room temperature. This isn’t just a suggestion; properly softened butter is crucial for creaming with sugar, which creates tiny air pockets. These air pockets are what give your cookies a light and tender texture. If your butter is too cold, it won’t cream properly; if it’s melted, the dough will be greasy.
Alongside the butter is 1/2 cup of granulated sugar. Granulated sugar not only provides sweetness but also helps with the creaming process and contributes to the cookie’s structure and spread (though we’ll control that spread!).
Next up is binding and richness. We use 1 large egg. Eggs help bind the ingredients together, provide structure, and add moisture. A large egg is standard in most baking, so stick to that size for best results. And of course, no classic cookie is complete without 1/2 teaspoon of vanilla extract. Vanilla enhances all the other flavors and adds that comforting, familiar cookie aroma.
For the dry components that provide the main structure, you’ll need 1 1/2 cups of all-purpose flour. This is your standard flour and works perfectly here. We combine it with 1/4 teaspoon of baking powder, which gives the cookies a little lift and helps ensure they aren’t too dense. A touch of 1/4 teaspoon of salt is also essential; it balances the sweetness and brings out the other flavors, especially the coconut.
And for the star flavor of these adorable treats? 1/4 cup of shredded sweetened coconut is mixed directly into the dough. This distributes that lovely tropical taste and chewy texture throughout every bite. You’ll also want a little extra shredded sweetened coconut on hand for sprinkling on top before baking – this creates a beautiful, slightly toasted topping that enhances the coconut experience.
Here’s a quick list for your shopping trip:
- 1/2 cup unsalted butter, softened
- 1/2 cup granulated sugar
- 1 large egg
- 1/2 teaspoon vanilla extract
- 1 1/2 cups all-purpose flour
- 1/4 teaspoon baking powder
- 1/4 teaspoon salt
- 1/4 cup shredded sweetened coconut, plus more for topping
Crafting Your Adorable Coconut Bunny Cookies: Step-by-Step
Ready to make some magic? Let’s walk through the process of creating these delightful cookies. Remember, the key to keeping those adorable shapes is all about temperature, so pay close attention to the chilling steps!
Start with the Wet Ingredients: Creaming Butter and Sugar. Get out a large mixing bowl. Add your softened unsalted butter and granulated sugar. Now, beat them together. You want to mix until the mixture is light and fluffy. This process, called creaming, is where you incorporate air into the dough. Use an electric mixer if you have one; it makes this step much easier and more effective. Scrape down the sides of the bowl periodically to make sure everything is getting mixed evenly.
Add the Egg and Vanilla. Once your butter and sugar are beautifully creamed, add the large egg and the vanilla extract. Continue beating until everything is well combined. Make sure you don’t see streaks of egg yolk or unincorporated vanilla. The mixture should be smooth and cohesive at this point.
Combine the Dry Ingredients. In a separate, medium-sized bowl, whisk together your all-purpose flour, baking powder, and salt. Whisking ensures the leavening agent (baking powder) and salt are evenly distributed throughout the flour. This prevents pockets of salt or uneven rising in your cookies.
Combine Wet and Dry, Add Coconut. Now it’s time to bring the wet and dry ingredients together. Gradually add the dry mixture to the wet mixture. Mix on low speed until they are just combined. The operative word here is “just.” Do not overmix! Overmixing flour develops gluten, which can lead to tough cookies. Stop mixing as soon as you no longer see dry streaks of flour. Finally, stir in the 1/4 cup of shredded coconut. You can do this with the mixer on low speed for just a few seconds or by hand with a spatula.
The Crucial Chill (First Chill). This is THE key step for keeping your cookie shapes. Gather the dough and form it into a flat disk. Flattening it makes it easier to roll out later. Wrap the disk tightly in plastic wrap. Place it in the refrigerator for at least 1 hour. This chilling process solidifies the butter in the dough. Cold butter melts more slowly in the oven than room-temperature butter, which prevents the cookies from spreading too quickly before they’ve had a chance to set. You can chill the dough for up to 2 days, which is great for making ahead!
Prepare for Baking. Preheat your oven to 350 degrees F (175 degrees C). While the oven heats, line your baking sheets with parchment paper. Parchment paper prevents sticking and makes cleanup a breeze. It also provides a consistent surface for baking.
Roll and Cut Shapes. Take your chilled dough out of the refrigerator. Lightly flour a clean surface, such as your countertop or a large pastry mat. Roll the dough out evenly to about 1/4 inch thickness. This thickness gives you a nice, substantial cookie. Now, use your bunny-shaped cookie cutter (or any shape you like!) to cut out the shapes. Try to cut as close together as possible to minimize scraps. Carefully transfer the cutouts to your prepared baking sheets. A thin spatula or offset spatula can be helpful here.
The Second Chill (Shape Insurance). For extra insurance against spreading, place the baking sheets with the cookie cutouts back into the refrigerator for another 10-15 minutes. For an even faster chill, you can pop them in the freezer for 10 minutes. This second chill ensures the butter is extra firm right before they hit the hot oven, locking in those adorable shapes even more effectively.
Add the Coconut Topping. Once the cutouts are chilled again, gently sprinkle the tops with additional shredded coconut. Press the coconut lightly onto the surface of the cookies. This helps it adhere during baking and gives the finished cookies a beautiful, textured top with amplified coconut flavor.
Time to Bake! Place the chilled, topped cookie cutouts in the preheated oven. Bake for 8-12 minutes. The baking time will vary depending on the size and thickness of your cookies and the quirks of your oven. Watch for the edges to turn lightly golden brown. The centers should still look slightly soft. Don’t overbake, or they’ll be dry.
Cooling Down. Once baked, remove the cookies from the oven. Let them cool on the baking sheets for just a few minutes. This allows them to set up slightly before you move them. Then, carefully transfer them to a wire rack to cool completely. Moving them too soon can cause them to break.
Tips for Perfect Coconut Bunny Cookies Every Time
Achieving those perfect, no-spread cookies is all about technique! Here are a few extra tips to ensure your adorable coconut bunny cookies turn out flawlessly:
- Don’t Skip the Chill! I can’t stress this enough. The chilling steps (both after mixing and after cutting) are the absolute key to preventing spread. A minimum of 1 hour for the main dough chill is necessary, and the second chill is your shape insurance policy. This technique is also crucial for other cut-out cookies, like classic powdered sugar cookies.
- Softened Butter is Key, But Not Melted. Your butter should be soft enough to easily dent with your finger, but still hold its shape. If it’s too warm or oily, your dough will be greasy, and the cookies will spread.
- Measure Flour Correctly. Spoon your flour into your measuring cup and level it off with a straight edge. Scooping directly from the bag can compact the flour, leading to too much flour and dry cookies.
- Roll Evenly. Aim for a consistent 1/4-inch thickness across your dough. Uneven thickness will result in some cookies being overbaked while others are underbaked.
- Handle Cutouts Gently. Once cut, the shapes can be delicate. Use a thin, flat spatula to carefully lift them onto the baking sheet.
- Re-Chill Scraps. If you have a lot of dough scraps after cutting, gently press them back together into a disk and chill for 10-15 minutes before rolling again. This helps maintain the dough’s temperature and prevents tough cookies from overworking the gluten.
- Watch Your Oven. Ovens can vary! Start checking for doneness at the 8-minute mark, especially if you have smaller cookies. Look for those lightly golden edges.
- Storage: Store cooled cookies in an airtight container at room temperature for up to a week. For longer storage, you can freeze baked cookies (once fully cooled) in a freezer-safe container for up to 3 months. Thaw at room temperature.
- Dough Freezing: You can freeze the dough disk, tightly wrapped, for up to 3 months. Thaw it in the refrigerator overnight before rolling and cutting.
Fun Variations for Your Shaped Cookies
While coconut bunnies are adorable, this dough is versatile! You can use any cookie cutter shape you like. Hearts for Valentine’s Day, stars for a celebration, simple circles – the possibilities are endless. You could also experiment with adding a touch of almond extract alongside the vanilla for a slightly different flavor profile. For a different kind of cookie, you might enjoy making soft M&M cookies, but for keeping precise shapes, this coconut dough is superior.
Your Adorable Coconut Bunny Cookie Questions Answered (FAQ)
Got questions about making these perfect cut-out cookies? Here are some common ones I hear:
Why do my cookies still spread even after chilling?
This is usually due to a few factors. First, ensure your butter was softened, not melted or too warm, when you started creaming. Second, make sure you chilled the dough for the full recommended time (at least 1 hour). Third, the second chill after cutting the shapes is critical insurance; don’t skip it! Finally, check your oven temperature with an oven thermometer – if your oven runs hot, it can cause rapid spreading.
Can I use unsweetened shredded coconut?
Yes, you can! Unsweetened shredded coconut will give you a less sweet cookie and a more pronounced natural coconut flavor. The texture will be similar. You might need to slightly increase the granulated sugar by a tablespoon or two if you prefer a sweeter cookie.
What if I don’t have a bunny cookie cutter?
No problem at all! This dough works beautifully with any standard cookie cutter shape – stars, hearts, circles, squares, or even seasonal shapes like pumpkins or snowflakes. The key is the dough itself and the chilling technique.
How thick should I roll the dough?
Rolling the dough to about 1/4 inch thick is recommended for a cookie that holds its shape well and has a good chewiness. Thicker cookies will take longer to bake, and thinner cookies might bake too quickly and be overly crisp.
Can I decorate these cookies with icing?
Absolutely! Once the cookies are completely cooled, they take well to simple glazes or royal icing. If you plan to ice extensively, you might omit the shredded coconut topping before baking or apply it lightly so the surface is still relatively flat. For other fun dessert ideas, you might like our simple sugar cookie bars, which are perfect for frosting.
How long will these cookies last?
Stored in an airtight container at room temperature, these cookies will stay fresh for about 5-7 days. If you need them to last longer, freezing is your best bet.
Enjoy Your Homemade Adorable Coconut Bunny Cookies!
There’s something incredibly satisfying about pulling a batch of perfectly shaped, adorable cookies out of the oven. These coconut bunny cookies combine that visual charm with a delicious, slightly tropical flavor and a wonderfully tender texture.
They are perfect for sharing, packing into lunchboxes, or simply enjoying with a cup of tea or coffee. Give this recipe a try, embrace the chilling steps, and say goodbye to cookie spread disasters forever!
If you make these, please leave a comment below and let me know how your adorable shapes turned out! Happy baking!
Adorable Coconut Bunny Cookies

Ingredients
- 1/2 cup unsalted butter softened
- 1/2 cup granulated sugar
- 1 large egg
- 1/2 teaspoon vanilla extract
- 1 1/2 cups all purpose flour
- 1/4 teaspoon baking powder
- 1/4 teaspoon salt
- 1/4 cup shredded sweetened coconut plus more for topping
Directions
- In a large bowl cream together the softened butter and sugar until light and fluffy.
- Beat in the egg and vanilla extract until well combined.
- In a separate medium bowl whisk together the flour baking powder and salt.
- Gradually add the dry ingredients to the wet ingredients mixing on low speed until just combined. Do not overmix. Stir in the 1/4 cup shredded coconut.
- The key step for shapes Chill the dough! Form the dough into a flat disk wrap tightly in plastic wrap and refrigerate for at least 1 hour or up to 2 days. This step is crucial for preventing spreading.
- Preheat your oven to 350 degrees F 175 degrees C. Line baking sheets with parchment paper.
- On a lightly floured surface roll the chilled dough to about 1/4 inch thickness. Use a bunny shaped cookie cutter to cut out shapes. Carefully transfer the cutouts to the prepared baking sheets.
- For extra shape insurance place the cookie cutouts on the baking sheet back into the refrigerator or even the freezer for 10 15 minutes before baking. This final chill really locks in the shape.
- Gently sprinkle the tops of the chilled cookie cutouts with additional shredded coconut pressing lightly to adhere.
- Bake for 8 12 minutes or until the edges are lightly golden brown. Baking time will vary depending on the size and thickness of your cookies.
- Let the cookies cool on the baking sheets for a few minutes before transferring them to a wire rack to cool completely.