There’s something truly special about baked oysters. That briny bite paired with a warm, savory topping is pure comfort food magic. But let’s be honest, achieving that perfect texture can feel like hitting a moving target! Who hasn’t excitedly anticipated a tender, succulent oyster only to end up with something… well, rubbery?
For the longest time, baked oysters were my nemesis. I’d try different temperatures, times, and toppings, but consistently juicy oysters remained just out of reach. After countless experiments and maybe a few less-than-ideal batches, I finally cracked the code. The secret isn’t just in the ingredients you use, but in a simple yet specific baking method that makes all the difference. This Cheesy Baked Oysters recipe is the result of that journey, guaranteed to give you perfectly cooked, never-rubbery oysters every single time.
Why You’ll Absolutely Love These Cheesy Baked Oysters
Beyond the guarantee of tender, juicy seafood, this recipe offers so much to love:
- They’re incredibly quick! We’re talking under 15 minutes from prep to plate.
- Simple ingredients create a classic flavor combination that highlights the oyster, not overwhelms it.
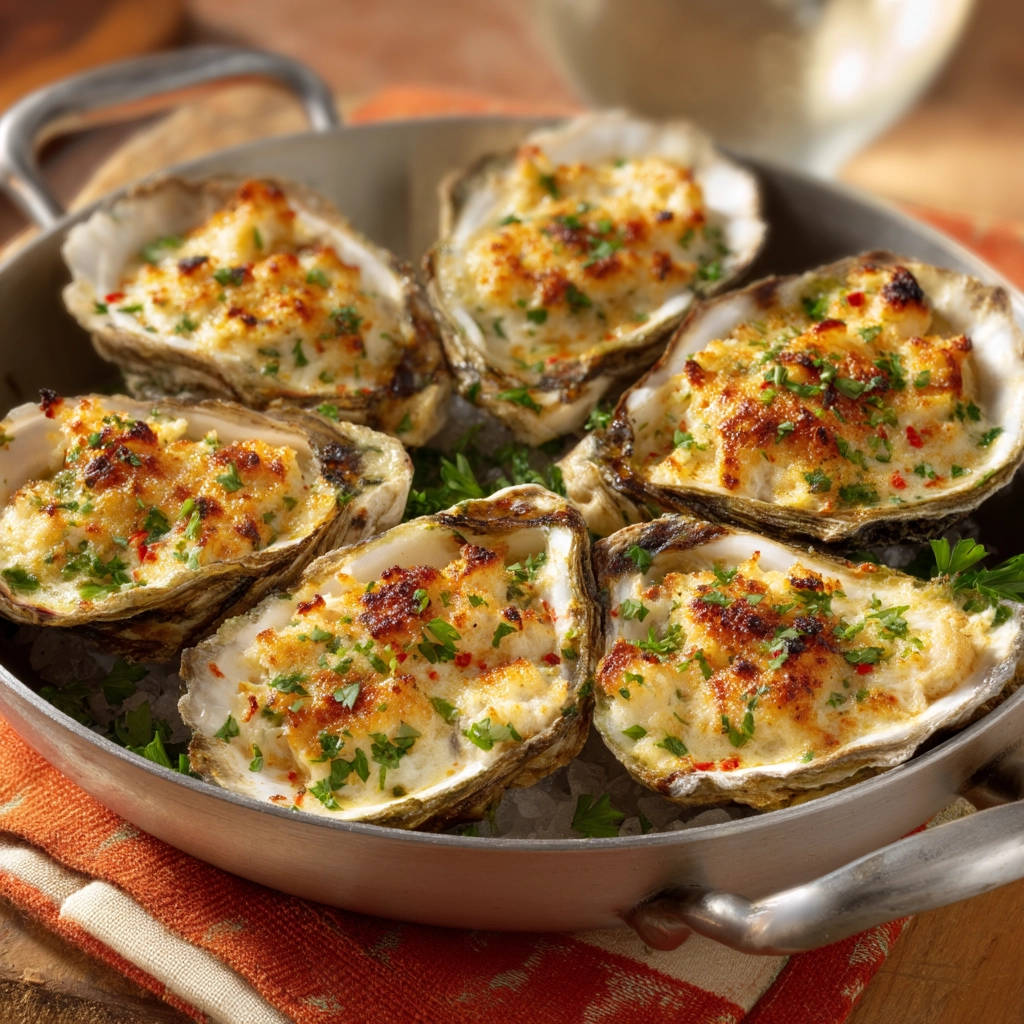
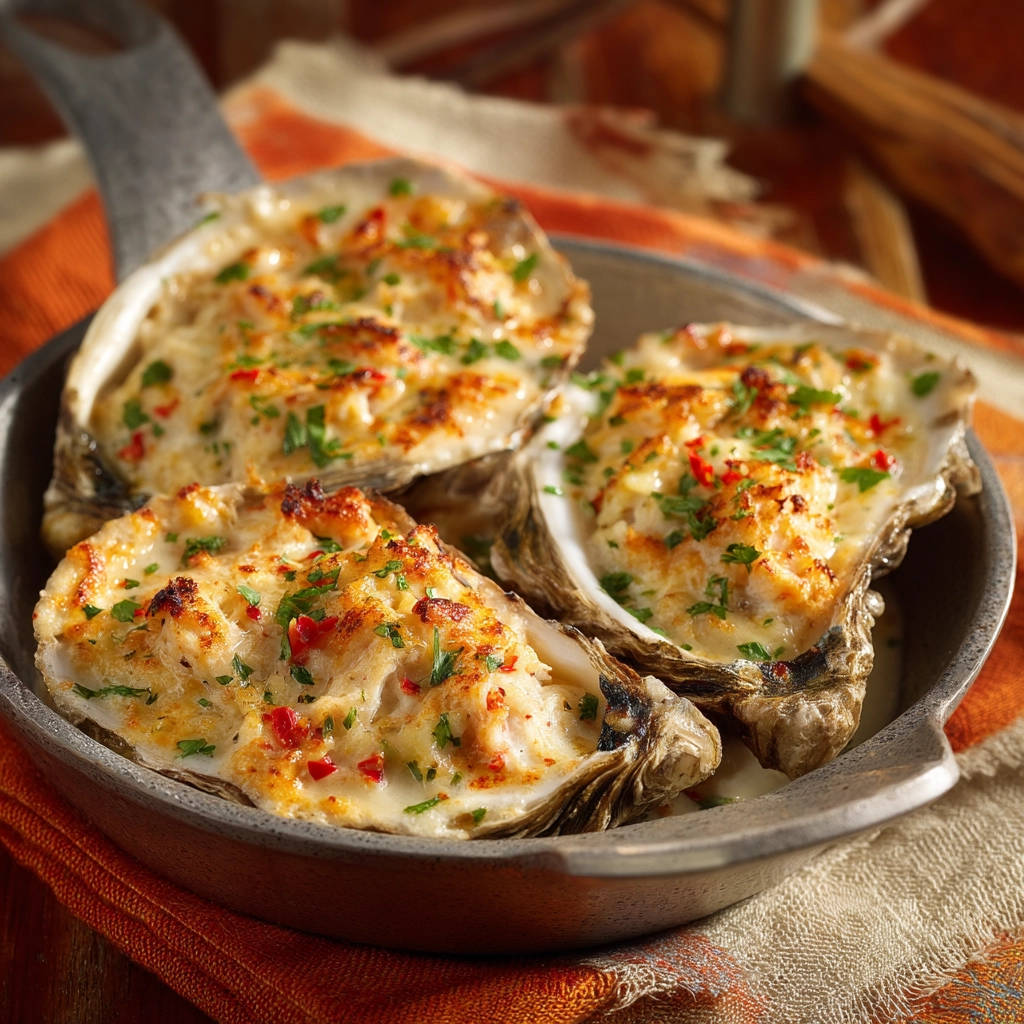
- The topping gets beautifully golden and bubbly in the oven, adding wonderful texture.
- They make for an impressive appetizer or a delightful light meal.
- Learning the proper technique means you can confidently make baked oysters whenever the craving strikes.
Gathering Your Ingredients for Cheesy Baked Oysters
The beauty of this recipe lies in its simplicity. You don’t need a long list of fancy ingredients to achieve spectacular results. Each component plays a specific role in creating that perfect bite – a blend of briny oyster, rich butter, savory cheese, and a delightful crunch from the topping.
Choosing the right oysters is paramount. Look for fresh, plump oysters that are tightly closed. If they’re already shucked, make sure they are sitting in their own liquid and smell clean, like the sea, not fishy. For this recipe, we use the bottom shells as natural serving vessels.
- Fresh Oysters: Six medium-sized oysters, freshly shucked, with their deep bottom shells carefully saved.
- Seasoned Breadcrumbs: About a quarter cup. These provide the crucial crispy texture on top. Seasoned varieties already have herbs and spices mixed in, making prep even quicker.
- Grated Parmesan Cheese: Approximately a quarter cup. Parmesan adds a wonderful salty, nutty depth and browns beautifully under heat, creating that irresistible cheesy crust.
- Unsalted Butter: Two tablespoons, melted. Butter binds the topping ingredients together and adds richness. Using unsalted butter allows you to control the final saltiness.
- Fresh Parsley: One tablespoon, finely chopped, plus a little extra for garnish. Fresh herbs brighten the flavors and add a pop of color.
- Red Pepper Flakes: A quarter teaspoon (optional). If you like a hint of warmth and spice, these are a fantastic addition. Adjust the amount to your preference or omit entirely.
- Salt and Black Pepper: Just a pinch of each. Be mindful of the saltiness of the oysters and the Parmesan cheese; you likely won’t need much added salt.
- Rock Salt or Coarse Salt: Enough to create a bed in your baking dish. This isn’t for flavor, but for stability and even heat distribution.
Crafting Your Cheesy Baked Oysters: Step-by-Step to Juiciness
Ready to unlock the secret to perfect, juicy baked oysters? This process is straightforward, but paying close attention to the timing is key. Let’s walk through it together.
Prepare for Baking: First things first, get your oven screaming hot. Preheat it to 425 degrees F (which is about 220 degrees C). A high temperature is critical here because we want to cook the topping quickly and heat the oyster just enough without letting it cook for too long. While the oven heats, grab an oven-safe baking dish. Spread a generous, even layer of rock salt or coarse salt across the bottom. This salt bed isn’t just decorative; it creates a stable surface for the wobbly oyster shells, preventing spills, and helps hold heat, ensuring the shells heat evenly from below.
Arrange the Oysters: Carefully place your shucked oysters, nestled in their reserved bottom shells, onto the salt bed in the baking dish. Try to space them out slightly so air can circulate. Ensure they are level so the topping stays put.
Mix the Topping: In a small bowl, combine your topping ingredients: the seasoned breadcrumbs, grated Parmesan cheese, melted unsalted butter, finely chopped fresh parsley, and the optional red pepper flakes. Add just a pinch of salt and pepper. Remember, oysters are naturally salty, and Parmesan adds saltiness too, so go easy here! Stir everything together until the breadcrumbs and cheese are evenly moistened by the butter. It should look like a crumbly, slightly wet mixture.
Top the Oysters: Using a spoon, carefully divide the topping mixture equally among the six oysters. Gently spoon it over the oyster meat, making sure each one gets a nice, even coating. The topping should completely cover the oyster.
The Critical Bake: Now for the most crucial part – the bake time. Place the baking dish into your preheated 425°F (220°C) oven. Set a timer for 8 minutes. You’re looking for visual cues: the topping should become beautifully golden brown and bubbly, and you might see the very edges of the oyster meat just starting to curl slightly. This is your sign that they are perfectly heated through. Baking time is incredibly important; 8-12 minutes is the sweet spot. Overshooting this time, even by a minute or two, can take your oysters from tender and juicy to tough and rubbery. Keep a close eye on them through the oven door!
Serve Immediately: Once the topping is golden and bubbly and the oysters are just done, carefully remove the hot baking dish from the oven. A hot pad or oven mitt is essential! If you like, sprinkle a little extra fresh chopped parsley over the top for a final burst of freshness and color. Serve these immediately while they are piping hot. They are best enjoyed fresh out of the oven.
Tips for Perfect Cheesy Baked Oysters Every Time
Mastering these Cheesy Baked Oysters is all about a few key details. Here are some tips to ensure your success:
- Source Quality Oysters: Start with the freshest oysters you can find. Talk to your fishmonger, ask where they are from, and when they arrived. Freshness is key to flavor and texture.
- Shucking Safely: If you’re shucking your own, invest in a good oyster knife and a sturdy glove or thick towel. Shucking takes practice, but there are many great tutorials available online. Just be careful!
- The Salt Bed is Your Friend: Don’t skip the rock salt. It truly helps stabilize the shells and ensures even heat distribution from the bottom, contributing to that perfect cook.
- Watch, Don’t Wander: The 8-12 minute bake time is a guideline. Ovens vary, and oysters vary in size. Keep a close eye on them starting around the 8-minute mark. The visual cues (golden topping, slight curl) are more important than the exact time.
- Consider a Broiler Finish: If your topping isn’t quite as golden as you’d like after 10-12 minutes, you can quickly pop them under the broiler for 30-60 seconds. Watch them like a hawk, as they can burn instantly!
- Variations: Feel free to add a tiny pinch of garlic powder or a micro-grating of fresh garlic to the topping mix for extra flavor. A dash of hot sauce on the finished oyster is also a popular addition for those who love heat.
- Serving Temperature is Key: Baked oysters are meant to be enjoyed hot, right out of the oven, while the topping is crisp and the oyster is warm and juicy.
What to Serve With Cheesy Baked Oysters
These delicious baked oysters are fantastic on their own as a luxurious appetizer. However, they can also be part of a larger meal. They pair wonderfully with light, fresh sides. A simple green salad with a light vinaigrette is a classic choice. You could also serve them alongside some simple marinated tomatoes or perhaps some roasted root vegetables for a more substantial offering. If you’re building a seafood feast, they complement other dishes like perfect broiled lobster tail or baked crab legs beautifully.
Your Cheesy Baked Oysters Questions Answered (FAQ)
Can I use pre-shucked oysters?
Yes, you can, but you must ensure they are very fresh and ideally packed in their own liquor. You’ll also need to acquire some clean oyster shells to bake them in, as they won’t hold their shape or topping without them. Many fish markets will sell shells, or you can save and clean shells from raw oysters.
How do I know if my oysters are fresh?
Fresh oysters that are still in their shells should be tightly closed. If any are open, give them a tap; if they don’t close immediately, discard them. Shucked oysters should be plump, glistening, and surrounded by clear liquid. They should smell fresh, like the ocean, not fishy or unpleasant.
Can I prepare the topping ahead of time?
You can mix the breadcrumb and cheese topping ahead of time and keep it in an airtight container in the refrigerator. Melt the butter just before you’re ready to assemble and bake, then combine it with the dry mix. This helps prevent the breadcrumbs from getting soggy before baking.
How many oysters should I serve per person?
This depends on whether they are being served as a light appetizer or part of a larger meal. For a light appetizer, 2-3 oysters per person is usually sufficient. If they are the main event or part of a tapas-style spread, you might plan for 4-6 per person.
What if I don’t have seasoned breadcrumbs?
You can use plain breadcrumbs! You’ll just want to add a little extra flavor to the topping mixture. Consider adding a pinch of dried Italian herbs (like oregano, basil, and thyme) and maybe a touch more salt and pepper to taste.
Can I substitute the Parmesan cheese?
Parmesan is classic and works beautifully, but you could experiment with other hard, grating cheeses like Pecorino Romano for a tangier flavor, or even a blend of Parmesan and a mild white cheddar for extra cheesiness. Avoid cheeses that are too soft or have high moisture content, as they won’t melt and brown in the same way.
Enjoy Your Homemade Cheesy Baked Oysters!
Making delicious, juicy Cheesy Baked Oysters at home is absolutely achievable with this simple recipe and a watchful eye on the clock. They’re a perfect treat for a special occasion, a date night in, or just when you want to spoil yourself with some incredible seafood. The combination of the perfectly cooked oyster and the golden, cheesy topping is simply divine.
Give this recipe a try and discover how easy it is to make baked oysters that are tender, not tough! Let me know how they turn out in the comments below. Happy cooking!
Cheesy Baked Oysters

Ingredients
- 6 oysters, shucked, reserving the bottom shell
- 1/4 cup seasoned breadcrumbs
- 1/4 cup grated Parmesan cheese
- 2 tablespoons unsalted butter, melted
- 1 tablespoon finely chopped fresh parsley, plus more for garnish
- 1/4 teaspoon red pepper flakes (optional)
- Pinch of salt
- Pinch of black pepper
- Rock salt or coarse salt, for baking pan
Directions
- Preheat your oven to 425 degrees F (220 degrees C). Spread a layer of rock salt or coarse salt in an oven safe baking dish to create a stable bed for the oyster shells.
- Place the shucked oysters in their bottom shells, arranging them on the salt bed in the baking dish.
- In a small bowl, combine the breadcrumbs, Parmesan cheese, melted butter, chopped parsley, red pepper flakes (if using), salt, and pepper. Mix until everything is moistened and well combined.
- Spoon an equal amount of the topping mixture over each oyster in its shell, ensuring it covers the oyster meat.
- Place the baking dish carefully in the preheated oven. Bake for 8 to 12 minutes, or until the topping is golden brown and bubbly and the edges of the oysters are just starting to curl. The key here is to bake just long enough to heat the oysters through and brown the topping without letting them seize up and become tough. Watch them closely.
- Carefully remove the dish from the oven. Garnish with a little extra fresh parsley if desired. Serve immediately while hot.