
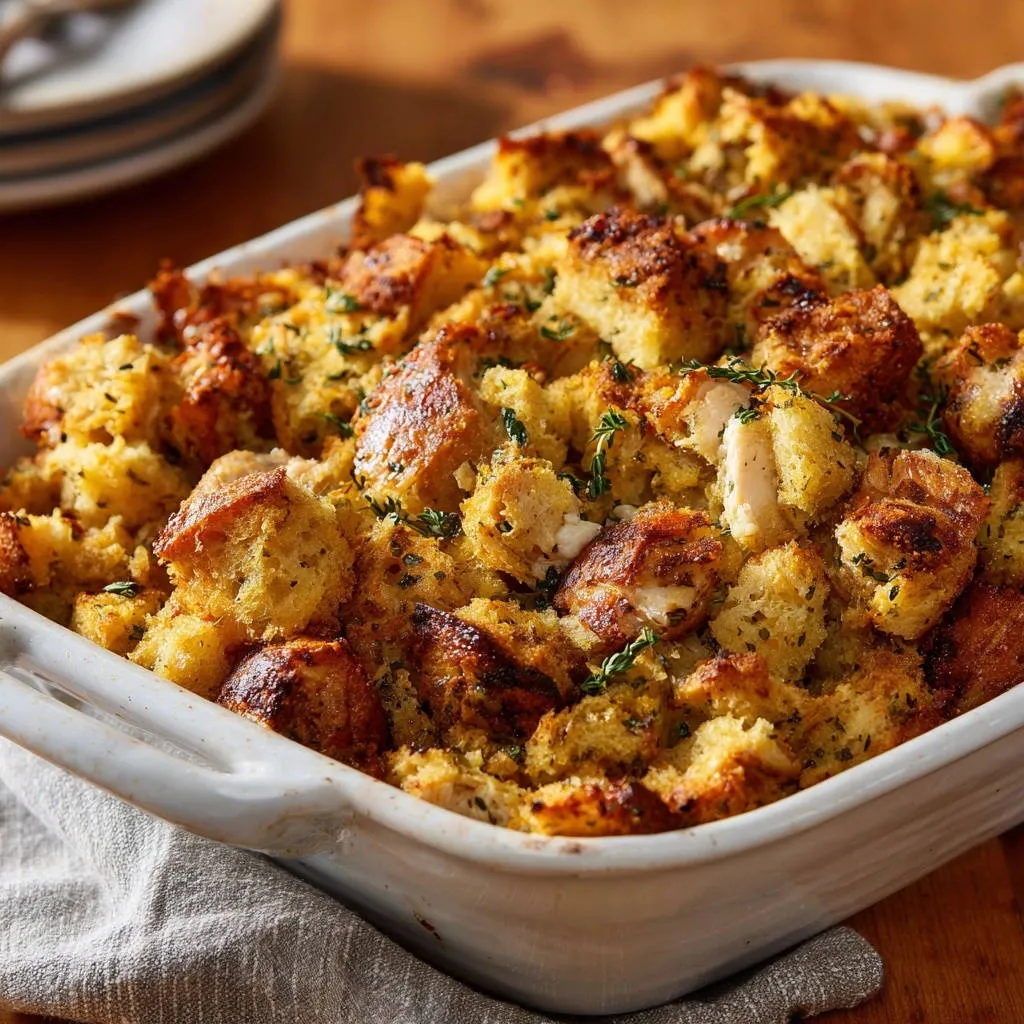
The quest for the perfect dressing often ends in disappointment: either a dry, crumbly mess or a sadly soggy disaster. I’ve spent years perfecting the art of a truly exceptional Classic Chicken and Herb Dressing.
This recipe guarantees a consistently moist interior complemented by an irresistible crispy, golden topping every single time, ensuring your holiday table or weeknight dinner is nothing short of spectacular.
Why Our Classic Chicken and Herb Dressing Stands Out
This isn’t just another dressing recipe; it’s a meticulously crafted guide designed to deliver unparalleled texture and flavor.
From the precise bread preparation to the strategic two-stage baking, every step is optimized for perfection, making this a truly reliable poultry dressing.
The Secret to a Consistently Moist Interior
Our method focuses on perfectly hydrating the bread cubes without over-saturating them. We achieve this through a gradual broth addition, allowing the bread to absorb just the right amount of liquid.
Covering the dish during the initial baking phase is also crucial. This traps steam, ensuring the dressing cooks through while remaining tender and incredibly moist inside.
Achieving That Irresistible Crispy, Golden Topping
The magic of the crispy topping happens in the second stage of baking. Removing the foil allows the top surface to dry out and toast beautifully.
This exposure to direct heat creates that coveted golden-brown crust, providing a delightful textural contrast to the soft interior of the savory dressing.
Beyond the Holiday Table: Versatility & Crowd Appeal
While often associated with festive gatherings, this Classic Chicken and Herb Dressing is so delicious and satisfying, it deserves a spot on your table year-round.
It’s a comforting side dish that pairs wonderfully with various main courses, making it a reliable crowd-pleaser for any occasion.
The Flavor Foundation: Key Ingredients for Your Dressing
Each ingredient plays a vital role in building the layered flavors and ideal texture of this savory poultry dressing.
Bread Selection: The Essential Base
Stale or Dried Bread Cubes: Using stale or lightly toasted bread (from a 1-pound loaf of white or sourdough) is non-negotiable.
Fresh bread will absorb too much liquid, leading to a gummy texture, whereas dried bread holds its shape and soaks up flavor beautifully.
Aromatic Vegetables: Building Depth
Diced Celery & Yellow Onion: These classic aromatics provide a foundational sweetness and savory depth.
Sautéing them in butter until translucent extracts their full flavor, creating a fragrant base for the dressing.
Herbs & Seasoning: The Soul of the Dressing
Dried Sage & Dried Thyme: These traditional herbs are the heart and soul of a classic dressing, delivering earthy and warm notes.
Cooking them briefly with the vegetables helps release their potent aromas and flavors.
Salt & Black Pepper: Essential for enhancing all the other flavors.
Proper seasoning ensures every bite is balanced and savory, not bland.
Moisture Magic: Chicken Broth & Cooked Chicken
Low Sodium Chicken Broth (warmed): Warm broth is crucial for even and quick absorption into the bread, preventing cold spots and ensuring consistent moisture.
Using low-sodium allows you to control the overall saltiness of the dish.
Diced Cooked Chicken: Adds a substantial, savory element and makes the dressing a more complete, hearty side dish.
Any leftover roast chicken or rotisserie chicken works perfectly here.
Your Kitchen Arsenal: Essential Tools for Dressing Success
Having the right equipment at hand streamlines the preparation process, ensuring a smooth culinary experience.
Essential Prep & Mixing Tools
Large Bowl: Absolutely essential for combining all the ingredients, especially the bread and liquids, without making a mess.
Large Skillet or Pot: Needed for sautéing the vegetables and infusing them with the herbs.
Large Spoon or Spatula: For tossing ingredients gently and ensuring even mixing, especially when adding the broth.
Baking & Serving Equipment
Baking Sheet: Used for toasting fresh bread cubes if they aren’t already stale.
9×13 Inch Baking Dish: The ideal size for baking this quantity of dressing, allowing for even cooking and a good surface area for crisping.
Aluminum Foil: Critical for covering the dish during the initial bake, locking in moisture.
Crafting Your Classic Chicken and Herb Dressing: A Step-by-Step Guide
Follow these detailed steps to achieve the perfectly moist interior and wonderfully crispy topping this herb dressing is known for.
Prepping Your Bread: The Crispy Foundation
Preheat your oven to 375 degrees Fahrenheit. If your bread isn’t already stale, spread the cubes on a baking sheet and bake for 10-15 minutes, tossing occasionally, until lightly toasted and dry.
This crucial step prevents soggy dressing by allowing the bread to properly absorb the liquid. It ensures your final dish has a superior texture, avoiding a gummy consistency.
Sautéing Aromatics & Infusing Herbs
In a large skillet or pot, melt the butter over medium heat. Add the diced celery and onion. Cook, stirring occasionally, until the vegetables are softened and translucent, about 8-10 minutes.
Stir in the dried sage, dried thyme, salt, and pepper, cooking for another minute until fragrant. This vital step infuses the aromatic base with rich herb flavor, building the foundation of your poultry dressing.
Combining Ingredients for Optimal Flavor
In a very large bowl, combine the dried bread cubes and diced cooked chicken. Add the sautéed vegetable mixture to the bowl and toss gently to combine.
Ensuring an even distribution of ingredients at this stage sets the stage for uniform flavor throughout every delicious bite of your chicken and herb dressing.
The “Never Dry, Never Soggy” Broth Method
Gradually pour in the warm chicken broth, starting with 3 cups, while gently tossing the mixture with your hands or a large spoon. Mix thoroughly until all the bread cubes are evenly moistened.
If the mixture still seems dry in spots, add the remaining 1 cup of broth, a little at a time, until the bread is moist but not swimming in liquid. You want it hydrated, but still with a nice texture. Avoid over-saturating – this is the crucial secret to avoiding both dry and soggy results in your savory dressing.
Baking for Perfection: The Two-Stage Approach
Transfer the dressing mixture to a 9×13 inch baking dish. Cover the dish tightly with aluminum foil.
Bake for 30 minutes covered, which allows the dressing to cook through and retain its moisture. Then, remove the foil and bake for an additional 20-30 minutes, or until the top is golden brown and crispy.
This two-stage baking ensures a moist interior and a perfect crispy top, delivering on the promise of this exceptional recipe.
Resting and Garnishing for Presentation
Remove from oven and let stand for a few minutes before serving.
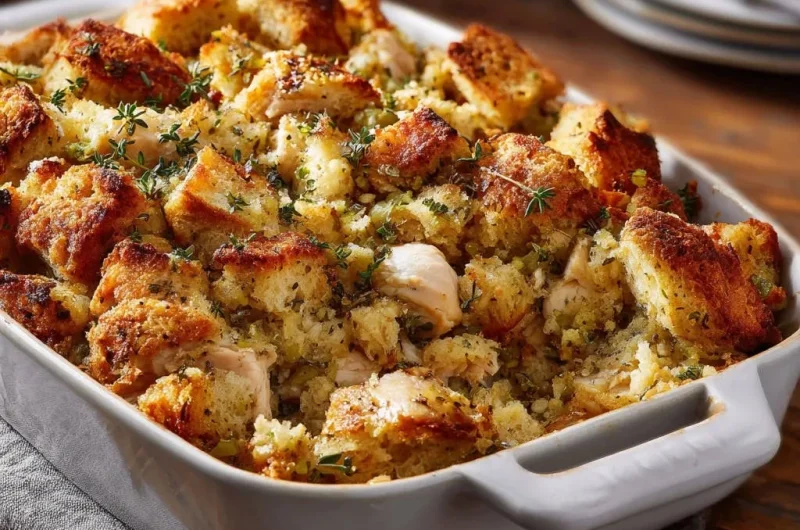
Garnish with fresh thyme sprigs if desired, adding a touch of freshness and visual appeal to your finished Classic Chicken and Herb Dressing.
Elevate Your Dressing: Expert Tips for Unforgettable Flavor
Mastering the nuances of this recipe will take your chicken and herb dressing from great to truly unforgettable.
The Importance of Perfectly Stale Bread
Stale bread is essential because it’s porous, allowing it to absorb liquid without turning mushy. Fresh bread often collapses, resulting in a dense, gluey texture.
If you don’t have stale bread, toast fresh bread cubes in the oven at a low temperature (around 250°F / 120°C) until dry and slightly firm, then let them cool completely.
Don’t Over-Saturate the Mixture (The Golden Rule!)
This is the most common mistake. Your dressing mixture should be moist but not wet; when you lightly squeeze a handful, it should just clump together, not drip.
Always add broth gradually. It’s easier to add more liquid than to correct an over-saturated mixture.
Adjusting for Dietary Needs: Gluten-Free & Vegetarian Options
For a gluten-free version, simply substitute the regular bread cubes with your favorite gluten-free bread.
To make this dressing vegetarian, omit the chicken and use vegetable broth. You can also add mushrooms or roasted vegetables for extra savoriness.
Achieving That Extra Crispy Edge
For even more crispy bits, consider baking the dressing in a wider, shallower pan.
During the uncovered baking stage, if the top isn’t as golden as you’d like, you can briefly increase the oven temperature to 400°F (200°C) for the last 5-10 minutes, keeping a close eye on it.
Troubleshooting Your Classic Chicken and Herb Dressing
Even expert cooks encounter challenges. Here’s how to quickly fix common dressing dilemmas.
“My Dressing is Too Dry!”
If your dressing turns out dry, it likely didn’t have enough liquid absorbed during mixing, or it was overbaked uncovered.
Next time, ensure your bread is properly moistened before baking. For a dry batch, gently warm some extra chicken broth and drizzle it over the dressing before serving, or cover it loosely with foil for the last 10 minutes of baking.
“My Dressing is Soggy!”
Sogginess usually stems from using fresh bread that wasn’t adequately dried, or from adding too much broth.
Always start with truly stale or toasted bread, and remember the “moist but not swimming” rule for broth addition. If it’s already soggy, you can try baking it uncovered for a longer period to dry it out, or even broiling for a few minutes to crisp the top (watch closely!).
“My Dressing Lacks Flavor!”
Bland dressing often results from insufficient seasoning or undercooked aromatics.
Ensure you’re generous with salt and pepper, and allow the celery and onion to become fully translucent and fragrant when sautéing. Don’t rush the herb infusion step; cooking them briefly activates their essential oils for maximum impact.
Serving Suggestions & Meal Prep Strategies
This Classic Chicken and Herb Dressing is incredibly versatile, making it easy to incorporate into your meal planning.
Perfect Pairings: What to Serve With Your Dressing
This savory side shines alongside traditional holiday roasts like turkey or a succulent perfect cheesy baked chicken.
It’s also a fantastic accompaniment to a comforting crispy roasted Brussels sprouts or a vibrant green bean casserole. Don’t forget classic pairings like cranberry sauce and gravy.
Make-Ahead Magic: Preparing Your Dressing in Advance
You can prepare the dressing mixture (steps 1-4) up to 1-2 days ahead of time. Store it tightly covered in the refrigerator.
When ready to bake, let it come closer to room temperature before transferring to the baking dish and proceeding with the baking instructions.
Storing Leftovers for Lasting Enjoyment
Store any leftover chicken and herb dressing in an airtight container in the refrigerator for up to 3-4 days.
For longer storage, it freezes beautifully for up to 2-3 months. Reheat gently in the oven or microwave, adding a splash of broth if it seems dry.
Your Top Questions About Classic Chicken and Herb Dressing Answered
Here are quick answers to some frequently asked questions about this beloved poultry dressing.
Can I use fresh herbs instead of dried?
Absolutely! Fresh herbs offer a brighter flavor. As a general rule, use three times the amount of fresh herbs to dried herbs.
So, for this recipe, you would use 6 teaspoons (2 tablespoons) fresh sage and 3 teaspoons (1 tablespoon) fresh thyme, finely chopped.
What kind of bread is best for this recipe?
For the best texture and flavor, a sturdy white bread or sourdough loaf is ideal. Avoid overly soft sandwich breads, which can become mushy.
The key is to have the bread dried out sufficiently, allowing it to soak up the delicious flavors without breaking down.
Can I add other vegetables or meats?
Yes, this recipe is very adaptable! Consider adding sautéed mushrooms, diced apples for a touch of sweetness, or chopped chestnuts for extra texture.
For a richer flavor, you could even incorporate crispy bacon bits or cooked sausage to the mixture, creating a truly unique and hearty holiday side.
Is this recipe gluten-free?
This recipe can easily be made gluten-free by substituting the traditional bread with your preferred gluten-free bread variety.
Always double-check that your chicken broth is also certified gluten-free, as some brands may contain hidden gluten-containing ingredients.
Why is baking covered then uncovered so important?
This two-stage baking process is critical to achieving the perfect balance of textures.
Baking covered ensures the interior remains moist and steamy, allowing the flavors to meld without drying out. Removing the foil for the final stage then allows the top to crisp up and brown beautifully, creating that delightful contrast.
Ready to Create Your Own Classic Chicken and Herb Dressing Masterpiece?
We hope this detailed guide empowers you to create the most incredible Classic Chicken and Herb Dressing your family has ever tasted. It’s a comforting classic that will undoubtedly become a staple in your culinary repertoire.
Don’t forget to share your culinary triumphs with us! For more essential side dishes and hearty main courses, explore our full collection of recipes like a truly creamy chicken broccoli bake, perfect for any occasion.
Classic Chicken and Herb Dressing
Course: Side DishCuisine: American CuisineDifficulty: easy8
servings20
minutes1
hour60
minutesAmerican Cuisine
Ingredients
6 cups stale or dried bread cubes (from 1 pound loaf of white or sourdough bread)
2 cups cooked chicken, diced
1 cup diced celery
1 cup diced yellow onion
1/2 cup unsalted butter
4 cups low sodium chicken broth, warmed
2 teaspoons dried sage
1 teaspoon dried thyme
1 teaspoon salt
1/2 teaspoon black pepper
Fresh thyme sprigs for garnish (optional)
Directions
- Preheat your oven to 375 degrees Fahrenheit. If your bread isn’t already stale, spread the cubes on a baking sheet and bake for 10-15 minutes, tossing occasionally, until lightly toasted and dry. This crucial step prevents soggy dressing by allowing the bread to properly absorb the liquid.
- In a large skillet or pot, melt the butter over medium heat. Add the diced celery and onion. Cook, stirring occasionally, until the vegetables are softened and translucent, about 8-10 minutes. Stir in the dried sage, dried thyme, salt, and pepper, cooking for another minute until fragrant.
- In a very large bowl, combine the dried bread cubes and diced cooked chicken. Add the sautéed vegetable mixture to the bowl and toss gently to combine.
- Here’s the secret to “Never Dry, Never Soggy!”: Gradually pour in the warm chicken broth, starting with 3 cups, while gently tossing the mixture with your hands or a large spoon. Mix thoroughly until all the bread cubes are evenly moistened. If the mixture still seems dry in spots, add the remaining 1 cup of broth, a little at a time, until the bread is moist but not swimming in liquid. You want it hydrated, but still with a nice texture. Avoid over-saturating.
- Transfer the dressing mixture to a 9×13 inch baking dish. Cover the dish tightly with aluminum foil.
- Bake for 30 minutes covered, which allows the dressing to cook through and retain its moisture. Then, remove the foil and bake for an additional 20-30 minutes, or until the top is golden brown and crispy. This two-stage baking ensures a moist interior and a perfect crispy top.
- Remove from oven and let stand for a few minutes before serving. Garnish with fresh thyme sprigs if desired.
Notes
- Ensure bread is properly dried to prevent sogginess. Adjust broth quantity for desired moistness.