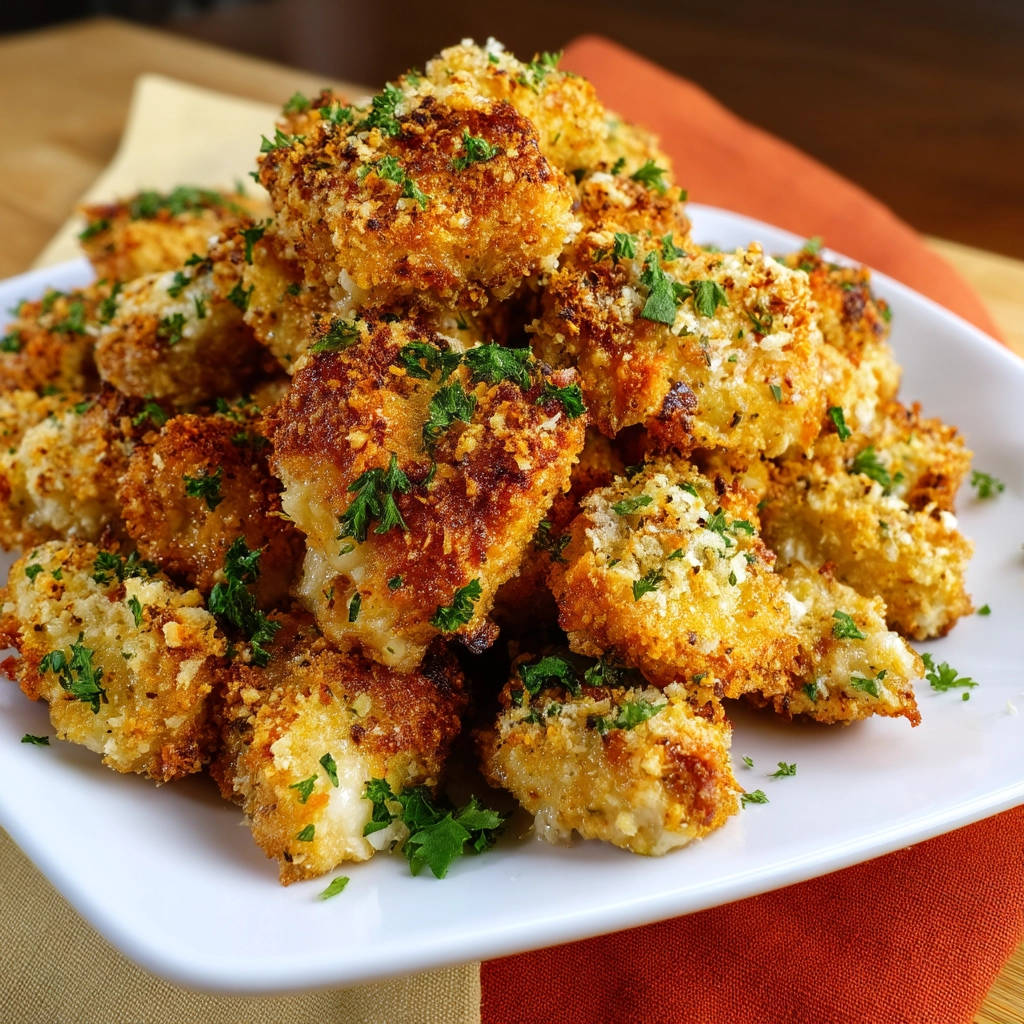
Craving crispy, golden chicken bites but trying to avoid the deep fryer? You’re not alone! I spent years chasing that perfect crispy texture without the extra oil and mess. Finally, I cracked the code, and I’m so excited to share my secret to unbelievably crispy baked chicken bites that rival the fried version. Get ready for a family favorite that’s both delicious and surprisingly easy to make!
Why You’ll Love These Crispy Chicken Bites
These aren’t your average baked chicken nuggets. They’re:
- Incredibly Crispy: Thanks to a few key techniques, they have a satisfying crunch in every bite.
- Healthier Than Fried: All the flavor, none of the guilt!
- Easy to Make: Simple ingredients and straightforward instructions make this a weeknight winner.
- Kid-Friendly: Even the pickiest eaters will devour these flavorful chicken bites.
- Versatile: Perfect as an appetizer, snack, or main course.
Gathering Your Ingredients for Crispy Baked Chicken Bites
Before we dive into the cooking process, let’s talk about the ingredients that make these baked chicken bites truly exceptional. We’re building layers of flavor and focusing on achieving that ultimate crispy texture. The right ingredients, combined with a few smart techniques, are the key to success. The base of these tasty bites is chicken breasts.
- 1.5 pounds boneless, skinless chicken breasts: Opt for chicken breasts that are plump and evenly sized. Cutting them into 1-inch pieces ensures even cooking.
Next, we’ll create a multi-layered coating system. The first layer helps the coating adhere to the chicken.
- 1/2 cup all-purpose flour: This is the base for our first coating, helping to create a dry surface for the egg wash to cling to.
- 1 teaspoon garlic powder: Adds a savory depth and aromatic note.
- 1/2 teaspoon onion powder: Complements the garlic powder, adding another layer of savory flavor.
- 1/2 teaspoon salt: Enhances all the flavors and helps to season the chicken.
- 1/4 teaspoon black pepper: Provides a subtle kick and balances the other flavors.
The next layer helps create a binding base for the crispy outer layer:
- 2 large eggs: These act as a binder, helping the Panko breadcrumbs adhere to the flour-dusted chicken.
- 1 tablespoon water: Thinning the eggs slightly creates a smoother wash and ensures even coating.
Finally, here are the elements for a crispy exterior and added flavor:
- 2 cups Panko breadcrumbs: These Japanese-style breadcrumbs are the secret to the ultimate crispy texture. They are lighter and airier than regular breadcrumbs, allowing them to get incredibly crunchy in the oven.
- 1/2 cup grated Parmesan cheese: Adds a salty, savory, and slightly nutty flavor that complements the chicken and breadcrumbs perfectly.
And the final important ingredient!
- 4 tablespoons melted unsalted butter or olive oil: This is our secret weapon for achieving that “fried” effect in the oven. The butter or olive oil helps the breadcrumbs get golden brown and crispy.
- Fresh chopped parsley for garnish: Adds a pop of color and freshness to the finished dish.
Crafting Your Crispy Chicken Bites: Step-by-Step
Now for the fun part: bringing it all together! Don’t be intimidated by the multi-step coating process. It’s easier than you think, and the results are well worth the effort. The key is to stay organized and follow the steps carefully. Let’s get started!
- Preheat and Prep: Start by preheating your oven to 400 degrees F (200 degrees C). This high heat is essential for achieving that crispy exterior. Next, line a baking sheet with parchment paper for easy cleanup. Now, here’s the real secret: Place a wire rack on top of the baking sheet and lightly grease it. This elevates the chicken bites, allowing hot air to circulate all around them, ensuring even crisping on all sides. This is a game-changer!
- Flour Power: In a shallow dish, whisk together the flour, garlic powder, onion powder, salt, and black pepper. This seasoned flour mixture creates the first layer of our coating, providing a flavorful base for the egg wash and breadcrumbs to adhere to. Make sure to combine thoroughly for even seasoning.
- Egg Wash Prep: In a second shallow dish, whisk together the eggs and water. The water helps to thin the eggs, creating a smoother wash that coats the chicken evenly. Whisk until the yolks and whites are fully combined.
- Panko Perfection: In a third shallow dish, combine the Panko breadcrumbs and grated Parmesan cheese. This Panko and cheese mix is crucial for texture and flavor. Ensure the Parmesan is evenly distributed throughout the breadcrumbs. I recommend using finely grated Parmesan for the best results.
- The Flour Dredge: Take your chicken pieces and dredge them one at a time in the flour mixture, making sure each piece is fully coated. Shake off any excess flour to prevent a gummy coating. This step helps the egg wash adhere properly.
- Egg Dip: Next, dip each floured chicken piece into the egg wash, letting any excess drip off. This step creates a sticky surface for the Panko breadcrumbs to cling to.
- Panko Press: Finally, press each chicken piece firmly into the Panko and Parmesan mixture, ensuring it is fully coated on all sides. Don’t be afraid to really press the breadcrumbs into the chicken to create a thick, even coating.
- Arrange on the Rack: Place the coated chicken pieces onto the prepared wire rack on the baking sheet, making sure they aren’t touching. This is important for even crisping, as it allows hot air to circulate around each piece. Overcrowding the pan will result in steamed, not crispy, chicken.
- The Secret Crisp: Here’s the secret crisping step: Drizzle or brush the melted butter or olive oil evenly over the tops of all the chicken pieces. This helps the breadcrumbs get golden and crispy in the oven, mimicking the effect of frying. Don’t skip this step! It’s what takes these baked chicken bites from good to amazing.
- Bake to Golden Perfection: Bake for 18-22 minutes, flipping halfway through, until the chicken is cooked through and the coating is golden brown and crispy. The wire rack allows heat to circulate around the bites for maximum crispness. Use a meat thermometer to ensure the internal temperature of the chicken reaches 165 degrees F (74 degrees C).
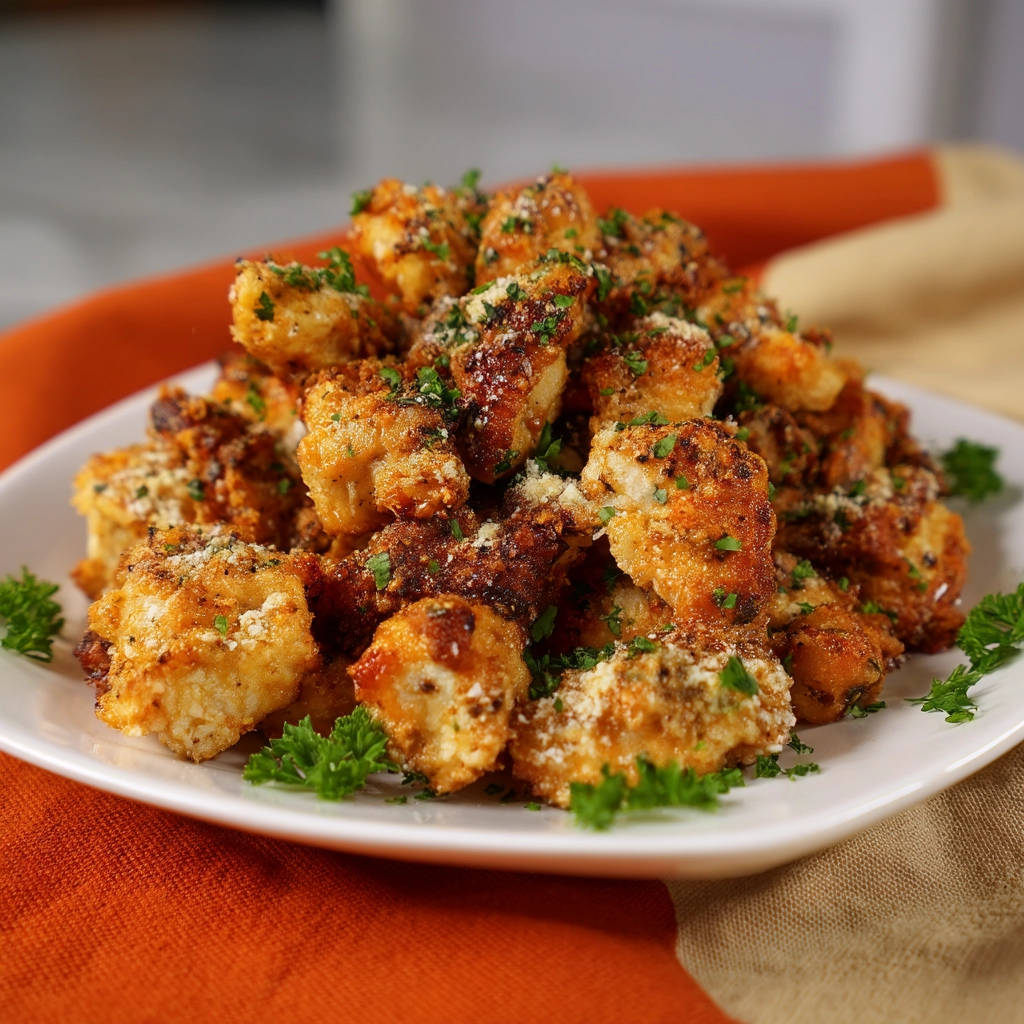
- Garnish and Serve: Remove from oven, let rest for a minute, then garnish with fresh chopped parsley before serving. The parsley adds a pop of freshness and visual appeal.
Tips for Perfect Crispy Chicken Bites Every Time
Want to ensure your crispy baked chicken bites are a guaranteed success? Here are a few extra tips and tricks I’ve learned over the years:
- Don’t skip the wire rack: As mentioned earlier, the wire rack is crucial for even crisping. It allows hot air to circulate around the chicken bites, preventing them from getting soggy on the bottom.
- Use Panko breadcrumbs: Regular breadcrumbs simply won’t deliver the same level of crispiness. Panko breadcrumbs are lighter and airier, allowing them to get incredibly crunchy in the oven.
- Don’t overcrowd the pan: Overcrowding the baking sheet will cause the chicken bites to steam rather than bake, resulting in a soggy coating. Work in batches if necessary.
- Flip halfway through: Flipping the chicken bites halfway through baking ensures even browning and crisping on all sides.
- Use a meat thermometer: To ensure the chicken is cooked through, use a meat thermometer to check the internal temperature. It should reach 165 degrees F (74 degrees C).
- Spice it up: For a kick, add a pinch of cayenne pepper or red pepper flakes to the flour mixture.
- Cheese variations: Experiment with different types of cheese in the Panko mixture. Try using Pecorino Romano for a bolder flavor or a blend of Parmesan and Asiago.
What to Serve With Crispy Baked Chicken Bites
These crispy chicken bites are incredibly versatile and can be served as an appetizer, snack, or main course. Here are a few serving suggestions:
- Dipping sauces: Serve with your favorite dipping sauces, such as ranch dressing, honey mustard, BBQ sauce, or sweet chili sauce.
- Salads: Add them to a salad for a protein-packed lunch or dinner. A simple green salad or a hearty pasta salad would be a great complement.
- Sides: Serve them with classic side dishes like creamy spiced potatoes or our golden vegetable rice pilaf for a complete meal.
- Sandwiches/Wraps: Use them to make delicious chicken sandwiches or wraps. Add your favorite toppings and sauces for a quick and easy meal. For a more substantial sandwich, consider our spiced potato stack sandwich.
Your Crispy Chicken Bites Questions Answered (FAQ)
Can I use frozen chicken?
While it’s best to use fresh chicken for optimal texture, you can use frozen chicken if you thaw it completely first. Make sure to pat the chicken dry with paper towels before coating to remove any excess moisture. Excess moisture will lead to a soggy result.
Can I make these ahead of time?
You can prepare the chicken bites up to the point of baking and store them in the refrigerator for up to 24 hours. However, keep in mind that the breadcrumbs may soften slightly over time. For best results, bake them fresh just before serving.
How do I store leftovers?
Store leftover chicken bites in an airtight container in the refrigerator for up to 3-4 days. Reheat them in the oven or air fryer to re-crisp them. Microwaving them will make them soggy.
Can I make these gluten-free?
Yes! Simply substitute the all-purpose flour with a gluten-free all-purpose flour blend. Ensure the blend contains xanthan gum for binding. Also, double-check that your Panko breadcrumbs are certified gluten-free, as some brands may contain wheat. As always, read labels carefully to ensure all ingredients meet your dietary needs.
Enjoy Your Homemade Crispy Chicken Bites!
There you have it – my secret to unbelievably crispy baked chicken bites! I hope you enjoy this recipe as much as my family does. It’s a delicious and guilt-free way to satisfy your cravings for crispy, golden chicken. Now it’s your turn to give it a try! Leave a comment below and let me know how they turned out. Don’t forget to share this recipe with your friends and family!