Let’s talk about snack time disappointment. You know the feeling, right? You’re excited about making some fun, mini pizza snacks, maybe for a party or just a cozy movie night. They look amazing coming out of the oven, cheese melted and bubbly. But then you pick one up, take a bite, and… soggy bottom. Ugh. It just ruins the whole delicious experience! We’ve all been there, battling the dreaded soggy center on small bites. It’s a common struggle when combining wet ingredients like pizza sauce with a crispy base.
But what if I told you there’s a ridiculously simple trick to keep those delightful little Crispy Pizza Bites perfectly crisp from top to bottom, every single time? No more sad, floppy centers! This recipe is a game-changer for anyone who loves mini pizzas but hates the sogginess. It’s quick, easy, and guaranteed to deliver that satisfying crunch you crave. Get ready to make the best little pizza bites you’ve ever had!
Why You’ll Absolutely Adore These Crispy Pizza Bites
These aren’t just any pizza bites; they are engineered for maximum crispiness and flavor. Here are just a few reasons why this recipe is about to become a staple in your snack arsenal:
- They stay wonderfully crispy, thanks to a clever little trick we’ll talk about!
- They’re incredibly fast to make, perfect for spontaneous snacking or last-minute guests.
- Only a handful of simple ingredients needed, things you likely already have or can easily find.
- Customizable toppings mean everyone can have their favorite mini pizza.
- They are universally loved by kids and adults alike – guaranteed crowd-pleaser!
- Perfect for parties, game nights, after-school snacks, or just curing a pizza craving without ordering a whole pie.
Gathering Your Ingredients for Crispy Pizza Bites
One of the best things about these Crispy Pizza Bites is how few ingredients you actually need. We’re focusing on flavor and texture, making sure each component plays its part, especially in achieving that coveted crispiness. Here’s what you’ll want to have on hand, along with a few notes on selecting the best options:
First, you’ll need the foundation: approximately 12 to 16 sturdy, crispy squares. This could be anything from robust, savory crackers (think something like a Triscuit or similar) to small, firm tortilla squares. The key here is to start with a base that already has a good crunch and can stand up to a bit of moisture and heat. Flakier crackers might crumble, so opt for something with a bit more structural integrity.
Next up, cheese – and lots of it! We’re using about 1 1/2 cups of shredded mozzarella cheese. Mozzarella is perfect because it melts beautifully, creating those irresistible gooey strings we love on pizza. Its melting properties are also key to our anti-soggy strategy. Having a little extra on hand is never a bad idea; you know how cheese tends to disappear! If you want to change things up, a blend of mozzarella and a little provolone or parmesan can add extra flavor, but mozzarella is non-negotiable for our crisping trick.
For the essential pizza flavor, you’ll need about 1/2 cup of your favorite pizza sauce. A good quality, slightly thicker sauce works best here, as watery sauces are the enemy of crispiness. You don’t need a lot for each bite, but the sauce provides that signature tomato tang that pulls the whole thing together. If you’re feeling adventurous, a pesto or even a white garlic sauce could work for variations, but classic pizza sauce is the go-to here.
And of course, pepperoni! About 3 ounces of sliced pepperoni is standard. The pepperoni crisps up slightly in the oven and adds a salty, savory bite. Feel free to use mini pepperoni slices if you can find them, as they are perfect for the small size of these bites. If pepperoni isn’t your thing, think about other small, pre-cooked toppings like crumbled cooked sausage, finely diced bell peppers, or mushrooms.
Finally, for an extra layer of classic Italian flavor, consider adding about 1 teaspoon of dried Italian herbs. This is optional, but a sprinkle of herbs after baking adds a wonderful aroma and authentic taste. A mix of oregano, basil, thyme, and rosemary is typical, or just plain dried oregano works well too.
The Full Ingredient List:
- 12-16 crispy cracker or tortilla squares
- 1/2 cup pizza sauce
- 1 1/2 cups shredded mozzarella cheese
- 3 ounces pepperoni slices
- 1 teaspoon dried Italian herbs (optional)
That’s all you need! Simple, right? Now, let’s get to the fun part – assembling and baking these crispy delights.
Crafting Your Crispy Pizza Bites: Step-by-Step
Alright, let’s turn these simple ingredients into a batch of perfectly crispy, cheesy, pepperoni goodness. The process is straightforward, but paying attention to one key step makes all the difference. Follow along, and you’ll be enjoying crispy pizza bites in no time!
Get the Oven Ready: Start by preheating your oven to 400 degrees Fahrenheit (about 200 degrees Celsius). Getting the oven to the correct temperature before you put the pizza bites in is crucial. A hot oven helps the crackers crisp up quickly and the cheese melt without the sauce having too much time to seep into the base. As the oven heats, arrange your chosen cracker or tortilla squares in a single layer on a baking sheet. Using a sheet lined with parchment paper or a silicone mat can make cleanup easier and also helps prevent sticking.
The Magic Cheese Barrier (Don’t Skip This!): This is the absolute game-changer, the secret weapon against sogginess! Take a small pinch of shredded mozzarella cheese – aim for about 1 teaspoon per square – and place it directly onto the center of each cracker or tortilla. Spread it out just a tiny bit, creating a thin, even layer of cheese. Why does this work? As the cheese melts, it forms a waterproof barrier between the cracker and the wet pizza sauce that comes next. It’s like building a little shield for your crispy base! This simple step is the key to preventing that frustrating soggy bottom.
Add the Sauce: Now that your cheese barrier is in place, it’s time for the pizza sauce. Carefully spoon a small amount of pizza sauce onto the cheese layer on each square. Again, about 1 teaspoon per bite is plenty. Resist the urge to add too much sauce; excess moisture is the enemy of crispiness. The cheese beneath will protect the base, but you still want to keep the sauce layer relatively thin.
More Cheese, Please!: Sprinkle more shredded mozzarella cheese generously over the sauce layer. This is where you get that classic, bubbly, melted pizza cheese topping. Make sure you cover the sauce nicely. This layer will melt and turn golden brown in the oven, adding another fantastic texture contrast.
Top with Pepperoni: Place 1 or 2 slices of pepperoni on top of the cheese on each pizza bite. The pepperoni adds flavor and a nice visual appeal. If using mini pepperoni, you might use a few more. If using other toppings like cooked sausage or veggies, add them at this stage.
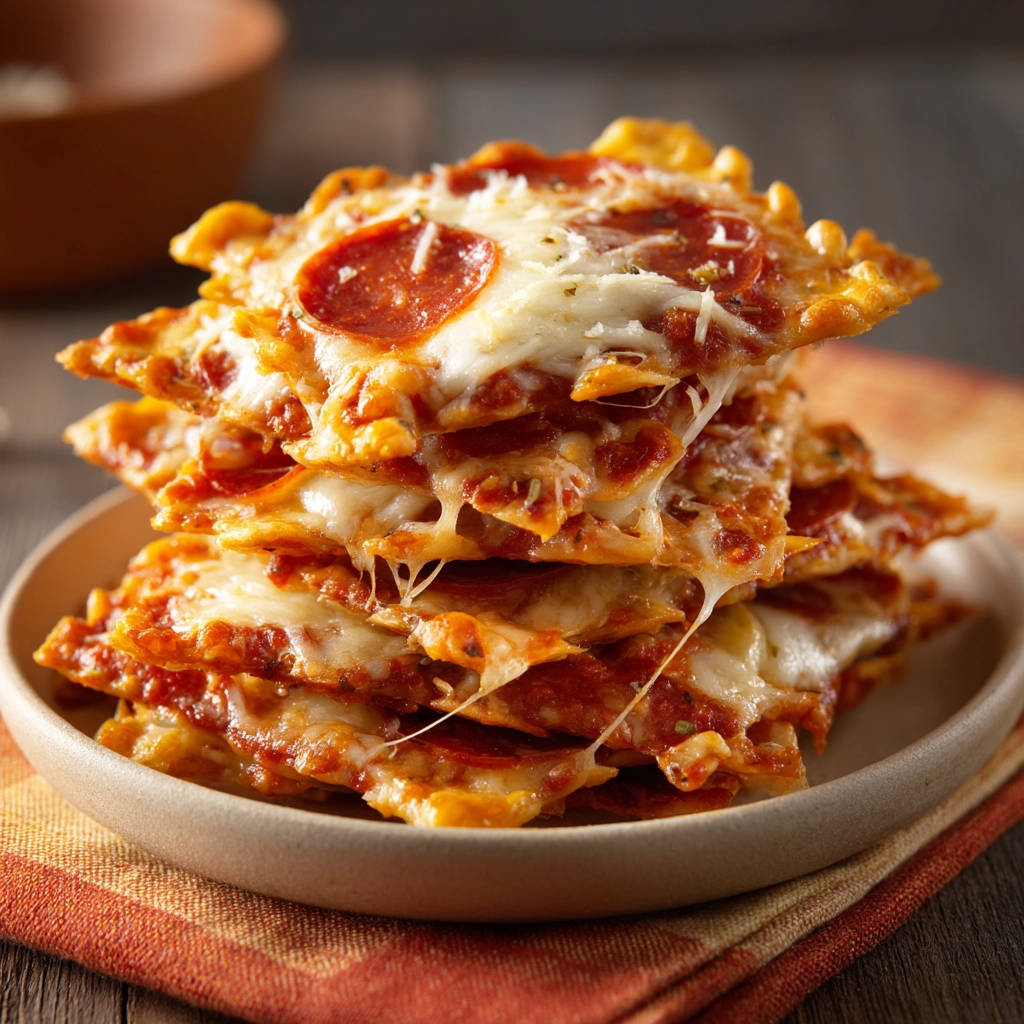
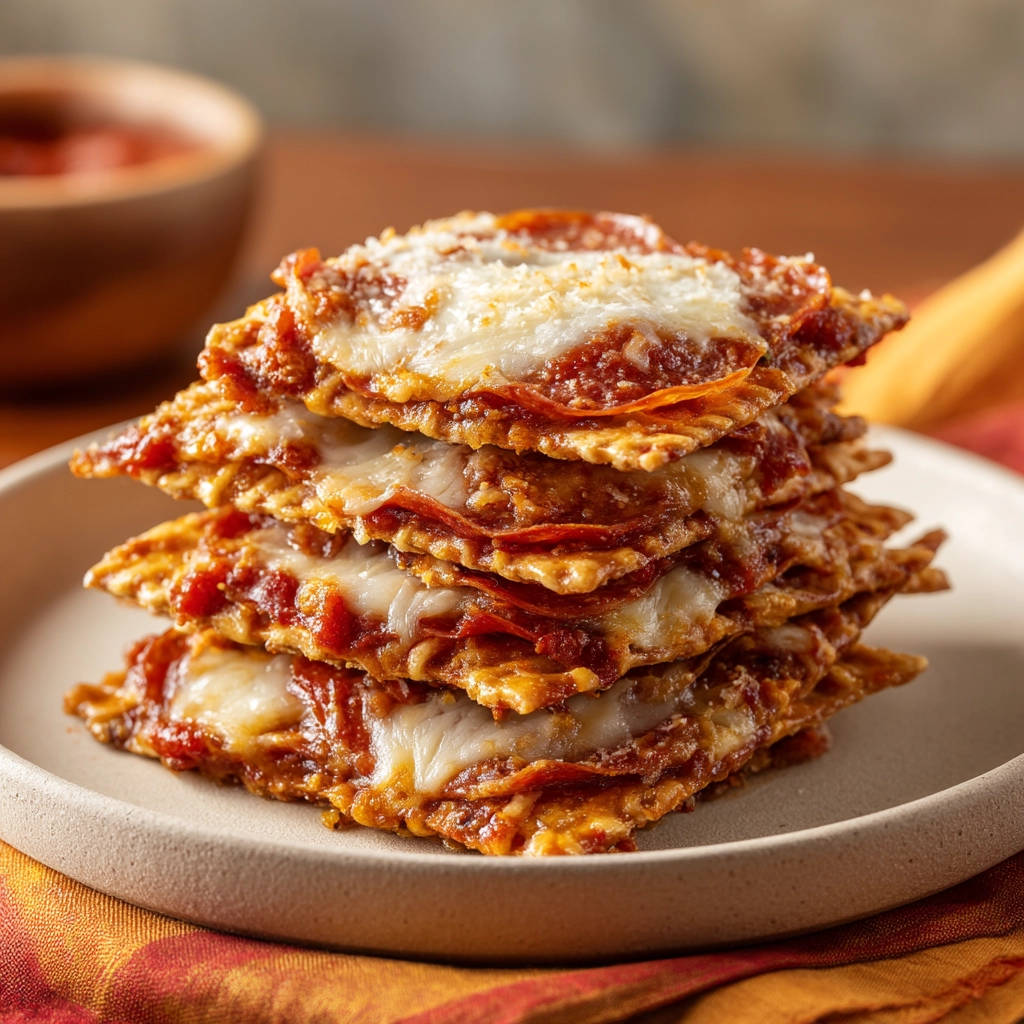
Arrange for Baking: At this point, you have two options, depending on your desired outcome and the sturdiness of your base. You can leave them as single-layer bites for maximum, guaranteed crispiness. Or, if your base cracker or tortilla is quite firm and you’ve applied the cheese barrier effectively, you can carefully stack two or three squares on top of each other to create mini layered pizza stacks, similar to what you might see pictured. Baking in stacks is possible, but be aware that single layers will almost always yield a crispier result overall. Ensure they are not touching on the baking sheet to allow hot air to circulate.
Bake to Perfection: Slide the baking sheet into your preheated oven. Bake for 6 to 10 minutes. Keep a close eye on them, especially if it’s your first time making them or using a different type of base. They bake very quickly! You’ll know they’re done when the cheese is completely melted and bubbly, and the edges of the crackers or tortillas look golden brown and crispy. Don’t let them burn!
Serve Immediately: Carefully remove the baking sheet from the oven. If using dried Italian herbs, sprinkle them over the hot, cheesy bites right away. This helps the heat release their aroma. The absolute best way to enjoy these Crispy Pizza Bites is to serve them immediately while they are still hot and, most importantly, perfectly crispy! They are best enjoyed fresh, capturing that ideal texture combination.
And just like that, you’ve made a batch of utterly delicious, perfectly crispy pizza bites that are sure to disappear in minutes! No soggy bottoms allowed here.
Tips for Perfect Crispy Pizza Bites Every Time
While the cheese barrier is the main secret weapon, a few extra tips can help ensure your pizza bites are consistently fantastic. Consider these pointers to elevate your mini pizza game:
Choose Your Base Wisely: The sturdiness of your cracker or tortilla is key. Thicker, denser crackers or slightly toasted tortilla squares will hold up better than very thin or airy options. If using crackers, make sure they aren’t too fragile. Experiment to find your favorite!
Measure the Sauce (Seriously!): It might seem insignificant, but that 1 teaspoon of sauce per bite is deliberate. Too much sauce, even with the cheese barrier, can introduce excess moisture and make the topping too heavy, potentially compromising the crispiness. Stick to the suggested amount for the best results.
Don’t Overcrowd the Pan: Give your pizza bites space on the baking sheet. If they’re too close together, steam can build up, which is the opposite of what we want for crispiness. Arranging them in a single layer with a bit of space between them allows the hot air to circulate freely, promoting even baking and crisping.
Watch Like a Hawk While Baking: Ovens vary, and these bake very quickly. Start checking them around the 6-minute mark. The difference between perfectly golden and slightly burnt can be just a minute or two. Look for the cheese to be fully melted and bubbly and the edges of the base to show golden brown signs of crispiness.
Consider an Air Fryer: If you have an air fryer, it can be a fantastic tool for achieving extra crispiness! The circulating hot air is ideal for this. Preheat your air fryer to the same temperature (400F or 200C) and cook for a shorter time, likely 4-7 minutes, checking frequently. Arrange in a single layer in the air fryer basket, cooking in batches if necessary.
Get Creative with Toppings (Keep Them Small & Cooked): Pepperoni is classic, but you can add other toppings! Just make sure they are small and ideally pre-cooked or low in moisture. Think finely diced cooked bacon (just bacon!), small pieces of cooked sausage, sautéed mushrooms, black olives, or tiny bits of bell pepper. Avoid watery vegetables unless they are pre-roasted or sautéed first.
What to Serve With Your Crispy Pizza Bites
These little bites are fantastic on their own, but they also pair wonderfully with a few dipping sauces or simple sides to make them part of a larger snack spread or light meal. Consider serving them with:
- Extra pizza sauce for dipping (warm it up slightly!).
- Ranch dressing or a creamy garlic dip.
- A side of marinara sauce.
- Garlic butter for brushing or dipping (melted butter mixed with garlic powder and a pinch of parsley).
- A simple green salad for a touch of freshness.
They are the perfect appetizer alongside other crowd-pleasers like Cheesy Garlic Bombs or Crispy Baked Chicken Bites for a full-on snack fiesta!
Your Crispy Pizza Bite Questions Answered (FAQ)
Here are some common questions people ask about making pizza bites, especially when trying to achieve that perfect crispy texture:
Why are my pizza bites soggy even with the cheese?
Make sure you are applying a thin layer of cheese directly onto the cracker before the sauce. This is the barrier step. Also, ensure you aren’t using too much sauce, as excess liquid can still cause issues. Using a sturdy base and not overcrowding the baking sheet also helps. Ensure your oven is fully preheated to 400F.
Can I use different kinds of cheese?
While mozzarella is ideal for its melting properties and effectiveness as a barrier, you can certainly mix in other shredded cheeses for flavor (like a little provolone or parmesan) for the top layer. However, the barrier layer should primarily be mozzarella for the best results.
What’s the best cracker or tortilla to use?
Look for crackers that are naturally crispy and have a relatively flat surface and sturdy texture. Thicker crackers or even things like pita chips or toasted baguette slices can work. For tortillas, cut them into squares or circles and ensure they are on the thinner side but not overly flexible before baking.
Can I make these ahead of time?
These Crispy Pizza Bites are definitely best enjoyed fresh out of the oven when the base is at its crispiest and the cheese is perfectly melted. You can prep all the ingredients ahead of time (shred cheese, slice pepperoni), but assemble them just before you plan to bake for the freshest, crispiest result.
How should I store and reheat leftovers?
If you do have leftovers, store them in an airtight container in the refrigerator. To reheat and regain some crispiness, it’s best to use a toaster oven or the main oven at 350F (175C) for a few minutes until heated through and the cheese is bubbly again. Reheating in a microwave is possible, but it will likely result in a soft or chewy texture rather than crisp.
Can I make these with different toppings?
Absolutely! This recipe is easily adaptable. Just remember to use toppings that are small and not excessively wet. Small pieces of cooked sausage, finely chopped vegetables like onions or peppers (sautéed first if you prefer), olives, or mushrooms are great options. Just like the main recipe, don’t overload them!
Enjoy Your Homemade Crispy Pizza Bites!
Say goodbye to disappointing, soggy pizza snacks! With this simple cheese barrier trick, you can now create perfect, satisfyingly crispy Crispy Pizza Bites right in your own kitchen. They’re proof that sometimes the easiest solutions are the most effective. Whether you’re making them for a family snack, a gathering with friends, or just because you’re craving that perfect pizza flavor in a bite-sized package, this recipe delivers on crunch and taste.
Give these Crispy Pizza Bites a try, and prepare for them to become a new favorite! If you love these simple yet effective recipe hacks, be sure to explore other delights like our Pepperoni Pizza Pull-Apart Ring for a larger format pizza snack. Let me know in the comments below how yours turned out and if you experimented with any fun new toppings!
Crispy Pizza Bites

Ingredients
- 12-16 crispy cracker or tortilla squares
- 1/2 cup pizza sauce
- 1 1/2 cups shredded mozzarella cheese
- 3 ounces pepperoni slices
- 1 teaspoon dried Italian herbs (optional)
Directions
- Preheat your oven to 400 degrees Fahrenheit. Arrange the cracker or tortilla squares in a single layer on a baking sheet.
- This is the key step to prevent sogginess: Place a small, thin layer (about 1 teaspoon) of shredded mozzarella cheese directly onto each cracker or tortilla square. This cheese layer acts as a barrier against the wet sauce.
- Top the cheese layer with about 1 teaspoon of pizza sauce on each square.
- Sprinkle more shredded mozzarella cheese over the sauce.
- Place 1-2 pepperoni slices on top of the cheese.
- Carefully stack the squares to create layers, mimicking the image, or leave them as single layers if preferred for maximum crispiness. Baking in stacks is possible if the base is firm enough and you use the cheese barrier trick.
- Bake for 6-10 minutes, or until the cheese is melted and bubbly and the edges of the crackers are golden and crispy. Keep a close eye on them as they bake quickly.
- Remove from oven, sprinkle with dried Italian herbs if using, and serve immediately while hot and crispy.