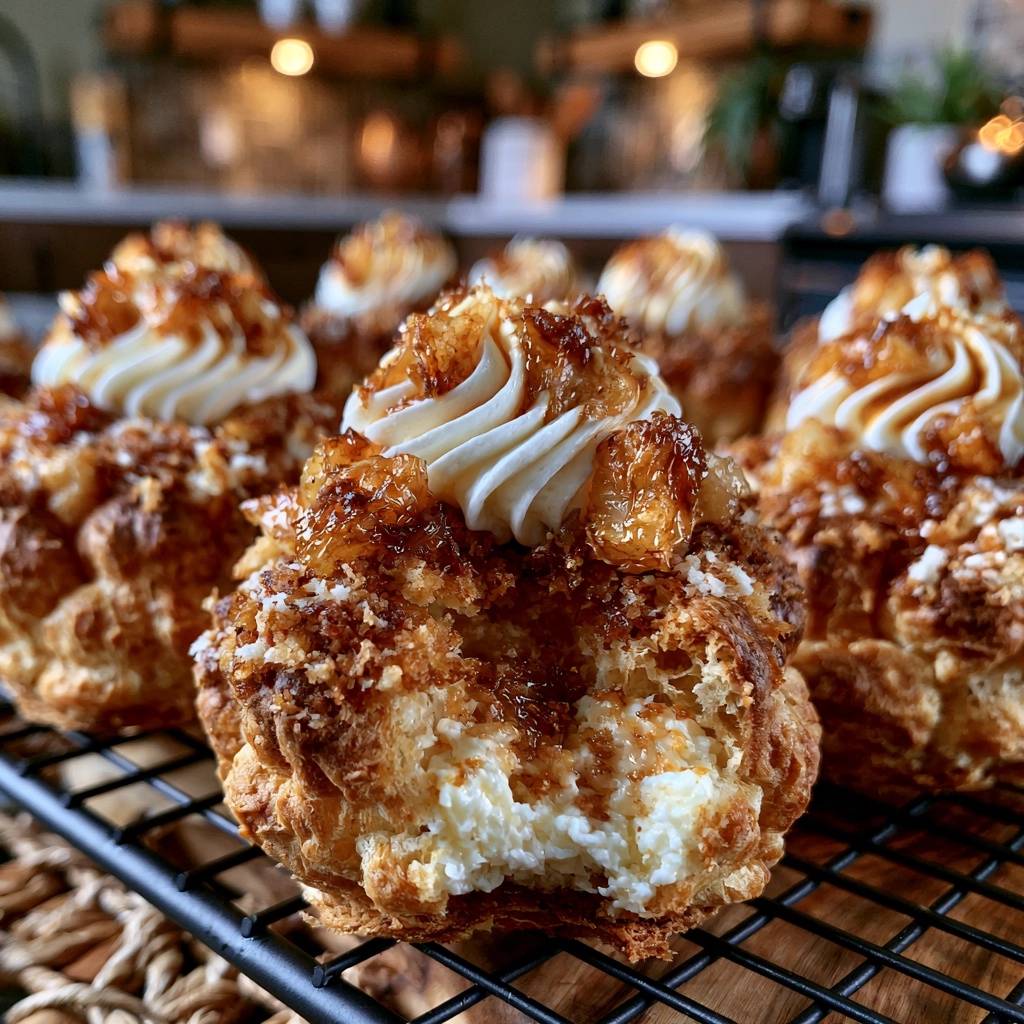
French Pâte à Choux is the backbone of high-end pastry, but the classic version often lacks a certain structural excitement. By adding a “Craquelin” topping, you transform a simple, airy puff into a professional-grade masterpiece with a signature architectural crunch. This sweet, cookie-like disc bakes directly onto the pastry, creating a craggy, golden crust that looks like it came straight from a Parisian window display.
The real beauty of this recipe lies in the contrast between the shatteringly crisp shell and the soft, spiced interior. While many home bakers struggle with cream puffs that turn soft or soggy within minutes, this version uses a specific venting technique to ensure a lasting crunch. When you pair that texture with the deep, autumnal warmth of caramelized Granny Smith apples, you get a dessert that is both sophisticated and deeply comforting.
The secret to that perfect, uniform expansion is the weight of the Craquelin itself. It acts as a gentle anchor, forcing the steam-filled dough to expand evenly rather than bursting in random directions. To get the best results, make sure your eggs are at room temperature before you start. Cold eggs can shock the warm dough and prevent it from emulsifying properly, which is the most common reason for a flat bake.
The Anatomy of a Perfect Craquelin Topping
Creating the Craquelin requires just four basic ingredients: softened butter, brown sugar, all-purpose flour, and a touch of cinnamon. While some recipes use white sugar, brown sugar is essential here because the molasses content provides a deep mahogany color. This darker hue perfectly mirrors the rich tones of the caramel apple filling we will add later.
Texture is everything when it comes to this topping. You want to roll the dough out to exactly 1/8-inch thickness. If it’s too thick, the weight will crush the delicate choux pastry and prevent it from rising. If it’s too thin, it will simply melt into the shell without creating that iconic “cracked” appearance that gives the pastry its name.
Why Freezing the Craquelin is Non-Negotiable
The physics of the oven play a huge role in how these puffs turn out. You must freeze the Craquelin discs for at least 15 minutes before placing them on the piped dough. If the discs are too warm, they will liquefy and slide off the sides of the puff before the pastry has a chance to expand.
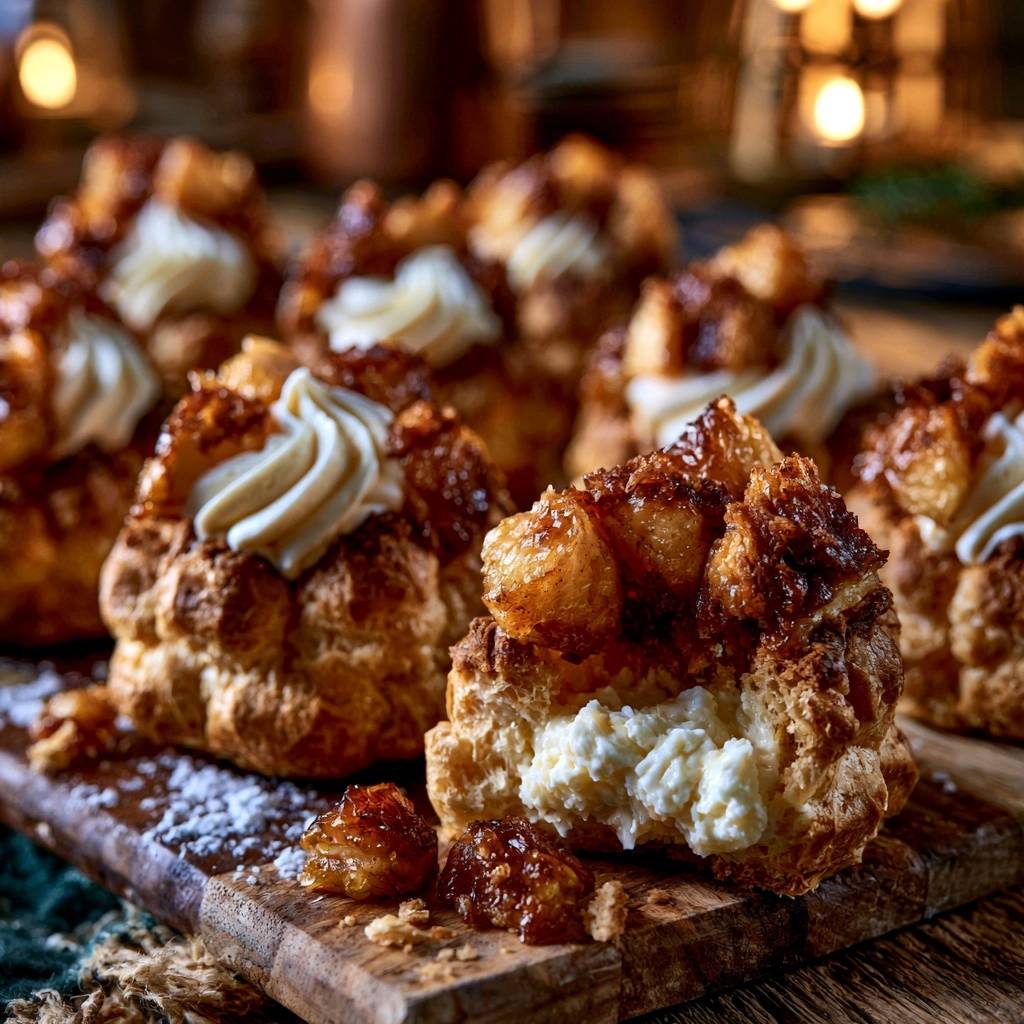
When the discs are frozen, they stay solid just long enough for the choux to begin its initial rise. As the steam pushes the dough upward, the cold cookie layer cracks into beautiful, jagged islands. Using parchment paper during the rolling process is a lifesaver here, as it allows you to peel the delicate discs away without tearing them.
Essential Components for the Choux Pastry Base
Choux pastry relies on the “Big Five” ingredients: water, butter, salt, sugar, and flour. While some bakers reach for bread flour, all-purpose flour is actually the superior choice for this specific recipe. It provides enough protein for a sturdy structure while keeping the walls of the puff delicate enough to melt in your mouth.
Butter provides the fat necessary for a rich flavor, but it also plays a structural role. As the water and butter boil, they create the steam that will eventually inflate the puffs. Using room-temperature eggs is the final piece of the puzzle. They incorporate much more easily into the cooked flour paste, ensuring a smooth, glossy batter that doesn’t break or curdle.
The Science of Steam and Emulsification
The first step in making the dough is creating a “panade” by cooking the flour in the boiling water and butter mixture. You must stir this vigorously over medium heat for about two minutes. You’ll know it’s ready when a thin, starchy film forms on the bottom of the pan, which signals that you’ve cooked out enough moisture for the starch to gelatinize.
Adding the eggs is where the magic happens. You want to add them one at a time, beating thoroughly after each addition. The batter will look curdled and messy at first, but keep going! You are looking for the “V-shape” or “ribbon stage.” When you lift your spatula, the dough should fall slowly and leave a clear V-shaped tail hanging from the blade.
Step-by-Step: Engineering the Caramel Apple Filling
For the filling, Granny Smith apples are the only way to go. Their natural acidity cuts through the sweetness of the caramel and whipped cream, providing a balanced flavor profile. More importantly, they are firm enough to hold their shape during the sautéing process, ensuring you don’t end up with applesauce inside your pastry.
The caramelization process is a quick transformation of butter, brown sugar, and cinnamon into a bubbling, fragrant glaze. In the final moments of cooking, you’ll stir in a tablespoon of heavy cream. This creates a “shortcut” butterscotch that acts as a binder, coating every piece of fruit in a thick, luscious sauce that won’t run out of the puff when you take a bite.
Achieving the Ideal Fruit Texture
Be careful not to overcook the apples. You want them to be “tender-crisp,” meaning they are soft enough to eat easily but still offer a slight textural resistance. This contrast is vital when the rest of the dessert is as soft as whipped cream and airy pastry.
Once the apples are glazed, they must cool completely before assembly. If you put warm apples onto the Chantilly cream, the heat will cause the fat in the cream to melt instantly. This results in a watery mess and a collapsed puff. Patience is your best friend here; let those apples reach room temperature or chill them slightly.
Precision Baking and the Anti-Soggy Technique
Baking choux is a two-stage process that requires a bit of heat management. You start at 425°F to create an immediate burst of steam, which provides the “lift” needed to inflate the puffs. After 15 minutes, you drop the temperature to 375°F. This lower heat allows the interior walls to dry out and set without burning the delicate Craquelin on top.
Whatever you do, do not open the oven door during the first 20 minutes of baking. The sudden drop in temperature and the rush of cool air will cause the steam inside the puffs to condense, leading to a tragic collapse. You want to see a deep, golden brown color before you even think about reaching for that oven handle.
The Critical Steam-Venting Maneuver
Even after the puffs look done, there is still moisture trapped inside. This is the “Anti-Soggy Secret.” As soon as you pull the tray out of the oven, use a toothpick or a small knife to poke a tiny hole in the side of each puff. This allows the remaining steam to escape immediately rather than soaking back into the walls of the pastry.
For the ultimate crunch, put the vented puffs back into the turned-off oven with the door cracked open for about 10 minutes. This drying phase ensures the interior is bone-dry and rigid. A dry shell can hold heavy cream and glazed apples for hours without losing its structural integrity.
Stabilized Chantilly Cream for Structural Support
A standard whipped cream won’t cut it for these tall, layered pastries. You need a stabilized Chantilly cream made with heavy whipping cream that has at least 36% fat content. The high fat provides the richness and the “stiff peaks” necessary to support the weight of the apple filling and the pastry lid.
Using powdered sugar instead of granulated sugar is a pro move. Powdered sugar contains a small amount of cornstarch, which acts as a stabilizer for the cream. Whip the mixture until it is thick and holds its shape firmly on the whisk. Be careful not to over-beat, or you’ll end up with sweetened butter instead of fluffy cream!
Assembly: Building the Multi-Textured Pastry
To assemble, use a serrated knife to gently saw off the top third of each cooled puff. Using a serrated blade is important because it won’t crush the delicate Craquelin crust. Start by piping a generous base of Chantilly cream into the bottom of the shell, creating a soft nest for the fruit.
Spoon a layer of the cooled caramelized apples over that first layer of cream. To finish, pipe a decorative star-swirl of cream directly on top of the apples. You can either lean the “lid” back against the cream for a whimsical look or place it directly on top. This multi-layered approach ensures every bite has a bit of crunch, cream, and fruit.
Essential Tools for Professional Pastry Results
Having the right gear makes this technical recipe much easier to manage. A heavy-bottomed saucepan is non-negotiable for the choux dough, as it prevents the flour from scorching during the panade stage. For the filling and cream, a piping bag fitted with a large star tip will give you that clean, professional aesthetic seen in bakeries.
A 2-inch circular cutter is the best way to ensure your Craquelin discs are uniform. If the discs are all the same size, your puffs will bake at the same rate. Finally, always use high-quality parchment paper or a silicone mat. Greasing a pan directly can cause the puffs to spread too much, resulting in flat discs rather than high-rising spheres.
Troubleshooting Common Choux Pastry Failures
If your puffs didn’t rise, the most likely culprit is an undercooked panade or adding too many eggs. If the dough is too wet, it won’t have the strength to hold the steam. On the other hand, if your Craquelin slid off to the side, you might have piped your mounds too tall and skinny. Aim for wide, low mounds so the disc has a stable surface to rest on.
If you notice a strong “eggy” flavor, it usually means the puffs are slightly underbaked. The interior should be almost entirely hollow and dry. If they feel heavy or damp inside, they need a few more minutes in the oven. Remember, the “drying out” step in the turned-off oven is the best way to fix this issue before it ruins your dessert.
How to Fix a Runny Choux Batter
If you accidentally add one egg too many and your batter becomes runny, don’t panic. Do not just stir in raw flour! This will ruin the texture and the puffs won’t rise. Instead, make a small half-batch of the cooked flour and water “panade” (without eggs) and slowly fold it into your runny batter until you reach that perfect V-shape consistency.
Make-Ahead Strategies and Storage Logistics
You can actually prepare most of this recipe in advance. The raw choux mounds can be piped onto a tray and frozen; once solid, transfer them to a bag and bake them straight from the freezer (just add a few extra minutes to the cook time). The Craquelin discs can also be stored in the freezer for up to a month.
Unfilled baked shells will stay crisp in an airtight container at room temperature for about 24 hours. However, once you fill them with the cream and apples, the clock starts ticking. The moisture from the cream will eventually soften the pastry, so it is best to serve these within 2 to 4 hours of assembly for the maximum crunch factor.
Expert Tips for Flavor Customization
While the caramel apple version is a classic, you can easily tweak the flavors. Try adding a pinch of ground cardamom to the apple mixture for a sophisticated, floral twist. If you want a deeper flavor in the topping, you can substitute the brown sugar in the Craquelin with maple sugar.
For the Chantilly cream, a tiny bit of freshly grated ginger can add a wonderful zing that complements the cinnamon. Just make sure any additions are finely ground so they don’t clog your piping tip. These small adjustments allow you to make the recipe your own while keeping the professional structure intact.
Frequently Asked Questions
Can I use a different apple variety?
While Granny Smith is the gold standard for baking due to its tartness and firm texture, you can use Honeycrisp or Braeburn apples as a substitute. Avoid soft varieties like Red Delicious or Gala, as they tend to break down and become mushy when sautéed with sugar and butter. You want that distinct “bite” to contrast with the cream.
Why did my puffs deflate after 5 minutes?
Deflation is almost always caused by trapped steam or underbaking. If the interior walls of the puff aren’t fully cooked and dried out, they won’t be strong enough to support the structure once the hot air inside cools down. Always use the “toothpick vent” method and the extra drying time in the oven to ensure the walls are rigid.
Can I make the craquelin dough a day in advance?
Yes, you can make the Craquelin dough ahead of time. In fact, it’s easier to handle when it’s very cold. You can roll it out and cut the discs, then store them in the freezer between layers of parchment paper. This makes the actual baking day much faster and ensures the discs are perfectly chilled when they hit the oven.
What is the best way to reheat leftover shells?
If your unfilled shells have lost their crunch, you can revive them in a 300°F oven for about 5 to 8 minutes. This will evaporate any moisture they’ve absorbed from the air. Let them cool completely before filling. Never reheat filled puffs, as the whipped cream will melt into a liquid mess.
Why is my caramel sauce too thin?
If the glaze on your apples seems watery, it usually means the apples released a lot of juice and the sugar hasn’t reduced enough. Continue to sauté the mixture for an extra minute or two before adding the heavy cream. The sauce should be thick enough to coat the back of a spoon and shouldn’t pool at the bottom of the puff.
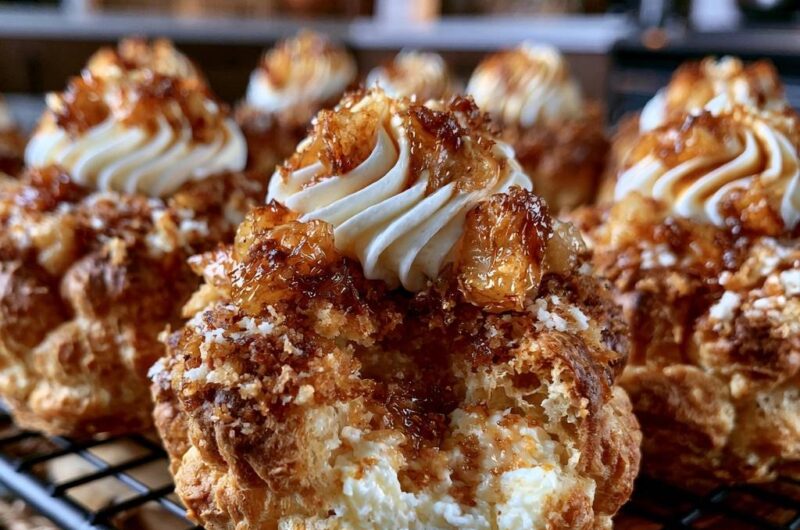
Caramel Apple Craquelin Cream Puffs
Course: DessertCuisine: French and AmericanDifficulty: easy12
puffs50
minutes35
minutes85
Minutes340
kcalFrench and American
Ingredients
For the Craquelin (Crunchy Topping):
1/4 cup unsalted butter, softened
1/3 cup brown sugar
1/2 cup all-purpose flour
1/2 teaspoon cinnamon
For the Choux Pastry:
1 cup water
1/2 cup unsalted butter
1/4 teaspoon salt
1 tablespoon sugar
1 cup all-purpose flour
4 large eggs, room temperature
For the Caramel Apple Filling & Topping:
2 large Granny Smith apples, finely diced
1/2 cup brown sugar
2 tablespoons butter
1/2 teaspoon cinnamon
1 tablespoon heavy cream (for the caramel sauce)
For the Chantilly Cream:
2 cups heavy whipping cream, cold
1/2 cup powdered sugar
1 teaspoon vanilla extract
Directions
- MAKE THE CRAQUELIN: Cream 1/4 cup butter and 1/3 cup brown sugar. Stir in 1/2 cup flour and cinnamon until a dough forms. Roll out between two sheets of parchment paper to 1/8-inch thickness. Freeze for 15 minutes. Use a round cutter to cut 2-inch circles. Keep frozen until needed.
- PREHEAT & PREP: Preheat oven to 425°F. Line a baking sheet with parchment.
- MAKE THE CHOUX: In a saucepan, bring water, 1/2 cup butter, salt, and sugar to a rolling boil. Add 1 cup flour all at once. Stir vigorously over medium heat for 2 minutes until a film forms on the bottom of the pan. Transfer to a bowl; cool for 5 minutes. Beat in eggs one at a time until the dough is glossy and forms a “V” shape when lifted.
- PIPE & TOP: Pipe 2-inch mounds onto the sheet. Place a frozen Craquelin disc on top of each mound. Bake at 425°F for 15 minutes, then reduce to 375°F for 15-20 minutes until deep golden brown.
- THE ANTI-SOGGY SECRET: Remove from oven and immediately poke a small hole in the side of each puff with a toothpick or knife. Return to the turned-off oven with the door cracked for 10 minutes to dry the interiors completely.
- CARAMELIZE APPLES: Sauté diced apples with butter, brown sugar, and cinnamon until tender. Stir in 1 tablespoon heavy cream at the end to create a thick glaze. Let cool completely.
- WHIP THE CREAM: Beat heavy cream, powdered sugar, and vanilla until stiff peaks form. Transfer to a piping bag with a star tip.
- ASSEMBLY: Using a serrated knife, carefully cut the top third off the cooled puffs. Fill the bottom cavity generously with whipped cream. Spoon a layer of caramelized apples over the cream. Pipe a decorative star-swirl of cream on top of the apples, then lean the “lid” back against the cream or leave it open-faced as shown in the image. Serve immediately.
Notes
- The anti-soggy secret involves poking a small hole in the side of each baked puff and letting them dry in a cracked oven for 10 minutes to ensure the interiors are completely moisture-free.