Forget those rubbery, microwaved wraps that turn into a gummy mess the second they hit your plate. We’ve all been there, biting into a soft tortilla only to have it fall apart because the hot dog steamed it from the inside out. It’s disappointing, but it’s also completely avoidable if you change your approach to moisture.
The “Anti-Soggy Bottom” philosophy is all about creating a structural masterpiece that stays shatteringly crisp from the first bite to the last. By focusing on a specific searing technique and a moisture barrier, you get that incredible contrast between a golden, toasted shell and a gooey, melted center. It’s the ultimate upgrade for a quick lunch or a game-day snack.
The real secret to success here is the pre-sear. Most people roll cold hot dogs directly into the tortilla, which traps steam and ruins the texture. I’ve found that browning the franks first not only adds a smoky depth of flavor but also evaporates the surface moisture that usually kills the crunch. This one extra step ensures your wrap stays firm and crackly.
For a similar structural triumph, check out The Loaded Beef Taco Bake.
The Anatomy of a Perfect Tortilla Wrap
When you’re building these roll-ups, the vessel matters just as much as the filling. Flour tortillas are the undisputed champion for this recipe because they have the elasticity needed to roll tightly without snapping. Unlike corn tortillas, which can be brittle, flour wraps create a smooth, laminated-style crust when they hit the hot oil and butter in the pan.
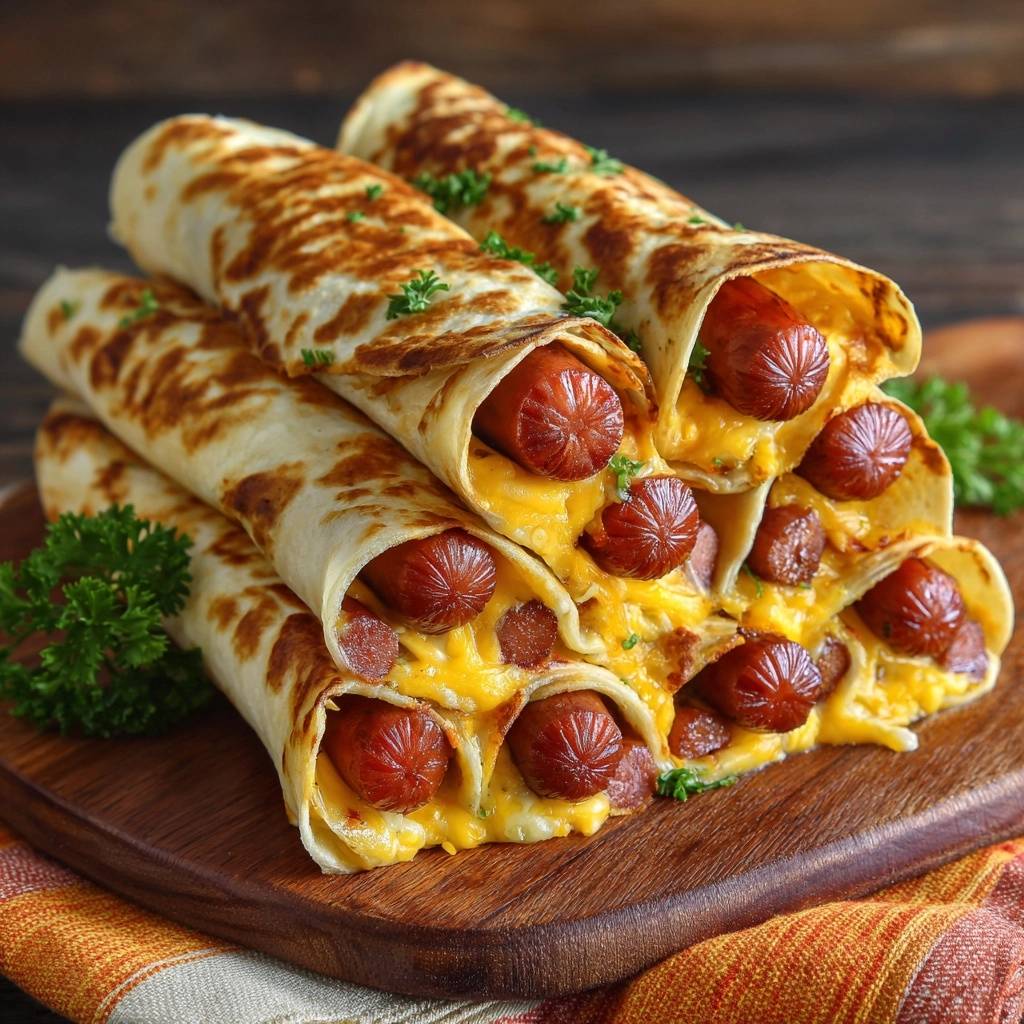
We use a “Double-Barrel” layout by nesting two hot dogs side-by-side within a single halved tortilla. This isn’t just for looks; it creates the perfect protein-to-carb ratio. By using a half-circle of a large burrito-sized tortilla, you avoid having too many layers of dough in the center, which often stay raw or doughy. This layout ensures every millimeter of the wrap gets direct contact with the heat.
Essential Components for Maximum Crunch
Quality ingredients are the foundation of a great roll-up, and it starts with the meat. I always recommend 100% beef hot dogs because they offer a superior snap and a rich, savory profile that stands up to the sharp cheese. Cheaper brands often have higher water content, which can leak out during cooking and soften your beautiful crust.
For the cheese, a blend is your best friend. Sharp cheddar provides that punchy, classic flavor we all crave, but it can sometimes be oily when melted. That’s why we mix it with Monterey Jack. The Jack acts as an emulsifier, providing a stretchy, elastic melt that binds the hot dogs to the tortilla like a delicious culinary glue.
To finish the exterior, we use unsalted butter mixed with garlic powder. Using unsalted butter allows you to control the seasoning perfectly, especially since hot dogs and cheese are already naturally salty. This seasoned butter creates a Maillard reaction on the surface, resulting in a nutty aroma and a gorgeous mahogany color that looks as good as it tastes.
Why Fat Choice Matters: Butter vs. Oil
You might wonder why we use both vegetable oil and butter in the pan. It’s all about the smoke point. If you used only butter, the milk solids would burn and turn bitter before the cheese inside had a chance to melt. The vegetable oil provides a high-heat cushion, while the butter adds that signature toasted flavor and helps create those iconic dark, leopard-spotted char marks on the tortilla.
Pre-Searing: The Secret to Moisture Control
This is the most critical technical step in the entire process. Hot dogs are packed with internal moisture that wants to escape as they heat up. If you trap that moisture inside a raw tortilla, you’re essentially steaming the bread from the inside. This results in a gummy, limp texture that no amount of outside frying can truly fix.
By pan-searing the franks alone for a few minutes first, you “case” the meat. This creates a light crust on the hot dog and allows surface water to evaporate before it ever touches the tortilla. Once they are browned and slightly cooled, they are ready to be wrapped without the risk of ruining your crunch. It’s a small time investment that pays off in a massive way.
Step-by-Step: Constructing the Double-Barrel Roll
Start by cutting your large flour tortillas in half to create semi-circles. This reduces the amount of excess dough overlap, ensuring the heat can penetrate all the way through to the cheese. Lay the half-circle flat on your work surface with the straight edge facing you. This shape is the key to getting that tight, professional-looking roll.
Next, apply the “Cheese Barrier.” Sprinkle your cheese blend evenly across the surface, but make sure to leave a half-inch border along the straight edge. This cheese acts as a waterproof insulation layer. As it melts, it creates a seal that prevents any remaining juices from the hot dog from reaching the tortilla. It also helps the whole package stay together as it fries.
Place two of your pre-seared hot dogs side-by-side at the curved end of the tortilla. Roll them toward the straight edge as tightly as possible. You want to eliminate any air pockets, as trapped air can expand and create steam, which leads to—you guessed it—sogginess. A tight roll ensures the entire unit cooks evenly and stays structurally sound in the pan.
The Seam-Down Searing Technique
When you’re ready to fry, always place the rolls in the skillet seam-side down first. This is a simple physics trick that saves you from needing toothpicks. The immediate heat melts the cheese at the edge of the tortilla, acting as a natural glue that locks the roll shut. Hold them there for a minute or two until the seam is fused and golden.
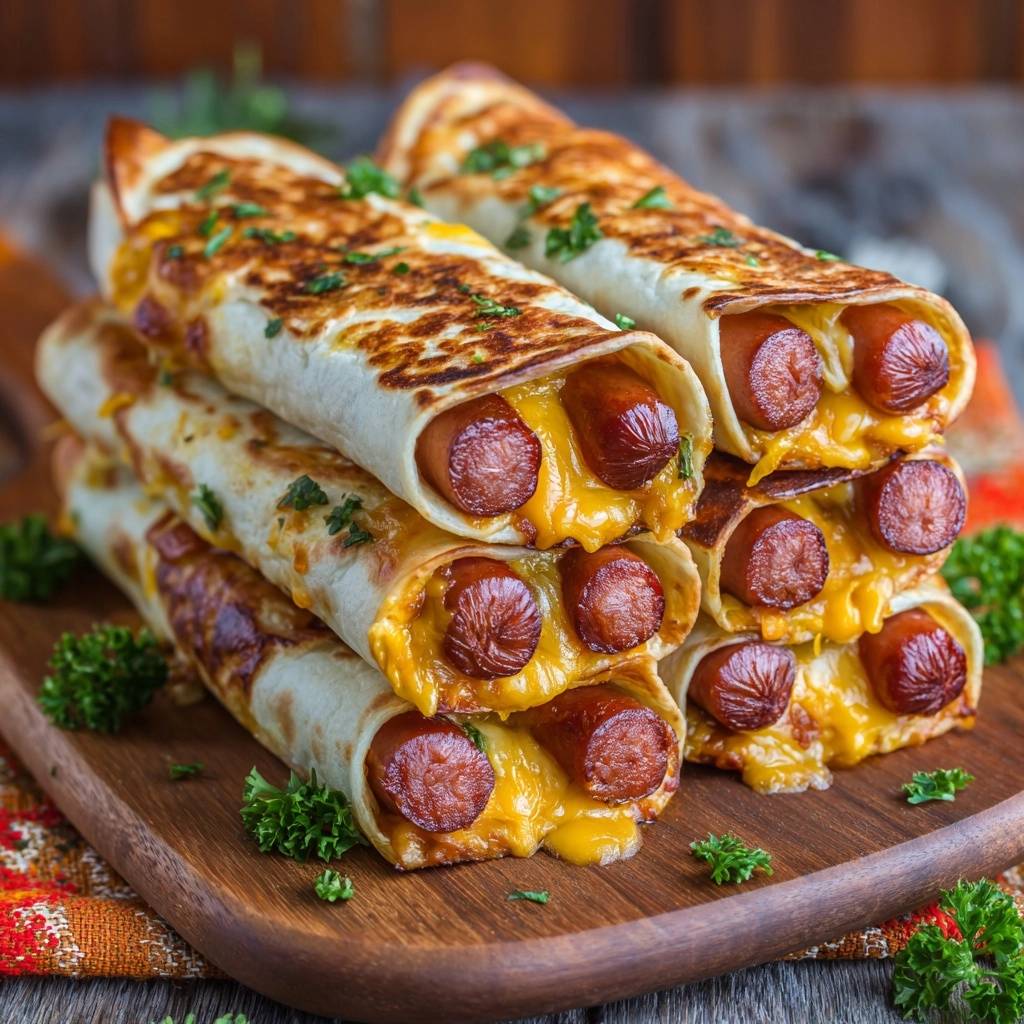
Once the seam is set, rotate the rolls every two minutes. You’re looking for deep golden-brown “leopard spots” to appear on the surface. Keep your heat at a steady medium; if it’s too low, the tortilla will just soak up the oil and get greasy. If it’s too high, the outside will burn before the cheese in the center reaches that perfect, bubbling state. When you see cheese starting to ooze slightly from the ends, you know they’re done.
Avoiding Common Tortilla Roll-Up Mistakes
One of the biggest mistakes is overfilling the wraps. It’s tempting to pile on the cheese, but too much will cause a blowout in the pan. When the cheese expands as it melts, it needs somewhere to go. If there’s no room, it will burst through the sides of the tortilla, making a mess and leaving your roll-up empty. Stick to the recommended amounts for the best results.
For a heartier, cheesy experience, check out this loaded Philly cheesesteak soup.
Temperature control is another common pitfall. If you cook these on low heat, the tortilla acts like a sponge for the oil and butter. You’ll end up with a heavy, oily wrap instead of a light, crisp one. Conversely, make sure your tortillas are at room temperature before you start rolling. Cold tortillas are stiff and prone to cracking, which lets the cheese leak out during the searing process.
Flavor Variations and Ingredient Swaps
Once you’ve mastered the base recipe, you can start playing with the flavors. For a spicy kick, try adding a few thin slices of pickled jalapeños inside the cheese layer or swap the Monterey Jack for Pepper Jack. The acidity of the peppers cuts through the richness of the beef and cheese beautifully.
You can also experiment with the butter brush. Try infusing the melted butter with a pinch of smoked paprika or dried rosemary for a more sophisticated, earthy aroma. Another great trick is to sprinkle a few dehydrated onions into the cheese layer before rolling. They rehydrate slightly from the heat of the hot dog, providing a concentrated onion flavor and a little extra texture.
Optimal Pairings for Crispy Hot Dog Wraps
Since these roll-ups are quite rich and cheesy, you want side dishes that offer a bright, acidic contrast. A creamy, vinegar-based coleslaw is a perfect match, as the tanginess cleanses the palate between bites. Pickled cucumbers or a simple side salad with a sharp vinaigrette also work wonders to keep the meal feeling balanced.
More to Try
If you enjoyed these cheesy tortilla roll-ups, consider these fresh accompaniments.
- For a bright, crisp counterpoint, try the Harvest Kale and Apple Salad, featuring similar fresh fruit notes.
- Another excellent choice for a refreshing salad is the Harvest Apple and Walnut Salad, offering a nutty crunch.
I usually avoid serving these with heavy starches like fries or potato salad. The tortilla already provides plenty of hearty carbs, so adding more can make the meal feel a bit weighed down. Instead, try a sharp mustard-based dipping sauce or even a spicy salsa to add another layer of excitement to every bite.
Storage and Reheating for Lasting Texture
If you have leftovers, whatever you do, stay away from the microwave. Microwaving a tortilla roll-up is a guaranteed way to turn it into a rubbery, sad version of its former self. Instead, store them in an airtight container in the refrigerator for up to three days. They hold their shape well, but they will lose their initial crunch as they sit.
To bring them back to life, use an air fryer or a standard oven. Reheating them at 375°F for about 5 to 7 minutes will crisp the exterior back up and get the cheese melting again. If you’re planning ahead, you can actually roll these up a few hours in advance and keep them in the fridge. Just wait to do the final butter brush and pan-sear until right before you’re ready to eat.
Expert Troubleshooting
Why did my tortilla split or crack when I tried to roll it?
This usually happens because the tortillas are too cold or have dried out. Flour tortillas become much more pliable when they are warm. Try wrapping them in a damp paper towel and microwaving them for 15 seconds before you start the assembly process. This adds just enough moisture and heat to make them flexible.
Can I use turkey or chicken hot dogs instead of beef?
Yes, you certainly can, but keep in mind that poultry-based hot dogs often have a lower fat content. They might not brown as deeply or provide the same level of savory richness. If you use them, you might want to add a tiny bit more butter to the pan to ensure you still get a flavorful, golden crust.
How do I prevent the cheese from leaking out into the pan?
The “half-inch border” rule is your best defense here. By leaving space at the edges of the tortilla, you give the cheese room to melt and expand without immediately flowing out of the wrap. Also, ensuring a very tight roll helps keep the cheese tucked securely inside the moisture barrier.
My wrap is golden on the outside, but the center is still cold?
This is a classic sign that the heat was too high or the pre-sear step was skipped. If the pan is screaming hot, the tortilla will brown before the heat can penetrate the center. Stick to medium heat and always pre-sear your hot dogs. The pre-sear ensures the meat is already warm when it goes into the wrap, so the pan-frying step only needs to melt the cheese and crisp the bread.
Hot Dog Roll-Ups
Course: Main CourseCuisine: AmericanDifficulty: easy4
servings10
minutes15
minutes420
kcal25
MinutesA crunchy and cheesy twist on the classic hot dog, these roll-ups use pan-seared beef franks and a blend of cheddar and Monterey Jack cheese wrapped in a toasted flour tortilla for a shatteringly crisp finish.
Ingredients
12 beef hot dogs (standard size)
6 large flour tortillas (burrito size)
2 cups shredded sharp cheddar cheese
1/2 cup shredded Monterey Jack cheese (for better melt)
2 tablespoons unsalted butter, melted
1 tablespoon vegetable oil
1 teaspoon garlic powder
Fresh parsley, chopped for garnish
Directions
- To prevent internal steam from making the tortilla soggy, start by pan-searing the hot dogs over medium-high heat with a teaspoon of oil for 3 to 4 minutes until they are browned and the exterior moisture has evaporated. Set them aside on a paper towel to drain and cool slightly.
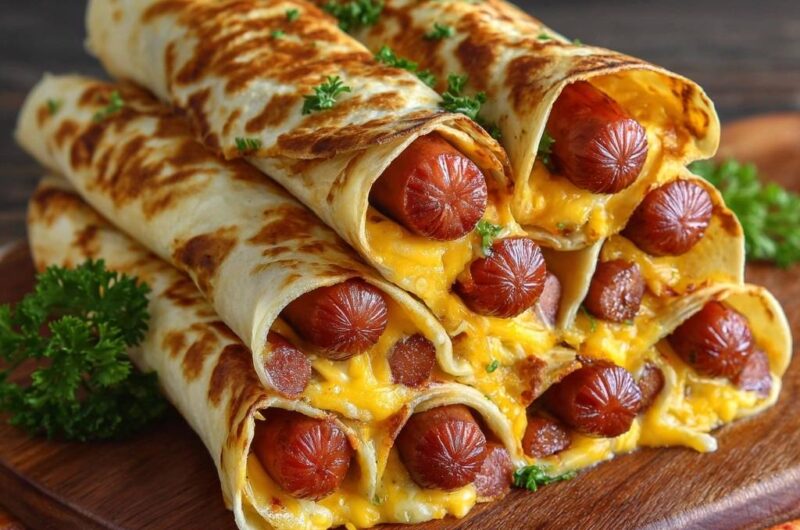
- Cut the large tortillas in half to create semi-circles. This allows for the “double-barrel” look seen in the image, where two hot dogs are nestled side-by-side within a single crisp wrap.
- Lay a tortilla half flat. Sprinkle a generous, even layer of the cheese blend across the surface, leaving a half-inch border at the straight edge. This cheese acts as a waterproof seal between the hot dog and the bread.
- Place two seared hot dogs side-by-side at the curved end of the tortilla half and roll tightly toward the straight edge. The tight roll is essential to prevent air pockets where steam can collect.
- Mix the melted butter with garlic powder. Brush a thin layer onto the outside of each roll.
- Heat a large skillet over medium heat with the remaining oil. Place the rolls seam-side down. This is the critical step: searing the seam first locks the roll together without the need for toothpicks.
- Rotate the rolls every 2 minutes, ensuring the heat is high enough to create the dark, leopard-spotted char shown in the image. The combination of butter and direct heat creates a toasted crust that stays firm even after sitting.
- Remove from heat once the cheese is bubbling out of the ends and the tortilla is deep golden brown. Garnish with fresh parsley and serve immediately for the ultimate crunch.
Notes
- Searing the seam first is the critical step to locking the roll together without toothpicks. Using Monterey Jack cheese helps create a better melt and acts as a waterproof seal.