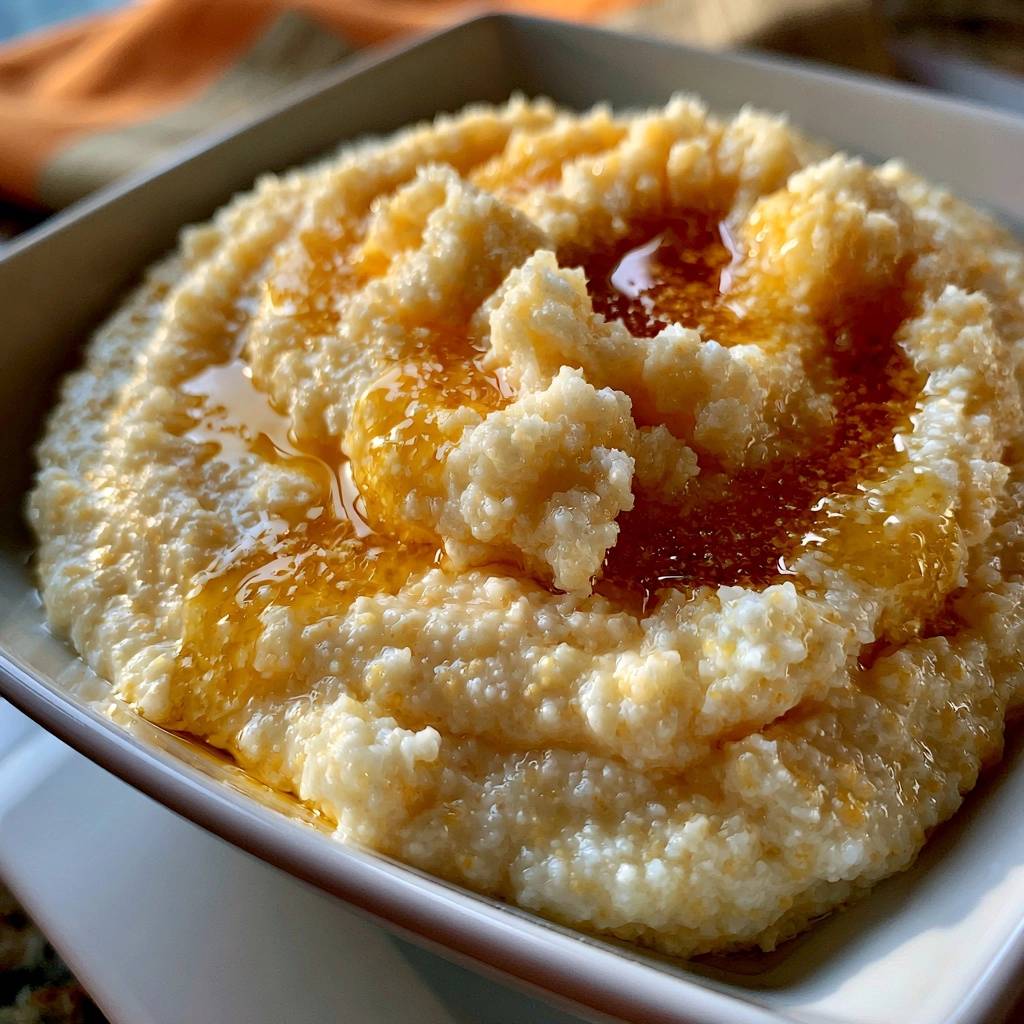
Grits are the heartbeat of Southern breakfast tables, but they are often the most misunderstood grain in the pantry. Many people associate them with the bland, watery, or lumpy bowls served at roadside diners, but true Southern grits are a revelation of velvet and cream. Achieving that perfect consistency isn’t about luck; it’s about understanding the chemistry of the corn and having the patience to let it transform.
This guide dives deep into the art of cooking stone-ground grains, moving past the “instant” shortcuts that strip away flavor. We’re looking at a slow-simmered process that hydrates every single particle of cornmeal, ensuring a smooth finish that feels like silk on the tongue. It’s a labor of love that rewards you with a rich, comforting bowl that stands miles apart from the gritty versions of the past.
The secret to success lies in the initial hydration phase. If you dump your grits into a rolling boil, the starches seize up instantly, creating a protective shell that keeps the center of the grain dry and crunchy. By starting with a gentle simmer and a steady whisk, you allow the grains to swell evenly, which is the only way to guarantee a lump-free result every single time.
The Anatomy of Stone-Ground Corn
When you walk down the baking aisle, the variety of corn products can be dizzying. For this recipe, you must look for “stone-ground” yellow grits. Unlike instant or quick-cooking varieties, stone-ground grits are processed between two large stones, preserving the corn germ and the hull. This results in a hearty texture and a deep, toasted corn flavor that mass-produced versions simply can’t match.
Instant grits are pre-cooked and dehydrated, which is why they lack soul and body. Quick grits are ground much finer, losing the varied particle size that creates a complex mouthfeel. Stone-ground grits offer a beautiful contrast; some bits melt into the liquid while others retain a slight, tender bite. This variety is what gives the dish its character and makes the 45-minute cook time worth every second.
Essential Components for Creamy Southern Style Grits
The foundation of Creamy Southern Style Grits is the 1:4 ratio. For every cup of grits, you need four cups of liquid. We use a 50/50 split of whole milk and water. The water is essential for penetrating the starch and softening the grain, while the milk provides the fats and proteins needed for a luxurious, custard-like finish. If you use only water, the grits will taste flat; if you use only milk, they can become too thick and scorched before the grain is tender.
Salt is your most important seasoning tool here. You must add kosher salt to the liquid before the grits ever touch the pot. This allows the salt to season the grain from the inside out as it absorbs the moisture. If you wait until the end to salt your grits, they will taste salty on the surface but remain bland and “corny” in the middle.
Why Fat Content Matters: Milk vs. Cream
While some recipes call for heavy cream, whole milk is actually the superior choice for the simmering phase. The proteins in milk interact with the corn starch to create a stable emulsion that doesn’t feel greasy. Heavy cream can sometimes break or become too heavy during a long 45-minute simmer. However, the addition of unsalted butter at the very end provides that final punch of richness that makes the dish feel truly indulgent.
The Science of Starch and Hydration
Cooking grits is essentially a lesson in gelatinization. As the cornmeal heats up in the liquid, the starch granules absorb water and swell. If the heat is too high, the outside of the grain gelatinizes too quickly, forming a “glue” that traps dry pockets of cornmeal inside. This is exactly how those dreaded lumps are formed.
By maintaining a low, steady heat, you ensure that the hydration happens at a controlled pace. The “slow stream” method is your best defense against clumping. When you rain the grits into the pot slowly while whisking, you ensure each individual grain is suspended in liquid. This prevents them from sinking to the bottom and sticking together in a solid mass.
Step-by-Step: Achieving the Perfect Velvet Texture
Start by combining your milk, water, and salt in a heavy-bottomed pot. Bring it to a gentle simmer over medium heat. You’ll see small bubbles dancing around the edges, but it shouldn’t be a violent boil. This gentle start is crucial for the grains to accept the moisture without panicking.
Once you’ve added the grits using the slow-stream method, keep whisking for at least two to three minutes. You’ll notice the liquid start to thicken slightly as the surface starches release. This is the most critical window for preventing lumps. Once the grains are well-suspended, you can turn the heat down to the lowest setting and cover the pot.
The transformation over the next 40 to 50 minutes is incredible. The grits will go from looking like “sand in milk” to a thick, cohesive porridge. You aren’t just looking for the water to disappear; you’re waiting for the grit itself to become soft. Taste a small spoonful around the 40-minute mark. If you feel any “crunch” or “sandiness,” they need more time and perhaps a splash more warm liquid.
The Slow Stream Whisking Technique
Think of “raining” the grits into the pot. Use your left hand to pour a tiny, steady stream while your right hand moves the whisk in a vigorous figure-eight pattern. This mechanical motion keeps the grains from settling. It might feel like overkill, but those first few minutes of constant motion are what separate amateur grits from professional-grade Southern cooking.
The Role of Steam and Low Heat
A tight-fitting lid is your best friend during this process. Stone-ground corn has a tough outer hull that requires steam to soften. Without a lid, the liquid evaporates too quickly, leaving you with thick, undercooked grains. The lid creates a pressurized environment that forces moisture into the center of the corn, ensuring every bite is tender.
The Ten-Minute Whisking Interval
Every ten minutes, you need to uncover the pot and give it a vigorous whisk. This isn’t just to prevent sticking; it’s an agitation technique similar to making risotto. By whisking, you rub the grains against each other, which sloughs off the starches into the surrounding liquid. This creates a natural, creamy “sauce” that binds the dish together without needing to add excessive amounts of fat.
Troubleshooting Common Grits Consistency Issues
If your grits look like “The Soup” after 30 minutes, don’t panic. Simply remove the lid and increase the whisking frequency. This allows excess moisture to evaporate while the starches continue to thicken the base. Conversely, if you find “The Brick”—where the grits have seized into a solid mass—whisk in a half-cup of warm milk or water immediately. Never add cold liquid to hot grits, as it can cause the texture to become grainy.
Critical Equipment for Slow-Simmered Grains
A thin-bottomed pot is the enemy of good grits. Because corn is heavy, it naturally wants to sink to the bottom, where it can easily scorch. A heavy-bottomed Dutch oven or a thick stainless steel pot distributes heat evenly, preventing hot spots. Additionally, use a silicone whisk rather than a spoon. The whisk’s wires can get into the “corners” of the pot and break up micro-clumps that a flat spoon would simply push around.
Flavor Profiles: The Sweet Southern Finish
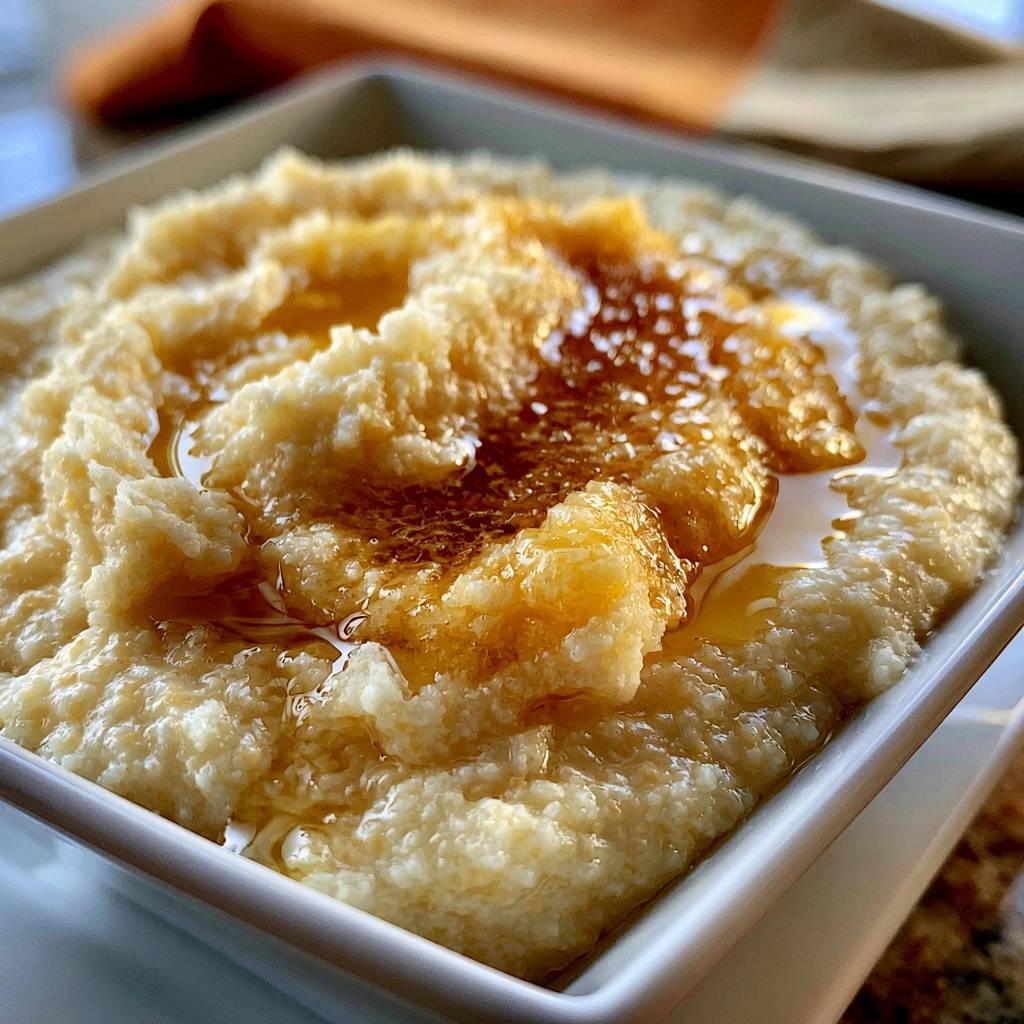
While savory grits are popular, there is a deep tradition of serving sweet grits for breakfast. The combination of melted unsalted butter and a drizzle of honey or maple syrup creates a beautiful contrast. The salt we added at the beginning makes the sweetness of the honey pop, while the butter adds a savory depth that rounds out the floral notes of the syrup. It’s a balanced, sophisticated way to start the morning.
Pairing Suggestions for Creamy Southern Style Grits
These grits are a fantastic canvas for a variety of toppings. For a hearty breakfast, serve them alongside soft-scrambled eggs and a pile of sautéed kale seasoned with plenty of garlic. If you want something more substantial, blackened wild-caught fish or sautéed shrimp (prepared without alcohol) sit beautifully on top of this creamy base. The mild, earthy flavor of the yellow corn complements bold spices like smoked paprika, cayenne, and cumin perfectly.
Storage and Reheating for Optimal Moisture
Grits contain a massive amount of starch, which means they will firm up into a solid block once they cool. Store leftovers in an airtight container in the fridge for up to four days. To reheat, do not just pop them in the microwave. Place the grits in a small saucepan over low heat and add a splash of milk or water. Use a whisk to break up the block as it warms, and you’ll find the original creamy emulsion returns beautifully.
Expert Tips for Professional Results
If you want to shave some time off your morning routine, try pre-soaking your stone-ground grits overnight in the water-milk mixture. This pre-hydrates the hull and can cut your cook time by nearly 15 minutes. Another pro trick is the “skimming” method. When you first add the grits to the simmering liquid, any light hulls or chaff will float to the top. Use a fine-mesh skimmer to remove these for an even smoother, more refined texture.
Finally, remember that temperature control is everything. If you see the grits “spitting” or bubbling aggressively, the heat is too high. They should barely whisper in the pot. Rushing the process on high heat will always result in a texture that is both watery and crunchy—the ultimate grits failure.
Frequently Asked Questions
Can I use a slow cooker for stone-ground grits?
Yes, you can use a slow cooker, but the texture will be slightly different. Because there is very little evaporation in a slow cooker, you should reduce the liquid slightly. Cook on low for 7-8 hours. However, you will miss out on the starch release that comes from the manual whisking intervals, so the result may be less “velvety” than the stovetop method.
Why are my grits still crunchy after 45 minutes?
This usually happens for two reasons: either the heat was too low to soften the hull, or the grits are old. Stone-ground corn contains natural oils that can dry out over time. If your grits have been in the pantry for over a year, they may never fully soften. Always check the “milled on” date if possible and ensure you maintain a true simmer throughout the cooking process.
Is there a dairy-free alternative that maintains the creaminess?
Absolutely. You can substitute the milk with a high-quality cashew milk or extra-creamy oat milk. These have enough natural fats to mimic the mouthfeel of dairy. You can also use a vegan butter substitute at the end. Avoid using thin milks like almond or rice milk, as they don’t provide enough body to support the corn starches.
What is the difference between yellow and white stone-ground grits?
The difference is primarily in the variety of corn used. Yellow grits are made from yellow dent corn and tend to have a stronger, more “corn-forward” flavor with a hint of sweetness. White grits are milder and more delicate. For this sweet honey-drizzled version, yellow grits are preferred because their robust flavor stands up well to the syrup.
How do I prevent a skin from forming on top of the grits?
A skin forms when the surface of the grits dries out in contact with the air. Keeping the lid on during the cooking process prevents this. If you are serving them at a buffet or waiting a few minutes to eat, press a piece of parchment paper or plastic wrap directly onto the surface of the grits to keep the air out and the moisture in.
Can I freeze cooked grits?
It is not recommended to freeze grits. The freezing and thawing process breaks down the starch structure, often resulting in a grainy, watery mess that loses its signature creaminess. Since they keep so well in the refrigerator for several days, it’s better to make a batch you can finish within the week.
Creamy Southern Style Grits
Course: BreakfastCuisine: AmericanDifficulty: easy4
servings5
minutes45
minutes50
Minutes310
kcalAmerican
Ingredients
1 cup stone-ground yellow grits (not instant or quick-cooking)
2 cups whole milk
2 cups water
4 tablespoons unsalted butter
1 teaspoon kosher salt
1/4 cup honey or maple syrup for drizzling
Directions
- To solve the lumpy texture problem, start by combining the milk, water, and salt in a heavy-bottomed pot. Bring the liquid to a gentle simmer over medium heat. Do not let it reach a rolling boil yet, as high heat is what causes instant clumping.
- The secret to smoothness is the slow stream method. While whisking the liquid constantly with one hand, slowly rain the grits into the pot with the other hand. This ensures each grain is separated and surrounded by liquid before it begins to swell.
- Reduce the heat to the lowest possible setting. Cover the pot with a tight-fitting lid. This traps the steam, which is essential for softening the hull of the stone-ground corn without evaporating the liquid too quickly.
- Every 10 minutes, uncover the pot and give the grits a vigorous whisk. This mechanical action breaks down any small clusters and releases the natural starches for a creamy finish. If the grits become too thick before they are tender, whisk in an additional 1/4 cup of warm water or milk.
- Stone-ground grits require patience. Cook for 40 to 50 minutes (depending on the grind) until the texture is creamy and the grains are completely tender to the bite.
- Once the grits are tender, whisk in the butter until fully melted and incorporated.
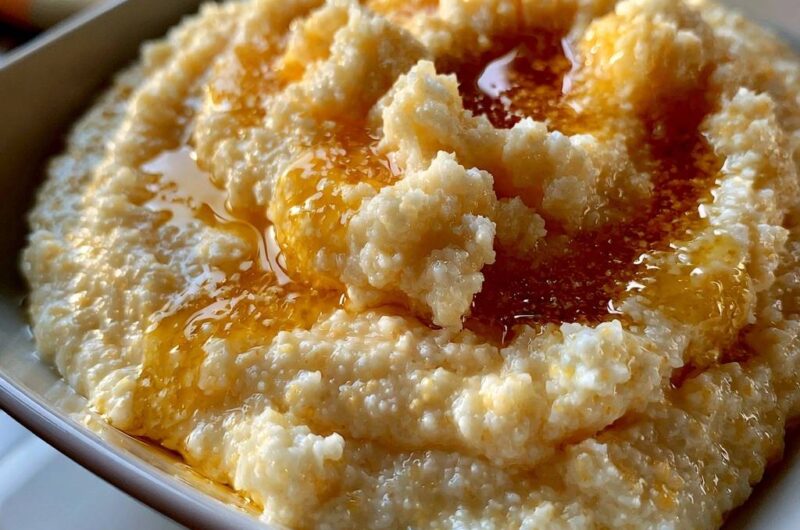
- Spoon the grits into warm bowls. Use the back of a spoon to create a shallow swirl on the surface and drizzle generously with honey or maple syrup as shown in the image. Serve immediately while the texture is at its peak creaminess.
Notes
- Avoid instant or quick-cooking grits for this recipe. If the mixture becomes too thick before the grains are tender, whisk in an additional 1/4 cup of warm water or milk.