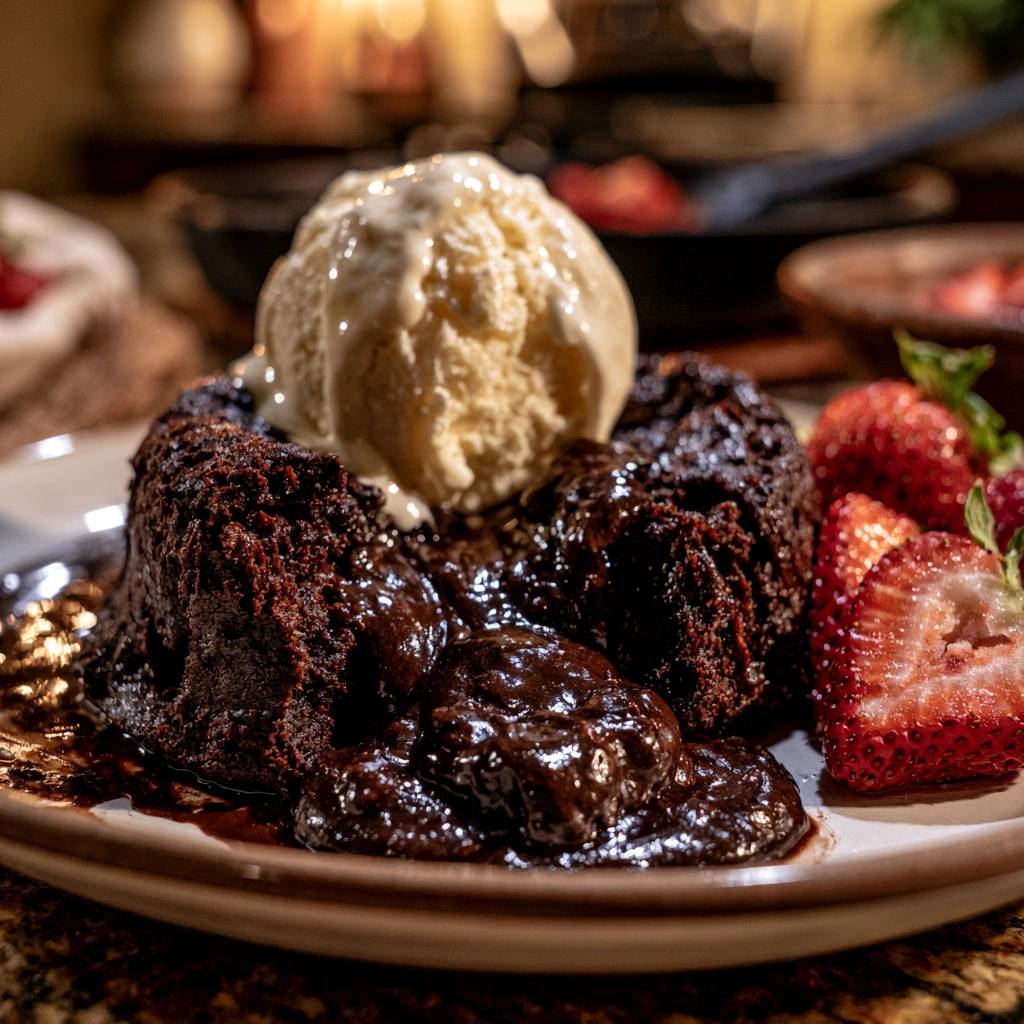
The first time you plunge a spoon into a perfectly baked lava cake, the world seems to stop for a second. That moment when the delicate, cakey exterior gives way to a warm, flowing river of rich chocolate is pure culinary theater. It is the ultimate “wow” dessert that makes any dinner guest feel like they are sitting in a five-star bistro.
However, many home bakers find this dish intimidating because the line between a molten masterpiece and a dry chocolate muffin is incredibly thin. You aren’t just baking a cake; you are managing a delicate balance of heat and timing. This recipe removes the guesswork by focusing on the specific structural cues that guarantee a liquid heart every single time.
The secret to that professional, velvety flow lies in the aeration of the eggs and the quality of your chocolate. By beating the eggs until they reach a thick, pale “ribbon stage,” you create a sturdy enough wall to hold the molten center without needing excess flour. This ensures the flavor remains intensely chocolate-forward rather than bread-like.
The Physics of the Molten Chocolate Center
Understanding how heat moves through a ramekin is the key to mastering Decadent Chocolate Lava Cakes. When you slide that tray into a hot 425°F oven, the high temperature immediately begins setting the outer edges of the batter. This creates a firm, protective crust that acts as a vessel for the interior.
Because the heat takes longer to reach the very middle, the center remains undercooked and fluid while the outside becomes stable. We use extra egg yolks in this recipe to provide a rich, custard-like stability to that liquid core. These yolks ensure the “lava” is thick and luxurious rather than thin or watery.
If you were to bake these at a lower temperature for a longer time, the heat would penetrate the center evenly. You would end up with a delicious, but standard, chocolate cake. The high-heat “shock” is what allows us to achieve that distinct contrast in textures that defines a true lava cake.
Why Room Temperature Ingredients are Non-Negotiable
You might be tempted to grab eggs straight from the fridge, but temperature is vital for a smooth emulsion. When you mix cold eggs into melted chocolate and butter, the fat can seize up instantly. This results in a grainy, broken batter that won’t rise properly or flow smoothly.
Room temperature eggs also whip up much more easily, allowing you to incorporate the air needed for a light crumb. When you beat the eggs and sugar together, you are looking for the “ribbon stage.” This is when the mixture is so thick that it leaves a visible trail on the surface for a few seconds when you lift the whisk.
This volume is what gives the cake its height and delicate texture. Without that trapped air, the cake walls would be too dense and heavy to support the molten center. Taking ten minutes to let your eggs warm up on the counter makes the difference between a dense puck and a cloud-like cake.
Essential Components for Decadent Chocolate Lava Cakes
Since this recipe has very few ingredients, the quality of each one is magnified. We use 60% cacao semi-sweet chocolate because it offers the perfect balance of deep cocoa flavor and enough sugar to keep the dessert approachable. Anything darker can become bitter, while milk chocolate often lacks the structural integrity to hold the molten shape.
Unsalted butter is the preferred choice here because it allows you to control the salt levels precisely. We add a specific 1/4 teaspoon of salt to the batter to sharpen the chocolate notes and cut through the richness. If you use salted butter, the final result might taste slightly metallic or overly savory.
You will notice we only use two tablespoons of all-purpose flour. In a traditional cake, flour provides the bulk of the structure, but here, it is just a binder. Using a small amount ensures the cake remains incredibly tender and melts in your mouth along with the liquid center.
Selecting the Right Chocolate Grade
For the best results, skip the bag of standard chocolate chips found in the baking aisle. Most chocolate chips contain stabilizers and soy lecithin designed to help them hold their shape under heat. While great for cookies, these stabilizers prevent the chocolate from melting into a smooth, flowing “lava.”
Instead, look for high-quality baking bars or couverture chocolate. These products have a higher cocoa butter content, which translates to a much better “flow” once the cake is cut open. Chopping the chocolate finely by hand ensures it melts evenly and quickly when combined with the hot butter.
The fat-to-sugar ratio in a premium chocolate bar is specifically calibrated for melting. When you use a bar with at least 60% cacao, you get that sophisticated, dark chocolate punch that pairs so beautifully with a cold scoop of vanilla ice cream.
Preparing Your Ramekins for a Flawless Release
There is nothing more heartbreaking than a lava cake that sticks to the ramekin and tears open before it hits the plate. To prevent this, use the “Double-Coat” method. Start by generously greasing the inside of each 6-ounce ramekin with softened, room-temperature butter, making sure to hit every corner.
Next, instead of using flour to dust the molds, use unsweetened cocoa powder. Flour can leave unsightly white streaks on the outside of your dark chocolate cake. Cocoa powder blends right in, providing a professional, matte finish while creating a non-stick barrier.
Once the cakes are baked, that one-minute rest period is the final step in the release process. As the cake cools slightly, it naturally pulls away from the sides of the ramekin. This creates a small gap that allows air to enter when you invert the plate, letting the cake slide out perfectly.
Step-by-Step: Crafting the Perfect Batter
The process begins by melting your chopped chocolate and butter together. You can use a double boiler, but the microwave works perfectly in 30-second bursts. The most important part of this step is letting the mixture cool for about five minutes before adding it to the eggs.
If the chocolate is too hot, it will scramble the eggs the moment they touch. You want the mixture to be warm and fluid, but comfortable to the touch. While that cools, focus on beating your eggs and sugar until they are pale yellow and have doubled in volume.
Once the eggs are ready, you will slowly pour the chocolate mixture into the egg bowl. Use a steady hand and a gentle motion. You are looking for a glossy, uniform brown color without any yellow streaks remaining in the batter.
The Art of the Gentle Fold
After the chocolate and eggs are combined, it is time to add the flour. Sifting the flour over the batter is a small step that makes a huge difference. It removes any lumps and ensures the flour incorporates instantly without the need for heavy stirring.
Use a large rubber spatula to “fold” the flour in. This means cutting through the center of the bowl, scraping the bottom, and lifting the batter over the top. Do not use a whisk or a heavy hand here, as you don’t want to knock out the air you worked so hard to beat into the eggs.
Stop folding the very second you no longer see white streaks of flour. Overmixing develops gluten, which will turn your delicate lava cake into something tough and chewy. The goal is a batter that looks like a thick, airy mousse.
Precision Baking: Timing the Liquid Core
Timing is everything when it comes to Decadent Chocolate Lava Cakes. In a standard oven, 10 to 12 minutes at 425°F is usually the sweet spot. However, every oven runs a little differently, so you must rely on visual and physical cues rather than just the timer.
At the 10-minute mark, give the baking sheet a gentle nudge. The edges of the cakes should look firm, matte, and slightly puffed. The very center, about the size of a quarter, should still have a noticeable jiggle. If the entire top looks solid and dry, they are likely overbaked.
If you are using a convection oven, the circulating air might cook the cakes faster, so start checking at 8 or 9 minutes. It is always better to pull them out a tiny bit early than a minute too late. Remember, the cakes will continue to cook for a moment after they leave the oven.
The Critical One-Minute Rest Period
When you pull the ramekins out of the oven, your instinct might be to flip them onto a plate immediately. Resist that urge! The cakes need exactly sixty seconds to sit undisturbed on the counter. This is called carry-over cooking.
During this minute, the outer walls of the cake firm up just enough to support the weight of the molten center. If you flip them too soon, the walls might be too weak, causing the cake to collapse into a puddle. If you wait five minutes, the center will solidify, and you’ll lose the “lava” effect.
After the minute is up, run a thin knife or a small offset spatula around the very top edge to ensure nothing is snagging. Place your dessert plate over the ramekin, flip it confidently, and wait about ten seconds. You will often feel a slight “thump” as the cake releases and settles onto the plate.
Troubleshooting Common Lava Cake Failures
If your cake comes out looking like a standard muffin with no liquid center, the most common culprit is overbaking. Next time, try reducing the bake time by 90 seconds or checking your oven temperature with an external thermometer. Many ovens run hotter than the dial suggests.
If the cake collapses or the sides break open during unmolding, the batter might have been too thin or the ramekin wasn’t greased well enough. Ensure you are beating the eggs long enough to create that thick, voluminous base. Also, double-check that you used the full amount of chocolate, as it provides the structural “fat” that holds the cake together.
A grainy texture usually means the chocolate was overheated or the eggs were too cold. When melting chocolate in the microwave, always stop while there are still a few small lumps and stir them until they melt. This prevents the chocolate from scorching, which ruins the silky mouthfeel of the lava.
Elevating the Presentation: Pairings and Garnishes
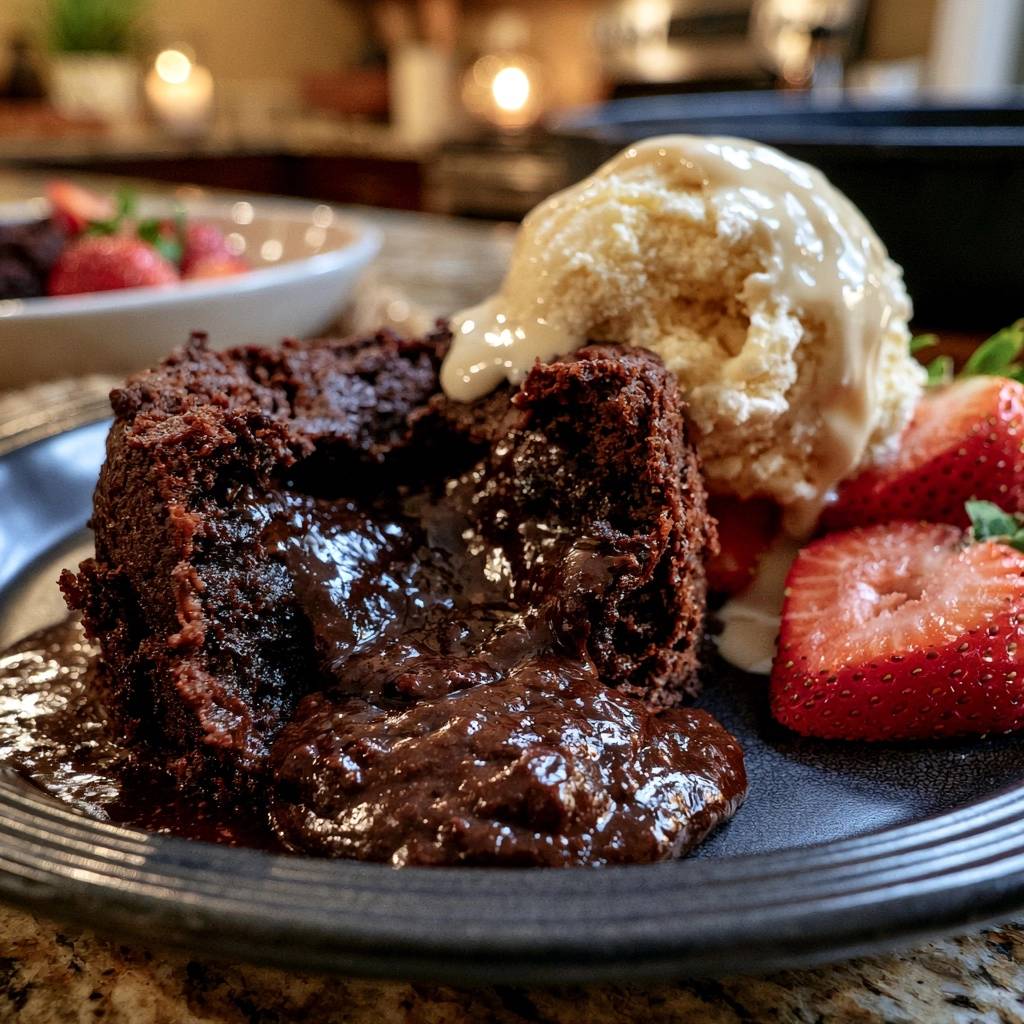
The beauty of a lava cake is the contrast between the hot, dark chocolate and cold, creamy accompaniments. A large scoop of high-quality vanilla bean ice cream is the classic choice. As the ice cream melts against the warm cake, it creates a secondary sauce that balances the intensity of the cacao.
Fresh fruit is also essential for cutting through the richness. Sliced strawberries or tart raspberries provide a necessary acidity that cleanses the palate between bites. The bright red color also makes the dark chocolate pop visually on the plate.
For a final professional touch, give the plated cake a very light dusting of powdered sugar or extra cocoa powder. This hides any minor imperfections on the surface of the cake and adds a touch of elegance. Serve it immediately, as the molten center will eventually be absorbed by the cake walls if it sits too long.
Make-Ahead Strategies and Storage Logistics
One of the best things about this dessert is that you can prepare the batter in advance. You can grease the ramekins, fill them with batter, and keep them in the refrigerator for up to 24 hours. This is perfect for dinner parties where you don’t want to be whisking eggs while your guests are waiting.
If you are baking the batter straight from the fridge, you will need to add about 1 to 2 minutes to the total baking time. The cold ramekin and cold batter take a little longer to reach that critical temperature. Keep a close eye on the “jiggle test” to ensure you don’t overcook them.
While you can store leftover baked lava cakes in the fridge for a day or two, they will lose their molten center. Reheating them in the microwave for 15 seconds will make them warm and delicious, but the center will likely be soft rather than liquid. These are truly meant to be enjoyed fresh from the oven.
Expert Tips for Professional Results
To ensure every cake is identical, use a kitchen scale to weigh your chocolate. Volume measurements for chopped chocolate can be inconsistent depending on how finely you chop it. 6 ounces of chocolate is the magic number for this specific ratio of eggs and flour.
When you are ready to unmold, use the “Knife Swipe” technique. Instead of just running the knife around the edge, gently press the flat side of the knife against the ramekin wall. This ensures you are fully detaching the cake without accidentally cutting into the delicate side walls.
Always place your ramekins on a sturdy baking sheet rather than directly on the oven rack. This makes it much easier to move them in and out of the oven without disturbing the batter. It also ensures that the bottom of each ramekin receives even heat distribution for a consistent bake.
Frequently Asked Questions
Can I use milk chocolate instead of semi-sweet?
It is not recommended for this specific recipe. Milk chocolate has a much higher sugar content and a lower melting point, which makes it prone to burning at 425°F. It also lacks the structural cocoa solids needed to keep the cake from becoming too greasy or collapsing. If you prefer a sweeter taste, stick with 60% cacao but serve it with extra sweetened whipped cream.
Can I bake these in a muffin tin if I don’t have ramekins?
You can, but it is much trickier. Muffin tins are shallower and made of thinner metal, so the cakes will bake significantly faster—usually in about 8 minutes. The biggest challenge is extraction; you have to flip the entire muffin tin at once, which often leads to the cakes breaking. If you use a muffin tin, grease it very heavily and consider using paper liners, though you won’t get the same clean “cake” look.
Why did my lava cake stick even though I greased the ramekin?
This usually happens if the butter used for greasing was melted rather than softened. Melted butter can pool at the bottom, leaving the sides dry. Use softened butter and apply it with a pastry brush or your fingers to ensure a thick, even coat. Also, make sure you are using enough cocoa powder to coat the butter completely; if you see “bald” spots of butter, the cake will likely stick there.
How do I know if my oven temperature is accurate?
Many home ovens are off by 25 to 50 degrees. Since lava cakes rely on a high-heat “blast” to set the outside, an inaccurate oven will ruin the timing. The best way to check is with a cheap oven thermometer that hangs on the rack. If your cakes are consistently coming out raw or overbaked despite following the timer, your oven is likely the culprit.
Can I make this recipe gluten-free?
Yes! Because this recipe only uses two tablespoons of flour, it is very easy to adapt. You can substitute the all-purpose flour with a 1:1 gluten-free flour blend or even finely ground almond flour. Since the flour isn’t providing the main structure (the eggs are), the texture remains almost identical to the original version.
Decadent Chocolate Lava Cakes
Course: DessertCuisine: French and AmericanDifficulty: easy4
servings15
minutes12
minutes27
Minutes410
kcalFrench and American
Ingredients
6 ounces high-quality semi-sweet chocolate (60% cacao), chopped
1/2 cup unsalted butter, plus extra for greasing
2 large eggs plus 2 egg yolks, room temperature
1/4 cup granulated sugar
1/4 teaspoon salt
2 tablespoons all-purpose flour
1/2 teaspoon vanilla extract
Unsweetened cocoa powder for dusting
Vanilla ice cream and fresh strawberries for serving
Directions
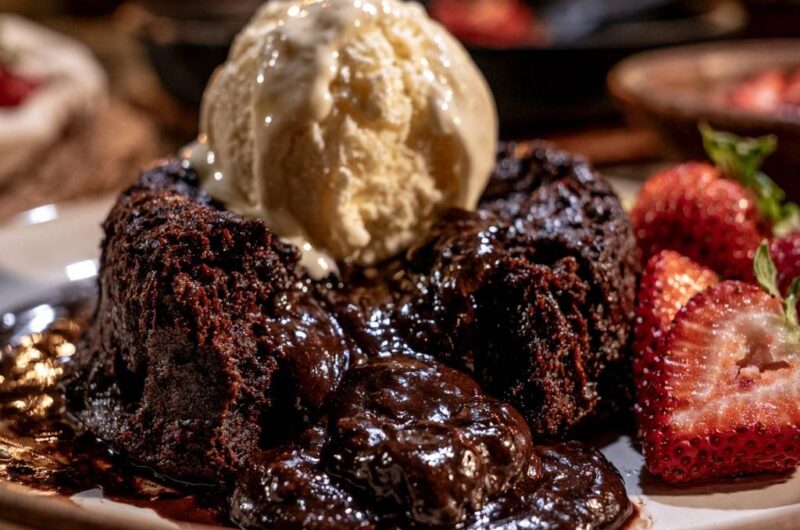
- Preheat your oven to 425°F (218°C). Generously grease four 6-ounce ramekins with softened butter. Dust them with cocoa powder, tapping out the excess. This ensures the dark, professional finish seen in the image and prevents sticking.
- Melt the chopped chocolate and butter together in a microwave-safe bowl in 30-second increments, stirring until completely smooth. Let this mixture cool for 5 minutes; it should be warm but not hot to the touch.
- In a separate medium bowl, beat the eggs, egg yolks, sugar, salt, and vanilla with a whisk or hand mixer for about 2 minutes until the mixture is thick, pale yellow, and doubled in volume.
- Gently fold the melted chocolate mixture into the egg mixture using a spatula until just combined. Sift the flour over the top and fold it in gently. Do not overmix, as this will result in a tough, bread-like texture rather than a delicate cake.
- Divide the batter evenly among the prepared ramekins. Place the ramekins on a baking sheet.
- Bake for exactly 10 to 12 minutes. To achieve the visual result of a firm crust with a liquid core, look for the edges to be firm and slightly pulling away from the sides, while the center remains soft and jiggles when the tray is moved.
- Remove from the oven and let the cakes sit in the ramekins for exactly 1 minute. This brief rest allows the outer structure to firm up enough to hold the liquid center without overcooking it.
- Run a thin knife around the edges. Place a dessert plate over the top of each ramekin and carefully invert. Let it sit for 10 seconds before lifting the ramekin off.
- Serve immediately while the center is molten. Top with a large scoop of vanilla ice cream and garnish with sliced fresh strawberries as shown.
Notes
- The secret to the liquid center is the 1-minute resting period and ensuring the eggs are at room temperature. Use high-quality chocolate with at least 60 percent cacao for the best flavor profile.