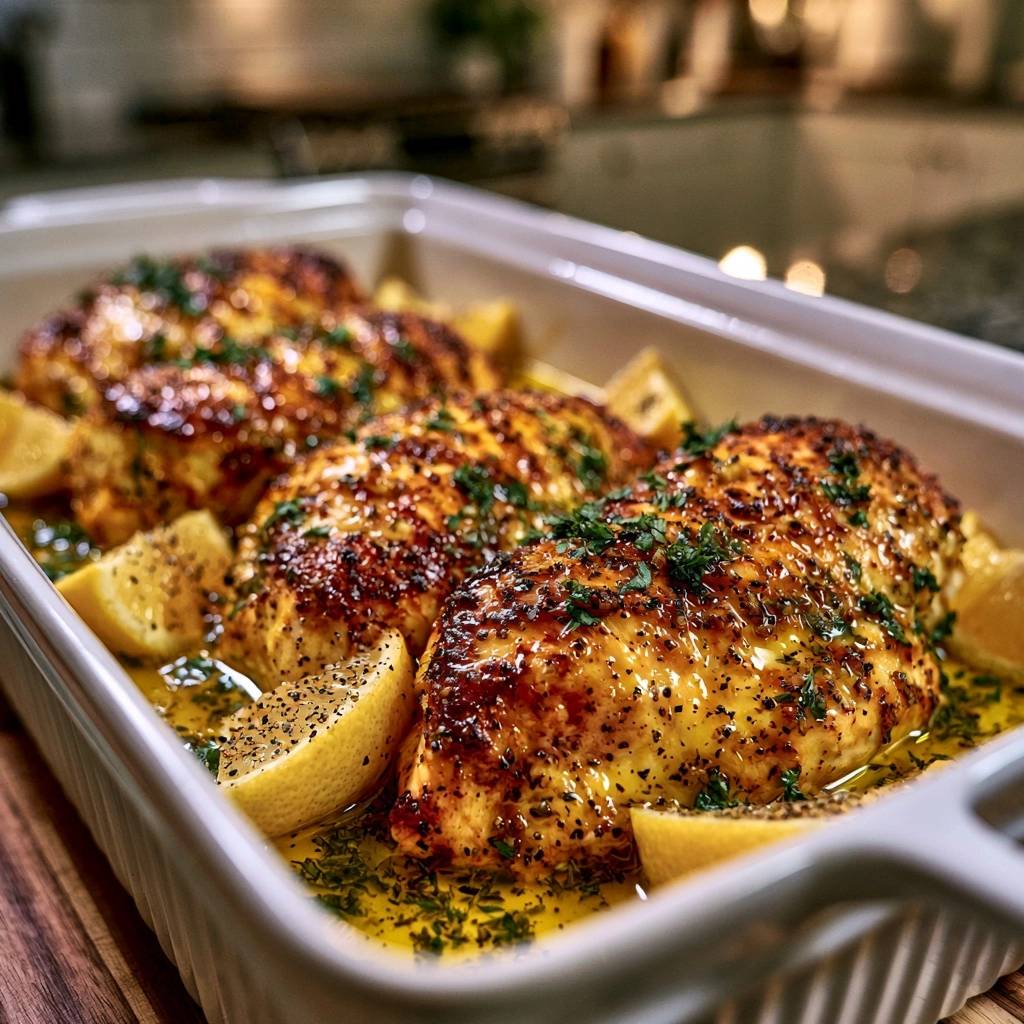
Stop settling for rubbery, flavorless chicken breasts that dry out the second they hit the oven. Most home cooks struggle with poultry because they treat it like a “set it and forget it” protein, resulting in a gray, steamed texture that lacks character. The secret to restaurant-quality results is the sear-and-baste method, which transforms a humble piece of meat into a masterpiece of bright acidity and rich, savory fats.
By searing the exterior to develop a deep caramelized crust and then finishing the meat in a pool of seasoned butter, you create a moisture barrier. This technique ensures a vibrant, golden exterior while the inside stays incredibly tender and juicy every single time. You aren’t just cooking chicken; you’re building layers of flavor through heat management and aromatic infusion.
The real magic happens when the honey and lemon juice hit the hot pan. The honey reacts with the natural proteins in the meat to accelerate the Maillard reaction, giving you that glossy, dark glaze usually reserved for high-end bistros. I’ve found that the key is pulling the chicken just before it hits the final temperature, allowing carryover heat to finish the job while the fibers remain relaxed and succulent.
Essential Components for Garlic Butter Lemon Baked Chicken
Quality ingredients are the foundation of this dish, and choosing the right fats and acids makes all the difference. I always recommend using unsalted butter because it gives you total control over the sodium levels. Since we are reducing the sauce in the oven, salted butter can often become too concentrated and salty, masking the delicate citrus notes.
The honey in this recipe isn’t just for sweetness; it’s a functional ingredient that aids in browning. When combined with the lemon juice and garlic, it creates a sticky, lacquered finish that clings to the chicken. Speaking of citrus, please skip the bottled stuff. Fresh lemon juice contains volatile oils in the zest and a bright acidity that bottled versions simply cannot replicate. You’ll need that punchy zest to cut through the richness of the butter.
For the aromatics, use fresh garlic cloves rather than the pre-minced jars. Fresh garlic has a much higher sulfur content, which provides a pungent, spicy kick that mellows into a nutty sweetness as it bakes. When these elements emulsify with the olive oil and chicken juices, they form a pan sauce so flavorful you’ll want to drizzle it over everything on your plate.
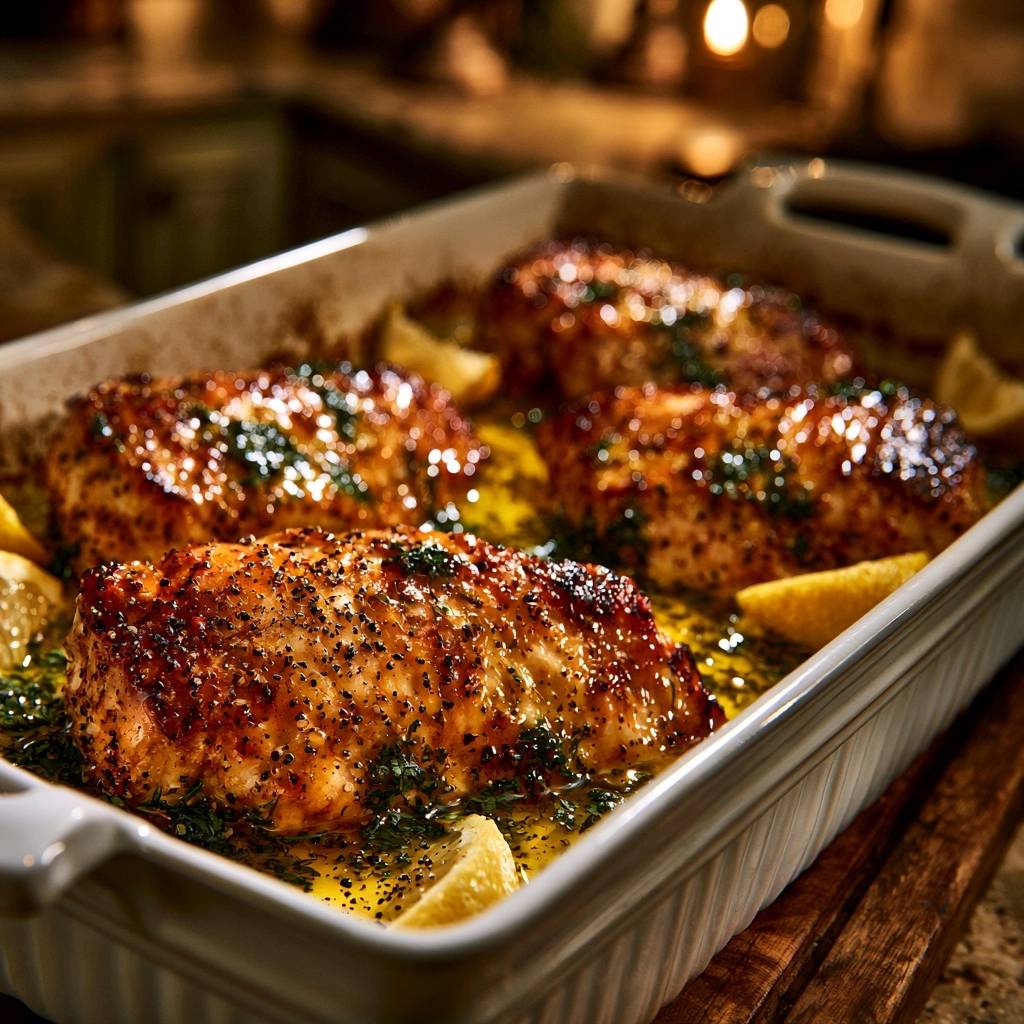
Selecting and Preparing the Poultry
Uniformity is your best friend when baking chicken breasts. If one side is significantly thicker than the other, the thin end will dry out before the center is safe to eat. You can gently pound the thickest part with a meat mallet to ensure even cooking. However, the most critical step is patting the meat bone-dry with paper towels. Moisture is the enemy of a good sear; if the surface is wet, the chicken will steam in the pan instead of developing that gorgeous, dark crust.
The Aromatic Base: Garlic and Herbs
The flavor profile relies on a specific synergy between minced garlic, smoked paprika, and dried parsley. I use dried parsley during the baking phase because it holds up better under high heat without burning or turning bitter. The smoked paprika adds a subtle earthiness and a beautiful reddish-hue to the crust. Save the fresh parsley for the very end; its bright, grassy notes provide a necessary contrast to the heavy, buttery sauce.
The Science of the Sear-and-Baste Technique
Understanding the science of searing will change the way you cook forever. Many people believe searing “locks in juices,” but that’s actually a myth. What searing actually does is create a massive amount of flavor through caramelization and the Maillard reaction. By starting the chicken on the stovetop, you develop a complex, savory exterior that a standard oven simply can’t produce on its own.
Once the chicken moves to the oven, the basting process begins. As the chicken sits in the lemon-butter bath, the fat acts as an insulator. This prevents the dry heat of the oven from wicking away the internal moisture of the meat. Instead of the chicken losing its juices to the air, it sits in a bubbling emulsion that constantly seasons the meat from the outside in. This transition from high-heat searing to gentle oven finishing is the hallmark of professional cooking.
Achieving the Deep Golden Crust
To get that perfect crust, wait until your olive oil is shimmering and just starting to wispy-smoke before adding the meat. Once the chicken hits the pan, leave it alone! The “no-touch” rule is vital for the first 3 to 4 minutes. If you try to flip it and the meat sticks, it isn’t ready to turn. When the proteins have properly caramelized, the chicken will naturally release from the pan surface, signaling it’s time to flip.
Thermal Carryover and the Resting Period
The most common mistake is overcooking the meat because of a fear of undercooking. Chicken is safe at 165°F, but if you pull it out at that temperature, it will climb to 170°F or higher while resting, leading to a dry texture. Pull the chicken at 160°F. During the 5 to 8 minute rest, the muscle fibers, which tightened up during cooking, will begin to relax. This allows them to reabsorb the lemon-butter emulsion, ensuring every bite is dripping with juice.
Step-by-Step: Executing the Perfect Bake
The transition from stovetop to a 400°F oven needs to be seamless. After you’ve achieved that deep sear, move the chicken to your baking dish immediately. You want the pan to be hot so the butter mixture starts bubbling the moment it touches the dish. This immediate heat helps the garlic infuse into the butter without needing a long simmer time, which keeps the garlic from becoming bitter.
As the chicken bakes, keep an eye on the visual cues. You are looking for the honey-butter mixture to transform from a thin liquid into a frothy, golden glaze. The lemon wedges tucked around the meat will soften and release their oils, adding a deep, roasted citrus aroma to your kitchen. This is the stage where the flavors truly marry together.
Emulsifying the Lemon Butter Glaze
When whisking your glaze, ensure the melted butter and lemon juice are well combined before pouring. The honey acts as a natural emulsifier, helping the fat and acid stay together rather than separating. Coat the seared breasts thoroughly; you want that mixture to fill every nook and cranny of the seared crust to maximize the flavor impact.
Basting for Maximum Moisture
About halfway through the baking time, open the oven and use a large spoon to scoop the bubbling juices from the bottom of the dish back over the tops of the chicken. This mid-bake baste is crucial. It reapplies the fat and seasonings to the top surface, which is most exposed to the oven’s heating element, preventing it from toughening up or drying out.
Troubleshooting Common Chicken Texture Issues
If your chicken still feels tough, you might be dealing with “woody breast,” a condition found in some oversized grocery store poultry where the muscle fibers are unusually hard. To avoid this, look for moderate-sized, organic, or air-cooled chicken breasts. Additionally, always use an instant-read thermometer. Even two extra minutes in the oven can be the difference between a succulent dinner and a dry one.
Another factor is the direction of the cut. Always slice your chicken against the grain. If you look closely, you’ll see the muscle fibers running in one direction; cutting across them shortens the fibers, making the meat feel much more tender in your mouth. If the chicken feels “bouncy,” it likely needed a few more minutes of resting time to let those fibers settle.
Optimal Pairings for Citrus-Garlic Profiles
This chicken produces an incredible amount of liquid gold in the form of pan sauce, so you need a side dish that can soak it up. Fluffy mashed potatoes or a bed of orzo pasta are perfect vehicles for the garlic-lemon butter. If you prefer bread, a warm, crusty baguette is essential for swiping every last drop of sauce off your plate.
To balance the richness of the butter, pair the dish with crisp green vegetables. Roasted asparagus or blanched green beans work beautifully because their natural bitterness cuts through the fat. A simple arugula salad with a light vinaigrette also provides a peppery bite that complements the lemon and garlic profile without competing for attention.
Expert Tips for Storage and Reheating
Leftover chicken can be tricky, but you can keep it moist with the right technique. Store the chicken in an airtight container, making sure to pour all the remaining pan sauce over it. The fat in the sauce will solidify and create a protective coating around the meat, preventing it from drying out in the fridge for up to three days.
When reheating, avoid the microwave if possible, as it tends to turn chicken into rubber. Instead, place the chicken in a small skillet with a splash of chicken broth or water. Cover it with a lid and heat it “low and slow” over medium-low heat. This creates a steam-room effect that gently warms the meat through while keeping the interior soft and the glaze glossy.
Expert Tips and Technical FAQ
Can I use chicken thighs instead of breasts?
Yes, boneless skinless chicken thighs are a great alternative and are much more forgiving. However, thighs have a higher fat content and take longer to cook. You should sear them for the same amount of time but increase the oven bake time to about 18-20 minutes. Ensure they reach an internal temperature of 175°F for the best texture, as the dark meat needs more heat to break down connective tissue.
What if I don’t have an oven-safe skillet?
If you don’t have a cast iron or oven-safe pan, simply sear the chicken in your regular frying pan. Once the searing is done, transfer the chicken to a glass or ceramic baking dish. Make sure to scrape any browned bits (fond) from the frying pan into the baking dish as well, as those bits contain a massive amount of concentrated flavor.
How do I prevent the garlic from burning during the sear?
This recipe avoids burnt garlic by adding it to the butter mixture rather than the searing pan. If you put minced garlic in a shimmering hot pan with the oil, it will turn black and bitter in seconds. By whisking it into the butter and pouring it over the chicken before it goes into the oven, the garlic cooks gently in the fat, becoming sweet and aromatic instead of burnt.
Can I substitute the honey with another sweetener?
You can use maple syrup or agave nectar as a substitute for honey. Both will provide the necessary sugars to help with the browning and glaze consistency. However, maple syrup will add a distinct woody flavor, while agave is more neutral. Avoid using granulated sugar, as it won’t emulsify into the butter sauce as smoothly and can lead to a grainy texture.
Why is my sauce breaking or separating?
A broken sauce usually happens if the oven is too hot or if the lemon juice is added too quickly to very hot butter. To fix a separated sauce, give the pan juices a vigorous whisk right after taking the dish out of the oven. The natural proteins released by the chicken during cooking act as a stabilizer and can often help pull the fat and acid back together into a creamy emulsion.
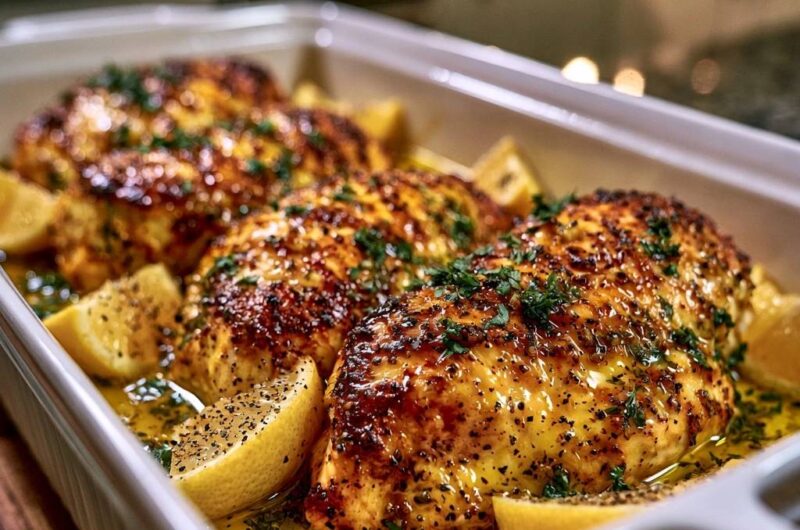
Garlic Butter Lemon Baked Chicken
Course: Main CourseCuisine: AmericanDifficulty: easy4
servings10
minutes25
minutes35
Minutes340
kcalAmerican
Ingredients
4 large boneless skinless chicken breasts
1/2 cup unsalted butter, melted
3 lemons (2 juiced, 1 sliced into wedges)
6 cloves garlic, minced
1 tablespoon dried parsley
1 tablespoon honey (for the deep golden glaze shown)
1 teaspoon smoked paprika
1 teaspoon cracked black pepper
1/2 teaspoon sea salt
2 tablespoons olive oil
1/4 cup fresh chopped parsley for garnish
Directions
- Preheat your oven to 400°F (200°C). Pat the chicken breasts completely dry with paper towels. This is essential for achieving the dark, crispy sear seen in the image.
- In a small bowl, whisk together the melted butter, lemon juice, minced garlic, dried parsley, and honey.
- Season both sides of the chicken generously with salt, pepper, and smoked paprika.
- Heat olive oil in a large, oven-safe skillet or heavy pan over medium-high heat. Once the oil is shimmering, sear the chicken for 3-4 minutes on the first side without moving it, until a deep golden-brown crust forms. Flip and sear for 2 minutes on the other side.
- Transfer the seared chicken to a baking dish. Pour the garlic butter lemon mixture over the chicken. The honey in the mixture will react with the heat to create the glossy, dark glaze visible on the crust.
- Tuck the lemon wedges into the sauce around the chicken. Sprinkle additional cracked pepper over the lemon wedges.
- Bake for 12-15 minutes. Halfway through, use a spoon to baste the tops of the chicken with the bubbling butter sauce from the bottom of the dish.
- Remove from the oven when the internal temperature reaches 160°F (it will rise to 165°F while resting).
- Let the chicken rest in the baking dish for 5-8 minutes. This allows the fibers to relax and reabsorb the lemon-butter emulsion. Garnish heavily with fresh chopped parsley and serve with the pan juices.
Notes
- The honey in the sauce reacts with the heat to create a glossy, dark glaze. Ensure you let the meat rest to allow fibers to reabsorb the lemon butter emulsion.