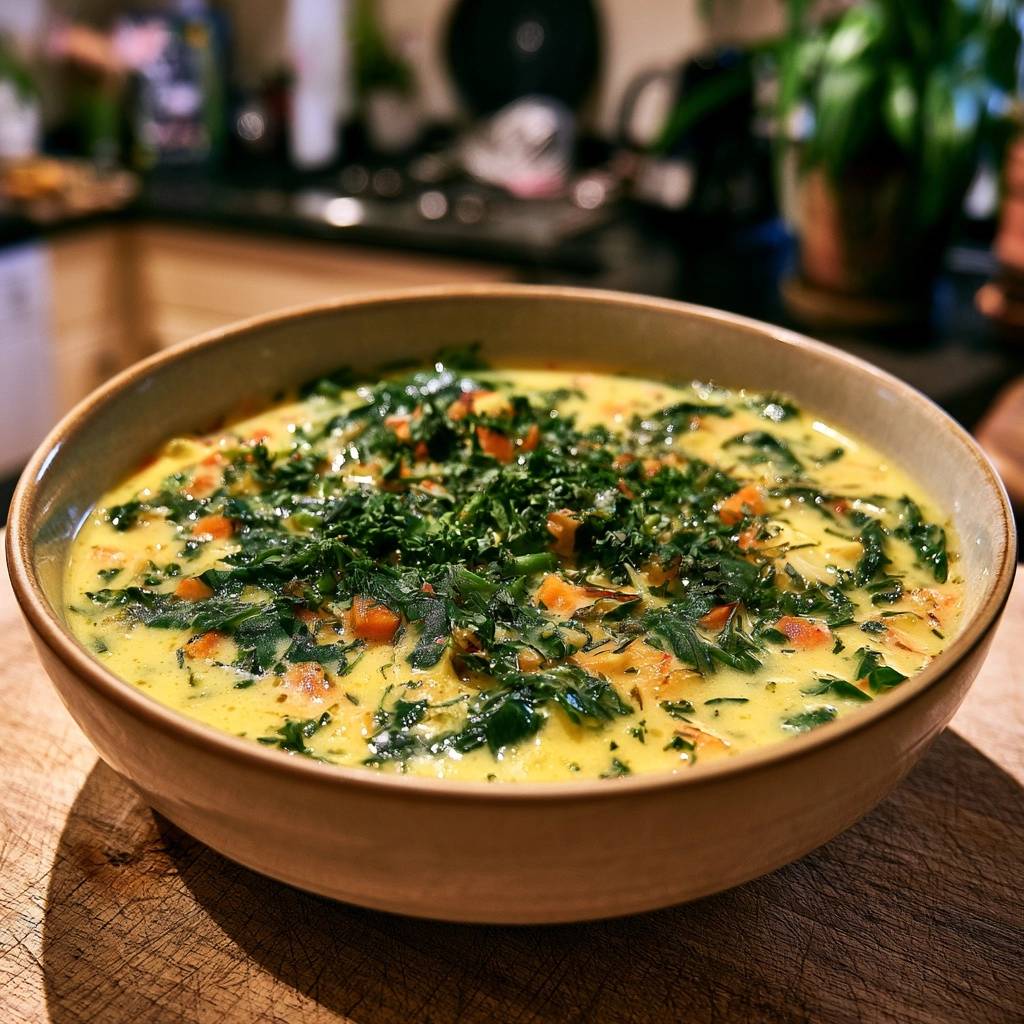
Most vegetable soups suffer from a common, disappointing fate: they end up looking and tasting like thin, flavored water. You’ve likely experienced that lackluster bowl where the vegetables float aimlessly in a translucent broth, leaving you reaching for a snack an hour later. This recipe changes that narrative by focusing on a velvety, opaque body that feels substantial and indulgent without needing a heavy, flour-heavy base.
The secret to this transformation lies in the “Never Watery” promise, achieved through a combination of blooming spices and a light, integrated roux. By treating the aromatics with patience and using a specific layering technique, we create a soup that boasts a stunning golden hue and a rich mouthfeel. It’s a dish that appeals to all the senses, offering a vibrant contrast between the sunny broth and the deep emerald ribbons of fresh kale.
To ensure success, you must understand that the texture isn’t just about the ingredients, but the order of operations. The most critical tip I can give you is to never rush the flour-cooking stage. If you don’t cook the flour with the oil and vegetables for at least a minute, you’ll end up with a pasty, raw aftertaste. When done correctly, the flour disappears into the fat, creating a stable emulsion that keeps your soup creamy from the first spoonful to the last.
The Anatomy of a Rich Vegetable Base
Building a soup with real depth starts with choosing the right aromatics. While white onions are a kitchen staple, I always reach for yellow onions for this golden soup. Yellow onions have a higher sugar content, which means they caramelize beautifully during the initial sauté, providing a foundational sweetness that balances the earthy turmeric.
The carrots aren’t just there for color; they provide texture and body. I recommend dicing them into small, uniform cubes about a quarter-inch thick. This size ensures they soften at the same rate as the onions, allowing them to release their natural starches into the broth. If the cubes are too large, you’ll end up with crunchy centers that disrupt the creamy experience.
For the liquid base, the lipid content is non-negotiable. Using full-fat coconut milk or heavy cream is essential because the primary flavors—turmeric and smoked paprika—are oil-soluble. This means their flavor compounds and vibrant colors are best carried and “unlocked” by fats. Without that creamy element, the spices can taste dusty or one-dimensional rather than rich and integrated.
Selecting and Prepping Fresh Kale
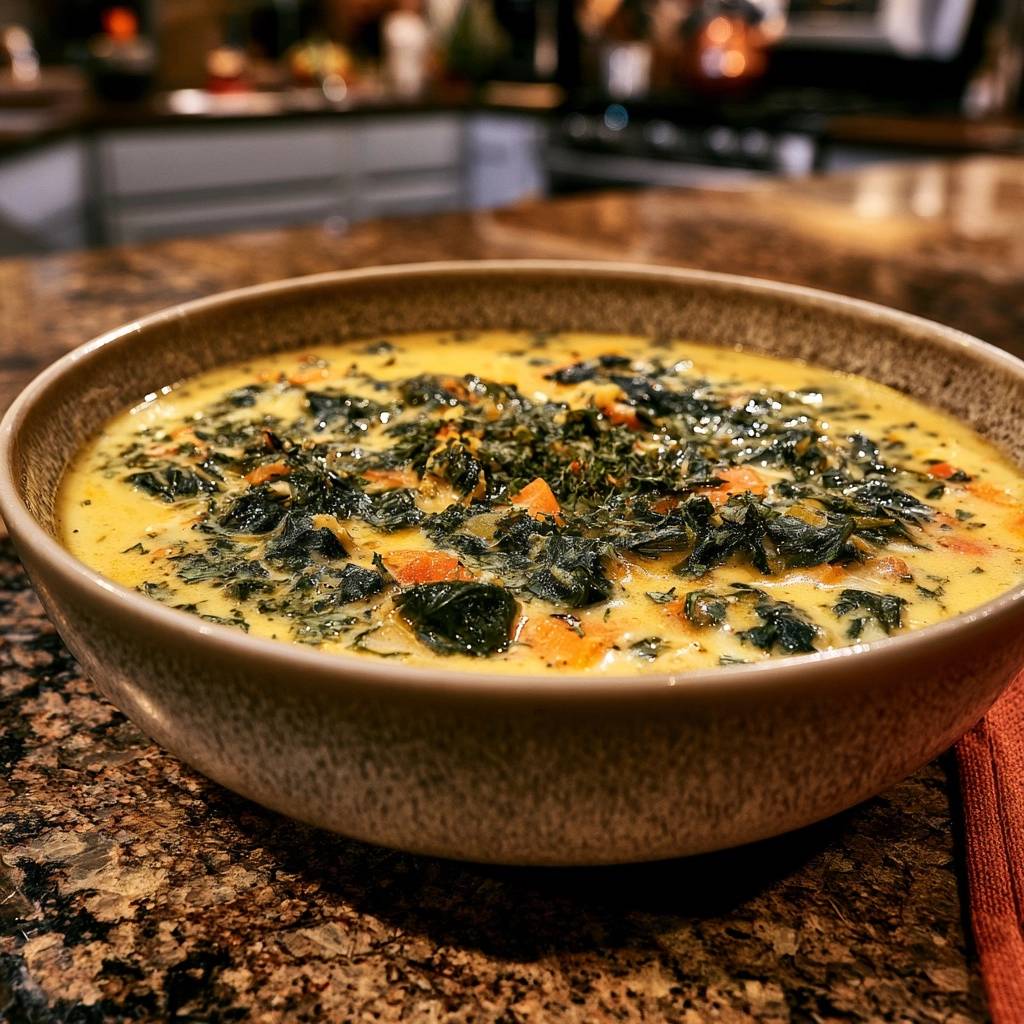
When you’re at the market, you’ll likely see both Curly Kale and Lacinato (also known as Dino) kale. For this specific soup, Curly Kale is my top choice because its ruffled edges catch the creamy broth beautifully. However, Lacinato kale works well if you prefer a more tender, slightly sweeter leaf that wilts more uniformly.
Regardless of the variety, you must remove the woody ribs. Those tough stems will never soften in the short cooking window and can ruin the “velvety” promise of the dish. Once the stems are gone, chop the leaves finely. Small ribbons integrate into the soup much better than large chunks, ensuring you get a bit of green in every single bite without having to struggle with your spoon.
The Role of Turmeric and Smoked Paprika
Turmeric is the star of the show here, providing that iconic “Golden” visual that makes the soup look so appetizing. Beyond the color, it offers a mild, earthy bitterness that grounds the dish. However, turmeric alone can feel a bit flat, which is why we pair it with smoked paprika.
The smoked paprika acts as a flavor bridge. It provides a subtle, wood-fired depth that mimics the complexity usually found in long-simmered meat broths. Together, these two spices create a “flavor chemistry” that makes the vegetable base taste much more expensive and time-consuming than it actually is.
The Science of the Light Roux Technique
The reason this soup stays thick and luscious instead of separating is due to starch gelatinization. When you sprinkle the flour over the oil-coated vegetables, the starch granules are coated in fat. As you slowly whisk in the vegetable broth and apply heat, these granules swell and burst, creating a network that traps the liquid.
This “integrated roux” method is superior to adding a slurry at the end. By cooking the flour directly with the aromatics, you create a more stable bond between the fats and the water-based broth. This prevents the dreaded “weeping” effect where a soup separates into a watery layer and a thick layer after sitting in the fridge.
Furthermore, this technique ensures the soup has a consistent, opaque body. It transforms the vegetable broth from a clear liquid into a rich sauce-like consistency. This allows the soup to coat the back of a spoon, providing a satisfying weight on the palate that makes the meal feel much more filling than a standard clear soup.
Step-by-Step: Building the Golden Flavor Profile
Creating a professional-grade soup is all about the phases of flavor development. You aren’t just boiling ingredients; you are building layers of taste that will reveal themselves as you eat. Follow these phases closely to avoid a bland result.
Phase 1: Caramelizing Aromatics for Depth
Start by heating your olive oil until it shimmers. When you add the onions and carrots, listen for a gentle sizzle. You are looking for the Maillard reaction—the chemical reaction between amino acids and reducing sugars that gives browned food its distinctive flavor.
Don’t stop when the onions are just translucent. Keep going until you see golden, caramelized edges on the carrots and a deep blonde color on the onions. This step usually takes about 8 minutes. If you skip this, your soup will lack the “umami” backbone that makes it craveable.
Phase 2: Blooming Spices in Fat
Once the vegetables are golden, add your garlic, turmeric, and paprika. This is the “blooming” phase. Spices are often dried and dormant; tossing them into hot fat wakes up their essential oils and intensifies their aroma.
Stir constantly for about 60 seconds. You’ll notice the scent change from a raw, sharp smell to something toasted and fragrant. Be careful not to go too long, as garlic and paprika can burn quickly and turn bitter. This one-minute window is the secret to that “restaurant-style” depth.
Phase 3: Simmering and Emulsifying the Broth
Now, slowly pour in your vegetable broth. I like to add about half a cup first and whisk it into the flour-coated vegetables to create a smooth paste. This prevents any flour clumps from forming. Once it’s smooth, pour in the rest of the liquid.
Bring the mixture to a boil, then drop it to a simmer for 10 minutes. During this time, the starch does its work, and the liquid will visibly thicken. Finally, whisk in your coconut milk or cream. You want to see the colors merge into a uniform, vibrant gold, indicating the fats have fully emulsified with the broth.
Achieving the Perfect Kale Texture
The biggest mistake people make with kale is cooking it for too long. Overcooked kale turns a dull, muddy gray and develops a bitter, sulfurous taste that can overpower the delicate spices. To keep it vibrant, follow the “3-minute rule.”
Add the kale at the very end of the process. The residual heat of the thickened broth is enough to wilt the leaves until they are “tender-crisp.” This means they are soft enough to eat easily but still have enough structure to provide a pleasant chew. This timing preserves the bright green color that makes the dish pop visually.
Flavor Variations and Ingredient Swaps
This recipe is a fantastic canvas for customization. If you want to boost the protein, a can of rinsed chickpeas is a perfect addition. They hold their shape well in the creamy broth and add a nutty flavor that complements the turmeric.
For a sweeter, heartier profile, you can swap the carrots for diced sweet potatoes or butternut squash. If you need a gluten-free version, replace the all-purpose flour with a cornstarch slurry (1 tablespoon cornstarch mixed with 2 tablespoons water). Note that the texture will be slightly more “silky” and less “velvety” than the flour version.
Essential Tools for Velvety Soups
A heavy-bottomed pot, like a cast-iron Dutch oven, is your best friend for soup making. It distributes heat evenly, which prevents the flour and spices from scorching on the bottom of the pan during the sauté and blooming phases.
I also highly recommend using a silicone whisk rather than a wooden spoon during the emulsification phase. A whisk is much more effective at breaking up tiny flour pockets and ensuring the coconut milk is fully integrated into the broth, resulting in a perfectly smooth finish.
Make Ahead and Storage Guidelines
This soup is an excellent candidate for meal prep, but keep in mind that the starch will continue to thicken as it sits in the fridge. When you go to reheat it the next day, it might look more like a thick stew. Simply add a splash of vegetable broth or water while warming it up to bring back that perfect consistency.
If you use coconut milk, this soup freezes reasonably well for up to two months. However, if you choose to use heavy cream, I don’t recommend freezing it. Dairy-based creams often separate and become grainy when thawed and reheated, which ruins the velvety texture we worked so hard to create.
Troubleshooting Common Soup Issues
Why is my soup too thick?
The starch in the flour and vegetables can sometimes over-perform. If the soup feels more like a gravy, simply whisk in extra vegetable broth a quarter-cup at a time until you reach your desired thickness. Don’t forget to check the seasoning afterward, as extra broth might dilute the salt.
Why does the color look dull?
If your soup looks more brown than gold, you might have over-caramelized the onions or used too much smoked paprika. You can brighten the color by adding a tiny pinch more turmeric or a squeeze of fresh lemon juice right before serving. The acid in the lemon often “wakes up” the colors and flavors.
Why is my kale still tough?
If the kale feels “leathery,” it likely wasn’t chopped finely enough or the ribs weren’t fully removed. You can let the soup sit with the lid on for an extra two minutes off the heat. The trapped steam will help soften the leaves without overcooking the rest of the vegetables.
Why does the flavor feel flat?
Usually, a “flat” flavor means it needs more salt or acid. Salt is a flavor enhancer; it doesn’t just make things salty, it makes the other ingredients taste more like themselves. Add a pinch of sea salt and a crack of black pepper, stir, and taste again. You’ll be amazed at the difference.
Pairing Suggestions for a Complete Meal
To turn this soup into a full feast, I love serving it with a thick slice of toasted sourdough bread. The tanginess of the bread is the perfect foil for the rich, earthy golden broth. If you want something even heartier, a dense rye bread provides a wonderful textural contrast.
A bright side salad is another great addition. Try a mix of arugula and shaved fennel tossed in a simple lemon vinaigrette. The sharp, citrusy notes of the salad cut through the richness of the coconut milk and turmeric, refreshing your palate between every warm, creamy spoonful of soup.
How long can I store this soup in the refrigerator?
You can store this soup in an airtight container for up to 4 days. Because of the starch from the flour and the fats in the coconut milk, the soup will thicken significantly as it chills. When reheating, do so over medium-low heat and add a splash of broth or water to loosen the consistency back to its original velvety state.
Why did my soup separate or look curdled?
Separation usually happens if the soup is boiled too vigorously after the cream or coconut milk has been added. To prevent this, ensure you are only simmering gently once the fats are introduced. If it does separate, a vigorous whisking can often bring the emulsion back together, or you can use an immersion blender for a few seconds to re-incorporate the fats.
Can I make this recipe gluten-free?
Yes, you can easily make this gluten-free by substituting the all-purpose flour with a gluten-free all-purpose blend or a cornstarch slurry. If using cornstarch, mix 1 tablespoon with 2 tablespoons of cold water and stir it into the simmering broth at the very end (Phase 3) instead of cooking it with the vegetables. This will provide a similar thickness, though the mouthfeel will be slightly more “glossy” than the traditional roux version.
Is there a substitute for coconut milk?
If you don’t want to use coconut milk, heavy cream is the best direct substitute for achieving that rich, golden look. For a lighter version, you can use half-and-half, though the soup won’t be quite as luscious. If you need a dairy-free alternative other than coconut, cashew cream works beautifully because of its high fat content and neutral flavor profile.
Can I add other vegetables to this soup?
Absolutely! This base is very forgiving. Diced potatoes, cauliflower florets, or even frozen peas work well. Just be mindful of cooking times; potatoes should be added at the same time as the carrots, while delicate vegetables like peas should go in at the very end with the kale to maintain their color and texture.
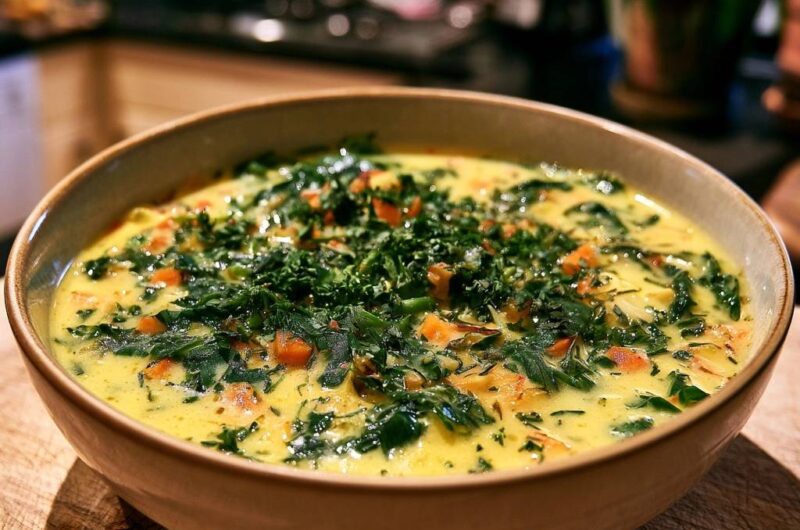
Creamy Golden Vegetable and Kale Soup
Course: SoupCuisine: AmericanDifficulty: easy4
servings15
minutes25
minutes40
Minutes310
kcalAmerican
Ingredients
1 large bunch fresh kale, stems removed and finely chopped
3 medium carrots, diced into small cubes
1 yellow onion, finely minced
2 cloves garlic, grated
2 tablespoons all-purpose flour (the secret to the “Never Watery” promise)
4 cups vegetable broth
1 cup full-fat coconut milk or heavy cream
1 teaspoon ground turmeric
1/2 teaspoon smoked paprika
2 tablespoons olive oil
1 teaspoon sea salt
1/2 teaspoon cracked black pepper
1/4 cup fresh parsley, finely chopped for garnish
Directions
- Sauté and Caramelize: Heat the olive oil in a large pot over medium heat. Add the onions and carrots. To solve the blandness issue, sauté these for at least 8 minutes until the onions are translucent and the carrots begin to develop golden, caramelized edges.
- Bloom the Spices: Add the grated garlic, turmeric, and smoked paprika. Stir constantly for 60 seconds. This blooming process activates the oil-soluble compounds in the spices and prevents the raw, dusty taste often found in quick soups.
- Create the Base: Sprinkle the flour over the vegetables and stir for 1-2 minutes to cook out the raw flour taste. This creates a light roux that ensures the soup has the thick, opaque body shown in the image rather than a thin broth.
- Simmer: Slowly pour in the vegetable broth while whisking to prevent lumps. Bring the liquid to a boil, then reduce to a simmer for 10 minutes. This allows the vegetables to soften and the base to thicken.
- Emulsify: Stir in the coconut milk or cream. Whisk it in thoroughly to ensure the fats emulsify with the thickened broth, creating that signature vibrant golden, creamy look.
- The Kale Finish: Add the finely chopped kale during the last 3 minutes of cooking. This is the key to perfect texture. By adding it at the very end, it wilts into the creamy broth just enough to be tender while maintaining the bright green color and distinct leaf structure seen in the final dish.
- Season and Serve: Season with salt and pepper to taste. Serve hot in deep bowls, topped generously with fresh parsley to match the herb-rich finish of the photo.
Notes
- The secret to the thick body is the light roux created by the flour and the blooming of spices in oil to prevent a dusty taste.