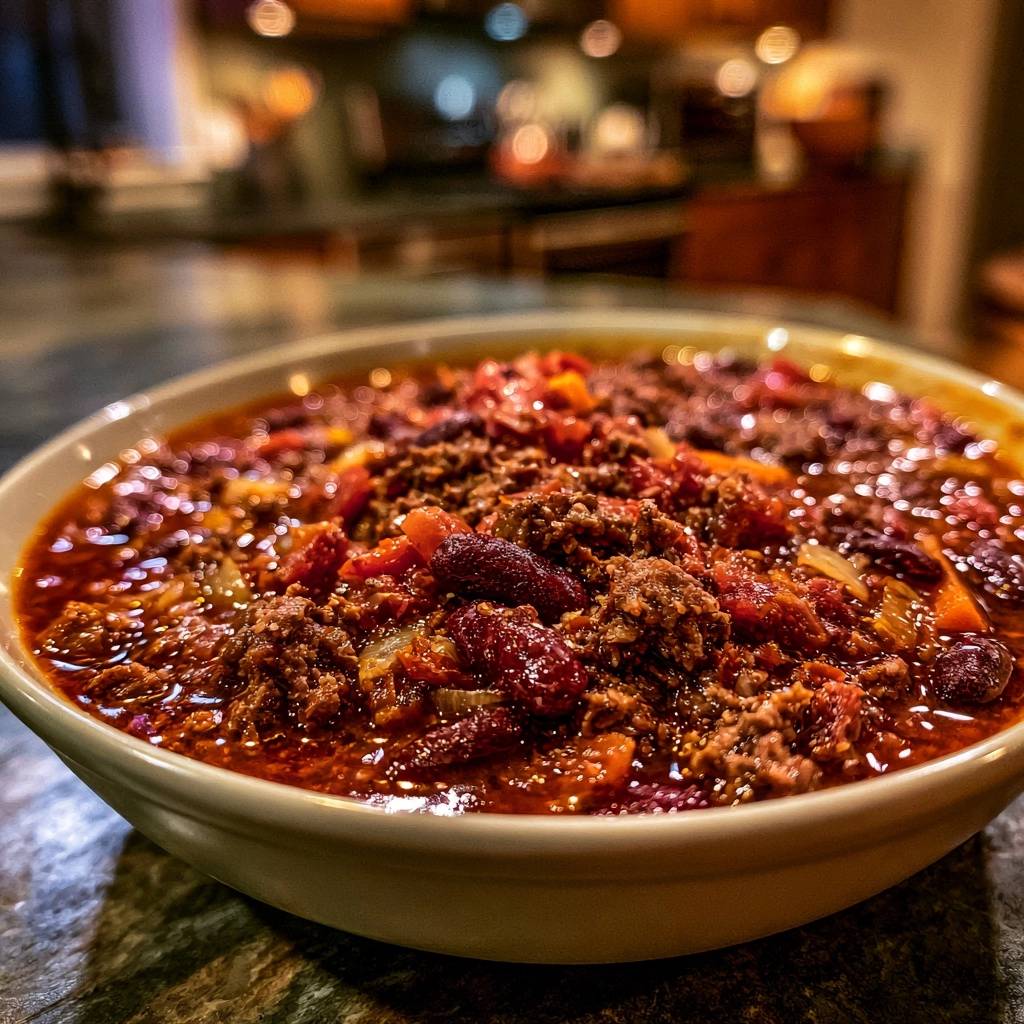
Imagine plunging your spoon into a bowl of chili so thick it practically stands up on its own. You won’t find any watery, pale broth here. Instead, every bite is a concentrated explosion of savory beef, earthy spices, and a sauce that clings to the back of your spoon like velvet. This is the ultimate comfort food, designed to warm you from the inside out with a deep, mahogany richness that only comes from patience and the right technique.
Most home cooks struggle with “chili soup,” where the ingredients sit in a thin, greasy liquid. However, the secret to a restaurant-quality Hearty Slow-Simmered Beef Chili lies in the “bloom and reduction” method. By treating your spices and tomato paste like aromatics rather than afterthoughts, you create a natural emulsion. This process binds the fats and liquids together, ensuring your chili is thick, glossy, and incredibly bold.
The real magic happens when you let the pot breathe. While it’s tempting to trap the heat with a lid, leaving the pot uncovered is my number one tip for success. This allows excess moisture to escape, concentrating the proteins and sugars into a heavy, luscious sauce. You aren’t just cooking dinner; you’re reducing a masterpiece that tastes even better the next day.
The Science of Thick Hearty Slow-Simmered Beef Chili
Creating a world-class chili is as much about chemistry as it is about seasoning. When you sear your ground beef over high heat, you trigger the Maillard reaction. This chemical interaction between amino acids and reducing sugars creates those dark, flavorful crusts on the meat. Without this step, your beef stays gray and bland, missing out on the foundational umami that defines a hearty bowl.
Furthermore, the interaction between collagen, fats, and tomato acids is vital for texture. As the beef simmers, the small amount of connective tissue breaks down, releasing gelatin into the sauce. When this gelatin meets the natural pectin in the tomatoes and the rendered beef fat, it forms a stable emulsion. This is why a well-made chili looks glossy rather than oily; the fat is actually suspended within the sauce.
Finally, we must talk about “blooming” spices. Many people toss dried spices into a boiling liquid, but most flavor compounds in chili powder and cumin are lipid-soluble. This means they release their full aromatic potential only when toasted in hot fat. By stirring your spices into the rendered beef fat before adding broth, you unlock a depth of flavor that boiling simply cannot achieve.
Why Crushed Tomatoes Outperform Diced Varieties
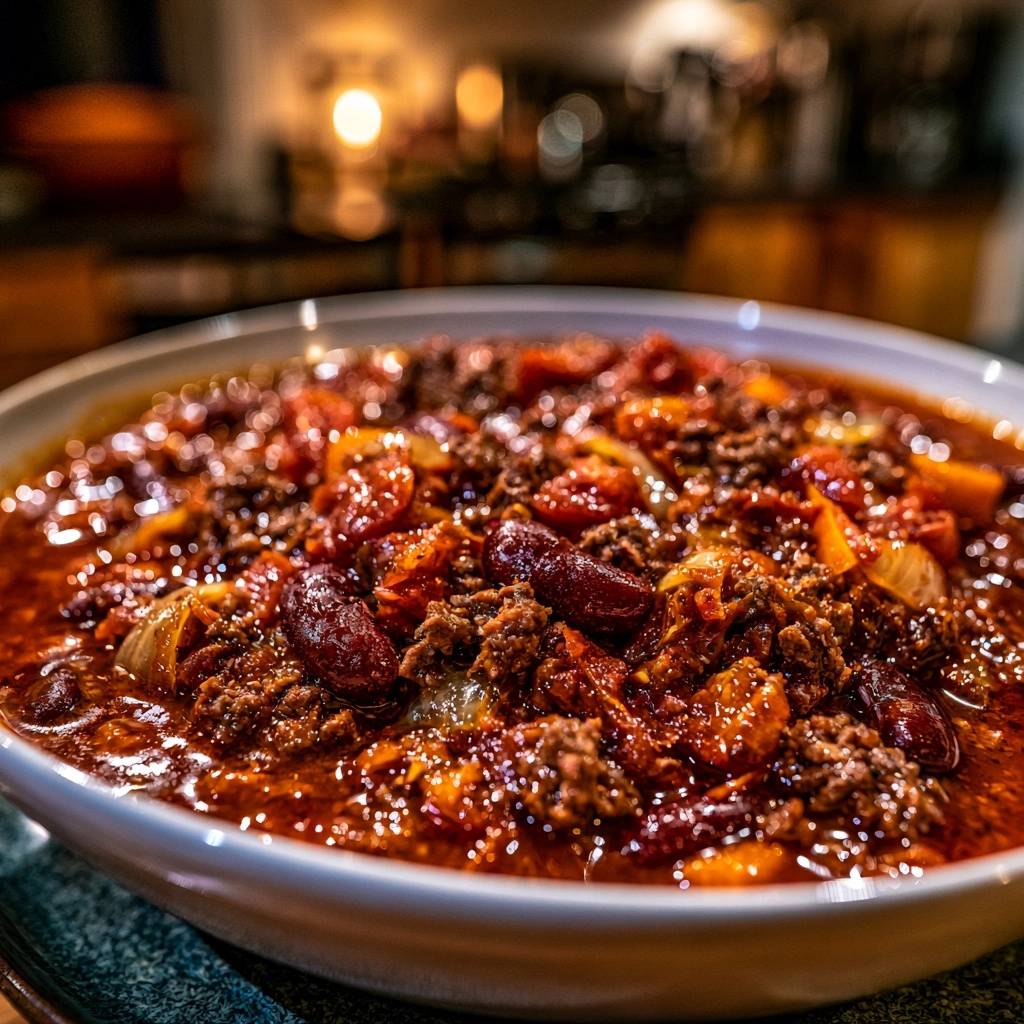
Crushed tomatoes are the unsung heroes of a thick chili base. Unlike diced tomatoes, which are often treated with calcium chloride to help them keep their shape, crushed tomatoes provide a high surface area of fruit pulp. This pulp contains natural pectin, which acts as a built-in thickener for your sauce. Diced tomatoes tend to float in a thin, watery juice that dilutes your hard-earned flavor, whereas crushed tomatoes create a consistent, heavy body from the start.
The Role of Carrots in Flavor Balancing
You might be surprised to see carrots in a chili recipe, but they serve a brilliant purpose. Finely diced carrots melt into the sauce during the long simmer, providing a subtle, natural sweetness. This sweetness perfectly balances the sharp acidity of the tomatoes and the smoky heat of the paprika. It allows you to achieve a rounded flavor profile without ever reaching for refined white sugar, which can sometimes make a savory chili taste artificial.
Essential Components for a Rich Chili Base
Every ingredient in this Hearty Slow-Simmered Beef Chili has a specific job to do. We start with 80/20 ground beef because fat equals flavor and moisture. If you go too lean, the meat becomes crumbly and dry during the hour-long simmer. The dark red kidney beans are chosen for their thick skins and sturdy interior; they hold their shape beautifully even after a long stint on the stove, providing a necessary structural contrast to the tender meat.
The spice blend is equally intentional. Smoked paprika adds a “cooked-over-a-campfire” depth without needing a smoker, while dried oregano provides a floral, herbal note that cuts through the richness. Using a high-quality beef broth is also non-negotiable. Since we are reducing the liquid by half, the flavors will concentrate. A cheap, overly salty broth will become overpowering, so choose a low-sodium, high-quality version to keep the flavors balanced.
Selecting the Right Beef Fat Ratio
Using 80/20 ground beef is the “sweet spot” for a rich mouthfeel. The rendered fat from this ratio does more than just lubricate the pan; it carries the capsaicin from the chili powder across your palate. If you use 90/10 or 95/5 beef, the chili often feels “thin” in the mouth. By keeping about two tablespoons of that golden fat in the pot, you ensure the spices have a vehicle to deliver their maximum punch.
The Masa Harina Thickening Technique
If you find your chili needs an extra boost of body, masa harina is your best friend. This nixtamalized corn flour acts as a bridge between the liquid and solid components. Unlike a standard flour slurry, which can make a sauce taste pasty or “cloudy,” masa harina adds a faint, toasted corn aroma that complements the cumin and chili perfectly. It thickens the sauce instantly while keeping the texture rustic and authentic.
Step-by-Step: Searing and Blooming for Maximum Depth
The first twenty minutes of cooking determine the success of your entire pot. Start by getting your Dutch oven screaming hot before the beef even touches the surface. You want to hear a loud sizzle the moment the meat hits the oil. This isn’t the time for stirring; let the beef sit undisturbed for several minutes to develop a dark, crispy crust that will eventually dissolve into the sauce as pure flavor.
Once the meat is browned and the vegetables are soft, it is time for the most critical step: the bloom. Add your tomato paste and all your dried spices directly to the meat and fat mixture. Stir this constantly for about three minutes. You will notice the tomato paste shift from a bright, candy red to a dark, brick-like mahogany. This caramelization removes the “tinny” taste of the paste and creates a concentrated flavor base that defines a “slow-simmered” taste.
As you stir, the aroma in your kitchen will change from raw garlic and onion to a complex, toasted scent. This is the signal that the oils in the spices have been fully activated. At this point, the bottom of your pot will likely have a layer of dark bits stuck to it. Don’t worry; that is the “fond,” and it is essentially concentrated gold. When you pour in your broth and tomatoes, use a wooden spoon to scrape every bit of it up so it can melt back into the chili.
Achieving the Perfect Crust on Ground Beef
To get that perfect sear, avoid the temptation to dump all two pounds of beef in at once if your pot is small. Overcrowding the pan drops the temperature, causing the meat to release its juices and steam in its own liquid. This results in gray, rubbery beef. Cook in two batches if necessary, ensuring the meat has enough space to fry rather than boil. This patience pays off in the final texture of the dish.
How to Bloom Spices and Caramelize Tomato Paste
When you add the tomato paste and spices, watch for the color change. You are looking for a deep, dark red that looks almost like chocolate. This indicates the sugars in the tomato have caramelized. If the mixture starts to smell slightly nutty and the spices become incredibly fragrant, you have successfully bloomed them. This step ensures that the heat of the chili is integrated into the sauce rather than just sitting on top of it.
The Reduction Phase: Simmering Without a Lid
Once all your ingredients are in the pot, the real transformation begins. Most recipes tell you to cover the pot, but that is a mistake if you want a hearty, thick result. Simmering uncovered allows the water content in the tomatoes and broth to evaporate slowly. As the volume of liquid decreases, the flavors of the beef, spices, and aromatics become more intense and the sauce naturally thickens into a rich gravy.
This phase requires a very low heat setting. You are looking for what chefs call a “lazy bubble”—one or two bubbles breaking the surface every few seconds. If the pot is boiling too hard, the meat will become tough and the bottom might scorch. A gentle, slow simmer for 45 to 60 minutes allows the beans to absorb the savory liquid while the beef becomes tender enough to melt in your mouth.
Managing Heat Levels During the Long Simmer
Keep a close eye on the pot during the final 20 minutes. As the sauce thickens, it becomes more prone to sticking to the bottom of the Dutch oven. Give it a good stir every ten minutes, making sure to scrape the bottom corners. If the liquid is reducing too quickly before the flavors have melded, you can always add a splash more broth, but generally, the goal is to let that moisture vanish until the sauce is heavy and rich.
Scraping the Fond: Incorporating the Flavor Base
The act of deglazing with your beef broth is a game-changer. Those browned bits on the bottom of the pot are packed with caramelized proteins. As you pour in the liquid and scrape with your spoon, you are essentially making a quick pan sauce that becomes the backbone of your chili. This ensures that every ounce of flavor from the searing process is captured and distributed throughout the entire batch.
Troubleshooting Common Chili Consistency Issues
Even with the best intentions, sometimes a chili doesn’t turn out exactly as planned. If you find your sauce is still a bit thinner than you’d like after an hour, don’t panic. You can easily fix this by taking a potato masher or a large spoon and crushing a handful of the kidney beans against the side of the pot. The starches released from the beans will act as a natural thickener, instantly giving the sauce more body without changing the flavor.
On the other hand, if your chili has become too salty or spicy during the reduction process, you can balance it out with a touch of acidity or fat. A teaspoon of apple cider vinegar or a squeeze of lime juice can brighten a dish that feels too “heavy.” Alternatively, serving the chili with a generous dollop of sour cream or shredded cheese provides a cooling fat that mellows out excess heat and rounds out the saltiness on your palate.
Fixing a Thin or Watery Sauce
If the bean-mashing trick isn’t enough, the most effective way to fix a watery chili is simply more time. Increase the heat slightly and let it simmer vigorously for another 10 minutes while stirring constantly. This rapid evaporation can often save a sauce that feels a bit loose. Just remember that the chili will continue to thicken as it cools slightly before serving, so don’t over-reduce it to the point of being dry.
Balancing Excess Salt or Heat
If you accidentally went overboard with the chili powder, don’t reach for the water, which will only dilute the flavor. Instead, add another small can of crushed tomatoes or a bit more diced carrot. The extra bulk and natural sugars will help absorb and mask the excess spice. In professional kitchens, we often use a tiny pinch of cocoa powder to add a bitter counterpoint that can help mask an overly salty profile.
Make-Ahead Strategies and Storage Logistics
Chili is one of those rare dishes that actually tastes better the next day. This happens because the flavors have time to “marry” at a molecular level. As the chili cools, the spices continue to permeate the meat and beans, and the starches in the sauce further stabilize. If you are planning a party, I highly recommend making this a full day in advance and reheating it slowly on the stove when you are ready to eat.
When storing leftovers, let the chili cool to room temperature before transferring it to airtight containers. It will stay fresh in the refrigerator for up to four days. When reheating, you might notice the sauce has become very thick, almost like a paste. Simply add a tablespoon or two of water or broth as you warm it up to bring back that perfect, glossy consistency without losing any of the concentrated flavor.
Freezing Hearty Slow-Simmered Beef Chili for Later
This recipe freezes beautifully for up to three months. Use heavy-duty freezer bags and squeeze out as much air as possible to prevent freezer burn. One thing to note is that kidney beans can sometimes become slightly softer after being frozen and thawed. To mitigate this, avoid overcooking the beans during the initial simmer if you know you are making a “freezer batch.” Thaw the chili overnight in the fridge before reheating for the best texture.
Expert Tips for Serving and Customization
Presentation is the final step in creating a memorable meal. Serve this chili in wide, shallow bowls rather than deep mugs. This showcases the chunky, hearty texture and provides more surface area for toppings. I love a “high-contrast” garnish approach. Pair the hot, spicy chili with something cold and creamy, like sour cream or avocado, and something sharp and crunchy, like pickled jalapeños or thinly sliced radishes.
If you want to customize the texture, feel free to play with the vegetables. While this recipe focuses on a thick sauce, adding diced bell peppers or celery during the sauté phase can add a nice “crunch” to the finished dish. Just be sure to dice them small so they don’t distract from the beef. For a smoky twist, you can even swap the smoked paprika for a finely chopped chipotle pepper in adobo sauce for an extra kick of heat.
Texture Pairings: Beyond the Bowl
A hearty chili needs a sturdy sidekick. A thick slice of crusty sourdough is perfect for mopping up the last bits of sauce from the bottom of the bowl. Alternatively, a honey-glazed cornbread provides a sweet, crumbly contrast to the savory, spicy beef. If you want to keep it simple, a handful of salty tortilla chips adds a satisfying crunch that complements the soft beans and tender meat perfectly.
Vegetable Swaps and Texture Variations
For those who want a bit more garden presence in their bowl, try adding a cup of frozen corn during the last five minutes of simmering. The corn adds a bright pop of color and a sweet “snap” that works beautifully with the beef. If you prefer a more rustic, chunky style, you can use “chili grind” beef, which is more coarsely ground than standard supermarket beef, giving the dish a more steak-like texture.
Chili Preparation Troubleshooting
Can I use a slow cooker for this specific method?
You can use a slow cooker, but you must still sear the beef and bloom the spices in a pan first. The biggest challenge with a slow cooker is the lack of evaporation. Since the lid stays on, the moisture has nowhere to go, which often results in a thinner sauce. If you use a slow cooker, reduce the beef broth to just half a cup to compensate for the lack of reduction, and cook on low for 6 to 8 hours.
Why is my beef tough even after simmering?
Tough beef is usually a result of one of two things: either the meat wasn’t simmered long enough to break down the fibers, or it was boiled too aggressively. High heat causes muscle fibers to seize up and become rubbery. Ensure you are keeping the pot at a very gentle simmer. If the meat is still tough after 45 minutes, simply give it another 15 to 20 minutes; time is the ultimate tenderizer for beef.
Can I substitute the beef broth with water?
While you can use water in a pinch, you will lose a significant amount of umami and depth. Beef broth provides a savory foundation that water simply cannot match. If you don’t have beef broth, a mixture of water and a teaspoon of Worcestershire sauce or a bit of soy sauce can help mimic that savory profile. However, for the best “restaurant-quality” results, a high-quality broth is always the superior choice.
What is the best substitute for kidney beans?
If you aren’t a fan of kidney beans, black beans or pinto beans are excellent alternatives. Black beans are smaller and creamier, while pinto beans have a softer texture that blends well into the sauce. If you want to maintain the structural integrity of the dish, look for “cannellini” or “great northern” beans, which are sturdy enough to handle the long simmer without turning into mush.
How do I store leftovers safely?
Store your chili in an airtight container in the refrigerator for up to 4 days. Because this is a thick, protein-rich dish, it is important to cool it down quickly before refrigerating. Do not leave the pot sitting on the counter for more than two hours. For long-term storage, this chili freezes exceptionally well for up to 3 months in freezer-safe bags or containers.
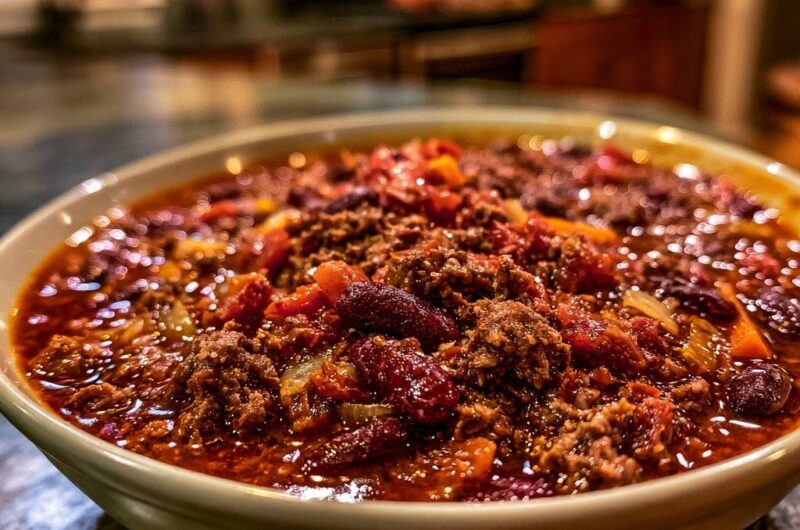
Hearty Slow-Simmered Beef Chili
Course: Main CourseCuisine: AmericanDifficulty: easy6
servings15
minutes1
hour60
Minutes410
kcalAmerican
Ingredients
2 pounds ground beef (80/20 for best flavor)
2 cans (15 ounces each) dark red kidney beans, drained and rinsed
1 can (28 ounces) crushed tomatoes (provides a thicker base than diced)
1 large yellow onion, finely diced
3 cloves garlic, minced
1 large carrot, finely diced (for natural sweetness and texture)
3 tablespoons chili powder
1 tablespoon ground cumin
1 teaspoon smoked paprika
1 teaspoon dried oregano
1 cup beef broth (reduced from 2 cups to ensure thickness)
2 tablespoons tomato paste
1 tablespoon olive oil
1 tablespoon masa harina or cornmeal (optional, for extra body)
Salt and black pepper to taste
Directions
- Heat the olive oil in a large heavy-bottomed pot or Dutch oven over medium-high heat. Add the ground beef and cook until deeply browned. To avoid a watery result, do not overcrowd the pan; cook in batches if necessary to ensure the meat sears and develops a crust rather than steaming.
- Do not drain all the fat; leave approximately 2 tablespoons of the rendered beef fat in the pot. This fat carries the flavor of the spices and creates the glossy finish seen in the image.
- Add the diced onion and carrot to the pot. Sauté for 6-8 minutes until the vegetables are softened and the onions are translucent. Add the garlic and cook for 1 minute until fragrant.
- The Thickening Secret: Add the chili powder, cumin, paprika, oregano, and tomato paste directly to the meat and vegetable mixture. Stir constantly for 3 minutes. This “blooms” the spices and caramelizes the tomato paste, which develops a deep mahogany color and creates a thick, concentrated base.
- Pour in the crushed tomatoes and the 1 cup of beef broth. Use a wooden spoon to scrape up every bit of the “fond” (browned bits) from the bottom of the pot.
- Stir in the kidney beans. If you prefer an even thicker consistency, stir in 1 tablespoon of masa harina at this stage.
- Bring the mixture to a gentle simmer, then reduce the heat to low.
- Simmer uncovered for at least 45-60 minutes. Leaving the lid off is essential; it allows excess moisture to evaporate, concentrating the sugars and proteins into a rich, heavy sauce that clings to the beef and beans.
- Season with salt and pepper to taste. Serve hot in a wide bowl to showcase the chunky, hearty texture.
Notes
- Simmering uncovered is the essential step to prevent a watery consistency. The addition of finely diced carrots provides natural sweetness to balance the acidity of the tomatoes.