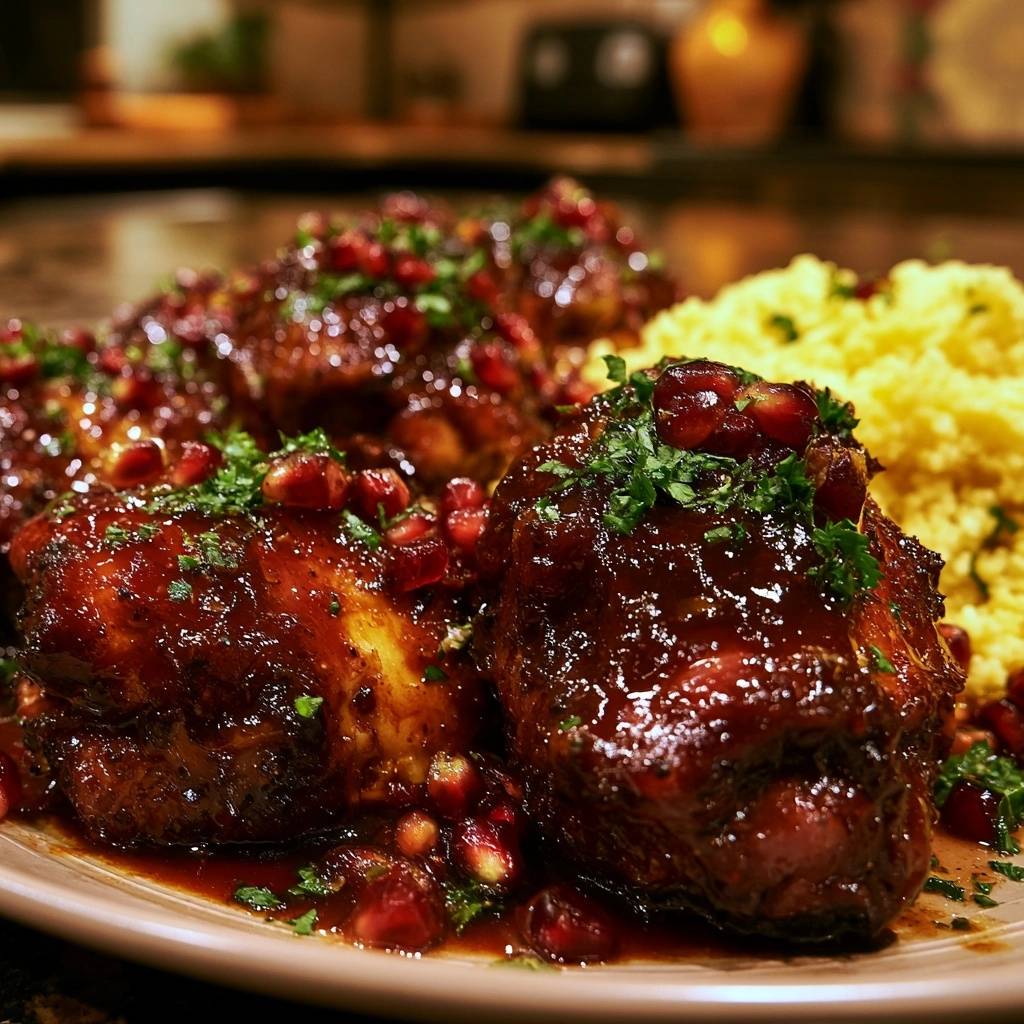
You’ve likely experienced the disappointment of a glazed chicken dish where the skin is a rubbery, pale mess hidden under a layer of sauce. Most recipes fail because they apply the glaze too early, which effectively steams the skin instead of allowing it to crisp. This Pomegranate Glazed Roasted Chicken Thighs recipe solves that problem with a specific two-stage high-heat method that ensures a shatter-crisp texture.
The secret lies in the contrast between the savory, rendered skin and the thick, jewel-toned pomegranate reduction. By delaying the glaze until the very end, you allow the chicken fat to fully render out, creating a golden foundation that holds up against the moisture of the sauce. It’s a sophisticated balance of tart, sweet, and salty that looks like a restaurant masterpiece but works perfectly in a home kitchen.
I’ve found that the absolute key to success is starting with bone-in, skin-on thighs that are bone-dry. If there’s even a hint of moisture on that skin before it hits the oven, you’ll lose the crunch. Use a wire rack to elevate the meat, allowing hot air to hit every single surface for a 360-degree sear that locks in the juices while the exterior dehydrates into a crackling shell.
The Science of Rendering Fat for Maximum Crunch
Chicken skin is essentially a layer of fat trapped beneath a thin membrane. To get that satisfying crunch, you have to melt that subcutaneous fat so the skin can essentially fry in its own oils. If the heat is too low, the fat stays trapped, resulting in a chewy, unappealing texture that slides right off the meat.
Roasting at 425°F is the thermal sweet spot for bone-in thighs. This high temperature forces the fat to render quickly while the internal meat stays succulent and tender. Because bone-in cuts conduct heat more evenly, the meat won’t dry out before the skin has a chance to reach that deep, golden-brown state of perfection.
Therefore, you must view the first 25 minutes of cooking as a dehydration phase. You’re removing the water from the skin so that only the proteins and fats remain. Once that moisture is gone, the skin becomes a porous sponge ready to soak up the pomegranate glaze without losing its structural integrity.
Essential Components for the Pomegranate Reduction
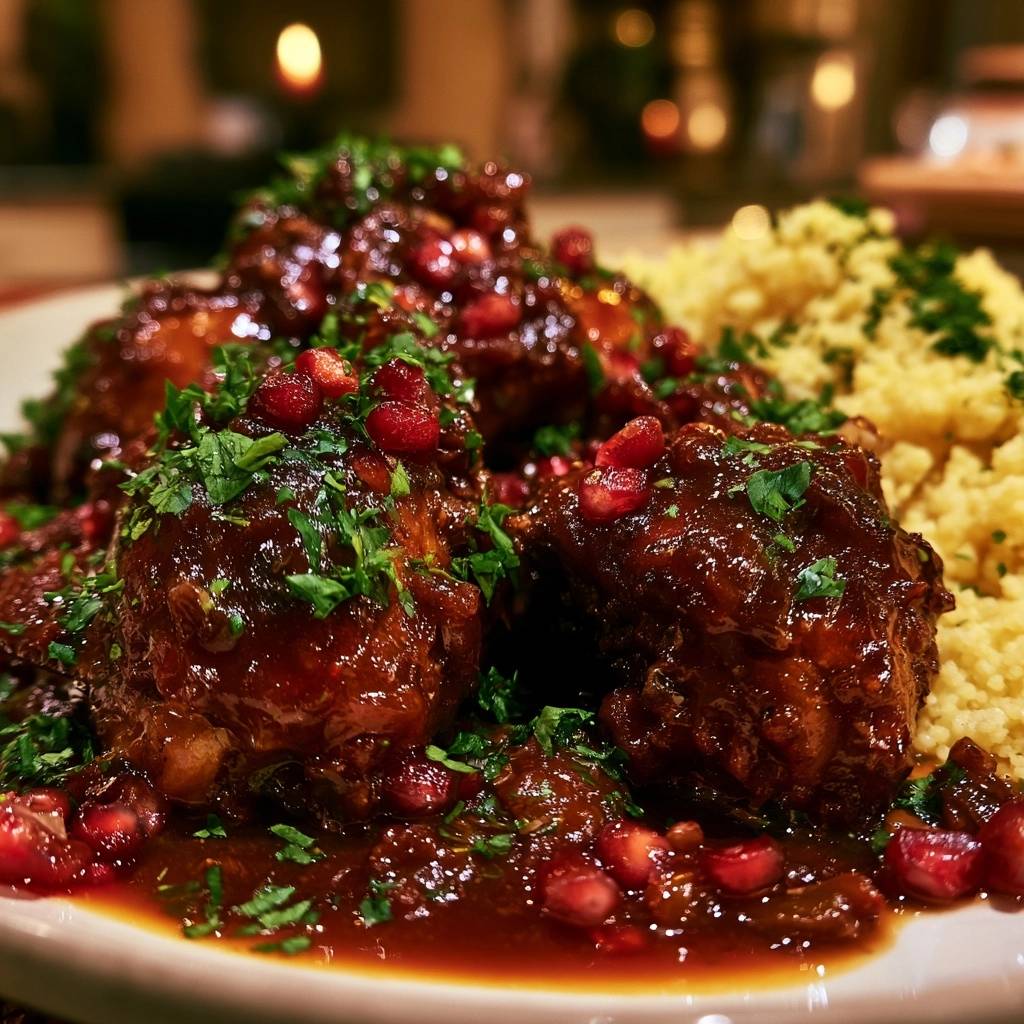
The glaze is the star of the show, and quality ingredients make a massive difference here. Pomegranate molasses is the heavy hitter in this lineup, providing a deep, earthy acidity and a natural thickness that juice alone can’t replicate. When combined with honey, it creates a sticky, syrupy consistency that clings to the chicken like a lacquer.
I prefer using dry aromatics like garlic powder and smoked paprika for the rub rather than fresh garlic. Fresh garlic contains a lot of moisture and tends to burn and turn bitter at the 425°F temperatures we’re using. The smoked paprika adds a subtle wood-fired flavor that complements the tartness of the pomegranate beautifully.
Using bone-in, skin-on thighs is non-negotiable for this specific technique. The bone acts as an insulator, preventing the meat from overcooking during the final high-heat blast. Additionally, the skin provides the necessary fat to keep the meat basted from the outside in as it roasts.
Selecting the Right Pomegranate Molasses
When shopping, look for “Pomegranate Molasses” rather than “Pomegranate Syrup.” Molasses is simply pomegranate juice that has been reduced down until it’s thick and intensely tart, whereas syrups often contain added sugars and fillers. If you can’t find it, you can simmer an extra cup of pomegranate juice with a squeeze of lemon until it reduces by 75%, but the authentic molasses offers a much more complex, jewel-toned finish.
The Critical Role of Airflow and Surface Moisture
If you place your chicken directly on a flat baking sheet, the bottom of the thigh will sit in its own escaping juices. This creates a “stewing” effect that leads to mushy skin. By using a wire rack set over a foil-lined pan, you allow the hot oven air to circulate underneath the meat, ensuring the bottom stays as firm as the top.
Surface moisture is the ultimate enemy of the Maillard reaction. I always tell people to pat the chicken “extremely dry” with paper towels until the paper no longer picks up any dampness. This step removes surface proteins that cause sticking and prevents the formation of steam, which is the primary cause of rubbery skin.
In addition, seasoning generously with salt after drying helps draw out any remaining deep-seated moisture. The salt works with the high heat to break down the skin’s structure, making it thinner and crispier as it roasts. You’ll actually see the skin start to tighten and blister as the air flows around it.
Phase One: Achieving the Golden-Brown Foundation
During the first 25 to 30 minutes of roasting, your kitchen will start to smell incredible as the fat begins to bubble. You aren’t looking for a finished product yet, but rather a solid foundation. The skin should look tight, shifting from a pale pink to a vibrant, shimmering golden-brown.
You’ll notice the fat pooling in the pan below the rack; this is exactly what you want. It means the rendering process is working. At this stage, the internal temperature of the chicken should be around 160°F. It’s important not to touch the glaze yet, as the skin needs to be fully “set” before any liquid is introduced.
If the skin looks patchy or pale in spots, give it another five minutes. Every oven is different, and you want to ensure that the fat has mostly finished rendering before you move on. A well-rendered thigh will feel firm to the touch when tapped lightly with a pair of tongs.
Phase Two: Reducing the Glaze to a Lacquered Finish
While the chicken is doing its thing in the oven, you’ll want to focus on the stovetop reduction. Combine the juice, molasses, honey, and balsamic vinegar in a small saucepan. As it simmers, the water evaporates, leaving behind a concentrated syrup that should coat the back of a spoon—a state chefs call “nappe.”
Be careful not to over-reduce the mixture. If it becomes too thick in the pan, it will turn into a hard candy consistency once it hits the cool chicken. You’re looking for a slow, lazy bubble in the pan and a dark, mahogany color that signals the sugars have caramelized but haven’t burnt.
The balsamic vinegar is the secret weapon here. It provides a sharp back-note that prevents the honey from being cloyingly sweet. When these ingredients meld, they create a chemical bond that results in a glossy, professional-looking finish that stays shiny even after the chicken is served.
The Flash-Heat Finish: Caramelizing Without Burning
This is the most critical part of the process. Once you’ve brushed that thick glaze over the crispy skin, you’re going to crank the heat up to 450°F or even hit the broil setting. This final blast of heat “sets” the glaze, turning it from a liquid sauce into a tacky, lacquered coating that sticks to the skin.
You must watch the oven door constantly during these last few minutes. Because the glaze has a high sugar content from the honey and pomegranate, it can go from perfectly caramelized to carbonized in about 30 seconds. You’re looking for the glaze to bubble and darken into a deep, rich red-black color.
As soon as you see the glaze starting to “volcano” or create large, dark bubbles, pull the pan out. The residual heat will continue to cook the sugars for a moment. This flash-heat method ensures the glaze is hot and caramelized without giving it enough time to soak into the skin and make it soggy.
Troubleshooting Common Roasting Obstacles
If you find that your chicken skin is still soft after the initial roasting period, don’t panic. Simply increase the heat by 25 degrees or move the rack to a higher position in the oven. Sometimes, moisture in the oven cavity can slow down the crisping process, so cracking the oven door for a second to let steam escape can also help.
If your glaze feels too thin and is running off the chicken, return it to the stovetop and simmer it for another two or three minutes. It should have the consistency of warm maple syrup. Conversely, if it’s too thick to brush on, whisk in a teaspoon of water or pomegranate juice to loosen it up before applying.
For those whose meat is reaching 165°F before the skin is brown, use the broiler immediately. The intense top-down heat will brown the skin in seconds. Just remember that the goal is to hit that 165°F internal mark right as the glaze finishes caramelizing for the juiciest results.
Preventing the “Sugar Burn” on the Baking Sheet
The dripping glaze can be a nightmare to clean and may even smoke up your kitchen at 450°F. To prevent this, always line your baking sheet with heavy-duty aluminum foil. If you see the drippings on the foil starting to smoke during the final minutes, carefully pour a tiny bit of water into the bottom of the pan (avoiding the chicken) to cool the sugar down.
Plating for Texture and Visual Contrast
Once the chicken comes out of the oven, let it rest for at least five minutes. This is vital because it allows the internal juices to redistribute, ensuring the meat doesn’t dry out when you bite into it. During this time, the glaze will also firm up slightly, creating that iconic tacky texture.
I love serving this over a bed of bright yellow saffron rice. The aromatic, earthy rice acts as a neutral base that soaks up any extra pomegranate glaze. The visual contrast between the dark, lacquered chicken and the vibrant rice makes the whole dish pop on the dinner table.
Finally, don’t skip the fresh garnish. A heavy shower of fresh pomegranate seeds provides a “pop” of fresh acid that cuts through the richness of the chicken fat. Add a handful of chopped parsley for a burst of color and a grassy freshness that balances the deep, cooked flavors of the reduction.
Expert Tips for Preparation and Storage
While it might be tempting to use chicken breasts, I strongly advise against it for this recipe. Breasts lack the fat content and skin thickness required to withstand the high-heat roasting and glazing process, often resulting in dry, chalky meat. Stick to thighs or drumsticks for the best experience.
You can easily make the pomegranate glaze up to a week in advance. Just store it in an airtight jar in the fridge. When you’re ready to use it, warm it slightly in the microwave or on the stove so it reaches a spreadable consistency. This makes the actual weeknight cooking process incredibly fast.
If you have leftovers, avoid the microwave at all costs, as it will turn the skin into a soggy mess. Instead, reheat the chicken in an air fryer at 350°F for about 5 minutes or in a toaster oven. This will recrisp the skin and keep the glaze tacky rather than watery.
Optimal Side Dish Pairings
Beyond the saffron rice, this chicken pairs beautifully with bitter greens like an arugula salad tossed in a light lemon vinaigrette. The bitterness of the greens offsets the sweetness of the glaze. Roasted root vegetables, like carrots or parsnips, are also fantastic since they can be roasted on a separate tray at the same time as the chicken.
How do I store leftovers?
Store any leftover chicken in an airtight container in the refrigerator for up to 3 days. For the best results, keep the extra pomegranate seeds and parsley in separate containers and add them fresh when you serve. I do not recommend freezing the cooked chicken, as the glaze will lose its texture and the skin will become soft upon thawing.
Why is my chicken skin still soggy?
The most common culprit for soggy skin is trapped moisture. Ensure you are using a wire rack so air can circulate under the chicken. If the skin isn’t crispy before you apply the glaze, it won’t magically become crispy afterward. Make sure the skin is golden and firm to the touch before the glaze ever hits the meat.
Can I substitute the pomegranate molasses?
If you can’t find pomegranate molasses, you can make a quick version by simmering 1 cup of pomegranate juice with 1 tablespoon of sugar and 1 teaspoon of lemon juice. Reduce it until it is thick and syrupy. However, the store-bought molasses has a specific fermented depth that really elevates the dish, so it’s worth looking for in the international aisle.
What if I don’t have a wire rack?
If you don’t have a wire rack, you can create “coils” out of aluminum foil and rest the chicken on top of them. Alternatively, you can slice thick rounds of onion or lemon and use them as a natural rack. The goal is simply to keep the chicken from sitting directly on the flat surface of the baking sheet where juices collect.
Is this dish very spicy because of the paprika?
Not at all! Smoked paprika provides a deep, smoky aroma and a beautiful red color, but it is very mild in terms of heat. If you want a spicy kick, you can add a pinch of cayenne pepper to the dry rub or a teaspoon of chili flakes to the glaze reduction, but as written, the dish is family-friendly and mild.
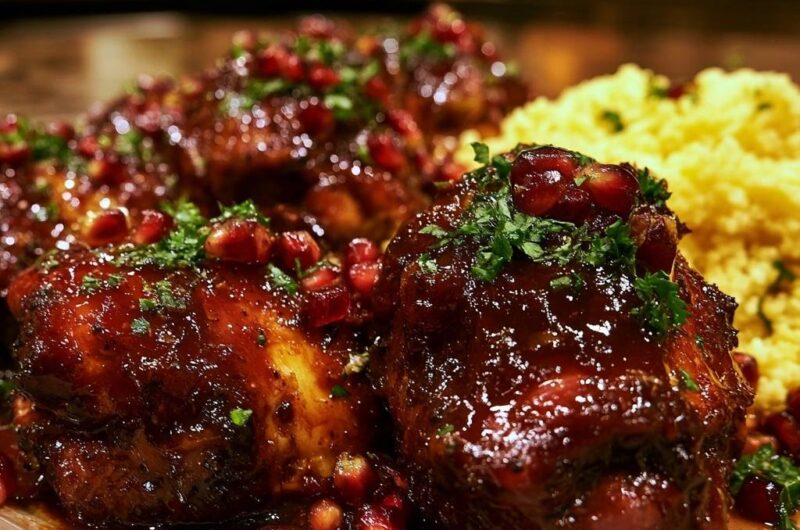
Pomegranate Glazed Roasted Chicken Thighs
Course: Main CourseCuisine: AmericanDifficulty: easy4
servings15
minutes35
minutes50
Minutes420
kcalAmerican
Ingredients
4 bone-in, skin-on chicken thighs
1/2 cup pomegranate juice
2 tablespoons honey
1 tablespoon balsamic vinegar
1 tablespoon pomegranate molasses (for depth and thickness)
1 teaspoon garlic powder
1/2 teaspoon smoked paprika
Salt and black pepper to taste
1/2 cup fresh pomegranate seeds
1/4 cup finely chopped fresh parsley
2 cups cooked yellow saffron rice for serving
Directions
- Preheat your oven to 425°F (218°C). High heat is essential for rendering the fat quickly to prevent sogginess.
- Pat the chicken thighs extremely dry with paper towels. Moisture is the enemy of crispiness. Season generously with salt, pepper, garlic powder, and paprika on both sides, ensuring the skin side is well-coated.
- Place chicken skin-side up on a wire rack set over a foil-lined baking sheet. This allows hot air to circulate under the skin, preventing a mushy bottom. Roast for 25-30 minutes until the skin is golden-brown and the internal temperature reaches 160°F.
- While the chicken roasts, make the glaze. In a small saucepan, combine pomegranate juice, honey, balsamic vinegar, and pomegranate molasses. Simmer over medium-low heat for 10 to 12 minutes, stirring occasionally, until it reduces into a thick, dark, syrupy consistency that heavily coats the back of a spoon.
- Remove the chicken from the oven. Increase the oven temperature to 450°F (230°C) or set to Broil.
- Using a pastry brush, apply a generous, thick layer of the pomegranate glaze over the skin.
- Return the chicken to the oven for 3 to 5 minutes. Watch closely; the high sugar content in the glaze will caramelize and “set” into a deep, lacquered mahogany finish very quickly.
- Remove from the oven and let rest for 5 minutes. This allows the juices to redistribute while the glaze hardens slightly.
- Garnish heavily with fresh pomegranate seeds and a shower of finely chopped parsley to match the visual texture of the dish. Serve immediately alongside the yellow saffron rice.
Notes
- Patting the chicken extremely dry and using a wire rack are essential steps to prevent soggy skin. Watch the chicken closely during the final broiling stage as the glaze sugars caramelize quickly.