Have you ever eagerly whipped up a batch of homemade chocolate pudding, only to be met with disappointment when you find frustrating lumps staring back at you from the bowl? Ugh, the worst! It used to happen to me more times than I’d like to admit. You dream of that Spoonful of silky, smooth chocolatey goodness, but instead, you get… texture surprises. But guess what? I’ve cracked the code! After countless trials and a little bit of kitchen magic, I discovered one simple, game-changing trick that guarantees you’ll achieve silky chocolate pudding perfection every single time. Get ready to experience pudding nirvana and wave goodbye to those unwelcome lumps forever!
This recipe isn’t just about avoiding lumps; it’s about creating a rich, decadent chocolate dessert that’s incredibly easy to make. It’s the kind of comforting classic that brings back childhood memories while feeling sophisticated enough for any occasion. Trust me, once you try this method, you’ll never go back to the box mix!
Why This Silky Chocolate Pudding Recipe Is a Keeper
Beyond the obvious benefit of being wonderfully lump-free, this homemade chocolate pudding boasts several qualities that make it a consistent favorite in my kitchen:
- Unbeatable Texture: That promised silkiness isn’t just a fluke; it’s a result of a specific technique that makes all the difference.
- Rich Chocolate Flavor: Made with real cocoa, the chocolate taste is deep and satisfying, not artificial or watery.
- Simple Ingredients: You likely have most of the pantry staples needed already on hand.
- Quick to Prepare: The actual cooking time on the stovetop is surprisingly fast, making it an achievable treat any day of the week.
- Versatile Dessert Base: It’s delicious on its own, but also serves as a fantastic base for pies, parfaits, or layering in other desserts.
Gathering Your Ingredients for Perfectly Silky Chocolate Pudding
Creating incredible flavor and that coveted smooth texture starts with the right components. We’re building a classic dessert, so we’ll focus on simple, high-quality ingredients that work together harmoniously. The key to our lump-free outcome involves how we handle the dry ingredients and the liquid, which we’ll discuss in the step-by-step.
Here’s what you’ll need to gather from your pantry and fridge:
- Whole Milk: We use whole milk for its richness and fat content, which contributes significantly to the pudding’s creamy texture. Divided milk is essential for our special lump-preventing step! You’ll need a total of 2 cups, split into a small amount and the rest.
- Granulated Sugar: Provides the sweetness necessary to balance the bitterness of the cocoa powder. Half a cup is just right for a balanced dessert that isn’t overly sweet.
- Unsweetened Cocoa Powder: This is where the chocolate magic happens! Using unsweetened cocoa allows you to control the sweetness and gives the pudding a deep, authentic chocolate flavor. Make sure it’s not Dutch-processed unless you’re familiar with how that might affect the final texture and color slightly (though unsweetened is standard and works perfectly here). You’ll need a quarter cup.
- Cornstarch: Our trusty thickening agent. Cornstarch is crucial for achieving that classic pudding consistency. Three tablespoons provide the right amount of thickening without making it gummy.
- Salt: Just a pinch! Salt is a flavor enhancer, and adding a quarter teaspoon really helps to bring out the depth of the chocolate and balance the sweetness.
- Unsalted Butter: Added at the end, butter contributes richness and a wonderfully smooth, glossy finish. Two tablespoons whisked in off the heat make a big difference in the final mouthfeel.
- Vanilla Extract: A teaspoon of pure vanilla extract adds a layer of aromatic complexity that complements the chocolate beautifully. Add it with the butter for the best flavor payoff.
- Whipped Cream (for topping): An optional but highly recommended finishing touch! The light airiness of whipped cream is the perfect contrast to the rich pudding.
- Chocolate Shavings (for topping): Another optional garnish that adds a touch of elegance and extra chocolate flavor.
Crafting Your Silky Chocolate Pudding: Step-by-Step Guide
Now, let’s walk through the process. Don’t be intimidated; the steps are straightforward, and paying attention to a couple of key moments will ensure your success. This is where we put the “silky” in Silky Chocolate Pudding!

- Start with the Dry Mix: Grab a medium-sized saucepan. This is where all the cooking action will happen. Into this pan, measure out your granulated sugar, unsweetened cocoa powder, cornstarch, and salt. Take a whisk and give them a really good stir. You want to make sure these dry ingredients are thoroughly combined so you don’t end up with pockets of unmixed cocoa or cornstarch later. Think of it as laying a smooth foundation.
- The Game-Changing Slurry: This is the most critical step for lump-free pudding, so pay close attention! Remember how we divided the milk? Now, take that small portion – just about 1/4 cup of your cold whole milk – and pour it ONLY into the dry ingredients you just mixed. Do not add the rest of the milk yet! Now, whisk this mixture vigorously. You are aiming to create a thick, smooth paste. Keep whisking until you see absolutely no lumps whatsoever. This concentrated slurry allows the cornstarch and cocoa to dissolve fully and evenly before they hit the larger volume of hot liquid, preventing them from clumping. It’s a simple trick, but it works wonders!
- Gradually Add the Remaining Milk: Once your paste is perfectly smooth, it’s time to introduce the rest of the milk. Start by adding a little bit of the remaining 1 3/4 cups of milk to the paste, whisking it in gently. As it incorporates, the paste will loosen up. Continue to gradually whisk in the rest of the milk until the entire mixture is smooth and looks like chocolate milk, with no streaks or pockets of thick paste remaining.
- Heat and Whisk Constantly: Place your saucepan over medium heat. Now comes the workout portion (it’s worth it!). Begin whisking the mixture constantly as it heats up. Do not walk away! This continuous whisking is essential for two reasons: it prevents the bottom of the pudding from scorching (which happens easily with milk-based mixtures) and it ensures the cornstarch thickens the pudding evenly without forming lumps as the temperature rises. Keep whisking as the mixture heats and starts to steam.
- Bring to a Gentle Boil & Thicken: Continue whisking as the mixture comes to a gentle boil. You’ll notice it start to thicken significantly as it approaches the boiling point. Once it reaches a gentle boil (small bubbles breaking the surface), continue to whisk and boil for exactly 1 minute. This boiling time is necessary to fully activate the cornstarch and ensure the pudding reaches its maximum thickness and develops that beautiful, glossy sheen. After one minute, it should be noticeably thick and smooth.
- Finish with Butter and Vanilla: Remove the saucepan from the heat immediately after the 1 minute of boiling. This stops the cooking process. Now, whisk in your unsalted butter until it is completely melted and incorporated. Then, add the vanilla extract. Whisk everything together until the pudding is perfectly smooth and glossy. The butter and vanilla add richness and flavor right at the end.
- Optional Sieve for Ultimate Smoothness: For pudding that is absolutely, unequivocally silky, you can take an extra step here. Place a fine mesh sieve over a heatproof bowl and pour the warm pudding through it, using a spatula or spoon to help push it through. This catches any tiny, stubborn bits that might have formed. It’s optional, but if you’re aiming for truly restaurant-level smoothness, it’s worth it.
- Prevent the dreaded “Skin”: Pudding can form a rubbery skin on top as it cools. To prevent this, immediately after transferring the pudding to a serving bowl (or individual dishes), place a piece of plastic wrap directly onto the surface of the pudding. Gently press it down so it’s touching every part of the top layer. This creates a barrier against the air.
- Chill Time: The pudding needs time to chill and fully set into that delightful, creamy texture. Refrigerate it for at least 2 hours. For best results and a firmer set, chilling for 4 hours or even overnight is ideal.
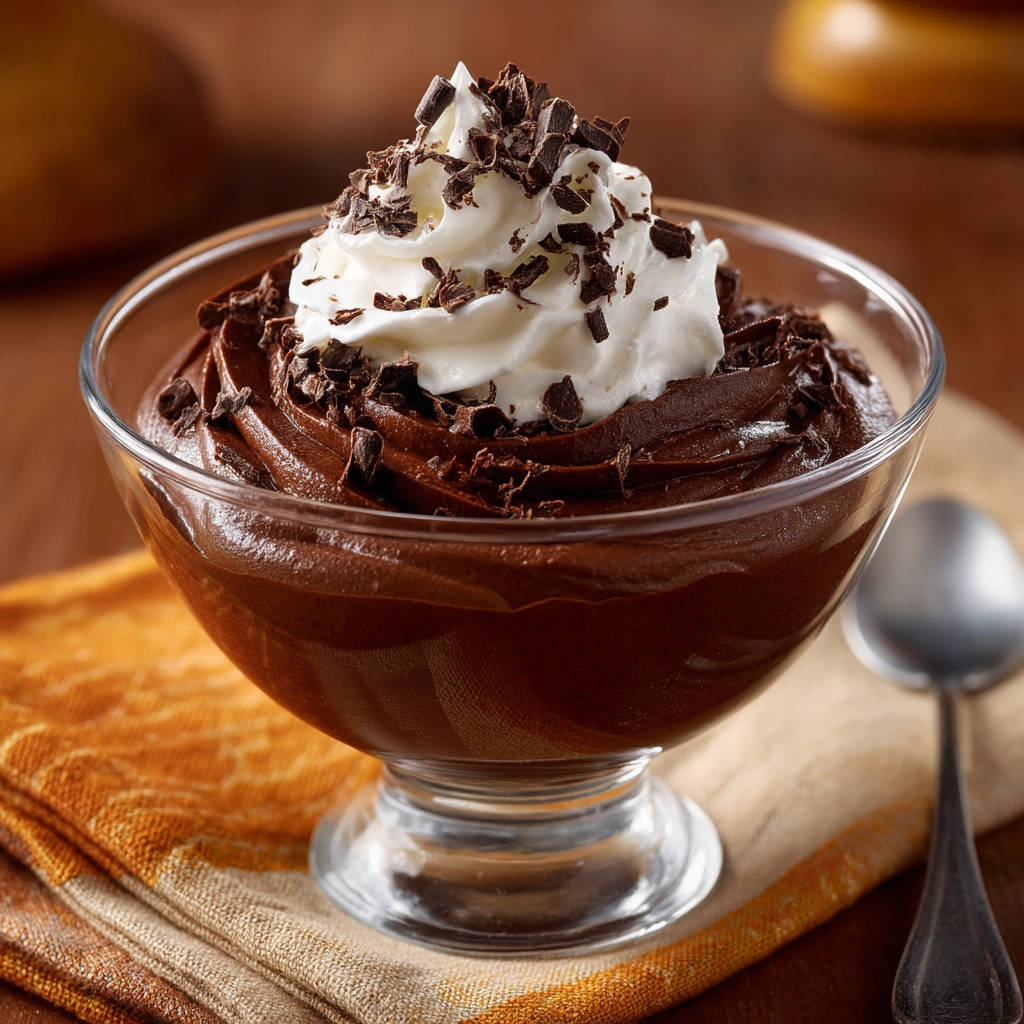
- Serve and Enjoy!: Once the pudding is well chilled and set, spoon it into your serving dishes. Top generously with whipped cream and sprinkle with chocolate shavings, just like you see in those tempting pictures! Now, take a spoonful and savor the perfectly smooth, rich, lump-free homemade chocolate pudding you just created.
Tips for Perfect Silky Chocolate Pudding Every Time
Mastering homemade pudding is all about a few key techniques and understanding how the ingredients behave. Here are some extra tips to ensure your Silky Chocolate Pudding turns out perfectly every single time:
- Measure Accurately: Especially with cornstarch, precise measurements are important for the right consistency. Too little and it won’t set; too much and it can become too stiff or even gummy.
- Use Cold Milk for the Slurry: Using cold milk in Step 2 helps the cornstarch and cocoa dissolve without starting to thicken prematurely, which can lead to lumps.
- Whisk, Whisk, Whisk!: I can’t emphasize this enough for the cooking process. Consistent, thorough whisking prevents sticking, scorching, and uneven thickening. Use a whisk that reaches into the edges and corners of your saucepan.
- Don’t Over-Boil: Boiling for just 1 minute is sufficient to activate the cornstarch. Boiling for too long can break down the thickening power and affect the texture.
- Adjusting Sweetness: The recipe calls for 1/2 cup sugar, which results in a balanced sweetness. If you prefer a sweeter pudding, you can increase the sugar slightly, but start with the recommended amount first. Remember the salt is crucial for enhancing the chocolate flavor and preventing it from tasting flat even with less sugar.
- Storage: Keep leftover pudding covered tightly in the refrigerator with plastic wrap pressed directly onto the surface. It should last for 3-4 days.
- Make it a Dessert Bowl: Transform this pudding into a delightful treat by layering it with crushed cookies, fresh berries, or even sliced bananas. It makes a fantastic base for a quick trifle or parfait. For another easy dessert layered with fruit, check out our Strawberry Trifle recipe!
What to Serve With Your Silky Chocolate Pudding
While this chocolate pudding is absolutely divine on its own, especially with a dollop of whipped cream and chocolate shavings, it also pairs beautifully with other simple treats.
Consider serving it alongside light, crispy cookies like Classic Powdered Sugar Cookies or Golden Edge Chocolate Chip Cookies. The contrast in texture is lovely. For a refreshing element, a side of fresh berries like raspberries or strawberries is always a hit. It can also serve as a simple yet satisfying end to a hearty meal like Classic Pot Roast or Creamy Chicken and Rice Casserole.
Your Silky Chocolate Pudding Questions Answered (FAQ)
Making pudding from scratch might bring up a few questions, especially if you’ve had lump experiences in the past. Let’s tackle some common queries.
How do I fix lumpy chocolate pudding?
Unfortunately, once lumps have fully formed during the cooking process, it’s very difficult to get rid of them completely just by whisking. The best way to rescue lumpy pudding is to press the warm pudding through a fine mesh sieve into a clean bowl. This will catch most of the lumps, leaving you with a smoother result, although maybe not quite as perfectly silky as if they hadn’t formed at all. This is why the slurry step (Step 2) is so crucial – it prevents the lumps before they start!
Can I use a different type of milk?
Yes, you can use other types of milk, but the texture and richness will change. 2% milk can work, but the pudding might be slightly less creamy. Skim milk is not recommended as it lacks the fat needed for that luxurious, silky texture. Non-dairy milks like almond or oat milk can sometimes be substituted, but they may affect the thickening power of the cornstarch, require adjustments, and might not yield the same level of richness. Coconut milk (full-fat) could offer richness but would impart a distinct coconut flavor.
Why is my pudding not thickening?
There are a few reasons this might happen. The most common is not cooking it long enough or not letting it come to a full gentle boil for the required minute. Cornstarch needs heat and time at a boiling temperature to activate and thicken properly. Ensure you’re whisking constantly over medium heat and letting it bubble gently for that full minute. Another reason could be inaccurate measurement of the cornstarch, or using expired cornstarch.
How long does homemade chocolate pudding last?
Properly stored in the refrigerator with plastic wrap pressed directly onto the surface, your homemade silky chocolate pudding should last for about 3-4 days. It’s best enjoyed within the first couple of days for peak texture and freshness.
Can I make this ahead of time?
Absolutely! This pudding recipe is perfect for making ahead. In fact, chilling it for at least 2 hours (or longer) is essential for it to set properly and develop that wonderful texture. Make it the day before you plan to serve it for stress-free entertaining or easy weeknight dessert.
What if I don’t have a fine mesh sieve?
While the sieve step is a great insurance policy for ultimate silkiness, it’s optional. If you perform the slurry step (Step 2) correctly and whisk constantly while cooking, you should achieve a smooth pudding without needing to sieve it. Just focus on those key whisking techniques!
Enjoy Your Homemade Silky Chocolate Pudding!
There’s something incredibly satisfying about making classic desserts from scratch, especially when they turn out perfectly. This Silky Chocolate Pudding recipe, with its focus on preventing those pesky lumps right from the start, delivers a decadent, smooth, and intensely chocolatey experience that’s truly a treat for the senses.
Whether you’re serving it simply in bowls, layering it in a parfait, or using it in a pie, this pudding is sure to impress. Say goodbye to grainy, lumpy disappointments and hello to silky smooth bliss!
Give this recipe a try and let me know what you think! Did the slurry trick work wonders for you? Share your experience in the comments below, or better yet, snap a photo and share it! Happy pudding making!
Silky Chocolate Pudding

Ingredients
- 2 cups whole milk, divided
- 1/2 cup granulated sugar
- 1/4 cup unsweetened cocoa powder
- 3 tablespoons cornstarch
- 1/4 teaspoon salt
- 2 tablespoons unsalted butter
- 1 teaspoon vanilla extract
- Whipped cream, for topping
- Chocolate, for shavings
Directions
- In a medium saucepan, whisk together the sugar, cocoa powder, cornstarch, and salt until well combined.
- This is key! Pour just about 1/4 cup of the cold milk into the dry ingredients. Whisk it thoroughly until you have a completely smooth, thick paste with absolutely no lumps. This step prevents lumps from forming when you add the rest of the liquid.
- Gradually whisk in the remaining 1 3/4 cups of milk until fully incorporated into the smooth paste.
- Place the saucepan over medium heat. Whisk constantly as the mixture heats up. Don’t stop! This constant movement prevents scorching on the bottom and helps the pudding thicken smoothly without lumps. Bring the mixture to a gentle boil, whisking the entire time. Let it boil gently for 1 minute, still whisking, until it is thick and glossy.
- Remove the pan from the heat. Add the butter and vanilla extract. Whisk until the butter is completely melted and the pudding is perfectly smooth.
- For extra insurance against any tiny lumps, you can press the pudding through a fine mesh sieve into a heatproof bowl. This step is optional but guarantees ultimate smoothness.
- Cover the surface of the pudding directly with plastic wrap to prevent a skin from forming as it cools.
- Refrigerate for at least 2 hours, or until well chilled and set.
- To serve, spoon the pudding into dishes and top with whipped cream and chocolate shavings, just like the picture! Enjoy your perfectly smooth, lump-free pudding.