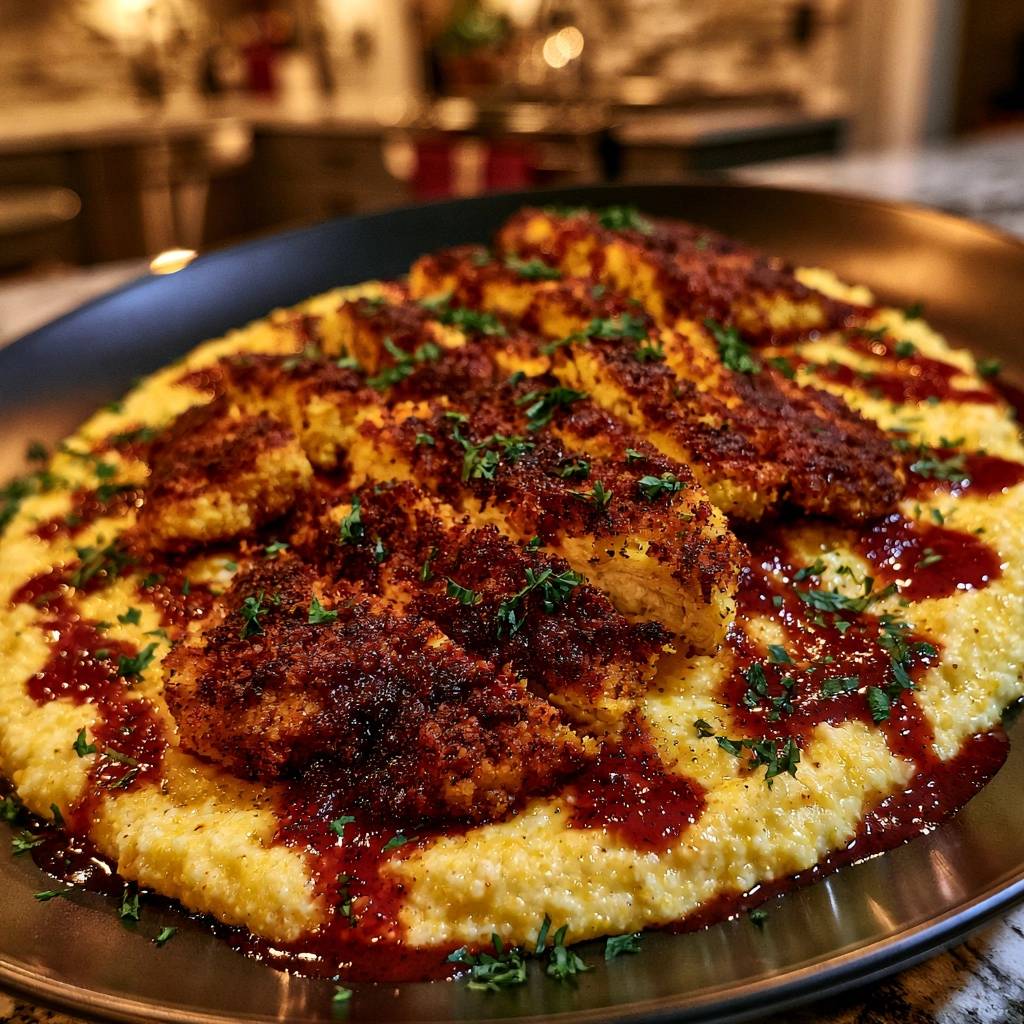
Imagine biting into a piece of chicken so loud it practically echoes, only to be immediately met by the velvety, buttery embrace of slow-simmered grits. This contrast is the hallmark of a perfect Southern-style meal, yet so many home cooks struggle with the dreaded “soggy bottom.” Usually, the steam rising from the hot grits acts like a humid sauna, turning a once-crispy breading into a damp, falling-off mess within minutes of plating.
The secret to conquering this culinary hurdle lies in a specific double-dredge and high-heat sear technique. By creating a moisture-proof structural barrier, we ensure the chicken maintains its shatter-crisp integrity even when resting on a bed of creamy grains. You aren’t just frying chicken here; you’re engineering a crust that stands up to the elements while delivering a punch of smoky, spicy flavor.
To achieve this professional-level result, you must let the breaded chicken rest on a wire rack for at least ten minutes before it ever touches the oil. This crucial pause allows the egg and flour to hydrate, forming a protein-based “glue” that anchors the panko firmly to the meat. Without this step, the breading is far more likely to slide off in the pan or absorb moisture from the grits later on.
The Science of the Moisture-Proof Crust
When you place hot, fried food onto a moist surface like grits, a “steam barrier” forms between the two. In standard recipes, this steam penetrates the breading, softening the starches and ruining the crunch. However, this method utilizes Panko breadcrumbs, which have a larger, jagged surface area compared to traditional fine crumbs. These airy shards create tiny pockets that allow steam to escape rather than getting trapped against the crust.
Furthermore, the resting period on a wire rack is where the real physics happens. As the chicken sits, the moisture from the egg wash begins to dissolve the starches in the flour layer. This creates a tacky, reinforced bond known as starch gelation. Once this “glue” sets, it creates a dense, protective shield that prevents the natural juices of the chicken from leaking out and the external moisture of the grits from soaking in.
Choosing Panko over standard breadcrumbs also helps manage oil absorption. Because Panko is processed into airy flakes, it doesn’t soak up grease as readily as dense, sandy breadcrumbs. This results in a lighter, cleaner fry that feels indulgent without being heavy. When you combine this with the structural strength of the double-dredge, you get a piece of chicken that stays loud and crunchy until the very last bite.
Essential Components for Crispy Fried Chicken and Creamy Grits
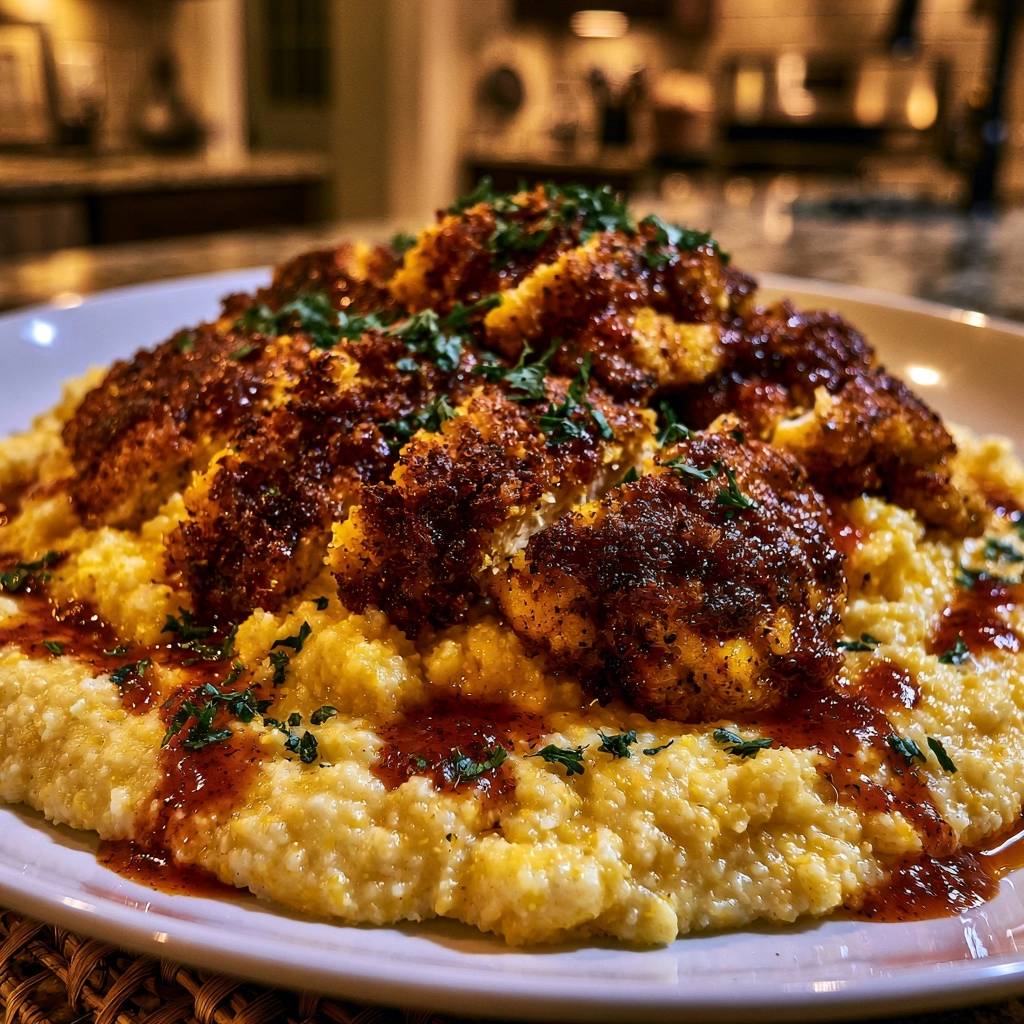
Quality ingredients are the foundation of this dish, starting with the grits themselves. You should always reach for stone-ground yellow grits rather than the “instant” or “quick” varieties found in cardboard tubes. Stone-ground grits retain the germ of the corn, providing a robust, nutty flavor and a distinct “tooth” that stands up to the heavy cream and butter. They take longer to cook, but the depth of flavor is incomparable.
The spice profile is equally important for balancing the richness of the dairy. We use a heavy hand with smoked paprika and cayenne pepper to provide a back-end heat that cuts through the fat. Garlic and onion powders add a savory base that permeates the meat, ensuring the flavor isn’t just on the surface. If you use fresh, high-quality spices, the aroma in your kitchen will be absolutely incredible as soon as the chicken hits the oil.
For the liquid base of the grits, chicken broth is a non-negotiable upgrade over plain water. It infuses the corn with savory notes from the inside out. When you finish the pot with heavy cream and cold butter, you create an emulsion that is thick enough to hold the chicken but soft enough to melt in your mouth. This balance of textures is what makes the dish feel like a high-end restaurant experience.
Selecting the Right Poultry Cut
We use boneless, skinless chicken breasts for this recipe, but the preparation is what matters most. You must pound the meat to a uniform 1/2-inch thickness using a meat mallet or a heavy skillet. This ensures that the chicken cooks through at the exact same rate the breading browns. If the meat is too thick in the center, you’ll end up with a burnt exterior and a raw interior, which is a common pitfall in home frying.
The Role of High-Fat Dairy in Grits
The combination of chicken broth, heavy cream, and butter isn’t just about decadence; it’s about chemistry. The fats in the cream and butter coat the individual starch granules of the corn, preventing them from becoming a sticky, gluey mass. This results in a “velvet” mouthfeel. When you stir in the butter at the very end, it creates a glossy sheen that makes the dish look as good as it tastes.
Step-by-Step: Preparing the Stone-Ground Grits
Start your grits by bringing the chicken broth to a rolling boil, then use a slow, steady whisking motion as you pour in the grains. This “slow whisk” technique is vital for preventing clumps, which are nearly impossible to get rid of once they form. Once the grits are incorporated, drop the heat to the lowest setting and cover the pot. You want a gentle simmer, not a violent boil, to coax out the natural creaminess of the corn.
Over the next 20 to 25 minutes, you’ll need to stir the pot occasionally to prevent the bottom from scorching. You’ll notice the texture change from a watery, grainy liquid to a thick, porridge-like consistency. It should eventually hold its shape on a spoon. If it looks too dry before the time is up, don’t be afraid to splash in a little extra broth. The goal is a texture that is soft and flowable but sturdy enough to support the weight of the fried chicken.
The Double-Dredge Technique for Maximum Crunch
Setting up a proper dredging station is the only way to keep your kitchen organized and your chicken perfectly coated. Use three wide, shallow bowls: one for the seasoned flour, one for the beaten eggs, and one for the Panko. This “dry-wet-dry” sequence is the gold standard for breading. First, coat the chicken in flour to dry the surface, then dip it in the egg to create a sticky layer, and finally press it into the Panko.
When you get to the Panko stage, don’t just toss the chicken in the bowl. Use the palms of your hands to firmly press the breadcrumbs into the meat. You want to anchor those crumbs into the egg wash so they form a dense, interlocking shield. After breading, place the pieces on a wire rack. This allows air to circulate around the entire piece of chicken, preventing the bottom from getting soggy while the “glue” sets. This ten-minute rest is the difference between a crust that falls off and one that stays put.
Frying for Color and Structural Integrity
Heat your vegetable oil in a large skillet until it reaches 350°F. If you don’t have a thermometer, look for the oil to “shimmer” and dance across the pan. You can also drop a single Panko crumb into the oil; if it sizzles and bubbles immediately, you’re ready to go. Carefully lay the chicken into the pan, making sure not to overcrowd it. If you put too many pieces in at once, the oil temperature will plummet, and the breading will soak up grease instead of crisping up.
Fry the chicken for about 4 to 5 minutes per side. You are looking for a deep, dark golden brown color—think of the color of a polished penny. This dark toast on the Panko provides a nutty flavor and a more resilient texture. Once the internal temperature hits 165°F, remove the chicken and place it back on a clean wire rack. Never drain fried chicken on paper towels, as the trapped steam between the towel and the meat will instantly soften your hard-earned crust.
Troubleshooting Common Texture Issues
If you find that your breading is flaking off in the pan, it’s usually because the chicken was too wet before the first flour dip. Always pat the meat dry with paper towels before seasoning. Another common issue is grits that become “tacky” or stiff like paste. This happens if they sit too long without enough liquid. To fix this, simply whisk in a tablespoon or two of warm broth or cream right before serving to loosen the texture back to a velvety state.
For those cooking in multiple batches, keeping the first round of chicken hot is essential. Place the wire rack with the finished chicken into a 200°F oven. This keeps the meat safe and warm while allowing air to circulate, ensuring the crust stays bone-dry and crunchy. If the oil starts to look dark or smells slightly burnt between batches, use a slotted spoon to clear out any loose Panko bits that might be scorching in the bottom of the pan.
Plating for Visual Impact and Texture Retention
To plate this like a pro, start by spreading a generous, flat bed of grits across the center of the plate. You want a level surface rather than a deep bowl, which helps the chicken stay elevated above the moisture. Slice the chicken breasts into thick, diagonal strips. This not only makes the dish easier to eat but also exposes the juicy interior of the meat, creating a beautiful visual contrast with the dark, golden crust.
Fan the chicken strips out directly on top of the grits. Now, take your spicy red glaze—whether it’s a honey-gochujang mix or a buffalo-honey reduction—and drizzle it in a bold, circular motion over the chicken and the surrounding grits. The glaze adds a glossy finish and a sweet-heat kick that ties the whole dish together. Finally, shower the plate with plenty of fresh chopped parsley. The bright green pop provides a necessary hit of freshness to balance the rich, savory components.
Optimal Equipment for Southern-Style Frying
A heavy cast-iron skillet is the best tool for this job because it holds heat better than stainless steel or aluminum. When you drop cold chicken into the oil, the cast iron maintains its temperature, leading to a more consistent fry. A sturdy wire whisk is also essential for the grits to ensure there isn’t a single lump in the pot. Using the right tools makes the process smoother and the results much more predictable.
As mentioned before, a wire cooling rack is a non-negotiable piece of equipment. It is the only way to prevent the “sweat” that happens when hot fried food sits on a flat surface. If you want that professional shatter-crunch, the air must be able to move around the chicken at all times. These small equipment choices are what separate a good home cook from a great one.
Expert Tips for Advanced Flavor Profiles
To take the flavor even further, try the “Cold Butter Finish” for your grits. By whisking in chilled cubes of butter at the very end, you create a more stable emulsion that results in a silkier, glossier texture than melted butter would. You can also customize the heat by adding a pinch of dry mustard to the flour dredge, which provides a sharp tang that complements the smoky paprika perfectly.
If you happen to have leftovers, avoid the microwave at all costs. The microwave will turn your crispy chicken into a rubbery mess. Instead, pop the chicken into an air fryer or a toaster oven at 375°F for a few minutes. This will re-crisp the Panko and warm the meat through without drying it out. For the grits, reheat them on the stove with a splash of milk to bring back that original creamy consistency.
Frequently Asked Questions
Can I use quick-cooking grits instead?
While you can use them in a pinch, quick-cooking grits lack the structural integrity and deep corn flavor of stone-ground varieties. Quick grits are processed more heavily, which often results in a watery or mushy texture. This can cause the chicken to sink into the grits, leading to a soggy crust much faster than the sturdier stone-ground version would.
How do I keep the chicken warm while the grits finish?
The best method is to place a wire cooling rack over a baking sheet and put it in an oven set to 200°F. As you finish frying each piece of chicken, move it to the rack in the oven. The wire rack allows heat to reach all sides of the chicken, preventing steam from building up underneath the breading, which keeps it perfectly crisp until you are ready to plate.
What is the best oil for frying panko-breaded chicken?
You want an oil with a high smoke point and a neutral flavor. Vegetable oil, canola oil, or grapeseed oil are all excellent choices. Avoid using olive oil or butter for the frying stage, as they have lower smoke points and will burn at the 350°F temperature required to get the Panko properly golden and crisp. Burning the oil will impart a bitter taste to your chicken.
Can I make the spicy red glaze in advance?
Yes, you can definitely make the glaze ahead of time and store it in the refrigerator for up to two weeks. When you are ready to use it, heat it gently in a small saucepan or the microwave for a few seconds. Warming the glaze thins it out slightly, making it much easier to drizzle in those beautiful, clean lines over your finished chicken and grits.
Crispy Fried Chicken and Creamy Grits
Course: Main CourseCuisine: AmericanDifficulty: easy4
servings15
minutes25
minutes40
Minutes620
kcalAmerican
Ingredients
4 boneless skinless chicken breasts, pounded to 1/2-inch thickness
1 cup yellow stone-ground grits
4 cups chicken broth
1/2 cup heavy cream
4 tablespoons butter
1/2 cup all-purpose flour
1 1/2 cups panko breadcrumbs
2 large eggs, beaten
2 tablespoons smoked paprika
1 tablespoon garlic powder
1 teaspoon cayenne pepper
1 teaspoon onion powder
Salt and black pepper to taste
1/2 cup vegetable oil for frying
1/2 cup spicy red glaze (such as a gochujang-honey or buffalo-honey reduction)
Fresh parsley, finely chopped for garnish
Directions
- Start the grits by bringing chicken broth to a boil in a medium saucepan. Slowly whisk in the grits and reduce heat to low. Cover and simmer for 20-25 minutes, stirring occasionally to prevent sticking.
- While grits cook, prepare the chicken. Season the chicken breasts generously on both sides with salt, pepper, 1 tablespoon of the smoked paprika, garlic powder, and cayenne.
- Set up your dredging station: Bowl 1 with flour and remaining paprika/onion powder; Bowl 2 with beaten eggs; Bowl 3 with panko breadcrumbs.
- To solve the soggy coating problem, press the chicken firmly into the flour first, then the egg, then the panko. Press the panko into the meat firmly with your palms to ensure a dense, thick crust. Let the breaded chicken rest on a wire rack for 5-10 minutes before cooking. This hydrates the starches and sets the “glue” so the crust won’t slide off or absorb moisture from the grits.
- Heat vegetable oil in a large skillet over medium-high heat. Once the oil is shimmering (350°F), add the chicken. Fry for 4 to 5 minutes per side until the crust is a deep, dark golden brown and the internal temperature reaches 165°F.
- Finish the grits by stirring in the heavy cream and butter until velvety and thick. Season with salt to taste.
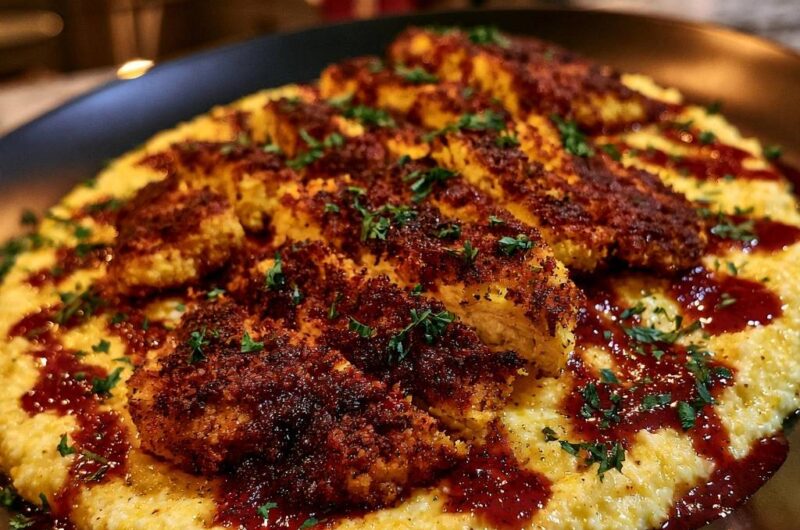
- Spread a generous, flat layer of grits on a large plate or platter. Slice the chicken into thick strips and fan them out directly on top of the grits.
- Generously drizzle the spicy red glaze over the chicken and across the grits in a circular motion as shown in the image. Garnish heavily with fresh chopped parsley. The rested panko crust provides a structural barrier that remains perfectly crispy even against the creamy base.
Notes
- Letting the breaded chicken rest on a wire rack for 5 to 10 minutes is the secret step that hydrates the starches and prevents the crust from sliding off or becoming soggy.