Nothing ruins a party faster than a slider bun that turns into a mushy mess the second it touches the meat. Most recipes dump the juice right onto the bread, but that’s a recipe for disaster. You want a slider that holds its shape while delivering a punch of savory, slow-cooked flavor.
The secret lies in the contrast between the tender, shredded chuck roast and the structural integrity of a toasted brioche roll. By adding pimento-stuffed olives, you introduce a sharp acidity that cuts right through the richness of the beef. It’s a balanced bite that feels sophisticated but eats like pure comfort food.
I’ve found that the real trick to a professional-grade slider is the moisture barrier. If you don’t protect the bread, the steam and fats will collapse the crumb within minutes. Using a specific layering technique ensures your rolls stay fluffy and golden while the beef stays incredibly succulent.
The Science of the Moisture Barrier
When you place hot, juicy meat directly onto bread, the starches in the flour act like a sponge. The liquid and fats from the beef break down the bread’s structure, leading to that dreaded soggy bottom. To prevent this, we have to look at the physics of the slider assembly.
The “Cheese Seal” technique is your best friend here. By melting a layer of cheese onto the bottom bun before adding the meat, you create a hydrophobic layer. This fat-based barrier prevents the beef jus from migrating into the bread fibers. It keeps the liquid where it belongs—in the meat.
In addition to the cheese, controlling water activity is vital. Using a fine-mesh strainer to drain the shredded beef for five minutes removes the thin, watery liquid that usually causes trouble. You only add back a small amount of concentrated juice to keep things glossy without being runny.
Essential Components for Beef and Olive Sliders
Quality ingredients make the difference between a standard sandwich and a standout appetizer. Chuck roast is the undisputed king for this recipe because of its high collagen content. As it cooks, that connective tissue melts into gelatin, which coats the meat fibers and provides a silky mouthfeel.
Tomato paste acts as a powerful umami booster in the braising liquid. It doesn’t just add flavor; it functions as a natural thickener that helps the sauce cling to the beef. This ensures every shred of meat is seasoned perfectly without needing a pool of liquid in the slow cooker.
Pimento-stuffed olives are non-negotiable for this specific profile. They provide a briny, salty pop that wakes up the palate. Without them, the beef can feel a bit one-note. The olives provide the necessary “high notes” to balance the deep, earthy flavors of the smoked paprika and garlic.
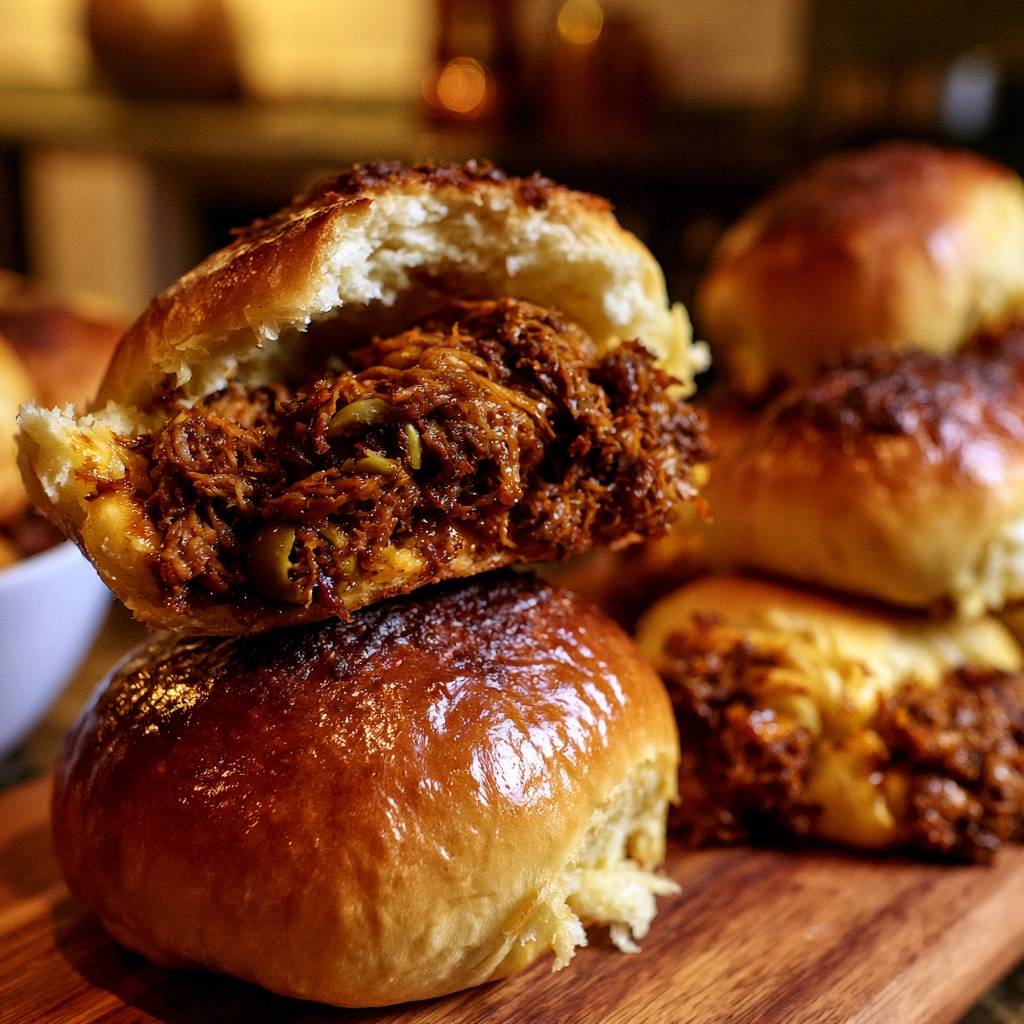
Finally, choose brioche rolls over standard white buns. Brioche has a higher egg and butter content, which aids in the Maillard reaction. This means the buns brown more beautifully and develop a slightly sweet crust that complements the savory beef and salty olives perfectly.
Selecting and Trimming the Chuck Roast
When you’re at the butcher counter, look for a chuck roast with heavy intramuscular marbling. These thin white streaks of fat will melt during the long cook time, keeping the meat moist. Avoid pieces that are mostly lean, as they will turn out stringy and dry.
You should trim away any large, thick fat caps on the exterior of the meat. While some fat is good, a thick layer on the outside won’t render fully in the slow cooker and can make the final dish feel greasy. Keep the internal fat, but clean up the outside for the best results.
The Role of Aromatics and Spices
The synergy between smoked paprika and garlic powder creates a “backyard grill” depth without needing a smoker. These dry spices penetrate the meat during the long braise. I prefer garlic powder over fresh garlic here because it distributes more evenly throughout the shredded beef.
You’ll notice we use dried onion flakes on the crust rather than fresh onions inside the meat. This is a deliberate choice to maintain texture. Fresh onions would disappear into the beef, but the dried flakes on the buttered bun provide a toasted, nutty crunch that mirrors the soft interior.
Phase One: Searing for Maximum Flavor
The Maillard reaction is a chemical reaction between amino acids and reducing sugars that gives browned food its distinctive flavor. If you skip the searing step, you’re leaving half the flavor in the pan. You want a dark, caramelized crust on all sides of your beef chunks.
Use a heavy skillet over high heat and don’t crowd the pan. If you put too much meat in at once, the temperature drops and the meat releases moisture. This causes the beef to steam in its own juices rather than browning. Work in batches to ensure a hard, mahogany sear.
Phase Two: The Low and Slow Transformation
Cooking on “Low” for 6 to 8 hours is the only way to properly break down collagen into gelatin. If you try to rush this on “High,” the muscle fibers often contract and toughen before the connective tissue has a chance to melt. Patience is the key to that “melt-in-your-mouth” texture.
By the end of the cook time, the braising liquid should be dark and aromatic. The meat should offer zero resistance when pressed with a fork. If it doesn’t shred easily, it simply needs more time. Don’t pull it out early, or you’ll end up with chewy sliders.
Phase Three: The Anti-Soggy Assembly Technique
Once the beef is shredded, the five-minute drainage rule is mandatory. Use a fine-mesh strainer to let the excess thin liquid drip away. This step is the difference between a professional slider and a soggy mess. You want the flavor of the juice without the volume of the water.
After draining, toss the meat with exactly three tablespoons of the concentrated juices. This creates a “glossy not swimming” ratio. The meat should look shiny and moist, but there shouldn’t be a puddle at the bottom of the bowl. Fold in your halved olives at this stage so they stay intact.
Pre-toasting the bottom buns with the cheese is your final line of defense. Place the cheese slices so they overlap slightly, covering every inch of the bread. When this melts in the oven, it creates a waterproof seal. Only then should you pile on the beef and olive mixture.
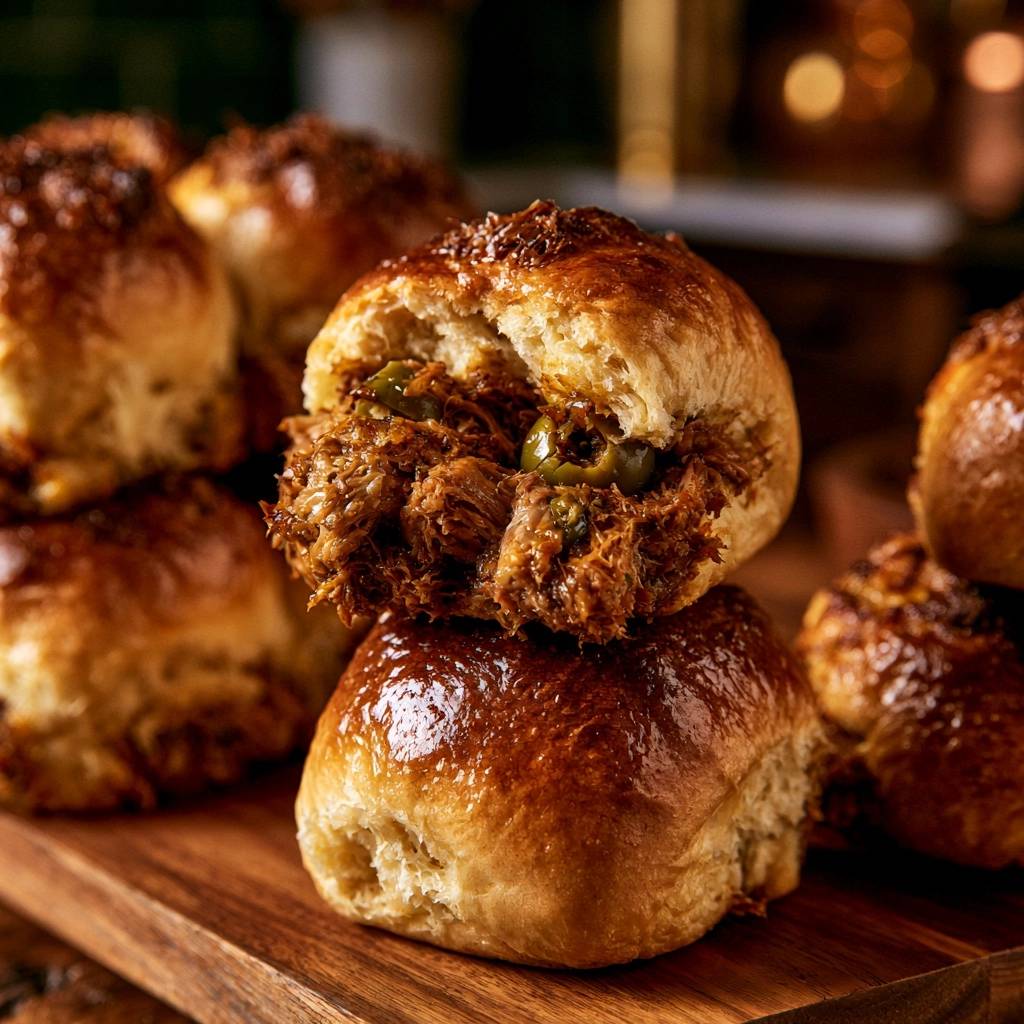
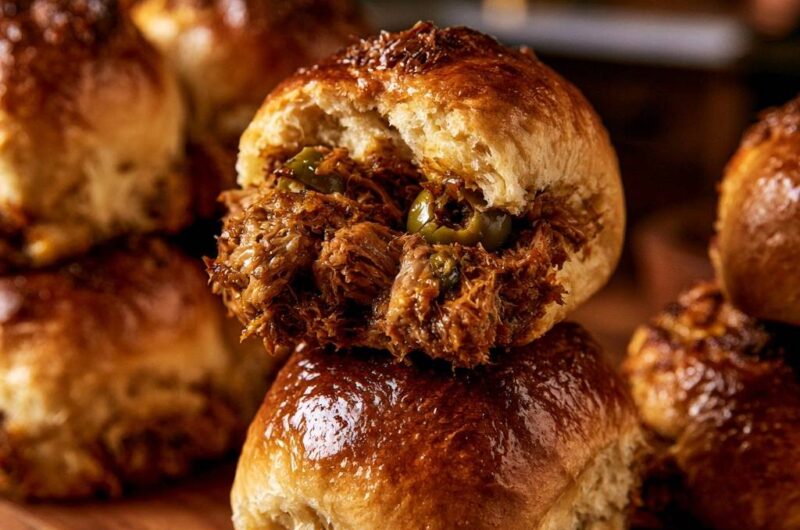
To finish, brush the tops with the honey-butter wash. This creates a lacquered, mahogany glaze that looks incredible. If the buns aren’t dark enough after the main bake, a quick 60-second blast under the broiler will give them that perfect, photo-ready finish. Watch them like a hawk so they don’t burn!
Troubleshooting Common Slider Pitfalls
If your beef feels tough after 6 hours, it is almost always undercooked rather than overcooked. People often panic and think they’ve dried it out, but chuck roast needs that full time to soften. Put the lid back on and give it another hour; it will eventually give in.
If the mixture tastes too salty, the olives are likely the culprit. You can balance this by adding a tiny splash of apple cider vinegar or a pinch more honey to the meat. The acidity or sweetness will neutralize the perceived saltiness of the brine.
To prevent the honey-butter glaze from burning, make sure your oven rack is in the center position. Honey has a high sugar content and can scorch quickly. If the tops are browning too fast but the center of the sliders is still cold, tent them loosely with foil.
Optimal Side Dishes for Rich Beef Sliders
Since these sliders are rich and savory, you need sides that provide a crisp or acidic contrast. A vinegar-based coleslaw is the perfect partner. The sharp tang of the vinegar and the crunch of the cabbage cut right through the fatty richness of the chuck roast.
Pickled red onions also make a fantastic topper or side. Their bright pink color looks great on a platter, and their punchy flavor cleanses the palate between bites. They provide a different kind of acidity than the olives, adding another layer of complexity to the meal.
For a crunch factor that mirrors the toasted bun, try root vegetable chips. Sweet potato or parsnip chips offer a subtle sweetness that plays well with the honey glaze. They stay crunchy much longer than standard fries, making them ideal for a party setting.
Make-Ahead Strategies and Storage
You can easily prep the beef up to 48 hours in advance. In fact, the flavor often improves after a night in the fridge. Store the shredded beef and the reserved juices in separate airtight containers. This prevents the meat from soaking up every drop of liquid and becoming mushy.
When you’re ready to serve, reheat the beef gently in a skillet with a splash of the reserved jus. Do not assemble the sliders until the very moment you are ready to bake them. Even with the cheese barrier, the freshest results come from immediate assembly and baking.
If you have leftover assembled sliders, wrap them tightly in foil and keep them in the fridge for up to two days. Reheat them in the oven at 350°F while still wrapped in foil to keep the bread from drying out. They won’t be quite as crisp as day one, but they’ll still taste great.
Expert Tips for Large Scale Catering
When doubling or tripling this recipe for a crowd, use disposable aluminum pans for easy cleanup. These pans conduct heat well and allow you to fit more sliders into the oven at once. Just be sure to rotate the pans halfway through the baking time to account for oven hot spots.
If you’re serving 24 or 36 sliders, you might find the middle ones stay cold while the edges get dark. To fix this, let the shredded beef come to room temperature before assembling. This reduces the “thermal mass” the oven has to heat up, ensuring the cheese melts evenly across the whole tray.
Frequently Asked Questions
Can I use a different cut of beef like brisket or round?
You can use brisket, though it may take slightly longer to become tender. However, I strongly advise against using beef round. Round is a very lean muscle with almost no internal fat or collagen. In a slow cooker, it tends to become extremely dry and stringy rather than succulent and shreddable.
Is there a substitute for the honey in the glaze?
Yes, you can use maple syrup or agave nectar as a direct substitute for the honey. Both will provide the necessary sugar for caramelization and that beautiful mahogany shine. If you prefer a less sweet finish, you can omit the sweetener entirely and just use the melted butter and onion flakes.
How do I keep these warm for a two-hour party?
The best way to keep sliders warm is to leave them in the baking pan and cover them loosely with aluminum foil. Place the pan on a warming tray set to “low.” Avoid sealing the foil too tightly, as some steam needs to escape to prevent the buns from becoming soft and losing their toasted texture.
Can I make these in a pressure cooker instead of a slow cooker?
Absolutely. To use a pressure cooker, sear the meat using the “saute” function first. Add the liquids and cook on high pressure for 60 to 70 minutes. Allow for a natural pressure release for at least 15 minutes to ensure the meat fibers stay relaxed and juicy before shredding.
What cheese provides the best moisture seal?
Provolone and Swiss are excellent because they melt into a smooth, continuous sheet that covers the bread pores. Havarti is another great option due to its high fat content, which creates a very effective hydrophobic barrier. Avoid crumbly cheeses like feta or goat cheese, as they won’t create a solid seal.
Slow Cooked Beef and Olive Sliders
Course: Main CourseCuisine: AmericanDifficulty: easy12
sliders20
minutes6
hours360
Minutes340
kcalAmerican
Ingredients
3 pounds beef chuck roast, trimmed and cut into large chunks
1 cup beef broth
2 tablespoons tomato paste
1 tablespoon Worcestershire sauce
1 tablespoon smoked paprika
1 teaspoon garlic powder
1 teaspoon onion powder
1/2 cup pimento-stuffed green olives, halved
6 slices provolone or mild swiss cheese (the “moisture barrier”)
12 brioche slider rolls
4 tablespoons unsalted butter, melted
1 tablespoon honey
1/2 teaspoon onion flakes (for the crust)
Salt and black pepper to taste
Directions
- Season the beef chunks generously with salt, pepper, paprika, garlic powder, and onion powder.
- In a large skillet over high heat, sear the beef chunks until a dark crust forms on all sides. Transfer to a slow cooker.
- Whisk the beef broth, tomato paste, and Worcestershire sauce together; pour over the beef. Cover and cook on low for 6 to 8 hours until the meat shreds easily with a fork.
- Once cooked, shred the beef. The Anti-Soggy Secret: Drain the shredded meat in a fine-mesh strainer for 5 minutes to remove excess thin liquid. Transfer the meat to a bowl and toss with only 3 tablespoons of the concentrated cooking juices and the halved olives. The meat should look glossy and moist, not swimming in liquid.
- Preheat your oven to 375°F (190°C). Slice the entire slab of slider rolls in half horizontally.
- Place the bottom half of the rolls on a baking sheet. Arrange the cheese slices across the bread to cover the entire surface. Toast in the oven for 3-5 minutes until the cheese is melted. This creates a waterproof seal so the juices cannot soak into the bottom bun.
- Spread the shredded beef and olive mixture evenly over the melted cheese. Place the top buns on.
- Whisk together the melted butter, honey, and onion flakes. Brush this mixture generously over the tops of the rolls, ensuring the sides are coated for that deep golden, lacquered finish.
- Bake for 10-12 minutes. If the tops aren’t as dark as the image, turn on the broiler for the final 60 seconds, watching closely to achieve a deep mahogany glaze. Serve immediately while the crust is crisp and the center is tender.
Notes
- The cheese acts as a waterproof seal for the bottom bun. Ensure you drain the shredded meat for 5 minutes to remove excess liquid before assembly.